aidacare HT Systems KERA SIT2SIT Operating and maintenance manual

KERA SIT2SIT HOIST
Owner and Instructional Manual

WARNING! Do not operate this equipment without first reading and
understanding this manual. If you are unable to understand the warnings,
information and instructions contact HT systems before attempting to
use this hoist – otherwise injury and/or damage may result
The Kera sit2sit is designed to:
•Transfer a user up to 120Kg
•Transfer a user from 130-190cm tall
Between seated positions (i.e. toilet, wheelchair, bed, chair, day chair)
ALWAYS check the hoist for damage or wear to ensure it is safe
to operate
Contact HT systems if you have any concerns about the condition
of the hoist
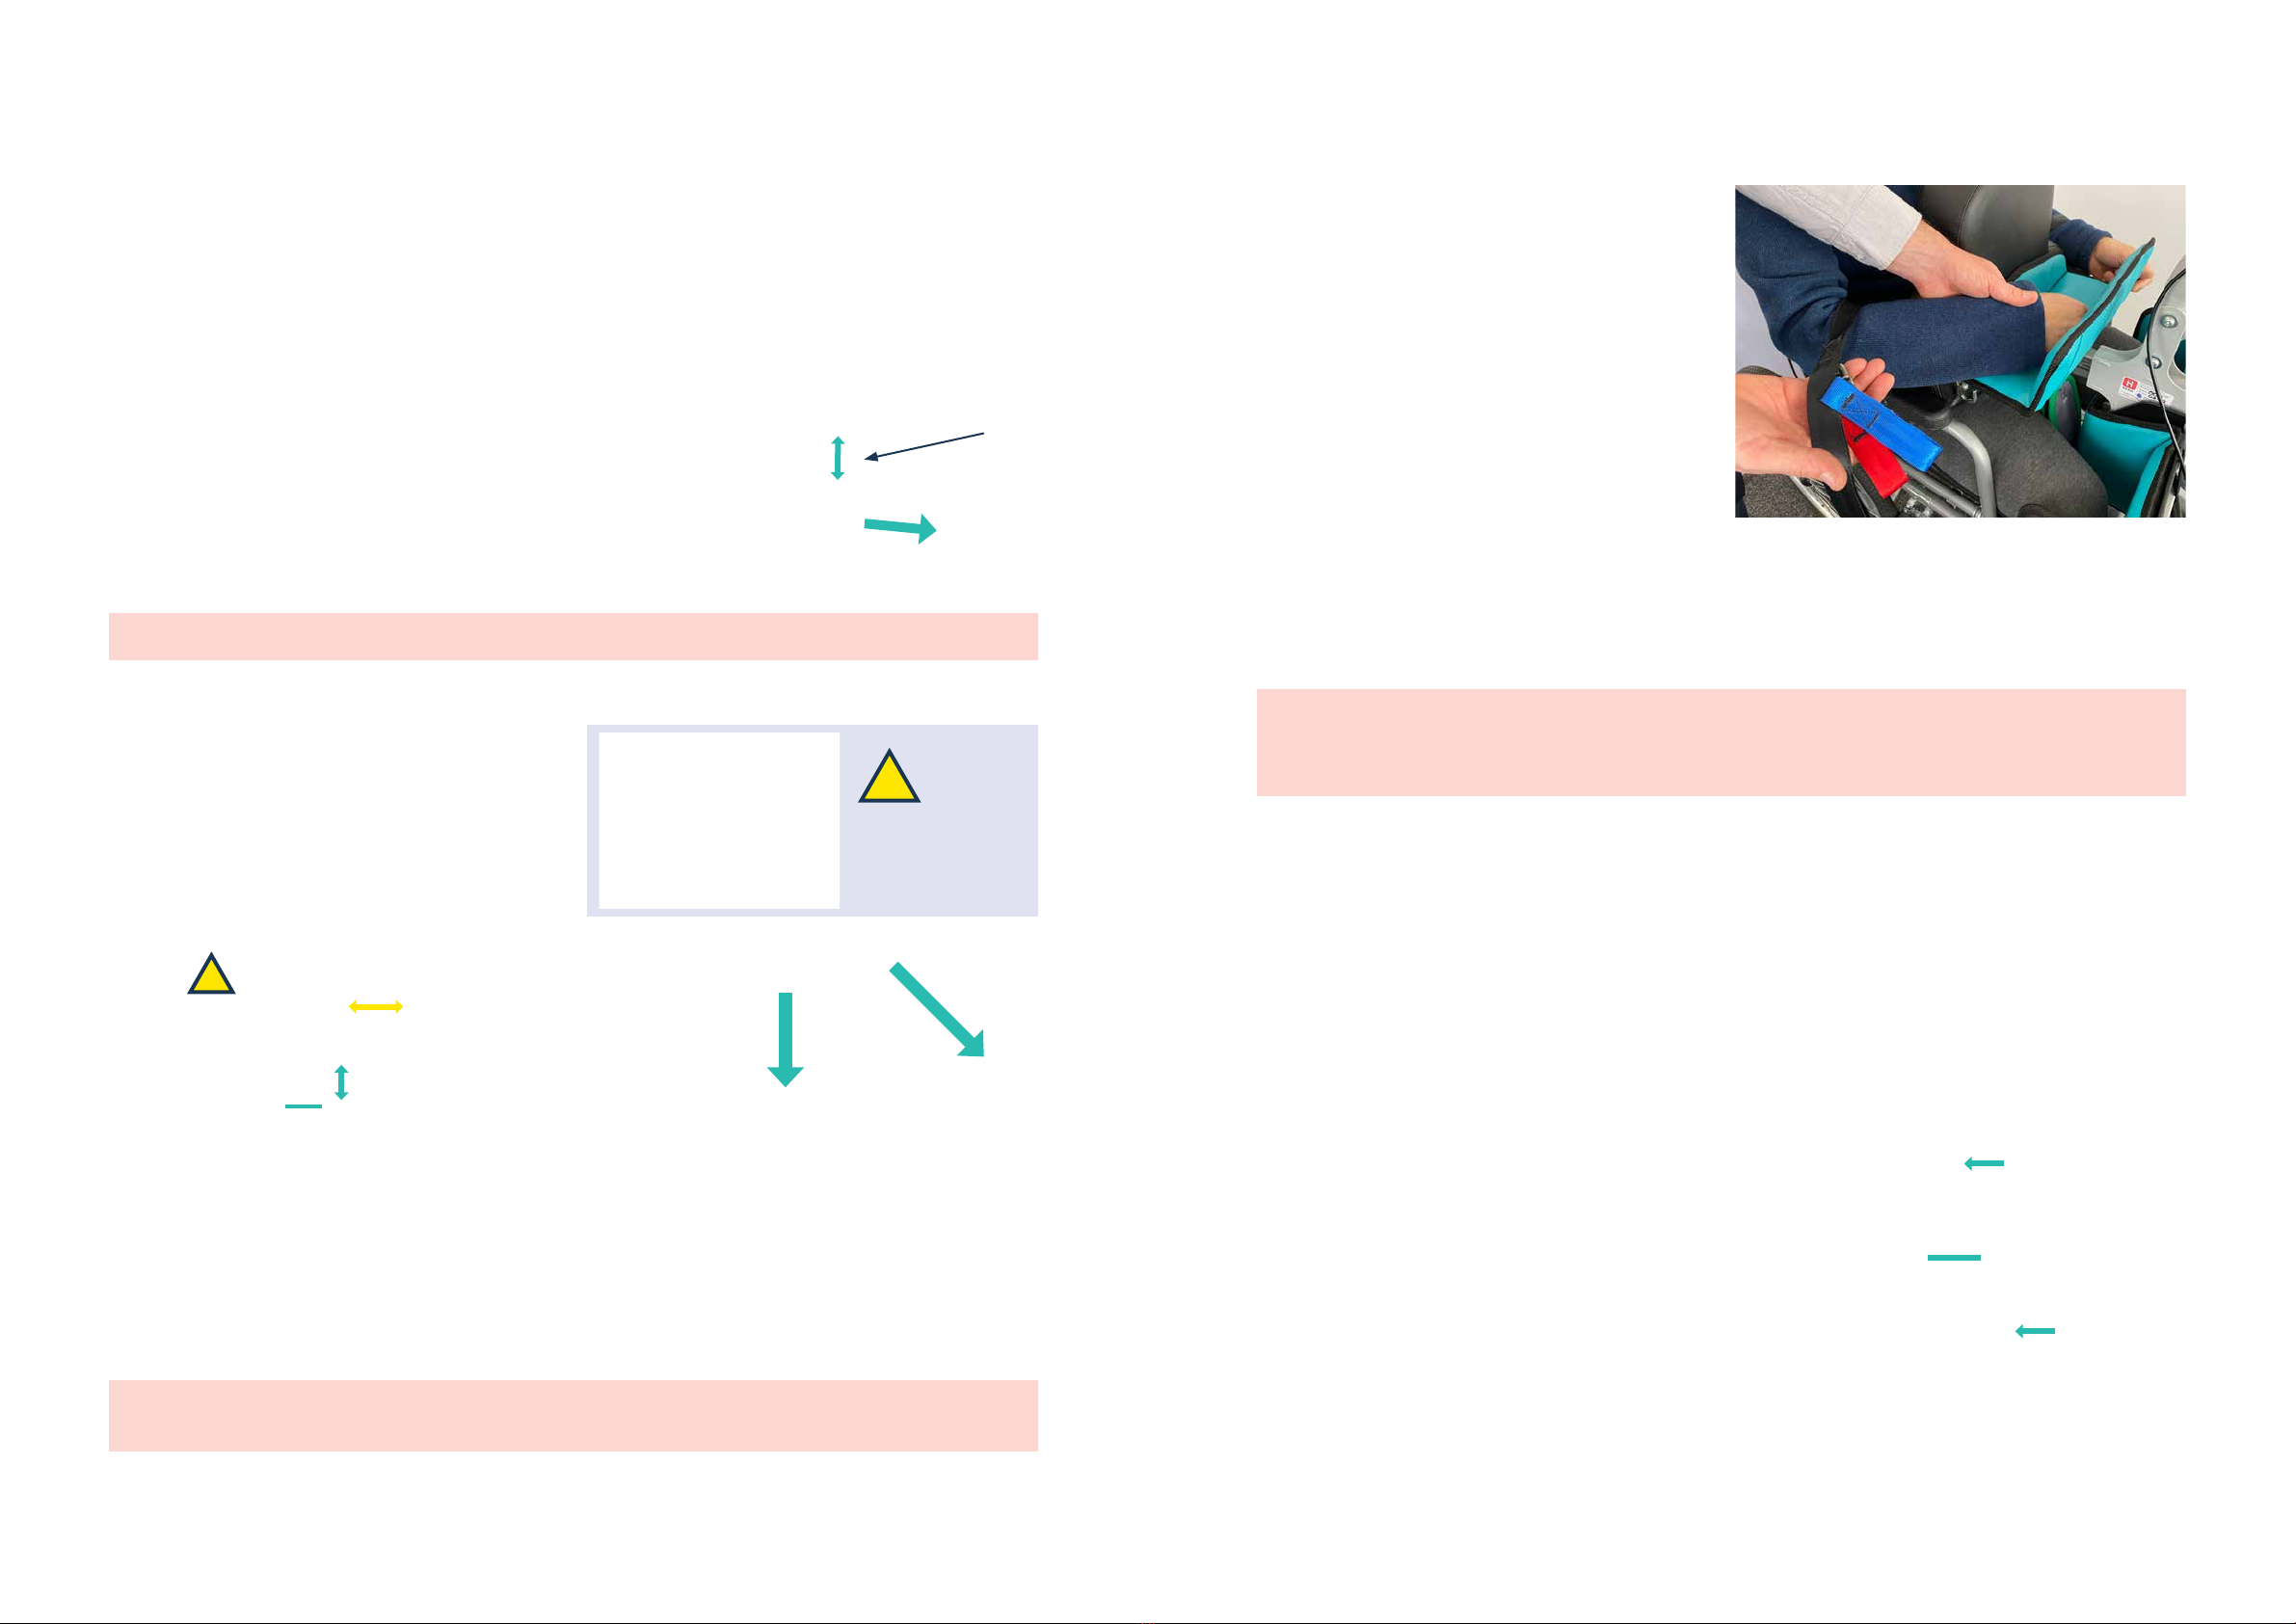
ALWAYS use a Kera sit2sit Backstrap when operating this hoist
WARNING! Before attempting a transfer, a clinical assessment of
the user’s suitability for use with this hoist should be carried out
by a qualified health professional
GENERAL INFORMATION
The hoist has successfully passed testing by Novita (Accredited Test Laboratory Number 2953 –
novitatech.com.au) to international hoist standards (ISO10535:2006) and is entered in the
ARTG (388973), Australia.
We are confident of your safety if operated and maintained as described in this manual.
•A clinical assessment of the user’s suitability for use with this hoist should be carried
out by a qualified health professional
•The caregiver should be trained in the use of this hoist
•This hoist is designed for use with at least one caregiver
•It is important to be aware that the materials used in this hoist may not be hypo-allergenic
or fire retardant
•Avoid placing fingers or other body parts in obvious pinch points
•Ensure that the hoist and Backstrap is not damaged or worn before operation
•The Backstrap should be used for all transfers
•We advise that the user should be left in the transit position for less than 2 minutes
•Do not push the loaded hoist at faster than slow walking pace
•Be aware of your surroundings with other objects
•Always ensure that you unload the user carefully into a chair, toilet or bed or other seated position
USER SUITABILITY
Ensure that the user is physically suited to the lifter as deemed by a health professional.
Specifically, it is recommended that the user should not have:
•Height greater than 190cm or weight greater than 120kg
•Unstable medical conditions, e.g. unstable heart condition
•Conditions requiring ventilation or oxygen therapy
•Conditions not allowing uprightness
•Open wounds or painful scars on the chest or abdomen, or pregnancy
•Substantial inflexibility in the hips, knees and ankles
•Inability to take any weight on the knees and feet i.e. due to injury or pain condition.
However, the user does not have to be weight-bearing.
For more detailed information please refer to our website:
htsystems.com.au htsystems.co.nz
© Hapai Transfer Systems Ltd (2022)

TABLE OF CONTENTS
General Information 3
User Suitability 3
Who We Are 6
Contact Us 6
Intended Use 6
Kera sit2sit Diagram 7
User And Caregiver Assessment 7
Safe Path And Destination 7
Pre-use Check and Hoist Setup 8
Step 1: Fit the Backstrap 9
Step 2: Feet, Knees and Apply Brake 9
Step 3: Chestpad on the Lap 10
Step 4: Secure and Tighten Backstrap 11
Tightening and Lifting Tips 12
Step 5: Lifting from Seat 13
Step 6: Transferring 14
Step 7: Lowering to Seat 15
Step 8: Disengaging the Kera sit2sit 16
Footboxes 17
Kera sit2sit Owners Information 18
Product Information 18
User Recommendations 19
Identifying Your Kera sit2sit Model 19
© Copyright Haipai Transfer Systems Ltd (2022) MAN001 Version F
No part of this user manual may be copied, distributed, reproduced, scanned or stored on any electronic database,
whether in whole or in part in any form or by any means.
Due care has been taken to ensure all the information contained in this user manual is correct at the time of printing.
All measurements, pictures, colours and weight capacities are to be used as a guide only. We reserve the right to modify
the design or appearance of any product displayed in this user manual without prior notice.

76
WHO WE ARE
At HT Systems we’re dedicated to making a meaningful difference in people’s lives by using clever
customer-centric design.
Formed in 2018, we are building on over two decades of product development and research by the
University of Canterbury in Christchurch, New Zealand.
Our development team has worked with a wide range of health professionals, caregivers and people
living with disabilities to ensure we can provide a comfortable, safe and easy to use solution.
Our Kera sit2sit is a simple mechanical hoist which is light, quick and easy to use, and its small footprint
makes it ideal for negotiating tight spots and convenient to store.
CONTACT US
Email: admin@htsystems.co.nz
admin@htsystems.com.au
Facebook: facebook.com/HTSystemsNZ
Web: htsystems.co.nz
htsystems.com.au
Address: 94 Byron Street
Sydenham
Christchurch 8023, New Zealand
INTENDED USE
The Kera sit2sit assists a single caregiver to safely and securely transfer people, with little or no standing
strength, between seated positions.
It is intended to be used on level surfaces for the transfer of immobile users in hospitals, care facilities
or domestic homes.
It is not intended for users to be in the transit position for long periods of time.
The Kera sit2sit is only to be used for the purposes as described in this manual.
KERA SIT2SIT DIAGRAM
USER AND CAREGIVER ASSESSMENT
A clinical assessment of the user’s suitability for use with the Kera sit2sit should be carried out by a
qualified health professional. The user does not need to be weight bearing but will require some level
of flexibility in their lower joints to be comfortably lifted using this hoist.
Before each transfer the caregiver should be aware of the users current medical, physical, and mental
condition and not attempt a transfer if they are concerned that the transfer would endanger the user
or the caregiver’s own safety.
The Kera sit2sit was designed to minimise the load on caregivers however please be aware of your
physical ability to complete the transfer and do not attempt a transfer that would endanger the user
or the caregiver’s own safety.
SAFE PATH AND DESTINATION
•Ensure the transfer path is clear and free of trip hazards and the floor is safe to transfer, i.e. not wet or slippery
•Ensure the seat to be transferred to is ready and is safe for the user to be seated in. The brakes of both
seats of the transfer should be locked.
Lock Lever
Caregiver
Handle
User
Handle
Arm Cradle
Cover
Chestpad
Chestpad
Slider &
Index Pin
Knee Support Cover
Brake Pedal
Rear Castors
Leg Spreader Lever
Anti-tip Bar
Footplates
Front Castors

98
PRE-USE CHECK AND HOIST SETUP
Before each time the Kera sit2sit is used it should be checked for safety. This safety check process
doubles as the routine to setup the Kera sit2sit to engage the user.
The following steps should be completed before each time the Kera sit2sit is used. If any of the steps
fail or a fault is found, the Kera sit2sit should not be used and suitable technician should be consulted
to assess the following:
•Check for any visible faults or wear of the Kera sit2sit or Backstrap
•Check that the wheels roll smoothly and freely
•Check that the Chestpad Slider moves freely and is pulled toward you
Pull the index pin up and ensure the Chestpad slider moves easily
backward and forward. Release the index pin and check that the
slider is locked in place.
For setup, pull the Chestpad slider all the way towards you and
release the index pin, ensuring that the slider is locked in position.
Index pin
TIP: Release the index pin and pull the slider until you hear the pin click into one of the holes
•Check the caregiver handle locks and the Chestpad is above knees
Squeeze and hold the lock lever and check that
the caregiver handle can move freely through its
range of motion and locks in position when the
lock lever is released.
SQUEEZE
LEVER
Squeeze and hold
Lock Lever when
moving handle
SQUEEZE
LEVER
For setup, hold the lock lever and move the
caregiver handle until the Chestpad is just above
the knees and thighs of the user
Check that the legs are spread open to fit around
the chair
To spread the legs of the Kera sit2sit, press down
with your foot on the end of the Leg Spreader
Lever. This ensures the legs will fit around a chair
TIP: Stand to the side of the Kera to ensure you can comfortably and stably put your weight
on the Leg Spreader Lever
STEP 1: FIT THE BACKSTRAP
Lean the user forward just enough to position
the Backstrap, low on their back so that it sits just
above the belt or waist band
Have the user lean back in their chair to keep
the Backstrap in place
One at a time, bring the straps underneath
the arms of the user
TIP: Check the label is facing out and upward
TIP: If needed, loosen the user’s belt or waistband at this stage
STEP 2: FEET, KNEES AND APPLY BRAKE
The following steps should be followed when moving the Kera sit2sit up to the seated user:
1. Ask the user to or assist with placing their feet
on to the Footplates (if Footboxes are in use –
see Page 17)
2. Move the Kera sit2sit toward the user using
the moving handles and your foot

1110
STEP 4: SECURE AND TIGHTEN BACKSTRAP
The Backstrap must be attached and tightened sufficiently to ensure a comfortable and secure transfer:
1. Help the user hold the handles or cross their
arms into the cradle, by hugging the Chestpad
2. Hook the rings on the hooks on the handle
HOLD
3.Pull both blue tabs at once to evenly tighten
the straps
TIP: Pull the blue tabs in the same direction
as the straps to make tightening as easy
as possible
4.One at a time, pull the blue tabs using the
technique shown in the photo to ensure suitable
tightness (see the next section
for tightening tips)
FITTING A THIGHSTRAP
•If the Thighstrap is being used,
reach behind the user’s ankle
and grab the Thighstrap
•Attach the loop on the
Thighstrap to the hook on
the Chestpad. The Thighstrap
should be firm underneath the
user’s thigh. Take note of how
many loops to the end
•Follow the same procedure on
the other side, with the same
number of loops from the end
STEP 3: CHESTPAD ON THE LAP
The Chestpad must be pressed securely to the user’s chest and lap to promote a comfortable
and secure transfer.
The following steps should be followed to ensure a good fit to the lap:
•Pull the index pin up
•Push the Chestpad slider forward until it slightly
squashes the foam against the user’s stomach
•Release the index pin and push the Chestpad
forward until it drops into a locking hole
•Squeeze and hold the Lock Lever and push
forward on the Caregiver Handle gently
•This presses the Chestpad down onto
the user’s lap
•Let go of Lock Lever
TIP: These steps are important for a good transfer, but you do not want to press too hard
that it is uncomfortable for the user
Communicate with the user for each step or try these steps with an able-bodied friend
or colleague first who can tell you how each step feels
3.Ensure the knees are touching
(or within 3cm) of the Knee Support Cover
4.Apply the brake by stepping on the red
Brake Pedal

1312
TIGHTENING AND LIFTING TIPS
The Kera sit2sit lifts the user by squeezing them up against the Chestpad with the Backstrap.
Therefore, the tightness of the Backstrap is very important.
Here are some tips for getting the best result:
How tight do I need to do the straps?
As tight as possible while still comfortable.
If the straps are too loose, the Chestpad will slide
up the user’s front before you begin to lift them.
TIP: Tighten one strap at a time, take a grip
on the bar, and pull in the same direction
as the straps
How far forward do I need to bring the person?
Until the Caregiver Handle is about at your waist
and they are in a stable position.
The further forward the user is the less they will
feel like they might slip down off the Chestpad.
Their weight should be on their chest rather than
the Backstrap holding them up.
The Backstrap begins to slip up their back
and / or the user feels too hunched over
Start with the Backstrap fitted low on the back
and make sure it is as tight as possible.
Try pushing the Chestpad into the user’s stomach
by one or two more holes.
When lifted up the user should end up less
hunched over and the Backstrap shouldn’t slip
up as much.
STEP 5: LIFTING FROM SEAT
Once you have fitted and tightened the Backstrap, you can perform the lifting from the seat:
•Take a firm two handed grip on the Caregiver
Handle and squeeze and hold the Lock Lever SQUEEZE
LEVER
Squeeze and hold
Lock Lever when
moving handle
•In one smooth controlled motion lift the user
forward from their seat noting the following:
•Pull the Caregiver Handle toward you
through the motion shown
•The handle should end up approximately
at your waist
•You will need to take a step back as you do this
•Once the user is forward to a safe position,
let go of the Lock Lever to lock the hoist in
this position
•You can let go of the Caregiver Handle at
this point and move around the Kera sit2sit
The Caregiver Handle must be brought down until the user is in a safe and stable position.
A PARTIAL LIFT COULD CAUSE THE USER AND DEVICE TO BE UNSTABLE AND FALL.

1514
STEP 6: TRANSFERRING
Ensuring that the user is in a safe transfer position, you can now perform the transfer:
•Unlock the brake by stepping around to the side
of the Kera sit2sit and pushing forward the green
labelled Brake Pedal
•Wheel the Kera sit2sit away from the seat
until the castors are clear of the chair
•Close the legs by stepping to the side and
standing on the Leg Spreader Lever
•Holding the sides of the Caregiver Handle,
you can now transfer the user
TIP: Always ensure your own health and safety when transferring:
•Push on the Kera sit2sit if needed to move sideways
•Consider using a plastic mat over thick carpet to make transfers easier
STEP 7: LOWERING TO SEAT
Once you have the user aligned in front of the seat they are going to be lowered onto, the following
steps can be followed to lower them:
Always check that there is a chair behind the user and the chairs’ brakes are applied
before operating the Lock Lever.
100MM
•Spread the legs of the Kera sit2sit to fit around
the chair
•Position the user with 100mm gap between
the back of their calves and the chair edge
•Lock the wheels by standing on the red Brake
Pedal
•Ensure you have a firm two handed grip on the Caregiver Handle and are ready to lower the user down
•Squeeze the Lock Lever to be able to move Caregiver Handle
•Lower the user to their seat, until you are sure they are seated comfortably and push the Caregiver
Handle until the Chestpad is pressing on their lap
•Let go of the Lock Lever to lock the hoist in this position
TIP: If the user does not end up far enough back in their seat, you can lift them up again and move
the Kera sit2sit closer to the seat, reducing the 100mm gap between the user’s calves and the
front of the seat

1716
STEP 8: DISENGAGING THE KERA SIT2SIT
Once the user is securely seated in their chair you can disengage the Kera sit2sit:
•Release the tension in the straps by pulling
the red tab towards the user
•Remove the rings from the hooks and rest straps on
armrests or hanging down the outside of the thighs
•If Thighstraps are attached, unhook them from
the hooks on the Chestpad on both sides
TIP: Hold the blue tab lightly in your other hand to ensure it doesn’t catch on anything
TIP: Make sure the Chestpad is pressed on the lap well, this will loosen the straps and make it easier
to pull the red tabs
•Squeeze the Lock Lever and pull the caregiver
handle towards you to lift the Chestpad just
above the thighs
•Ensure the user is stable before moving Kera
sit2sit away
•Ensure the user’s arms and feet won’t catch on
anything as you move the Kera sit2sit away
•Carefully move the Kera sit2sit away from the user
•Remove the Backstrap from behind the user
FOOTBOXES
The Footboxes are an additional component offered and can be fitted to replace the Footplates
by a suitable Technician. Contact your region’s distributor for further information.
The Footboxes allow the user’s feet to be restrained from slipping backward and/or lifting up while
using the Kera sit2sit for transfers.
NB: Take care when unloading, to ensure that user is free from the straps
•Place the user’s feet, into the each of the boxes,
far enough forward to ensure the heel is well
supported on the base
•Take the Footbox strap from its storage position
and wrap it behind the ankle and secure to the
hook and loop patch on the outside surface
•Reverse the process above to remove the foot
•The Footbox straps can be removed if not
needed. Pull ends of the strap away from
the hook and loop patch and remove

1918
KERA SIT2SIT OWNERS INFORMATION
INSPECTION AND CLEANING
To clean the Kera sit2sit, wipe it down with a damp cloth using warm water and a disinfectant cleaner.
Do not use harsh solvents such as phenol and chlorine as it may damage the hoist’s finish. Follow
laundering instructions on the Backstrap. Do not submerge any other components for cleaning.
It is recommended that the Kera sit2sit and its accessories are regularly cleaned and/or disinfected
between each use.
MAINTENANCE AND USER INSPECTIONS
The caregiver should always inspect the hoist for hygiene, wear and damage before each use to ensure
the safety of all users.
Every 12 months a more detailed inspection should be carried out by a suitably qualified technician.
Contact HT Systems if you have any concerns about the condition or safety of the hoist.
The lifetime of this product in normal use is 8 years if all maintenance and servicing is carried out
in accordance with the manufacturer’s instructions and demonstrably recorded.
WARRANTY INFORMATION
HT Systems, at its sole discretion, warrants that it will repair or replace defective components or faulty
workmanship for a warranty period of one (1) year from the date of manufacture of the product.
A warranty claim may not be accepted where:
•Notice has not been given within four (4) weeks of the defect or faulty workmanship being first noticed.
•Damage is caused by negligence, accident or deliberate abuse, product modification, incorrect use,
incorrect storage or maintenance and continued use of the part after the defect or faulty workmanship
is first noticed.
•We reserve the right to substitute components of equal or better quality on the particular items being
repaired or replaced.
There will be no extensions to the original warranty period for any product that has been repaired or replaced.
PRODUCT INFORMATION
Product Information Kera80 Kera120
Product weight 35kg*
Outside width 605mm
Minimum internal width (legs closed) 415mm
Maximum internal width (legs open) 1100mm
Length – handle upright 950mm
Length – handle down 1230mm 1580mm
Handle height (upright) 1300mm 1550mm
WARNING: Heavy. Use safe lifting practice
USER RECOMMENDATIONS
User Recommendations Kera80 Kera120
User weight Up to 80kg Up to 120kg
User height From 130cm to 190cm
WARNING: Before attempting a transfer, a clinical assessment of the user’s suitability for use with this
hoist should be carried out by a qualified health professional.
IDENTIFYING YOUR KERA SIT2SIT MODEL
The Kera sit2sit high models are raised by 80mm
and are identified by the green raiser as shown in
the image above.
The Kera sit2sit 80 and 120 models are identified
by different length handles and the sticker affixed
to the handle as shown in the image above.
The Kera sit2sit serial number is affixed to the right
side of the hub by the Knee Supports as shown in
the image above.

AUM12.9 181022
For more detailed information please refer to our website:
htsystems.com.au htsystems.co.nz
© Hapai Transfer Systems Ltd (2022)
Table of contents
Other aidacare Mobility Aid manuals
Popular Mobility Aid manuals by other brands

Besco Medical
Besco Medical SPRING XL instruction manual

identités
identités 826009 instruction manual

aidapt
aidapt VM917 Usage and maintenance instructions

Ridder
Ridder Assistent A00300101 quick start guide

Schuchmann
Schuchmann franka Instructions for use

Invacare
Invacare Adjustable Back Upholstery Installation & operating instructions