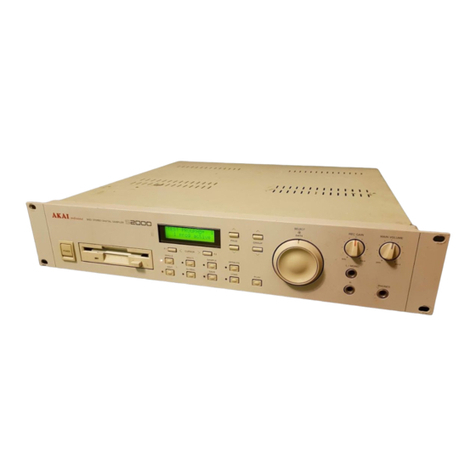
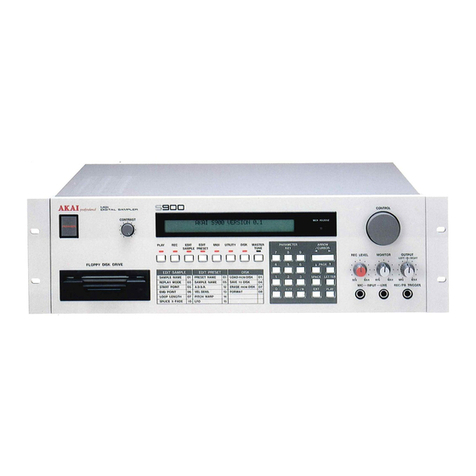
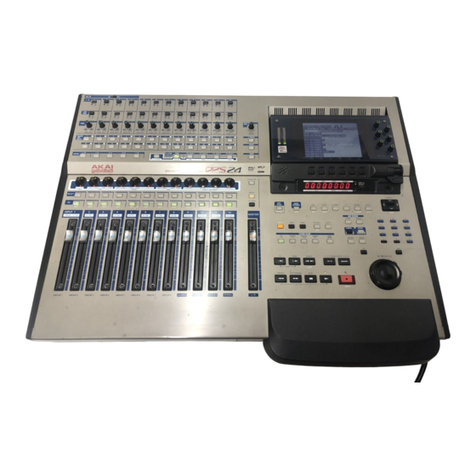
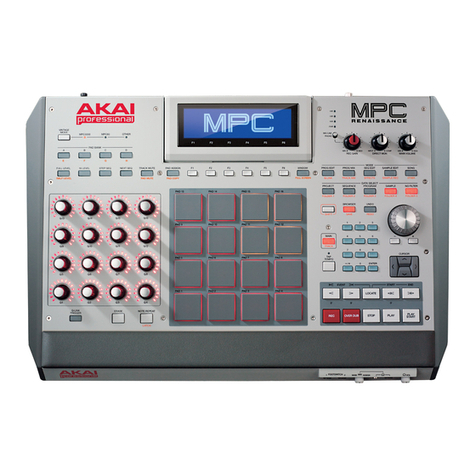
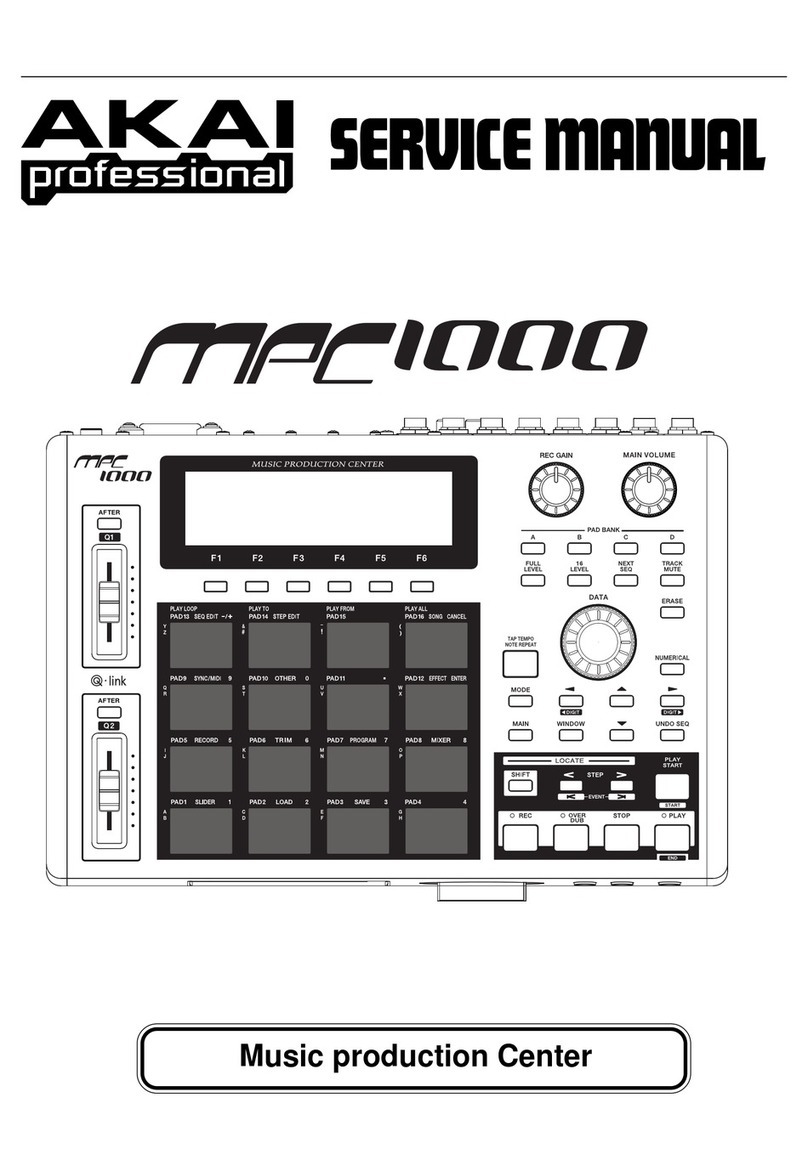
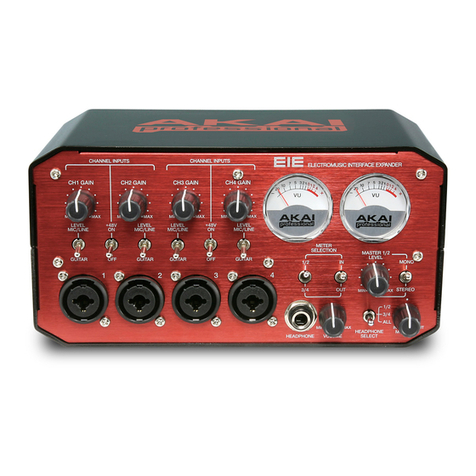
Akai MPC 5000 Instruction manual

QUICKSTART MANUAL
ENGLISH ( 1 - 11 )
GUÍA DE INICIO RÁPIDO
ESPAÑOL ( 13 - 25 )
GUIDE D'UTILISATION RAPIDE
FRANÇAIS ( 27 - 39 )
KURZANLEITUNG
DEUTSCH ( 41 - 51 )
GUIDA RAPIDA
ITALIANO ( 53 - 65 )


QUICKSTART GUIDE (ENGLISH)
TABLE OF CONTENTS
BASIC INFORMATION..............................................................................................................1
1. [MAIN] Button .........................................................................................................1
2. Function buttons - [F1] - [F6] ..................................................................................1
3. Fields, [DATA] wheel ..............................................................................................2
4. Cursor, [CURSOR] Buttons ....................................................................................2
5. [MODE] Button........................................................................................................2
6. [WINDOW] Button...................................................................................................2
TUTORIAL OF THE MPC5000 .................................................................................................3
PLAYING BACK A DEMO SONG................................................................................................3
PLAYING A PRESET PROGRAM................................................................................................3
RECORDING A PERFORMANCE WITH PADS...............................................................................4
Deleting the performance on a specific pad...............................................................4
PLAYING BACK SEVERAL SEQUENCES IN SERIES .....................................................................4
Selecting the Sequence in Real Time........................................................................4
Playing Back the Sequence in the Selected Order ....................................................5
Using the NEXT SEQ button .....................................................................................5
RECORDING A SAMPLE ..........................................................................................................6
Preparing the recording .............................................................................................6
Starting the recording ................................................................................................6
Assigning the Recorded Sound to a Pad...................................................................7
LOOPING A PHRASE SAMPLE..................................................................................................8
Adjusting the start/end points of the sample ..............................................................8
Recording to a sequence...........................................................................................8
Setting the Same Number of Sample and Sequence Bars........................................9
Setting the same tempo for sample and the sequence..............................................9
PLAYING SYNTH PROGRAMS ..................................................................................................9
HARD DISK RECORDING ......................................................................................................10
SAVING ..............................................................................................................................11
OTHER USEFUL FUNCTIONS.................................................................................................11
Arpeggiator ..............................................................................................................11
Effects with Tempo Sync .........................................................................................11
Q-Link slider.............................................................................................................11


!" #"!# $%%%& ! ' ( (
)$%%%*+&,-&
)-(+$%%%'+)+(.&
!/(01,21,324*5 0.+)+4(&
!()/)+(5 &!
()'*-)*'))+5 &

6
!"
!-'(-7&78**-(+
*1 9!92'&
#$$#%&'(&
!**)7&78:
*12()&
()
+ )* 1 #2 ( * )- + ' & !
)))+(:)&
*(*
*1" 2((*)''*&!:(
&*)-5# 1" 2('(&
#$$

;
!$%%%
! $%%% < #*- ' ( ) +
( )*- . - ' + + )-
-'+)+&
8+).)++
)*<#*(+.&
STEREO OUTS
9 <#*
.
="#
!)0 4)..<#*-
')+)&
+* *
!$%%%*))*++'
+'094&!)+( *-)'>
%&
!##!$%%%+/&
You can also connect headphones to the MPC5000's PHONE jacks. For more information about connecting devices, see the 'Using MPC5000
with external devices' section of the Reference Manual.
%6&
'$%%%&
When you switch on the MPC5000, it displays the start-up screen and then starts
loading the internal data automatically. After the data is loaded, it displays the MAIN
page.
%;&
7%? .77.7
)1598!9!2(&
Pressing the [PLAY START] button will start playback of the demo song from the
beginning.
To stop the playback, press the [STOP] button.
When you press the [PLAY] button, the MPC5000 will start the playback at the point you stopped last time.
9+)+*(7%? .7-+)+(*&8*(+*
1 9!92'7.7&
+**
"/-7+)+*))**)&8)+)*7*7
9")*(+*)&
%&
:)'*)&:04.&
%6&
"/-(7*7&
%;&
7*7-'1 9!92'
)*+')+&
You can select any program in memory by turning the [DATA] wheel in the 'Program'
field.
%@&
= )& ! $%%% ' )+ )
)*&
You can play up to 64 pads by switching between pad banks A through D, but
samples may not be assigned to all the pads.

@
*'
!).*))*-)'&
%&
19"2()+9")*&
%6&
7.7-.'+')&
You can select any sequence for recording a performance; but here, select a sequence that says 'unused'.
%;&
'7!7-'+')&
The performance data will be recorded on a track in the sequence. You can select any track, but here select '01-Track 01'.
%@&
)*+')+&
For more details on selecting presets, see 'Playing a Preset Program' on page 3 of this guide.
%$&
='1#2()1598!9!2(&
The recording will start after a 4 beat count.
%3&
+)&
By default, the sequence is set to 2 bars. After recording for 2 bars, the MPC5000 will start playing back the recorded performance from the
beginning. It will now switch from RECORD mode to OVERDUB mode. You will see the OVERDUB LED lit. In OVERDUB mode, you can now
add parts to your original recording.
%A&
8):()+((+)*1!2(&
%B&
1598!9!2()+)(**&!15982('
)+(&
%C&
+)-+/*'*(+
)*1#2D1598!9!2(&
%&
!)+-)1598!9!2('*1<# 2
(&
This plays back the currently recorded performance and you can add the new performance by hitting pads.
+",$-$.//,-,/
&
(+)*1598!9!2('*1<# 2(&
6&
1#9#2()+'&+)*)*)-
+))*&
+.7.7-+'))+&+)+*(
.-+'*&
!
+*:.
!'+)+(:.&8.()+
-."&
'+"'0&/ .
;&
7.79")*-.
+')+&
@&
1598 !9!2 ( )+(
.&
$&
7.7 * )+ (-
/.)+&
Selecting a sequence in the 'Sequence' field during the playback will change the
display as shown.
After playing back the currently selected sequence to the end, the MPC5000 will start playing back the sequence you selected in the next
sequence field. By repeating this step, you can play back several sequences continuously.

$
1/2+/3"'0"'($$
!)+(.)-"&
3&
1 #2(19 $20"4&
This brings up the SONG page, where you can set the order of the sequences to be
played.
A&
7*7-*'04&
B&
:70#*47.
)+*1 9!92'&
Note that the name of the sequence you chose is now in Step 1, and '(End of song)'
has moved below Step 1.
C&
70#*47.+')+(/&
Assign the sequences in the desired order by repeating steps 3 and 4.
6%&
1598!9!2(&
The assigned sequence will be played in the selected order.
"#$% &
!
%+")4 ')5
8 . + ' )+ /- (+ *
)&!:)-'**
& 9- + ) (' .
'+'**':.&
*1"#E!#2((*)/.)*&
!.)+B.&!
.)+*))F.
'.3))*&
8 )+ 3 ) - '* + )+ 3@
.(+'*)(&
%&
7.7-.+')+&
%6&
)+(.&
%;&
.+')+/-*)&
The number and name of the selected sequence will be displayed below the Sequence list as shown in lower left corner of the image above. The
MPC5000 will switch to the next sequence after it plays the current sequence to the end.
"$'(')*'$'+,
!

3
*)
- +'' -)+
')&''*
* )+"!)
$%%%&
! /) *: (' ( * )+
&=':-$%%%+G
* )- /- )- )+
G * + ( $%%% :
HI ( )- H , * )-
="H5"#)&
1$,/$+"$$+
%&
5"#!+ )+=""
$%%%&
%6&
1="H5"#2'5"#:))*-1"!#5#!2'
)1="2&
%;&
1 #2(19 @20# 4&
This brings up the RECORD page.
%@&
+ & : J
*:*1#9"2(&
Important: If the meter goes too far to the right, the sound will be distorted, but if the
sound level is too low, the sample will gain a lot of noise. Set the level as high as
possible but not reaching the right edge.
'/$+"$$+
%$&
)+)+&
%3&
1,320# 4(**&
The MPC5000 will be in Record Enable mode, and will wait for an incoming signal. It will start the recording when the CD player starts playing and
a threshold of audio signal is registered.
Pressing the [CANCEL] button exits Record Enable mode and resets the MPC5000. Pressing [F6] (RECORD) a second time will start the
recording without waiting for input.
-./012 '# 34"5.!,67775
./012 '# 34"
%A&
15982+ +)+*&
The MPC5000 will start the recording automatically when the CD Player starts
playback and the screen will change as shown.
If the recording level is too low, the MPC5000 will not register the incoming audio
and may not start the recording when you play the CD. In this case, go back to step
4 and set the level with the [REC GAIN] knob again.
%B&
1,320!4(*&
If you do not press [F6] (STOP), the MPC5000 will stop the recording when the
maximum recording time set in the 'Time' field is reached, or when its RAM is full.
%C&
$%%% *-
*'()+&
%&
)(+)*1,@205984(&
If you press the [F4] (PLAY) button, you can play back the recorded sample until
you release the button. If you do not like the recording, you can remove the
recording by pressing the [F2] (RETRY) button.
A
++"&$'/1/
%&
79*)7''1 9!92'&8)(+
*+&
The number of this pad will be displayed in the Assign to pad field.
%6&
1,$20K##4(&
This closes this screen and returns to the RECORD page.
Now you can play the recorded sample with the pads. Hit the pad that you have selected in step 1 to make sure the recorded sound will be
played.
5",!8-$
5.5, #% 8!
,!8-$9"5
, !
. ": . ". ; <
!
.": , #% 8!
=., !

B
5)*)
-+''.*))&!))'
.-+JH))).
))&
(7*)7)*3))&!)+()
+-(+(0(-6(L&4&
>.".
55....
6+"/$7,-"/.,
!)+)+-+JH)
+))'()+&!J
H)-!&
%&
1 #2(19 $20!4&
This switches to the TRIM mode, where you can edit samples.
%6&
))-+'*1 9!92
'&
%;&
7047J)&
You can change the start point by turning the [DATA] wheel, or by moving the Q1 Slider.
Adjust this point so that the first beat of the phrase will be played when you hit the pad. You can check the sound by hitting any pad 1 - 12.
-...:.".-.
"."
%@&
7#7J)&
You can change the end point by turning the [DATA] wheel, or moving the Q2 Slider.
-./,83=15 -!!,67775.":
.2.":4*:..-.
.5"..5?"
-...":."-.
.":.9.
&$+/0
!))'.-)'>
%&
19"2()+9")*&
%6&
7.7-.+7&7
%;&
7!7)+04&
%@&
7*7-)*+*)&
8.(+)*1598!9!2(')*1#2
(&,))-'':')*!## !
)+)(**.&
%$&
1 #2(19 ;20!## !4&
The STEP EDIT page will be displayed as shown.
%3&
7"7-1 9!92'
7%%&%&%%%7&
%A&
1<# 2(&
The LED of the button will be lit – this indicates that you are in STEP EDIT mode.
%B&
=)))&
The event of this pad will be entered at the point of 001.01.000. If you hit a different
pad by mistake, select the erroneous entry and press [F4] (DELETE).
%C&
1!2(&
This deactivates STEP EDIT mode.

C
'+"'/..$-'/.,/'0/$
9'.6((+&)6(-)(&=':-
( ( ) .- + J ( (
.)&
%&
19"2()+9")*&
%6&
77)&
%;&
'1 9!92')=9"###"#
5#"!=''&
%@&
((7"'5*7-)
1,$20 !4(&
'+"/..,-$/.,/"0
,+-+)).&
%&
19"29")*&
%6&
1598!9!2()+(.&
%;&
77-J).&
If the end of the phrase overlaps the beginning of the next phrase, set the tempo slower. If there is a silence part between phrases, set the tempo
faster. You can also tap the [TAP TEMPO] button in time with the loop to get a rough timing.
!,6777,,55";
5-"
:=@' !
+*+*
"'$%%%:*-7+7)*&!
))**)
-(+7(:+7&
, - '* - *- (* (- -
) )- * (
:+&
!:.+*-'*>
%&
18"!=2(&
This will open the SYNTH page.
When the [SYNTH] button is pressed, it will go to the first Synth track in your sequence. If there are no tracks with Synth programs assigned, it
will add one for you.
%6&
9J+)&
The first screen you will see in SYNTH mode is the BASIC page. Here, the most
common parameters can be edited.
To edit the parameters on-screen, you can use the corresponding Q-LINK controls,
as shown in the chart to the right. Using the Q-Links make editing Synth programs
allows you to quickly tune in the sound you want, just like a real analog synthesizer.
%;&
:?5)&
Listen to how each control changes the sound of the Synth program. Some change the sound radically, some are more subtle. The key to the
Synth section is experimentation.
*?59)*-+'+(.+*'+)*'
&!+('*-(+*<-<,-<9-5,)*-'*
++)*/++*&!(?)*+
)*-);&

%
= *
9''$%%%=*&*1# "2-1="
"2- 1H , "2 J ( + - + )- :- : *- :
+(?J(+*+*G+*&)*()*&
+= :-9-+'+
M= :&+($%%%7= :&8))+
+=-+-/''+*)&
!/)'* )+= -(+-/-)-
*+(()**-)*'+'&
%&
5"#!+ )+=""
$%%%&
%6&
1="H5"#2'5"#:
))*-1"!#5#!2')
1="2&
%;&
1 #219 320= # 4= #
)*&
%@&
*+'=
7*7&
%$&
1,320 !4&
This will add audio tracks to the current song, and the screen will be displayed as
shown on the right.
%3&
77)&
For our example, let's choose 'ANALOG'.
%A&
'*)(
(+ * )* 7 5H7
&
For our example, let's select tracks 1 and 2.
%B&
9*(+)*1,$205941,32094(&
%C&
++'&
Adjust the [REC GAIN] knob to get the best volume level without clipping or distortion.
%&
1#21598!9!2&
This will start the recording process.
&
)+)*'+*&
Press the [STOP] button to end the recording when you are finished.
,= *-)B&

:*
!+)$%%%'('+-+:&
+ ' ) - ) ( 7) 3> :* 5* 0 47
&
,
!$%%%+/*:&
$,++/$
!$%%%N9)**)''+)+)*))-
" )- )+ (+ * ' & ! :+ ( ' + )+
/+)/0):4)*'&
=A8 !
)--!" .,'2
!$%%%(-':')&9-)
#:(&#+)-))*+(+
).&95,)*(+).&
=6' !
583$
?5+))--&
=&)?B: !
!+(()$%%%&!$%%%+
&)$%%%&
=:'$%%%O

6

;
GUÍA DE INICIO RÁPIDO (ESPAÑOL)
ÍNDICE
INFORMACIÓN BÁSICA ..........................................................................................................15
1. Botón [MAIN] (Principal) .......................................................................................15
2. Botones de funciones - [F1] - [F6].........................................................................15
3. Campos y rueda [DATA] (Datos) ..........................................................................16
4. Cursor y botones [CURSOR]................................................................................16
5. Botón [MODE] (Modo) ..........................................................................................16
6. Botón [WINDOW] (Ventana).................................................................................16
TUTORIAL DEL MPC5000 ....................................................................................................17
REPRODUCCIÓN DE UN TEMA DEMO ......................................................................................17
CÓMO INTERPRETAR UN PROGRAMA PREDETERMINADO..........................................................17
CÓMO GRABAR UNA INTERPRETACIÓN CON LOS PADS.............................................................18
Cómo eliminar la interpretación de un pad específico .............................................18
CÓMO REPRODUCIR VARIAS SECUENCIAS EN SERIE ................................................................18
Cómo seleccionar la secuencia en tiempo real .......................................................18
Cómo reproducir la secuencia en el orden seleccionado ........................................19
Cómo usar el botón NEXT SEQ ..............................................................................19
CÓMO GRABAR UNA MUESTRA ..............................................................................................20
Cómo preparar la grabación ....................................................................................20
Cómo iniciar la grabación ........................................................................................20
Cómo asignar el sonido grabado a un pad..............................................................21
CÓMO CREAR UN LOOP CON UNA MUESTRA DE FRASE.............................................................22
Cómo ajustar los puntos de inicio y fin de la muestra..............................................22
Cómo grabar en secuencia......................................................................................22
Cómo configurar el mismo número de barras en la muestra y la secuencia ...........23
Cómo configurar el mismo tempo para la muestra y la secuencia...........................23
CÓMO INTERPRETAR PROGRAMAS DE SINTETIZADOR ..............................................................23
CÓMO GRABAR EN DISCO DURO............................................................................................24
CÓMO GUARDAR DATOS Y AUDIO ..........................................................................................25
OTRAS FUNCIONES ÚTILES ...................................................................................................25
Arpegiador ...............................................................................................................25
Efectos con sincronización al tempo........................................................................25
Cursor Q-Link ..........................................................................................................25

@

$
P(Q
: R Q) #"! # S" 95 $%%%& # *R /)
(Q$%%%).)M&PQ-
&
9:1$,/;
)-(P:)))$%%%-)*(+)&
-
(01,21,324(J5 0)R.4.(
&#().))5 &5
.)(P:RP).5 &

3
#/.,2$/ :/;
5 * ) 7)7& # )( ( )Q )
*1 9!92&
#$$2#%&'(&
5 ) ) TT& # )( :
)(12)&
9():;
#)()(P1 #2+*))&
#.))()&
9*(*:<//;
9 ) (P 1" 2 ) : ) *P ) & #
PQ)())&+)Q)))R-5#
(P1" 2
#$$
Other manuals for MPC 5000
9
This manual suits for next models
1
Table of contents
Languages:
Other Akai Recording Equipment manuals

Akai
Akai MPC 3000 User manual

Akai
Akai MPC Renaissance User manual

Akai
Akai MPX16 User manual

Akai
Akai S950 User manual

Akai
Akai LPD8 mk2 User manual

Akai
Akai VirtualDJ 8 User manual

Akai
Akai MPC 500 User manual

Akai
Akai APC Mini User manual

Akai
Akai MPC 500 Instruction manual

Akai
Akai MPD 16 Installation and operating instructions