MORE
functions
Normal timer recording
◆
For timer recordings, clock, date, and stations must be set correctly.
◆
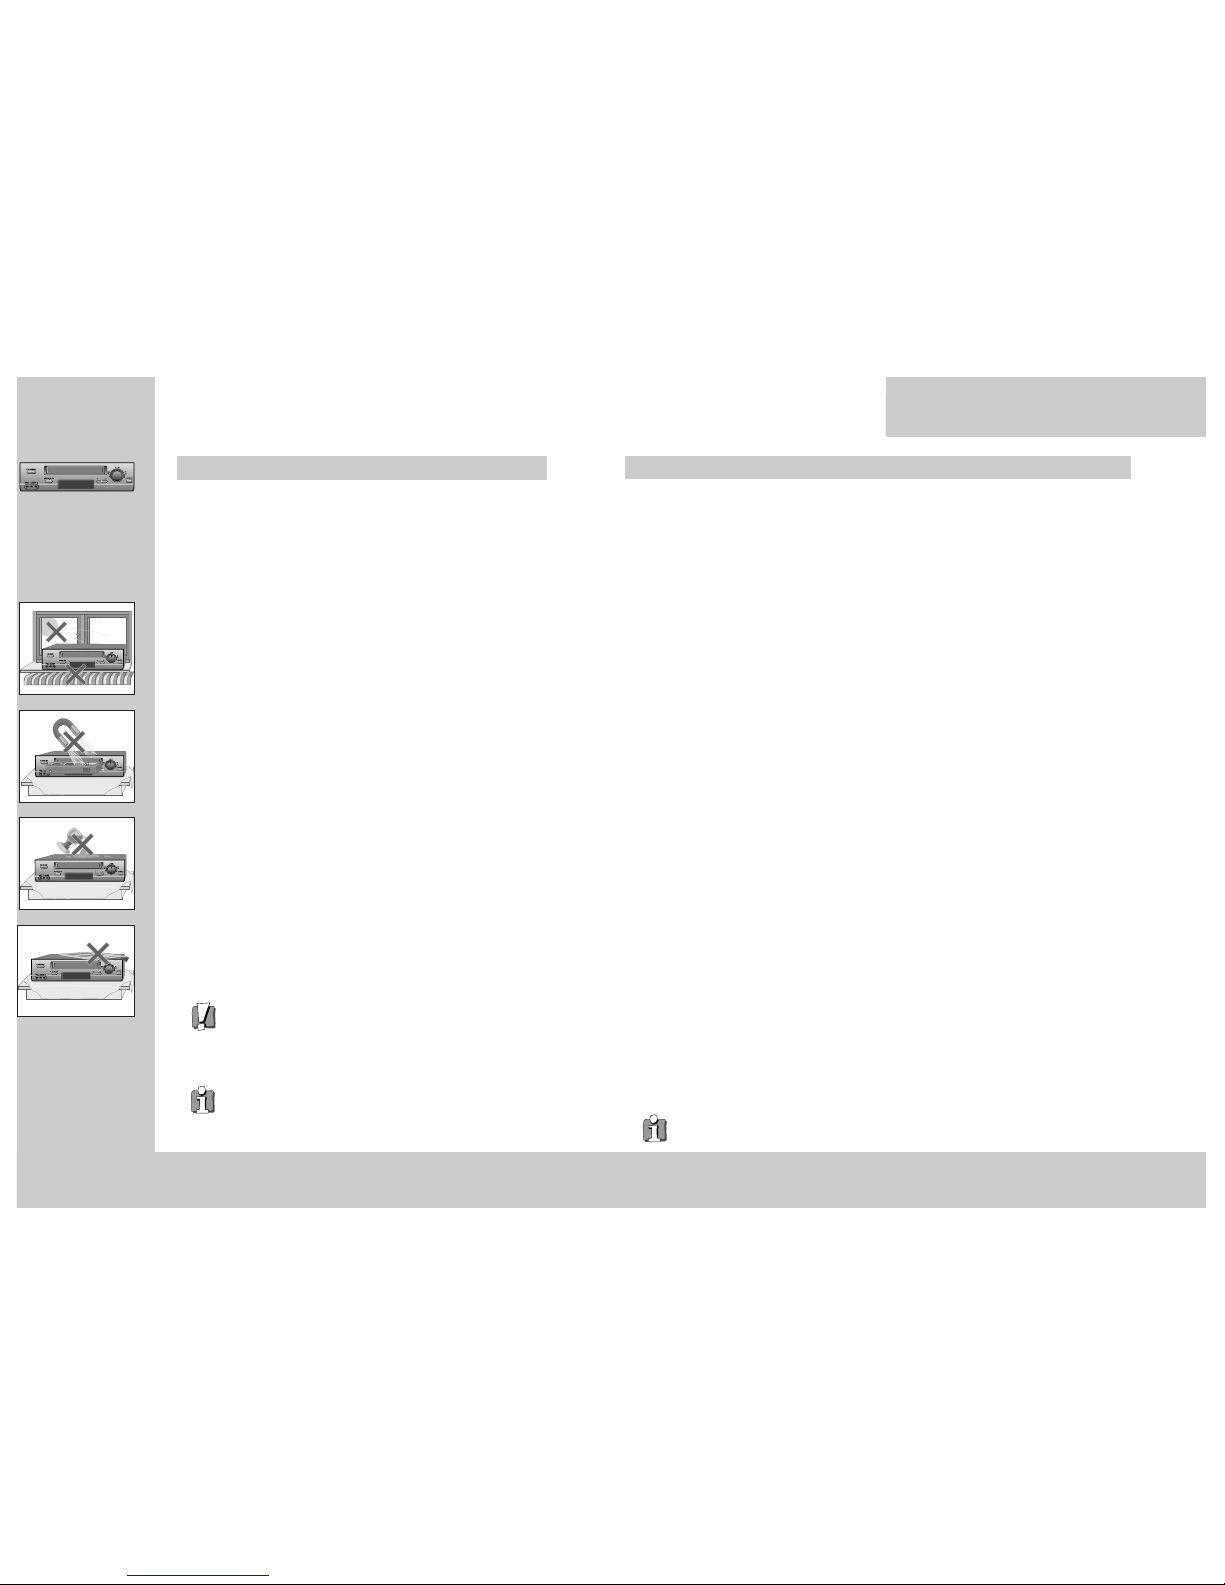
Load a cassette with its safety tab in place
(see page 17) and with sufficient free space for the recording.
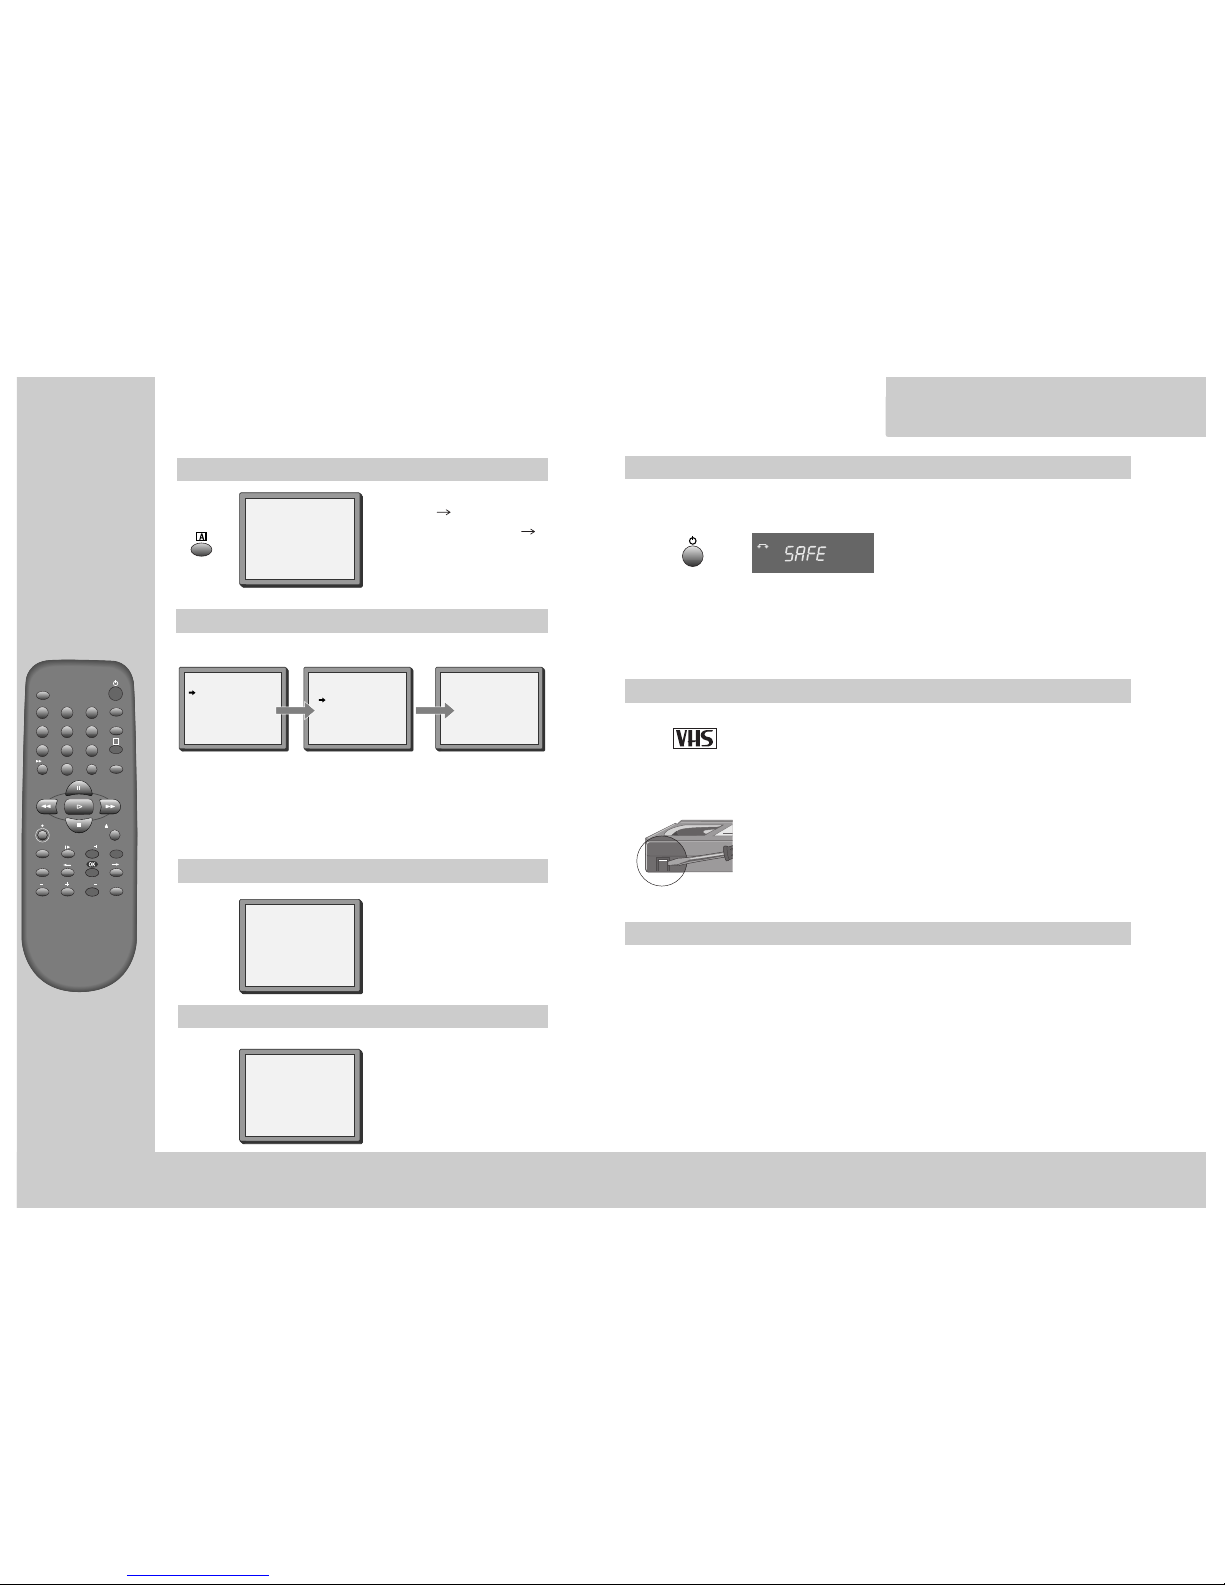
Call the video’s "MAIN MENU",
choose "Timer Program".
Decide if you want to record
"Once", "Weekly" or "Daily"...
... and confirm.
If you wish to make changes:
Move to the position you want to change
using the / buttons. Change the
setting using the PR+/- or number buttons.
If all setting are ok, press or , till
you see “OK : CONFIRM” in the bottom
line.
Confirm.
Switch your video off.
Type in one after the other:
◆The programme location
number;
◆the time the broadcast starts,
◆the time the broadcast ends,
◆the day of the broadcast, if it
is not today.
◆Select LP if you wish to make
a very long recording .
HOW OFTEN DO YOU WANT
TO RECORD THIS PROGRAM?
PR+/-:SELECT
OK:CONFIRM MENU:END
ONCE
WEEKLY(ONCE A WEEK)
DAILY(MON-FRI)
DAILY(MON-SAT)
DAILY(MON-SUN)
PR+/-: SELECT(AV)
0-9 :SETUP (PR)
/ :CORRECT MENU:END
PR --
START TIME --:--
END TIME --:--
START DATE --/--
TAPE SPEED SP
TIMER PROGRAM (ONCE)
TIMER PROGRAM (ONCE)
PR 01
START TIME 18:10
END TIME 20:30
START DATE 11/07(FRI)
TAPE SPEED LP
PR+/-: SELECT(AV)
0-9 : SETUP (PR)
/ :CORRECT
OK:CONFIRM MENU:END
◆Wait a few seconds after typing a one-digit-number.
◆If you have made a mistake, move to the position you want to change using the
/ buttons and change the setting.
◆If programme timings overlap, the machine will give a warning message. If you
don’t adjust the times, the machine will record the first programme completely
then continue with the second one.
◆If there is no sufficient free space for the recording on the cassette the video
switches automatically to “LP” for double recording capacity.
◆The recorder will eject cassettes which have the safety tab removed (page17).
◆To cancel the normal timer recording, press (stop) button more than
5 seconds.
15
MORE
functions
Timer Review – changing and erasing
Call the video’s "MAIN MENU",
choose "Timer Program".
Select the programming to change or erase.
If you want to erase this programming press
button 0, confirm with OK.
If you wish to make changes:
Move to the position you want to change using
the / buttons.
Change the settings using the PR +/– or number
buttons.
If all setting are ok, press or , till you see
"OK: CONFIRM" in the bottom line.
Confirm changes with OK. Exit the menus.
TIMER PROGRAM
PR START END DATE
03 21:20 22:20 13/07
01 18:30 20:20 11/07
-- -- : -- -- : -- -- / --
-- -- : -- -- : -- -- / --
-- -- : -- -- : -- -- / --
-- -- : -- -- : -- -- / --
-- -- : -- -- : -- -- / --
-- -- : -- -- : -- -- / --
PR+/-:SELECT
OK:CONFIRM MENU:END
TIMER PROGRAM (ONCE)
PR 03
START TIME 21:20
END TIME 22:20
START DATE 13/07(SUN)
TAPE SPEED SP
0 :ERASE
/ :CORRECT MENU:END
2x


 User manual")