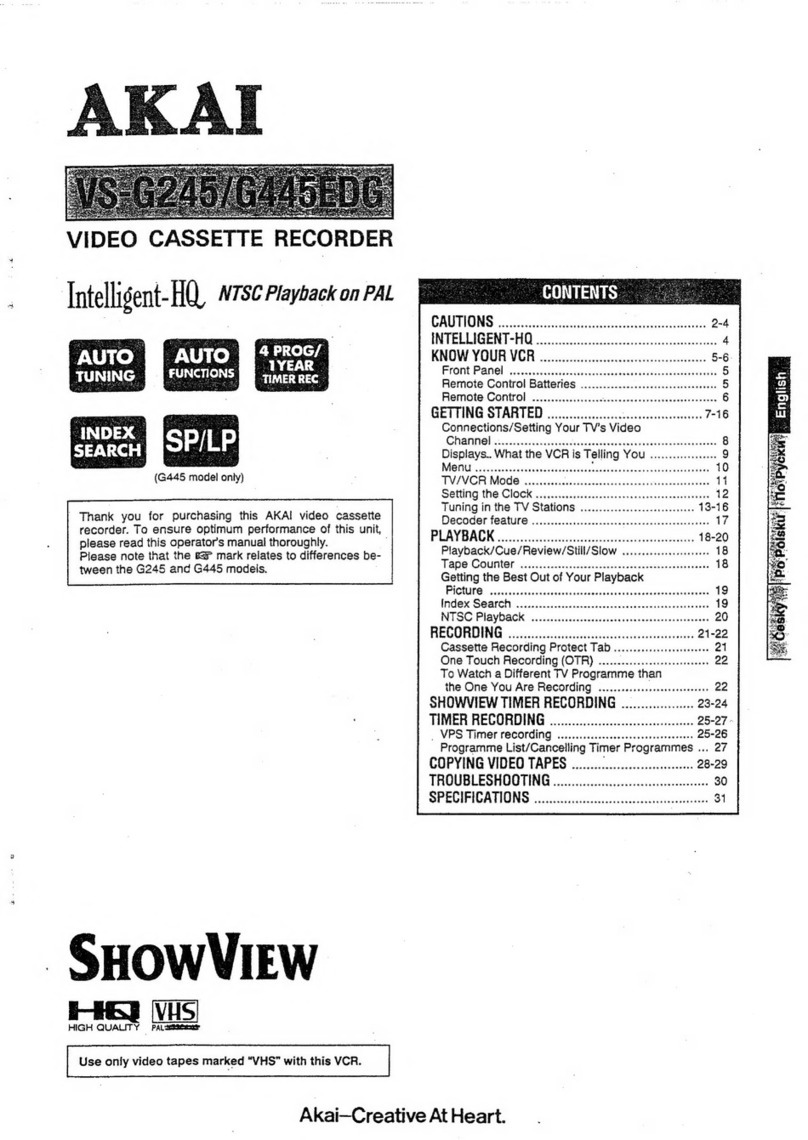
Akai VS-G242EA User manual

AKAI
Intelligent-HQ NTSCPtavbackonPAL
@@ffi
r€w
Thank you for purchasing this AKAI video casselte re-
corder. To ensure optimum performance of this unit,
please read this operator's manual thoroughly.
Use only video tapes marked "VHS" with fhis VCR.
VIDEO CASSETTE RECORDER
Akai-Greative At Heart

Never disassemble or modify the appliance in any way.
RISK OF FIFE OR ELECTRIC SHOCK
Avoid using the appliance where lhere is a lot ot
moisture and do not exoose to waler.
RISK OF FIBE OR ELECTRIC SHOCK
. lf water is spilled on the VCR, disconnect the power
cord at once and consult your dealer.
,era'q5,\_,\
'\PzS
Never touch the power cord's plug with wel hands.
BISK OF ELECTFIC SHOCK
Never put anything, especially metal into the VCR.
RISK OF FIRE OR ELECTRIC SHOCK
tX{,'S
'QPE
Use a household AC power source only.
Never use a DC power source.
RISK OF FIRE OR ELECTRIC SHOCK
=q]
v
(1n))
Antenna cable Remote control
AC power cable
WARNING
To prevent fire or shock hazard, do not expose this
appliance to rain or moisture. 1_En
Power requirements
Power requirements for electrical appliances dilter trom
area to area. Please ensure that your appliance meets
the Power requirements in your area.
The operating voltage ot this appliance is fixed al AC
22O-24O V, 50 Hz. 2-En
Thisappliance is notequippedwith a main powerswitch.
Even when the appliance is turned otf, the power supply
is not completely turned off when the power cord is
plugged in. Pull out the power cord when not using the
appliance lor long periods. 4_En
Make your contribution to protect the environment
Used batteries with the ISO symbol lor rccy- (Dl
cling as well as small accumulalors (recharge- f)LI}
able batteries), mini-batteries (cells)and starler u\/
batteries should not be thrown into the garbage can.
Please leave them at an appropriate depot. 29A-En

Avoid using aerosol sprays near the VCR.
RISK OF FIRE
There should be at least 1ocm space between the top,
rear and sides of the VCFI.
To avoid damage to the internal circuits and the
e)dernal surface, keep the VCR away from
heat (stoves, direct sunlight, etc.).
.-=:\\./-\-
I i.==rl -/ \
lltf'W /,V,,,-
I L,/''- ), -.. ln\
lG,L:i rU,
J | --:_____:_t --.')
Place the VCR on a flal and solid surface.
lf you do not plan to use the VCR for a long period
of time, unplug ihe power cord.
Avoid using the VCB in extremely hot, cold, humid
or dusty places.
Take care that children do not Dut their hands in the
cassetle slot, as lhis may cause injury.
Do not place anything heavy on top of lhe VCFI.
Make sure that the VCR is well ventilated and do not
place anything on top of the ventilation holes.
To avoid damaging the finish, never use paint thinner or
other similar chemicals to clean the VCR.
Avoid usingtheVCR near appliances generaling magnetic
fields.
Avoid using the VCR near fluorescent lamps as this may
shorten the operating range of the remote control unit.
When transporting
Avoid violent shocks to the VCR during packing.

Avoid moisture condensation
Moving the video cassette recorder trom a cold olace to
a warm ptace can cause dew condensation on the drum
and the video heads inside the unit. ll playback is carried
out in this stale, the heads may become dirty and lhe
tape may be damaged.
To prevent lhis trom occurring, the power plug must be
prugged In tor about one hour with the POWER button
ofJ, before playback or recording of a video cassette
tape.
This is particularly important when a video cassette is
inserted for the first time after purchase of the video
cassette recorder.
Whal is l-HO?
Well. in simple terms, it is a way of gefling the best picture
qual[y out ot your video tapes during recording and playback.
For example, if you use S-VHS (highest quatily) video tapes
lor recordtng you will get a piclure quality that is greatly
improved over normal (non l-HQ) VCFis.
When recording wilh high grade tapes (S-VHS etc.) on a
normal (non l-HQ) VCR you don't get the tull benefit of the
vrsual range available with these tapes.
Of course. l-HQ optimizes the quality of all your video tapes.
uec€use, when you press lhe l-HO and record buttons, the
VCFI reads and memorizes the characteristics of the taDeand
so uses the full potential of that taDe.
This is the same operation that is tound on high quality audio
cassette decks.
During playback, l-HQ optimizes noise cancellation and the
reproduction of delail.
NOTES:
l-HO also improves the picture quality of tapes thal have
picture. "noise" through being played many times (rental
lapes lor example).
Tapes recorded on this VCR can be played back on other
non l-HQ VCRS, and vice versa.
Tapes recorded on an S-VHS VCR can not be Dlaved back
on this VCR and vice versa.
Please.take care when choosing high grade tapes. It you
are in doubt use S-VHS or pRO tapes for assured quaiity.
We also recommend the use of E-180 length tapes iorthe
besl results.
Power failure backup
This VCfl utilizes a back-up capacitorfor possible power
Iailure. The back-up capacitor prevents clock stoppage
and loss of programme intormation (lor timer-coniioll6d
recording) in lhe event ol a power failure lasting up to 60
minutes. (When this VCR is first ptugged in,-aiproxi
mately 60 minules are required to charge the back-up
capacitor in order to provide 60 minutes oI back-up
time).
Polyer tailure indication
lf a power failure of more than 60 minutes has occurred
"AKAl" will be llashing on the FL display. In this case the
clock musl be re-set. Befer to the "Seninq the cloclC'
section.
ln case of malfunction
A large amount of static electricity may cause this VCFI
to maltunction or stop functioning completely. In this
case, press the reset button (see page 5) to reset the
micro-processor. Clock and programme data will be
cancelled when the reset button is pressed.
KNOW YOUR VCR
Front panel Playback
Power Stop/
On/Off Eiect
Remole control
sensor window Reset RewincuFast
forward
(Feview/cue)
Channel
selector
When using the remole control,
make sure it is Pointing towards
the remote control sensor win-
It will not operate if there is an ob-
struction between it and the VCR.
Please note the following carelully.
Incorrect battery use poses a danger of leakage or burst-
ing. lt battery fluid does leak, clean the battery compart-
ment carefully belore inserting new batteries.
. ReDlace the batteries when the remote control only
operates at close range.
. Ensure that the batteries are inserted with the correct
polarity (+/-).
. Replace both batteries at the same time. Do not mix old
and new batteries.
lf you are not going to use the remote control for a long
period. remove the batteries. This will prevent leakage
irom the batteries and corrosion in the battery compan-
ment.
As the supplied batleries have been In the carton since
leaving the lactory, their normal life-span may have
been shortened.

o
@
@
@
@
@
@
@
@
@
(D
@
@
@
@
@
@
@
@
To turn the VCR power On/Oft
To select the TV or Video (VCB) mode
To slarl timer programming
To select TV channels
To contirm data when programming
To set the VCR to the timer mode
For programming, tracking adjustment, index
search and selecting TV channels
To reset the tape counler to zero
To set the tape speed during recording
To last tonvard or cue the tape
To freeze the playback picture, start slow motion
play or pause the lape during recording
> To start playback
r To stop the tape
To start recording
To rewind or review lhe iape
To display programmes set lor limer recording
To sel FHO on or off
To cancel data
To display the MENU
To select lhe external channel lor lape copying
etc.

GETTING STARTED

O Shows vvhich of the MENU features is selected.
O Lights when the VCFI is set to the video mode.
@ Lights when using OTR (One Touch Recording).
Shows the playbacldrecording modes (see be-
low).
Lights when the l-HQ mode is on.
Lights when the VCF is in the timer mode.
/=\
\U
@
@
\9
/-\
(q,
Lights when a tape is inserted in lhe VCF.
Shows the iime, TV channel number and limes for
timer recording. Also other displays, explained
in detail later in lhe manual.
Shows which programme numbers have been set
for timer recording.
Lights when lhe VCR is in lhe long play mode
(recording and playback).
oBECORDING >> FAST FORWARD
o[[ RECORDING PAUSE << REWIND
PLAYBACK CUE
[[> STILL REVIEW
[> sLow t:t-- :l
_t t- _l INDEX SEARCH
RECORDING
PAUSE:
STILL:
SLOW:
FAST FOBWAHD:
REWIND:
When the tape is temporarily paused
during recording.
When the playback picture is frozen.
Slow motion playback.
When the tape is advanced rapidly in
theforward direction fromthe stop mode
(not during playback). No picture ap-
pears.
When the tape is advanced rapidly in
the reverse direction from the stop mode
(not during playback). No picture ap-
pears_
CUE: When the tape is advanced rapidly in the
lorward direction during playback. Pic-
ture is visible.
REVIEW: When the tape is advanced rapidly in the
reverse direction during playback. Pic-
ture is visible.
INDEX SEAFCH: When the VCR searchesfor indexcodes,
added to the beginning of recordings, so
that you can skip directlyto the recording
that you want to watch.

Sometimes you need to use the MENU to access cerlain features.
The illustration on the right is an example from the clock setting section
How to use:
Press the remote control MENU button and then press the v button until
"CLOCK" appears on the FL display.
The illustration below shows the features contained in the MENU and how to
access them (all the buttons are on the remote control).
Full information about each mode is explained in the relevant sections later in
the manual. F'
l- I l-t l- l/
t_ t_ l_l l_ l\
MENU
5=\
,\
56..- | TO START PRESETTING Tv STATIONS
-N \ (wtLL Nor APPEAR lF PowER ls oFF)
,\
S\t rosrARrclocKsErrlNc
,\
_ -.-= a rO sraRT TIMER PROGRAMMING
':tv\\
,IN
lress #tf\any time to leave the MEI'IU.
N_'
Note:
. The display that appears lirst may differ lrom the one
shown above.
ltl I I u l_
I tt_t lt t_

This VCH is automatically set to the VCR (VIDEO) mode
("VCR" is lit on the FL display) ready for VCR operation
(playback, TV channel viewing, etc.).
This means that il you are watching a TV programme (using
your TV's tuner) when the VCR is turned otf, il you turn the
VCR on, lhe TV programme will be replaced with interference
as the VCB re-routes the antenna signal from the TV to the
VCR ready for use.
In this case, turn lhe VCR off again, or set the VCR to the TV
mode wilh the TV/VCR button on the remote control ("VCR"
disappears from the FL display) to continue watching the
programme.
Press the TVAr'CR button again ("VCR'will light) to go back
to the VCR mode.
You can change the VCR so that il is set lo the TV mode
instead (this will not interlere with normal TV viewing if you
turn the VCR on).
lf the VCR is set to the TV mode. oress the TVny'CR button
until "VCR" lights on the FL display when you want to use the
VCR.
10

This VCR uses a 24 hour clock: 7:30om = 19:30.
The example below is for 1:33pm,8th November 1996.
The clock can be set with the VCF power on or oft.
All the bultons illuslrated in the tollowing instruclions
are on the remote control.
The <, > ,.\ and .\,/ buttons operate as follows:
< / >1To move to the left or right.
,.\ / .\,,:To increase or decrease numbers.
11

ATTENTION
CHANNELS O THROUGH 11 HAVE ALREADY BEEN
PRESET AT THE FACTORY (CHANNEL 5A = CHAN-
NEL 5 ON THE VCR),
It you rrvant to re-tune, cancel or change any of the
stations, please reJer to lhe following sections.
FIRST, TURN ON THE VCR AND TV
You can use the VCR to watch TV programmes by setting
the TV to the VIDEO channel and then selecting the
programme that you wanl to watch with the VCF'S
CHANNEL bultons.
The VCR must be tuned to the TV stations so that you can
record TV programmes. Up lo 61 stations can be slored.
lf you perform AUTOMATIC TUNING when there are
already TV stalions tuned in, lhey will be cancelled
and reDlaced wilh lhe new ones,
12

FIRST, TURN ON THE VCR AND TV
13

FIRST, TURN ON THE VCR AND TV
The example below shows how you can change channel number 2 to become channel number 6.
@t-t t- t- t- 7
ffi t-1 1al
Select "PS SET"
I t.t 7 ttn
' t_t , t_ttt !@ IF! nt-t EE
F\|fr tlF\ - -F\tilltF5 - -@F5 E.F\
@t-t t- -t t-t t-
t- _-1 t:'t- 7
REPEAT STEPS 5-8 TO CONTINUE
CHANGING CHANNEL NUMBERS
@Frlfr,ilPi - -E"n 8""_tE. E".
14

FIRST, TUFN ON THE VCR AND TV
15

PLAYBACK
1 Set Tv to video channel z Loao a lape
(See page 7)
4
Review
>K/Il /r> Still/Slow
(Remote control only)
Press once (do not hold down) tor still. Each time the
button is oressed the oicture will advance one frame.
Hold down then release for slow motion.
Press play (>) again to start playback.
Stop/Eject
(Remote control) (Front panel)
STEP 3: The l-HO and > indicators light on the Fl
display. > willflash until automatic tracking is finished.
lf lhere is any dislurbance in the playback picture, see
"Gefting the Best Out of Your Playback Picture" on the
next page.
lf the recording protect tab on the back of the lape is
removed, playback will begin automatically.
As this VCFI has only 2 video heads, it is not possible
to gel perfect still or slow motion pictures.
The VCR will automatically select either standard or
long play.
Tapes recorded inthe NTSC LP modecannotbe played
back on this VCR. However, NTSC EP lapes can be
played back.
During the standard play mode, there may be "noise
bars" across the screen during cue, review and still.
STEP 4: The front panel r/A button must be pressed
twice during playback to eject the tape.
From fast forward, rewind, cue and review, press the
play (>) button to start playback.
You can last forward or rewind the tape when the tape
is not playing backby pressing the >-> and << buttons.
lf the videotape is left in the slill, slow. cue or review
mode for approximately 5 minutes, the mode will be
cancelled.
lf the tape runs out during playback, it will stop and be
rewouno_
Playback ol E-300 tapes is not recommended.
Tape counter
The tape counter shows the elapsed playback time in
Hours, Minutes and Seconds.
The tape counter will not count unrecorded spaces on the
taoe.
t :ti_ _ti: t
lHl_ l_l * _l _ls lps l-t l-t l-t t-t l-t t
t_t A t_t t_t p ll l_l s I ps
16

Each time a recording is made (except from the recording pause mode) an
index code is added to the tape. Index search is used lo go directly to these
codes, so that you can skip recordings and go straight to the programme
that you want to watch.
Example, forward search: to go to recording 4 from recording 1
..... press > button 3 times
Example, reverse search: to go from recording 4 to recording 2
..... press < button 3 times
The tape wrll automatrcally starl play-
back when it reaches the selected
numoer.
17

NTSC is the colour system used in America, Canada, Japan,
etc. On many VCFIs you can not play back tapes recorded in
these countries as they are not compatible with lhe pAL
system (which is used in Australia).
This VCR is capable ol playing back these tapes using a pAL,
NTSC or multi-system TV.
18

RECORDING
19

OTFI is used to set the stop time of a programme that you
have already started recordrng (the VCFI must have been
recording for at least 5 seconds).
ONLY THE FBONT PANEL REC/OTB BUTTON CAN BE
USED TO SET THE OTH TIME.
For example, you have started recording a programme (as
shown on the previous page) and you want to go to bed before
the programme is linished
'l ouring rccording 2 sei the stop time
REC
/OTR
Hold until "OTR" flashes on the FL
display.
FEC
/OTB
Each press = 30 minutes After setting the stoP time, the tape
counter display will re-aPPear'
I E';: E. I t-t . -t l-l
| 1 1t_l
STEP 2: The first time the button is pressed, the time will
advance to the next half hour or hour.
Example: 18:20 e 18:30 / 18135 -t 19:00
It you keep pressing the REC/OTR button until 'END'
aooears, the VCB will record to lhe end ol the tape eject
it and the power will be turned otf.
The stop time can be set up to a maximum of seven and
a half hours.
lf the clock is not set, you can not use OTF.
To cancel OTR, press the TIMEB button. The VCR will
go back to the normal recording mode
20
Table of contents
Other Akai VCR System manuals

Akai
Akai SHOWVIEW VS-G245EDG User manual

Akai
Akai VS-K606N-E3(S) User manual

Akai
Akai VS-G205 User manual

Akai
Akai VS-K203M-E7 User manual

Akai
Akai VS-X9EGN User manual

Akai
Akai VS-2EGN User manual

Akai
Akai VS-G415EA User manual

Akai
Akai AVR250 User manual

Akai
Akai VS-J4600 User manual

Akai
Akai VS-606EA User manual