C411III MANUALC411III MANUAL22 23
dEScRIPTION INTERFAcINg
2.4 Features
• Rugged vibration pickup for instrument miking on stage.
• Frequency response tailored to acoustic guitar, banjo, zither,
and bowed string instrument miking.
• Complete with adhesive compound for mounting the pickup
directly on the instrument.
2.5 Brief Description
The C411III is a vibration pickup that converts the vibrations of an
instrument’s soundboard into an electrical signal.
The C411III has been specically designed for direct attachment to
an acoustic guitar, banjo, zither, or bowed string instrument and
ensures absolutely accurate, coloration-free reproduction.
The supplied adhesive compound for attaching the pickup will
leave wooden, plastic, and metal surfaces untainted.
2.6 Versions
The C 411III is available in two versions:
• For 9 to 52 V universal phantom power.
(3-m) permanently attached connecting cable with phantom
power adapter with integrated 3-pin XLR connector.
• For use with the B23 L battery power supply, MPA V L phan-
tom power adapter, or AKG Wireless bodypack transmitters.
5-ft.
(1.5-m) permanently attached connecting cable with 3-pin
mini XLR connector
Features
Brief
Description
C411III P
C411III L
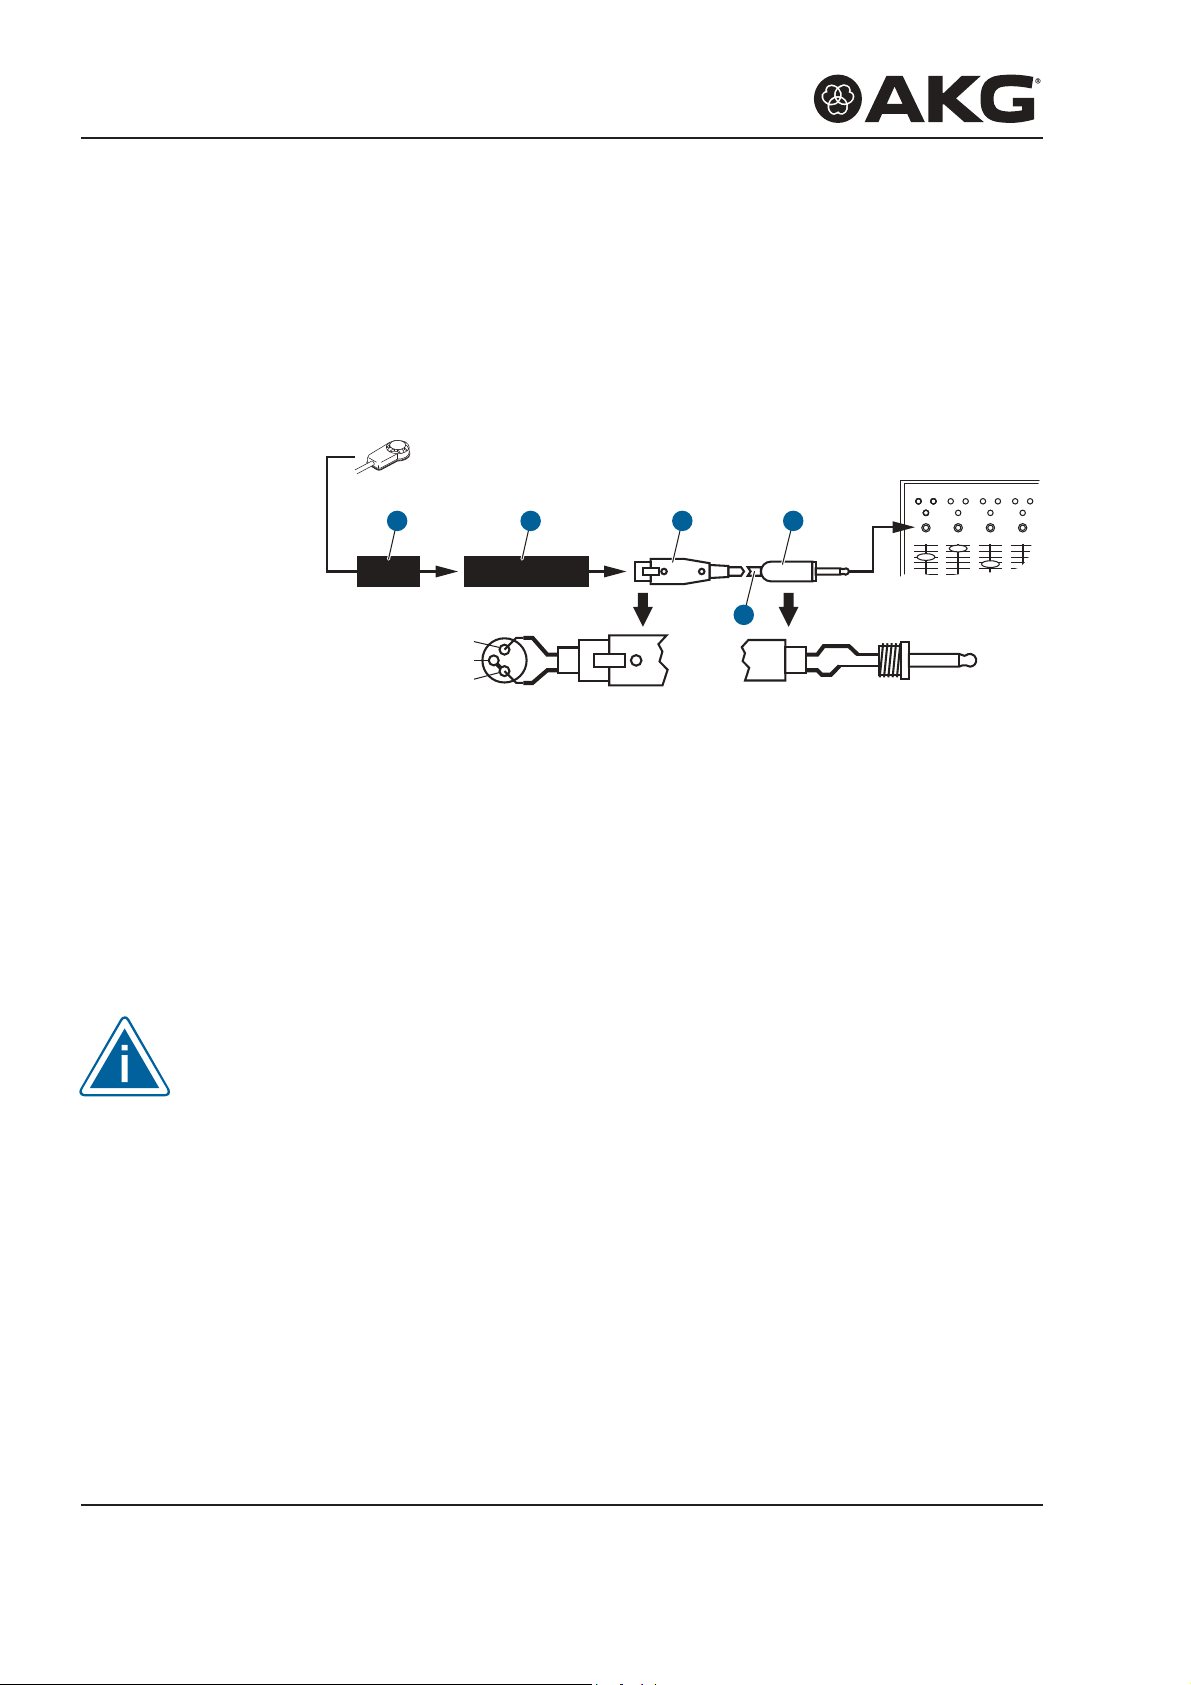
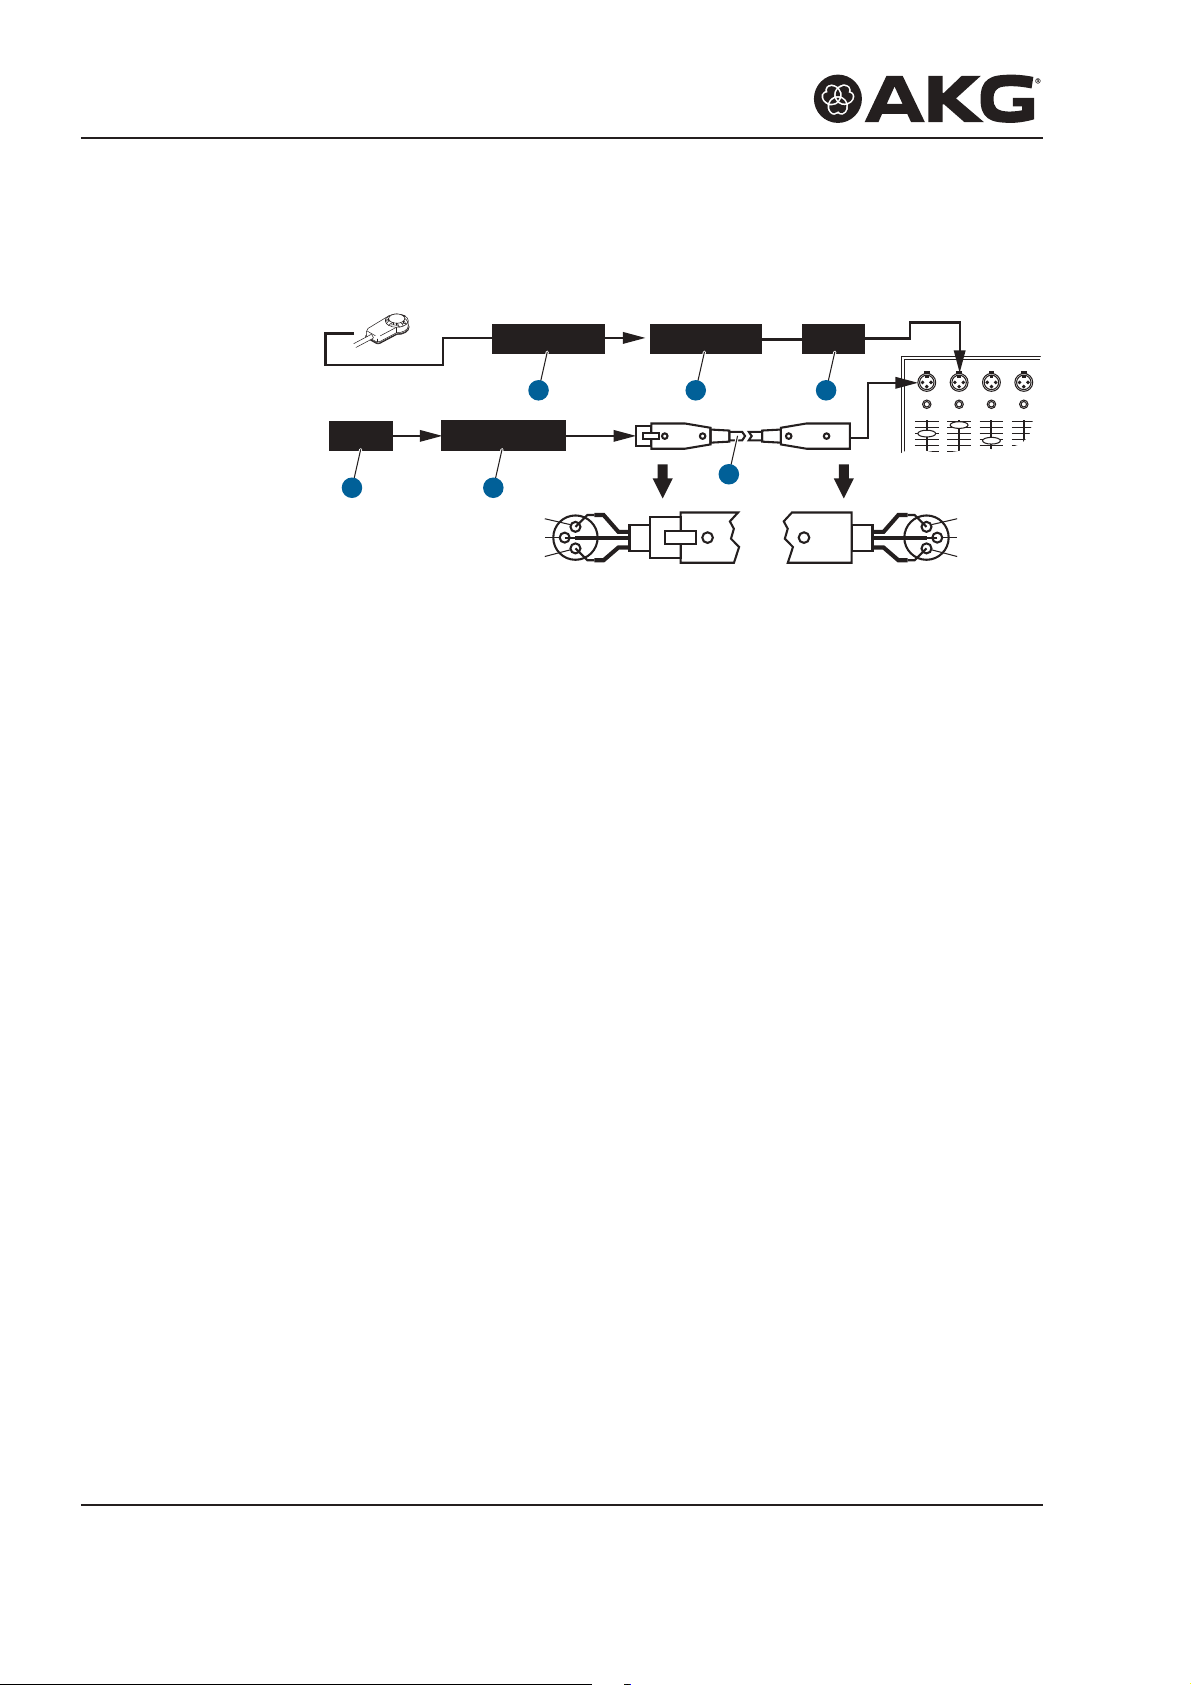
3 Interfacing
The C411III pickup is a condenser transducer and therefore needs
a power supply.
Using any power supply other than those recommended by AKG
may damage your pickup and will void the warranty.
3.1 C411III PP
3.1.1 Connecting to Balanced Inputs
2
3
1
2
3
1
PhantomMPA
MPA
3
2
1
1
Figure 1: Connecting to balanced inputs
1) Connect the phantom power adapter (1) on the pickup cable
to a balanced XLR microphone input with phantom power.
2) Switch the phantom power on. (Refer to the instruction manu-
al of the unit to which you connected your pickup.)
3) If your mixer provides no phantom power: Connect the phan-
tom power adapter (1) to an optional AKG phantom power
supply (2) and use an XLR cable (3) to connect the phantom
power supply to the desired balanced input.
C411III PP
Connecting
to balanced
inputs