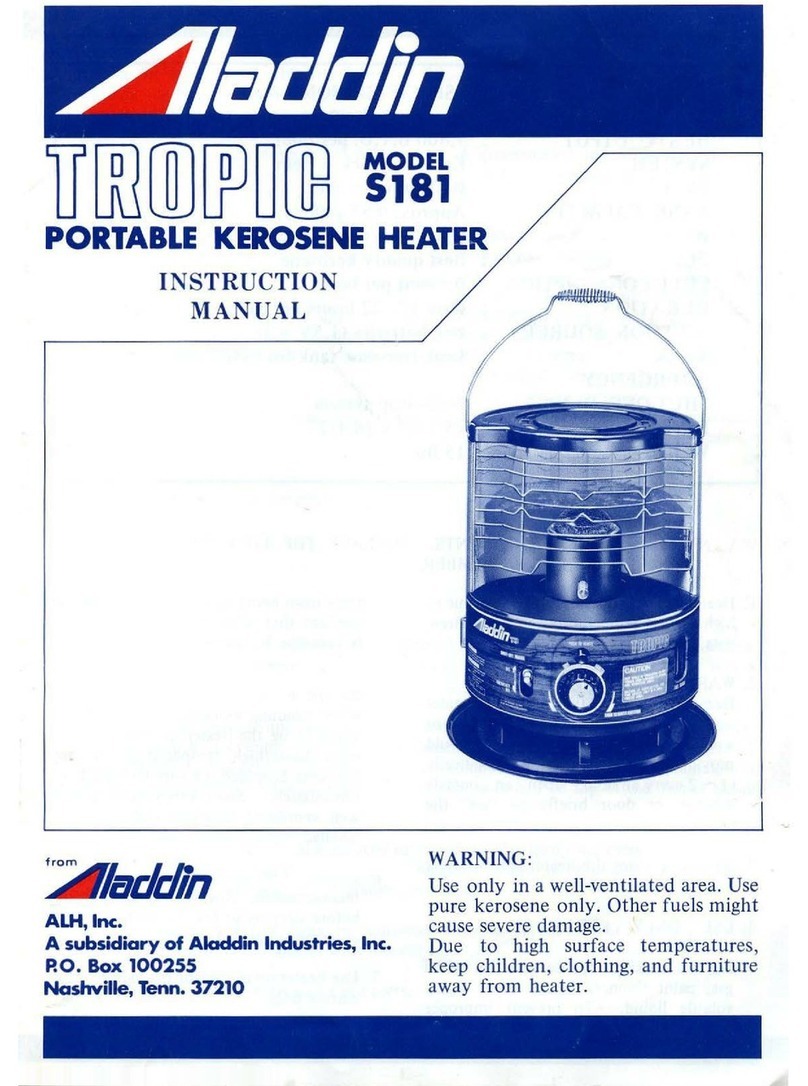
Aladdin 37 User manual


INSTRUCTIONS
for operating your
ALADDIN BLUE FLAME HEATER
This heater is manufactured in accordance with British Oil Heater Regulations
1966, British Standard 3300:1974 and other national and international safety
standards and regulations where relevant. Additionally and in accordance with
the amendments to the British Standard effective from May 1st 1969, the
heater is fitted with an extinguisher which puts out the flame if the heater is
accidentally knocked over. However heat is produced, carelessness and
ignorance can cause accidents, so for your own comfort and safety, please
read and understand these instructions before lighting your heater. The
numbers in brackets in the text will help you to identify the parts on the
illustrations. The illustrations are on the last page and are identified by
symbols in the margins of the text.
UN PACKING
We have been generous with the packing to make sure that your heater gets
to you without damage; make sure you remove all the packing before lighting.
EXTINGUISHER DEVICE
Before filling the tank the extinguishing device should be checked as follows:
Stand the heater on the floor as shown on the front cover of this leaflet. Set
the mechanism by pressing down the resetting lever sticking out of the
chimney. The lever will move easily until near the end of its travel and then
some resistance will be felt as the sensing weight on the mechanism is pulled
up to its set (vertical) position. To check the mechanism, remove the top cover
and rock the heater over on two feet. Look inside the top of the chimney and
you will see the sensing weight falling over releasing the extinguisher which
will slide down over the top of the burner.
Reset the extinguisher and repeat the operation to ensure that the mechanism
is working freely.
Note: Leave the carrying handle down when the heater is in use or it will
overheat.
FILLING
The tank (P.169917) will hold one Imperial gallon (1.2 U.S. gallons or4•5
litres). Use only premium grade paraffin (domestic kerosene) conforming to
British Standard 2869C1. It is very dangerous to use any other fuel such as
petrol or power kerosene. Remember, put absolutely nothing but best quality
paraffin in your tank or storage container and make sure it cannot become
contaminated in any way. The filler cap/air valve (P.169902) unscrews. This
part is extremely important in the functioning of the heater so please handle it
carefully. If the small air hole in the top of the cap becomes blocked with dirt
or fluff it must be cleared by blowing through from the top of the cap. Don’t
use wire or pins etc., as you may damage the diaphragm underneath Wipe
dry any paraffin which may occasionally seep through the air hole.
As a precaution against over-filling, the oil gauge (P.199916) is designed to
register full when the tank is approximately 80% full. To obtain the maximum
burning time quoted for your heater, it will be necessary to disregard the oil

gauge after the needle has reached the full symbol “W” and fill the tank to its
maximum capacity. This must be done carefully to avoid over-filling--the level
of paraffin must not rise above the bottom of the filler neck.
The oil gauge also indicates when the heater needs refilling. Do not allow the
heater to burn dry thus causing the wick to smoulder which will shorten the life
of the wick and lessen performance.
LIGHTING
When you use the heater for the first time, or have fitted a new wick, do not
light it for at least an hour so that the wick has a chance to soak up enough
paraffin. Release the clip and swing open the chimney. Check that the flame
spreader (P.329900), which has a large number of small holes in it, is fitted in
the centre tube of the tank. If it has fallen out or is not seated properly it must
be replaced and pushed fully home before the heater is lit. Make sure the
burner basket (P.151000) is locked fully into the tank. The wick winder “W”
turns clockwise to raise the wick (P.169901). With just enough wick showing
(you should still see five rows of holes on the flame spreader), light the wick
all the way around and then press the extinguisher resetting lever down and
hold it down whilst closing the heater, checking carefully that the spring clip is
properly fastened. Release the resetting lever, leaving it in the down position.
If the lever is not left in the down position the heater will be extinguished as
soon as the lever is released. The burner reaches working temperature very
quickly, so you should Immediately adjust the wick to give you the required
heat within the limits of the SAFE BLUE FLAME.
THE SAFE BLUE FLAME
Remember that your safety indicator is the colour of the flame. When the
flame is a clear blue all over you have got the SAFE BLUE FLAME. When the
flame shows any yellow the wick is too high or too low or something is wrong
with the heater never letthe heater burn like this—it could cause smoking.
This visual safety indicator is so important and so simple to use that a little
practice at first will amply repay you. Short periods of yellow flame are not
dangerous so you can safely try the settings for yourself.
Turn the wick winder anti-clockwise CN until the heater is almost out and you
will get aflickering yellow edge to the flame; this is too low. Raise the wick until
a completely blue flame is obtained and then raise a little more so that it
cannot revert to yellow; this is the lowest setting for the SAFE BLUE FLAME.
As you turn the wick up more the blue flame will grow and you may notice a
reddish glow above the flame and possibly intermittent red flecks of burning
dust. This is quite normal. Eventually yellow spikes will appear at the top edge
of the flame to warn you that you have gone too far. Lower the wick until you
get rid of the yellow spikes and you now have the highest setting for the SAFE
BLUE FLAME.
LEAVING THE HEATER
As long as you have the SAFE BLUE FLAME you can confidently leave your
heater unattended, but do take a few simple precautions against accidents.
Place the heater on a level surface out of draughts and where it can’t be
knocked over. Make sure that children cannot play with it. You and the heater

both need oxygen so always provide adequate ventilation to ensure you both
get enough.
EXTINGUISHING
After you have turned the wick right down to extinguish the heater, turn it up
again and look to make sure it is really out. It is vita! to ensure that the flame
is out—a low yellow flame will overheat the burner and could cause smoking.
USING WICK CLEANER
A good flame depends on a clean wick. The wick should not be cleaned until it
has been used for 50 hours or more. There after, about once a week remove
the flame spreader (P.329900), turn the wick right down, make sure the wick
cleaner (P.1 59904) is the right way up (trade mark “Aladdin” uppermost) and
place it on the top of the burner Whilst turning the wick cleaner clockwise fl
with one hand, slowly turn the wick up with the other. Maintain a gentle
downward pressure on the wick cleaner to keep it level and touching the rim
of the burner basket (P.151000). When the rising wick reaches the cleaner, j
black carbon will come through the three holes. This will soon stop and your
wick will be clean and properly shaped for further use. Wipe the rim of the
burner basket clean before replacing the flame spreader. The wick must be
kept shaped at the correct angle and this can only be done with the wick
cleaner provided. Never use scissors, razor blades, etc.
Please store the wick cleaner in a safe place. Do not keep it near the heater
chimney as the temperature could be sufficient to soften and distort it.
CLEANING THE HEATER
A dirty heater may smell and can even be dangerous, particularly if fluff or
carbon is blocking any of the air holes. Wipe off any paraffin which has been
spilt during filling and clean regularly to get rid of all dust, fluff and carbon.
Take out the flame 9 spreader (P.329900) and burner basket (P.151000) for
cleaning and don’t forget to clean the gallery which can be seen at the bottom
of the chimney when the heater is open. Hot soapy water can be used as long
as none gets in the tank or on the wick, but you must never use abrasives.
RESHAPING WICK
If the top edge of the wick becomes unevenly burnt away and one side of the
flame is much higher than the other, or burning yellow, you must not use the
heater until the wick has been reshaped. Put the heater where the smell won’t
matter, and let it burn completely out. Careful use of the wick cleaner now,
and for the next day or two of normal burning, will fully restore the shape of
the wick. .
FITTING NEW WICK
Carefully used, the wick will last a remarkably long time, but when it will no
longer turn up enough get a new one—forcing the wick winder will only result
in an unnecessary repair bill. Take out the flame spreader (P.329900) and
remove the burner basket (P.151000) by turning anti-clockwise Th. Turn the
wick up until the cog is free and then pull the wick and carrier out of the tank.
Disengage the teeth on either side of the wick by pressing the top of the wick
above the teeth and draw the old wick out of the carrier.

Always handle a new wick carefully so that you do not damage the top edge.
Holding the carrier (P.379935) in one hand with the flanged end at the top,
and the new wick in the other, insert the tails through the top of the wick
carrier until the two teeth on each side of the wick are immediately above the
slots on either side of the carrier. Gently squeeze the wick above the teeth
and ease it down until they engage with the lowest set of slots in the carrier as
shown at “A”. Grasp the ends of the tails together with the bottom of the
carrier and gently draw the assembly over the centre tube of the tank “B”. Line
up rack on wick carrier with the winder cog “C” and gently push the assembly
down until the rack engages with the winder cog. Then turn the wick down
with the winder—ensuring at the same time that the tape on the inside of the
wick does not catch on top of the centre tube.
Replace burner basket and lock firmly in position by turning clockwise.
Replace the flame spreader. Refill the tank and allow the wick to soak for at
least an hour before lighting. As the wick is consumed during normal use it
will be found that it cannot be turned up high enough to give a full height
flame. When this happens, withdraw the wick and carrier as described above
and re-position the wick in the next higher set of slots in the carrier. This may
be done several times until a full height flame becomes impossible even with
the wick in the highest slots, at which stage a new Aladdin wick must be fitted.
The capital letters, A, B and C in the text will guide you to the various Wick
Fitting illustrations on the last page.
MAINTENANCE
Replace any damaged or worn out part immediately with a genuine Aladdin
spare—we cannot accept any responsibility if substitutes are used.
Once a year rinse out the tank with clean paraffin (kerosene) and fit a new
wick.
If you cannot get the SAFE BLUE FLAME or are in any difficulty take the
heater to your nearest Aladdin stockist. Never use a heater which is not
working properly.
SAFETY PRECAUTIONS
1. Always ensure that the heater is placed on a level surface and the handle is
in the down position when the heater is alight.
2. Use only premium grade paraffin conforming to BS 2869 grade C1. We
recommend ‘Pink” paraffin available in U.K. and Eire only; NEVER USE petrol
or any other fuel.
3. Make sure the flame is Blue.
4. Keep all parts of the heater clean, particularly the burner and chimney.
5. Ensure the room is well ventilated—fresh air must have access, but do not
put the heater in a draught.
6. Do not fill when alight. Do not carry while alight.
Do not allow clothes or any article on or near the heater. Do not place the
heater where it can be knocked over.
7. Replace damaged parts immediately.
8. Use only Aladdin spares—others can be dangerous.
9. Make sure the heater is guarded if children are in the room alone.
10. Do not add salt or anything else to the fuel—it’s useless and harmful.
11. Provision for fixing. There are screw holes in the feet of the heater.

Most rooms are adequately ventilated if there is an unblocked flue or other
substantial air inlet at floor level, together with a fanlight or window slightly
open, provided such opening is not obstructed by completely drawn curtains.
IT IS PARTICULARLY IMPORTANT to observe this precaution and ensure
adequate ventilation if it is intended to sleep in a room in which there is an oil
heater in use.
NEVER USE YOUR O1L HEATER IN A ROOM WH1CH HAS BEEN
COMPLETELY SEALED AGAINST DRAUGHTS.
AL WA YS ENSURE THA T THE DRA UGHT EXCL UDER (P.160803) IS
FITTED FIRML Y INTO THE UNDERSIDE OF THE TANK.
SPECIFICATIONS
Heat output.. .. .. .. .. .. .. .. .. .. .. B.Th.U’s per hour—5,870—9,320
Kilogram Calories per hour - 1,470 - 2,330
Equivalent to .. .. .. .. .. .. .. .. .. .. . .. 13/4 – 23/4 kilowatts (approx.)
Consumption.. .. .. .. .. .. .. .. .. .. .. .. .. .. .. .. .. 25-16 hrs. per gallon
Approximate capacity.. .. .. .. .. .. .. .. .. .. .. .. .. .. 1 gallon (45 litres)
______________________________________________________________
SPARE PARTS
P.329900 Flame spreader
P.169901 Wick
P.379935 Wick carrier
P.151000 Burner basket
P.1 59904 Wick cleaner
P 379963 Hinge pin with washers and nuts
P.379908 Handle
P.169902 Filler cap with air valve, washer and chain
P.339905 Oil gauge only (Optical)
P.169903 Oil gauge cap and washer
P.150225 Dome nut
P.370300 Bottom frame
P.169917 Tank complete
P.151910 Top cover
P.379906 Top frame, chimney, gallery, boiling ring assembly
P.370500 chimney and gallery assembly
P.379903 Mica and screws
P.151604 Frame and screws for mica
If you have any difficulty in obtaining spare parts for your Blue Flame
Heater please write to us:
ALADDIN INDUSTRIES LTD., GREENFORD, MIDDLESEX.


Trade Mark “ALADDIN” owned by ALADDIN INDUSTRIES LTD.,
GREENFORD, ENGLAND
or in certain countries by one of the following licensors:
ALADDIN INDUSTRIES INC., NASHVILLE, U.S.A.
INDUSTRIES ALADDIN, S.A., PARIS
ALADDIN INDUSTRIES PTY., LTD., SYDNEY
Information on request from Patent Department, Aladdin Industries Ltd.,
Greenford, England.
These devices are the registered Trade Marks
of Aladdin Industries Limited in Great Britain
GB. Patent Nos. 1001029, 1048229, 1079716
and Foreign Patents
Table of contents
Other Aladdin Heater manuals
Popular Heater manuals by other brands

ecofort
ecofort ecoheat Hybrid-T instruction manual

Dru
Dru Metro 80E Installation and service manual

FRENGER systems
FRENGER systems EIR3000 Mounting and installation

Create
Create WARM CONNECT 2000 user manual

Bimar
Bimar DQ1535 Instruction booklet

OC IMP Klima
OC IMP Klima TKV Series Installation and start-up manual