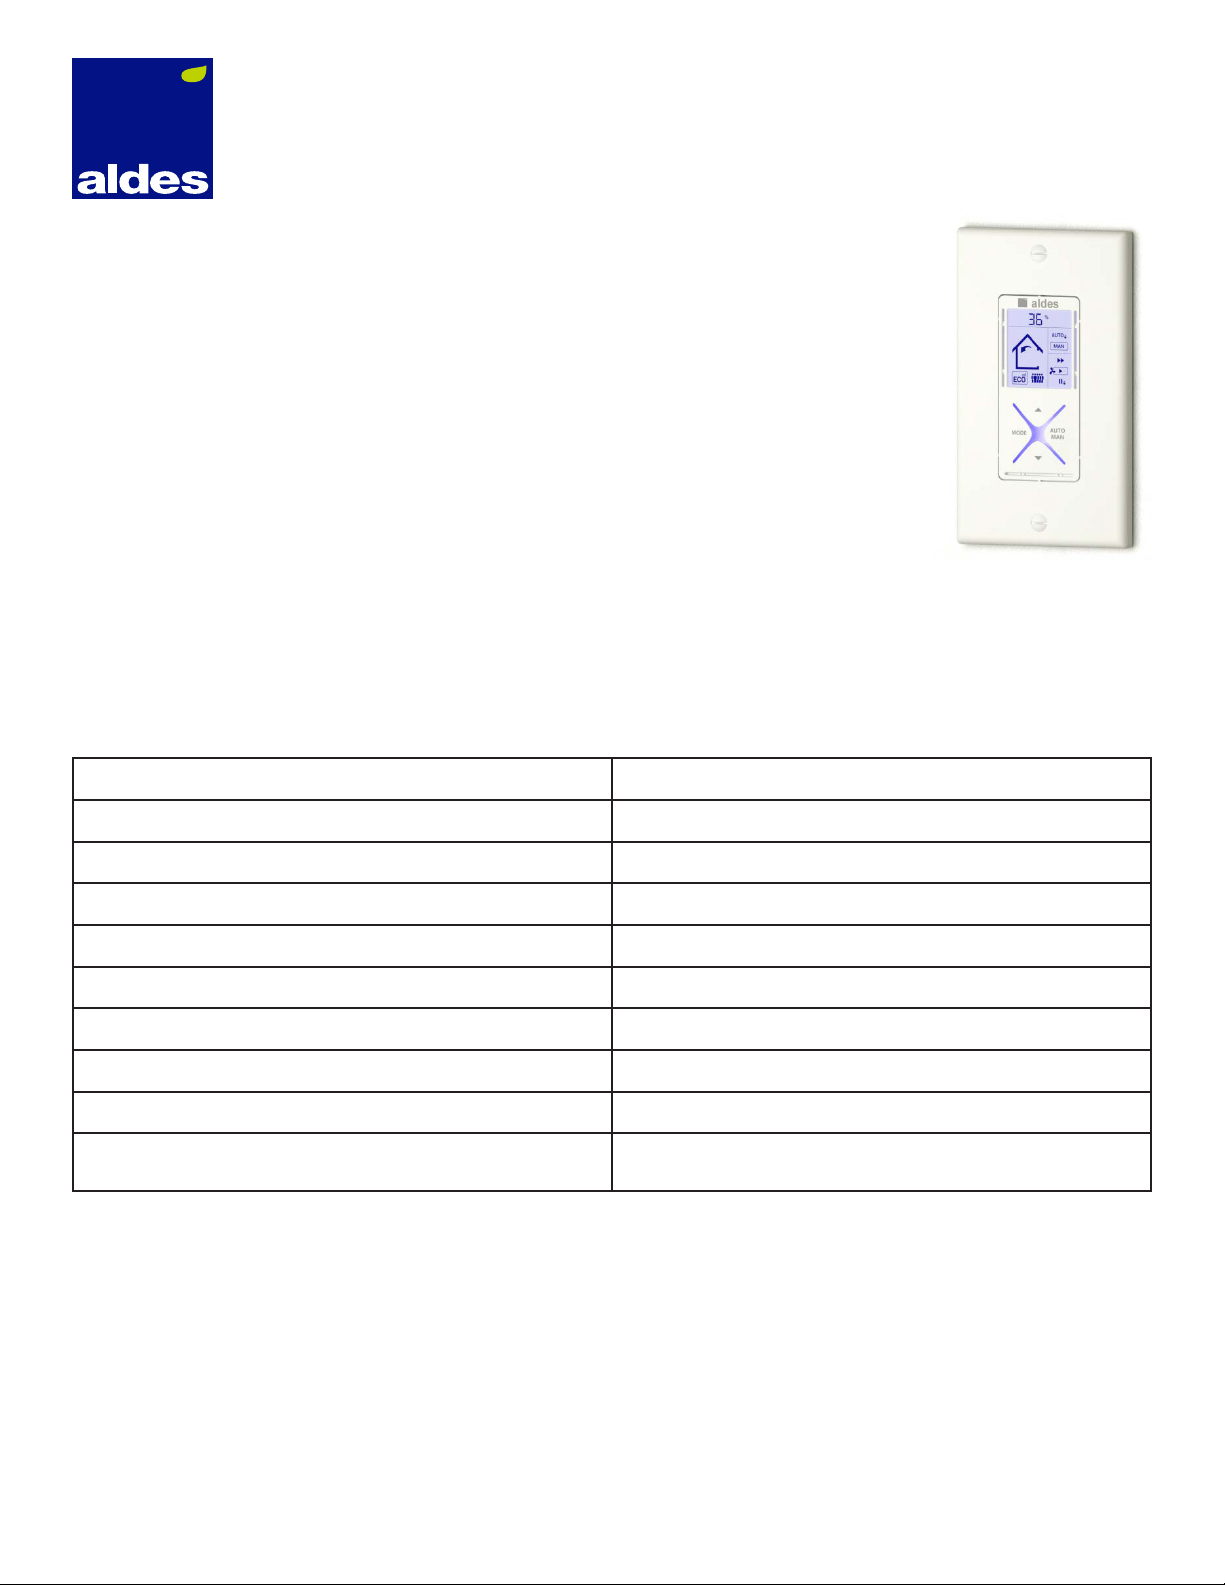
Digital Multifunction Wall Control
Installation guide
611242-FC - Installation - R6
Model
611242-FC: Digital Multifunction Control with Free Cooling setting
Description
Decora™-style wall mount electronic controller with dehumidistat, compatible with Aldes
HRV and ERV air exchange systems.
Characteristics
• Compact and elegant design that fits discretely in every decor
• High-accuracy, fast-response humidity sensor
• Liquid-crystal display showing the current humidity level, setpoint, and operation mode
• 4-button keypad to select the mode of operation, the setpoint value, and the fan speed
• Blue LED backlight configurable as a night light
• Two energy-friendly modes with automatic exchange and exchange-recirculation cycles
• Timer-controlled high-speed exchange modes for high occupancy conditions: birthdays, celebrations, etc.
Specifications
Power entry: 22 to 26 VAC, 60 Hz
Initial relative humidity pression ± 4%, from 20% to 80% RH at 25°C
Relative humidity setting range 10% to 90%
Relative humidity display range 25% to 99% (LO/BAS is displayed if under 25% RH)
Maximum load, high-speed control output: 10 Watts maximum (0.42 A @ 24 VAC)
Maximum load, low-speed control output: 0.24 Watts maximum (0.01 A @ 24 VAC)
Timer input: Compatible with Aldes Timer 611228
Operating temperature range: 0 to 50°C (32 to 122°F)
Storage temperature range: -20 to 50°C (-4 to 122°F)
Dimensions: Height 102.7 mm, Width 44.3 mm, Depth 28.5 mm
(4.04 in x 1.74 in x 1.12 in)


