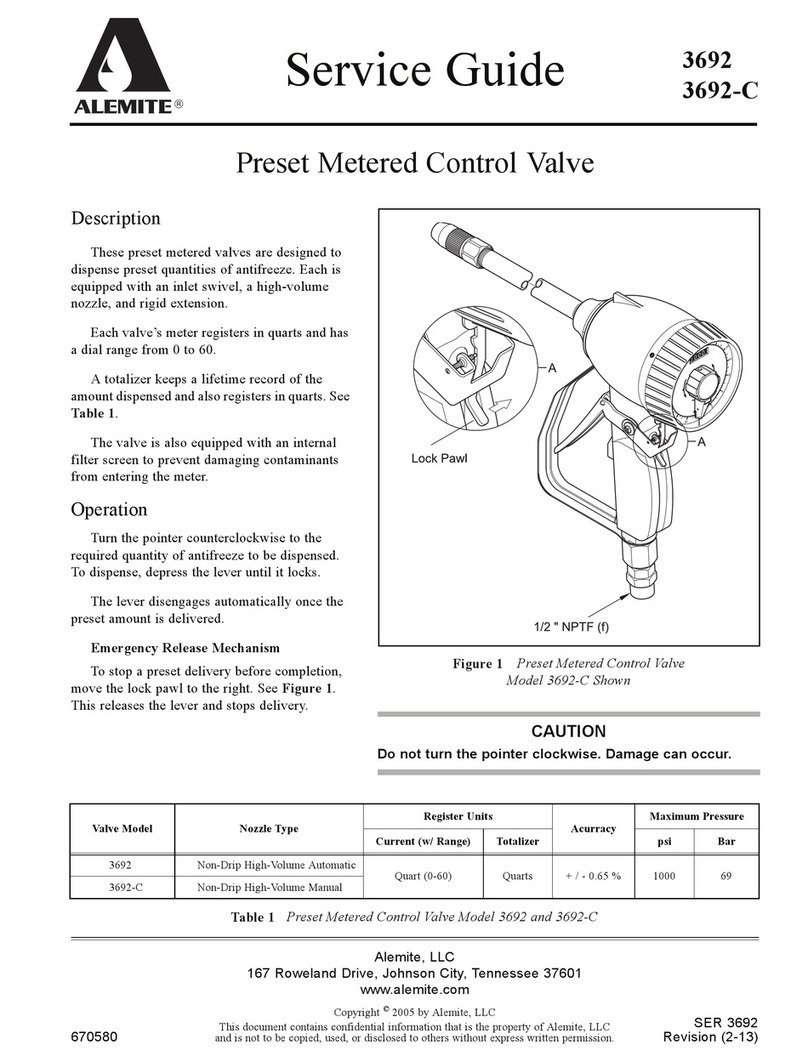
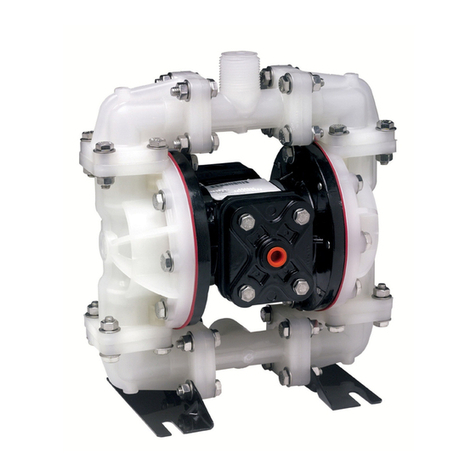
Alemite 3690-C User manual

Service Guide 3690-C
3691-C
3693-C
3696-C
Alemite Corporation
167 Roweland Drive, Johnson City, Tennessee 37601
www.alemite.com
Copyright © 2004 by Alemite Corporation
This document contains confidential information that is the property of Alemite Corporation
670868 and is not to be copied, used, or disclosed to others without express written permission. Revision (10-04)
SER 3690-C
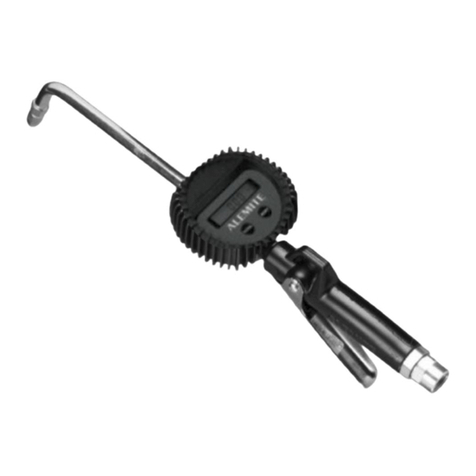
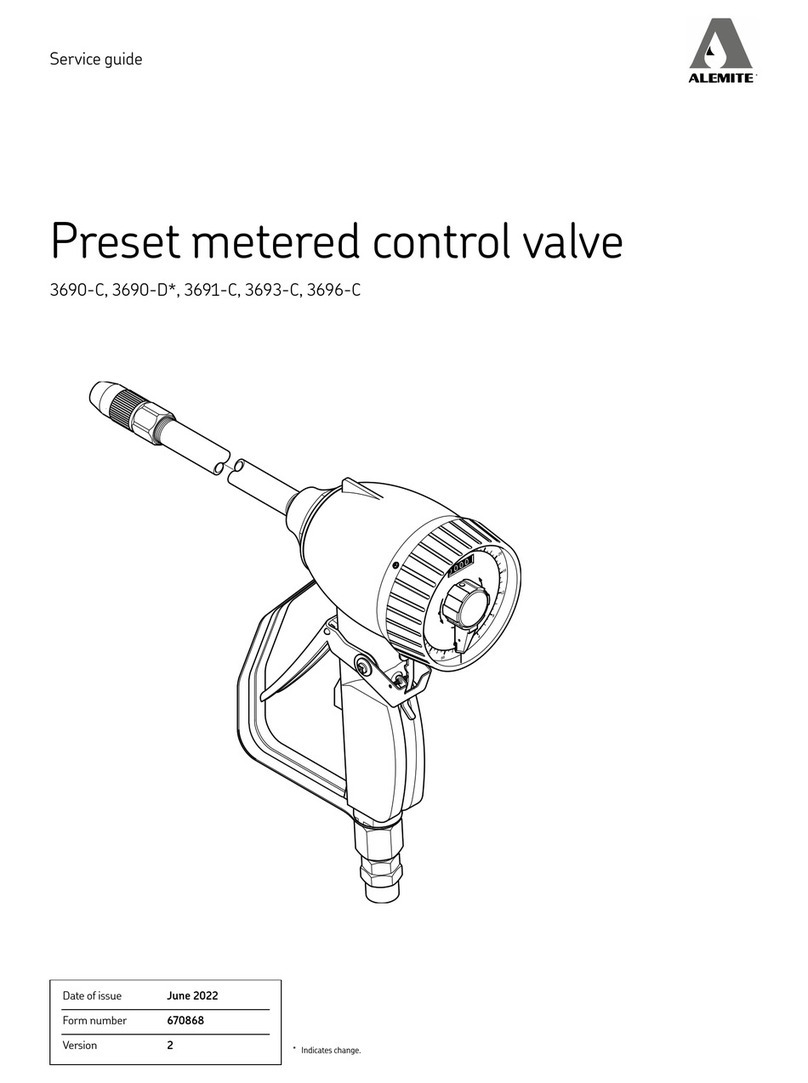
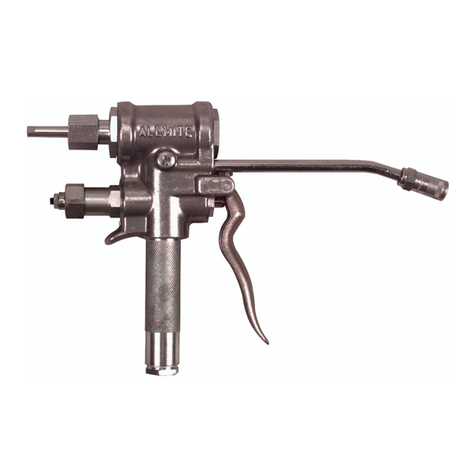
Figure 1 Preset Metered Control Valve
Preset Metered Control Valve
Valve Model Inlet Register Units Acurracy Maximum Pressure
Current (w/ Range) Totalizer psi Bar
3690-C
1/2 " NPTF (f)
Quart (0-60) Gallon
+ / - 0.65 % 1000 69
3691-C Gallon (0-15) Gallon
3693-C Liter (0-60) Liter
3696-C Quart (0-16) Quart
Table 1 Preset Metered Control Valve Models 3690-C, 3691-C, 3693-C, and 3696-C
Description
These preset metered valves are designed to
dispense preset quantities of fluid lubricants.
Each model is equipped with an inlet swivel, a
high-volume manual nozzle, and rigid extension.
The models differ in the units of measure that
are metered and the face dial range. See Table 1
for details.
A totalizer keeps a lifetime record of the
amount dispensed in a unit of measure labeled on
the dial.
These models are also equipped with an
internal filter screen to prevent damaging
contaminants from entering the meter.
Operation
Turn the pointer counterclockwise to the
required quantity of fluid to be dispensed. To
dispense, depress the lever until it locks.
The lever disengages automatically once the
preset amount is delivered.
Emergency Release Mechanism
To stop a preset delivery before completion,
move the lock pawl to the right. See Figure 1.
This releases the lever and stops delivery. CAUTION
Do not turn the pointer clockwise. Damage can occur.
1-800-548-1191-http://[email protected]

SER 3690-C Preset Metered Control Valve
Revision (10-04) 2 Alemite Corporation
Figure 2 Preset Metered Control Valve Models 3690-C, 3691-C, 3693-C, and 3696-C
1-800-548-1191-http://[email protected]

Preset Metered Control Valve SER 3690-C
Alemite Corporation 3 Revision (10-04)
Item
No. Part No. Description Qty Notes Numeric Order
Part # (Item #)
1 340084 Non-Drip Nozzle, High-Volume Manual 1 (6)
2332891 Extension 1 (8)
3Cap 1 (23)
4393307-60 O-Ring (Buna-N) 1 332891 (2)
5393307-55 Chamber and Pinion Assembly 1 3690-C, 3691-C, 3696-C 339651 (35)
Chamber and Pinion Assembly (Liters) 1 3693-C 340084 (1)
6 Gear, Planetary 1 Included w/ item 5 393307-9 (27)
7393307-141 Spindle and Gear Assembly 1 3690-C, 3691-C, 3696-C 393307-11 (27)
Spindle and Gear Assembly (Liters) 1 3693-C 393307-12 (27)
8 Housing 1 393307-14 (18)
9 393307-128 Washer (Buna-N) 1 393307-15 (19)
10 393307-130 O-Ring (Buna-N) 1 393307-19 (22)
11 Nut, Gland 1 393307-21 (17)
12 Setscrew 1 393307-23 (13)
13 393307-23 Gear, Worm 1 3690-C, 3691-C 393307-24 (13)
Gear, Worm 1 3693-C 393307-39 (40)
Gear, Worm 1 3696-C 393307-40 (37)
14 393307-50 Pawl, Lock 1 Includes item 15 393307-41 (36)
15 393307-139 Ring, Retaining 1 393307-42 (29)
16 393307-47 Spring, Lock Pawl 1 393307-45 (30)
17 393307-21 Cam 1 3690-C, 3691-C, 3693-C 393307-47 (16)
Cam 1 3696-C 393307-50 (14)
18 393307-14 Spring 2 393307-55 (5)
19 393307-15 Roller 2 393307-56 (5)
20 393307-159 Register Assembly 1 3690-C, 3691-C 393307-60 (4)
393307-160 Register Assembly 1 3693-C, 3696-C 393307-62 (3)
21 393307-164 Screw 4 393307-108 (13)
22 Washer 1 393307-125 (28)
23 Gear, Pointer 1 3690-C, 3691-C, 3693-C 393307-126 (31)
Gear, Pointer 1 3696-C 393307-128 (9)
24 393307-156 Pointer, (w/ Setscrew) 1 393307-129 (26)
25 393307-163 Shroud 1 393307-130 (10)
26 Screw 4 393307-132 (38)
27
393307-11 Dial (Quart w/Gallon Totalizer) 1 3690-C 393307-133 (11)
Dial (Gallon w/ Gallon Totalizer) 1 3691-C 393307-139 (15)
Dial (Liter w/ Liter Totalizer, 0-60 Range) 1 3693-C 393307-141 (7)
393307-151 Dial (Quart w/ Quart Totalizer) 1 3696-C 393307-142 (7)
28 393307-125 Valve Assembly (Buna-N) 1 Includes item 29 393307-149 (23)
29 393307-42 Sleeve, Valve 1 393307-151 (27)
30 393307-45 Spring 1 393307-152 (17)
31 393307-126 Screen, Filter 1 393307-156 (24)
32 393307-171 Guard, Hand 1 393307-158 (12)
33 393307-168 O-Ring 1 393307-159 (20)
34 393307-170 Adapter, 1/2 " NPTF (f) 1 393307-160 (20)
35 339651 Swivel, 1/2 " NPTF (m) x 1/2 " NPTF (f) 1 393307-163 (25)
36 393307-41 Quad-Ring (Buna-N) 2 393307-164 (21)
37 393307-40 Cam 1 393307-168 (33)
38 393307-132 Screw 2 393307-170 (34)
39 393307-172 Lock Bar and Screw Assembly 1 393307-171 (32)
40 393307-39 Lever Assembly 1 393307-172 (39)
Legend:
Part numbers left blank (or in italics) are not available separately
designates a repair kit item
Repair Kit
Part No. Kit Symbol Description
393307-134 Kit, Packing Gland
1-800-548-1191-http://[email protected]

SER 3690-C Preset Metered Control Valve
Revision (10-04) 4 Alemite Corporation
Overhaul
Prior to performing any maintenance procedure, the
following safety precautions must be observed. Personal
injury may occur.
WARNING
Do not use halogenated hydrocarbon
solvents such as methylene chloride or 1,1,1-
trichloroethane in this valve. An explosion can
result when aluminum and/or zinc-plated parts in
the valve come in contact with halogenated
hydrocarbon solvents.
Release all pressure within the system prior to
performing any overhaul procedure.
• Disconnect the air supply line from the
pump motor.
• Into an appropriate container, operate the
control valve to discharge remaining
pressure within the system.
Never point a control valve at any portion of your
body or another person. Accidental discharge of
pressure and/or material can result in injury.
Read each step of the instructions carefully.
Make sure a proper understanding is achieved
before proceeding.
Disassembly
NOTE: Refer to Figure 2 for component
identification on all overhaul procedures.
Metered Control Valve
NOTE: The following procedures pertain
to all models of metered control valves.
1. Unscrew Extension (2) from the Cap (3).
2. Unscrew Nozzle Assembly (1) from the Extension.
Shroud, Pawl, and Register Assembly
3. Unscrew Screws (26) that secure Shroud (25) to
Housing (8)
• Remove the Shroud from the Housing.
4. Turn Pointer (24) counterclockwise until the access
hole in the Pointer lines up with the setscrew.
•See
Figure 2.
5. Loosen the setscrew that secures the Pointer to Spindle and
Gear Assembly (7).
6. Remove Dial (27) Cam (17), and Pointer (24) as an
assembly from the Spindle and Gear Assembly.
7. Carefully pry the Pointer from the Cam Assembly and Dial
to separate components.
8. Remove Springs (18) and Rollers (19) from the Cam.
9. Remove Retaining Ring (15) that secures Lock Pawl (14)
to the Housing.
• Remove the Lock Pawl and Spring (16) from the
Housing.
10. Remove Pointer Gear (23) and Washer (22) from Register
Assembly (20).
11. Loosen Setscrew (12) that secures Worm Gear (13) to the
Spindle and Gear Assembly.
• Remove the Worm Gear from the Spindle and Gear
Assembly.
12. Remove Screws (21) that secure the Register Assembly to
the Housing.
• Remove the Register Assembly from the Housing.
Metering Mechanism Assembly
13. Unscrew Cap (3) from the Housing.
• Remove O-Ring (4) from the Cap.
14. Remove Chamber and Pinion Assembly (5), Planetary
Gear (6), and the Spindle and Gear Assembly from the
Housing.
15. Remove Gland Nut (11) from the Housing.
• Remove O-Ring (10) from the Gland Nut.
16. Remove Washer (9) from the Housing.
Inlet Swivel, Valve, Guard, and Lever Assembly
17. Unscrew Swivel Assembly (35) from Adapter (34).
18. Unscrew the Adapter from the Housing.
• Remove Hand Guard (32) and O-Ring (33) from the
Adapter.
19. Remove Screen (31), Spring (30), Valve Assembly (28),
and Valve Sleeve (29) from the Housing.
20. Remove Screws (38) that secure Lever Assembly (40) and
Lock Bar and Screw Assembly (39) to Cam (37).
• Remove the Lever Assembly and Lock Bar and Screw
Assembly from the Cam.
21. Push the Cam from the Housing.
• Remove Quad Rings (36) from the Cam.
1-800-548-1191-http://[email protected]

Preset Metered Control Valve SER 3690-C
Alemite Corporation 5 Revision (10-04)
9. Install Hand Guard (32) onto the Housing.
10. Screw the Cap into the Housing.
• Tighten the Cap to 35 ft. lbs. (47 Nm).
Register Assembly
11. Install Register Assembly (20) onto the Housing
• Make sure the Register seats on the four pins.
12. Install Screws (21) that secure the Register Assembly
to the Housing.
• Tighten the Screws securely.
13. Install Setscrew (12) [with Loctite 222] into the Worm
Gear.
14. Install Worm Gear (13) [spur gear upward] onto the
shaft of the Spindle and Gear Assembly.
• Make sure the Worm Gear’s setscrew points toward
the flat on the Spindle and Gear Assembly.
• Check to ensure the gear meshes properly with the
Register’s gear.
15. Install Washer (22) onto the bottom post of the
Register Assembly.
16. Install Pointer Gear (23) [flat surface downward] onto
the Washer.
IMPORTANT: Make sure the Gears mesh
evenly.
17. Move the Worm Gear [straight upward or downward]
as required so its gear wheel meshes evenly with the
Pointer Gear.
• Tighten the Setscrew securely.
Lock Pawl
18. Install and seat Spring (16) [flat portion first] onto the
the post on the Housing.
• Make sure the Spring seats in the notch.
19. Install Lock Pawl (14) onto the Housing’s post.
• Make sure the Lock Pawl properly engages the
Spring.
20. Install Retaining Ring (15) that secures the Lock Pawl
to the post.
Clean and Inspect
1. Clean all metal parts in cleaning solvent. The solvent
should be environmentally safe.
2. Inspect all parts for wear and/or damage.
•Replace as necessary.
3. Closely inspect the mating surfaces of all components
for any imperfections. Ensure a smooth and clean
contact is obtained when assembled.
Assembly
NOTE: Prior to assembly, certain compo-
nents require lubrication. Refer to Table 2
for details.
Metered Control Valve
NOTE: Refer to Figure 3 for component
identification.
Metering Mechanism Assembly
1. Install and seat Washer (9) into the head of Housing
(8).
2. Install O-Ring (10) into Gland Nut (11).
3. Screw the Gland Nut into the Housing.
•Tighten the Gland Nut securely.
4. Position Chamber and Pinion Assembly (5) gear end
upward.
5. Install Planetary Gear (6) into the Chamber and
Pinion Assembly.
6. Position Spindle and Gear Assembly (7) onto the
Chamber and Pinion Assembly.
7. With the Spindle and Gear Assembly pointed upward,
install the entire subassembly into the Housing.
•Use care passing the O-Ring.
HINT: Rotate the Spindle and Gear Assem-
bly so the flat of the shaft points between
the posts of the Register Assembly. This
aids in the installation of the Worm Gear.
CAUTION
Make sure thesubassembly does notshift during
installationor once installed. Damage to the
Gears canoccur.
8. Install O-Ring (4) onto Cap (3).
Item No. Description
4O-Ring
9Washer
10 O-Ring
33 O-Ring
36 Quad-Ring
Table 2 Components Lubricated in Clean Oil
1-800-548-1191-http://[email protected]

SER 3690-C Preset Metered Control Valve
Revision (10-04) 6 Alemite Corporation
Valve and Inlet Swivel Assembly
35. Install Valve Sleeve (29) [unslotted end first] into the
Housing.
36. Install Valve Assembly (28) [stem first] into the small
end of Spring (30).
37. Install the Valve Assembly and Spring horizontally
into the Housing.
• Make sure the Valve Assembly does not shift.
38. Install Screen (31) into the Spring.
39. Install O-Ring (33) onto the Adapter (34).
40. Screw the Adapter into the Housing.
• Tighten the Adapter to 20 ft. lbs. (26 Nm).
41. Screw Swivel Assembly (35) [with thread sealant] into
the Adapter.
• Tighten the Swivel Assembly securely.
Extension
IMPORTANT: Apply thread sealant to all
pipe thread connections prior to assembly.
42. Screw Extension (2) into Cap (3).
• Tighten the Extension securely.
43. Screw Nozzle Assembly (1) onto the Extension.
• Tighten the Nozzle Assembly securely.
Pointer-Cam-Dial Assembly
21. Install Dial (27) onto Cam (17).
22. Install Rollers (19) into the Cam.
IMPORTANT: Make sure Spring(18) is
against right-angled end of notch in Cam.
•See Figure 2.
23. Install Springs (18) into the Cam.
24. Install and seat Pointer (24) onto the Cam.
IMPORTANT: Make sure the three holes on
the Dial engage with the Register’s posts.
25. Install and seat the Pointer, Cam, and Dial assembly
onto the shaft of the Spindle and Gear Assembly.
•Make sure the Lock Pawl fits properly into the hole
of the Dial.
NOTE: The Pointer’s setscrew must point
toward the flat on the Spindle and Gear
Assembly.
26. Tighten the Pointer setscrew onto the shaft of the
Spindle and Gear Assembly.
27. Turn the Pointer counterclockwise.
•Set the Pointer to zero.
28. Install Shroud (25) [notch downward] onto the
Housing.
29. Install Screws(26) that secure the Shroud to the
Housing.
•Tighten each Screw securely.
Lever Assembly
30. Install Quad Rings (36) onto each end of Cam (37).
31. Install the Cam into the Housing.
•Use care passing the Quad Rings.
32. Install Lever Assembly (40) onto the Cam.
•Reposition the Cam as required to ensure the Lever
Assembly properly meshes.
33. Install Lock Bar and Screw Assembly (39) onto the
Cam.
•Make sure the screw in the Lock Bar and Screw
Assembly meshes properly with the Lock Pawl.
34. Install Screws (38) that secure the Lever Assembly and
Lock Bar and Screw Assembly to the Cam.
•Tighten the Screwssecurely.
1-800-548-1191-http://[email protected]

Preset Metered Control Valve SER 3690-C
Alemite Corporation 7 Revision (10-04)
Changes Since Last Printing
Initial Release
Troubleshooting Chart
Control Valve Indications Possible Problems Solutions
Reduced or zero flow 1. Filter Screen (31) clogged
2. Clogged system
1. Remove Filter Screen (31) and
clean or replace
2. Clean or replace system filter
No product flow Nozzle (1) not open Open Nozzle (1)
Continuous product flow 1. Foreign material on Valve Assembly (28)
2. Valve Assembly (28) worn or damaged
1. Disassemble, clean, and inspect
seat area. Check mating surfaces
and replace Valve Assembly (28)
as necessary. Locate and eliminate
source of foreign material.
2. Replace Valve Assembly (28)
Leakage at Swivel
Assembly (35)1. Initial tightening of Swivel Assembly
(35) not sufficient
2. Seal worn or damaged
1. Tighten Swivel Assembly (35)
2. Replace Swivel Assembly (35)
Leakage at Cam (37) Quad-Rings (36) worn or damaged. Replace Quad-Rings (36)
Leakage at front end of Nozzle Nozzle damaged Replace Nozzle
Leakage at Extension Assembly 1. Initial tightening not sufficient
2. Thread sealant missing or inadequate 1. Tighten leaking connection
2. Apply thread sealant* to male pipe
threads
Lock Pawl (14) does not engage
with the screw on Lock Bar and
Screw Assembly (39)
Screw out of adjustment Adjust the screw so it fully engages
Lock Pawl (14) in an upright position
when Lever (40) is pulled
* Do not apply thread sealant to the first two (2) threads. Contamination can occur.
1-800-548-1191-http://[email protected]

SER 3690-C Preset Metered Control Valve
Revision (10-04) 8 Alemite Corporation
1-800-548-1191-http://[email protected]
This manual suits for next models
3
Table of contents
Other Alemite Control Unit manuals

Alemite
Alemite 7716-D1 User manual

Alemite
Alemite 7836-A User manual

Alemite
Alemite 343683 User manual

Alemite
Alemite 6320-3 User manual

Alemite
Alemite 8322 Parts list manual

Alemite
Alemite 3692 User manual

Alemite
Alemite 3670 User manual

Alemite
Alemite 3572-A User manual

Alemite
Alemite 3640 User manual

Alemite
Alemite 3620 User manual
Popular Control Unit manuals by other brands

NCD
NCD Gen3 Ethernet Module quick start guide

ABB
ABB ACH550 series installation manual

Samson
Samson 3349 Mounting and operating instructions

Keba
Keba Kemro FM 280/A Project engineering manual

Seastar Solutions
Seastar Solutions HA5471-2 installation instructions

Yamaha
Yamaha MusicCAST MCX-CA15 Install manual