Product Information
Your furniture is manufactured using
Iroko. This timber is extremely durable
and able to resist the most inclement
weather, giving a life span of 20 years
plus. It is therefore ideally suited to garden
furniture.
Due to the weathering process and timber
being a natural material, joints will become
slightly offset and surface cracks will
occur. Depending on the climatic
conditions when your furniture is outside,
this can happen within only a few hours
and will not compromise the strength of
the furniture, which is designed with this in
mind. Using Alexander Rose timber care
products will to an extent, reduce the
cracks and splits.
Timber, even from the same tree, will vary
in many aspects. The variation in colour is
just one distinguishing feature of this
hardwood product.
ALEXANDER ROSE ASSURANCE OF QUALITY
Left Side Frame
Right Side Frame
Back Assembly
Seat Assembly
Front Rail
Rockers
Seat Assembly
Hardware Bag
Assembly Instructions
Model Number
Garden Centre Purchased From: Purchase Date:
Other Comments:
Home Address:
Present In Parcel Quality Checked
Date
Trial Assembly Made
Yes No
Signed
Inspector NumberContract Number
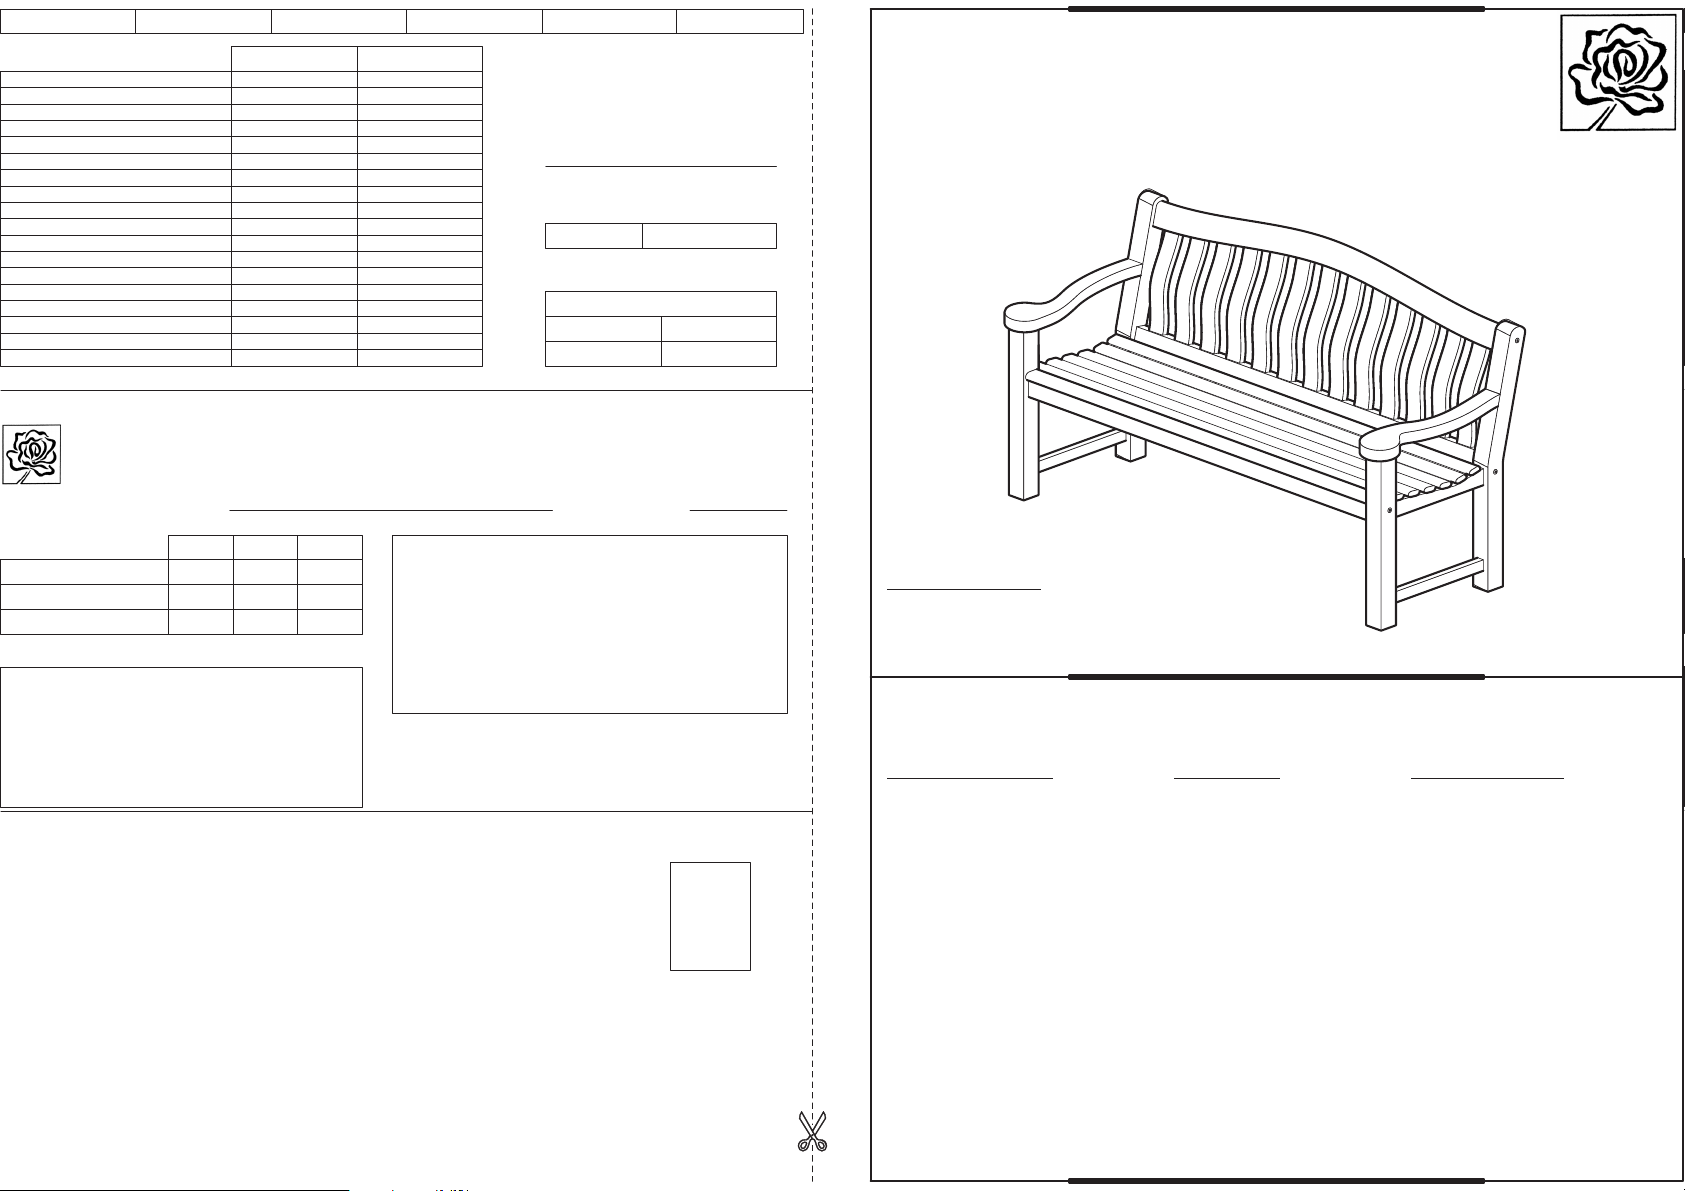
CHAIR, BENCH & ROCKING CHAIR
ASSEMBLY INSTRUCTIONS
ROSE LTD
ALEXANDER
AFFIX
POSTAGE
STAMP
FOLD 2
TAPE THIS EDGE
FOLD 1
Thank you for choosing to buy Alexander Rose garden furniture. We are confident that you will be pleased
with the quality of the product. To ensure that the highest standards are maintained, please help us by
completing this short questionnaire.
For information on all our products including treatments
available please visit our web site: www.alexander-rose.co.uk
Thankyou for taking the time to complete and return this
questionnaire and for choosingAlexander Rose.
Condition of Packaging
Condition of Product
Ease of Assembly
PoorGood Average
(Tick Boxes)
Important Design Note
Although the design of your bench or chair may
differ from the one shown in this document, the
assembly procedure remains the same.
Document Ref. 01-01
READ IN FULL BEFORE COMMENCING ASSEMBLY
Some of these products are heavy. Take care when lifting.
Treatment Options
Untreated, your furniture will eventually
mellow to an attractive soft silver grey.
The time span for this will vary
depending on weather conditions and its
location in the garden.
Should you prefer, you can treat your
furniture with the Alexander Rose range
of timber care products.
on weathered or dirty
wood or wood which has turned black.
to enhance the
beauty of the wood.
to ensure the best
possible protection against grime and
weathering.
A light sanding after the application of
Timber Cleaner will ensure a silky
smooth finish to the timber. These
products are all available from your local
Alexander Rose stockist and are
suitable for hardwoods. A fact sheet is
also available.
Timber Cleaner
Timber Treatment Plus
Timber Sealer
Maintenance
Your furniture can be cleaned
allowing it to dry fully
before the application of any
timber treatment.
More such as
spillages, bird droppings and
mildew etc. can be removed by the
use of our cleaner, which is
available from all Alexander Rose
stockists. Alternatively, sand using
a medium grit sandpaper.
can be
glued using a waterproof adhesive
suitable for timber. Clamping may
be necessary with excess glue
being removed using a damp
cloth. The area should be sanded
once the glue is dry.
From time to time it is necessary to
check and if required,
using soapy water and a stiff
brush,
severe stains
Lifting grain or cracks
re-tighten
all bolts.
Alexander Rose Ltd.
Alexander House
Victoria Road
BURGESS HILL
West Sussex
RH15 9LE


