manuals.online logo
Brands
  1. Home
  2. •
  3. Brands
  4. •
  5. Alexander
  6. •
  7. Music Pedal
  8. •
  9. Alexander SPACE FORCE User manual

Alexander SPACE FORCE User manual

EXPRESSION AND RAMPING
Every Leap Series pedal allows you to get as expressive as you want, any time you
want. Any of the pedal knobs may be controlled with an external expression pedal,
a MIDI controller, or even automatically using the Ramp function.
Connect a TRS expression pedal to the MultiJack input on your pedal, then enter the
setup mode and make sure that M.JACK is set to EXPRESSN. Save and exit setup.
Sweep the expression pedal to its fully heel-back position, then turn any or all of
the pedal knobs. Sweep the pedal to the opposite toe-down position and turn the
knobs again. That’s it!
If you don’t have an expression pedal or would prefer not to use one, you can hold
the TAP / CTRL switch to trigger the automatic expression ramp function. The ramp
controls are on page 3.
SOUND MODES
Space Force has eight selectable sound modes, each based on a dierent reverb eect type. You can tweak these modes to your taste, and you can save any sound to any
preset. To change sound modes, turn the lower right knob on page 1. Tap the lower right knob to advance to the next page.
The following controls are common to all modes on page 3:
DIV - tap division for modulation or delay, not available in DYNAMIC or PITCH modes RAMP - Ramp rate, lower settings ramp faster
LEVL - overall volume for the eect TRIG - Ramp trigger mode, please see below for details.
Reverb modes marked with *support reverb HOLD. Turn this knob to maximum to increase reverb time and freeze the reverb. While the HOLD is active, the reverb eect
will be “frozen” and new notes will not add the reverb. Reduce this knob slightly to exit HOLD and return to normal reverb mode. Fun tip: try ramping or using the expres-
sion pedal to engage the HOLD function to create reverb “pad” eects.
RAMP sets how fast the built-in expression ramp function will run, with clockwise
settings ramping more slowly.
TRIG selects one of the trigger modes:
MOM: Ramp will trigger while the Tap / Ctrl switch is held, then return when the
switch is released
TOGG: Ramp will trigger when the Tap / Ctrl switch is held, then remain at the
“toe”position until Tap / Ramp is held again.
CLR*: Ramp / EXP reset. Hold the Tap / Ctrl switch to set the“toe” values of each
knob to match the “heel” values.
Ramping and expression use the same “heel” and “toe”values. You can set these
values in ramp mode by ring the ramp in TOGG mode, then turning the knobs
while the ramp is at full / “toe” position. Fire the ramp again to return to minimum /
“heel” position to set the other values.
PLATE
Based on a vintage studio reverb, this simulates the reective properties of a giant
metal plate. We’ve also included a virtual tape pre-delay and adjustable tape
anging modulation.
SIZE* - reverb decay time
DAMP - reverb high EQ
MIX - mix of wet and dry signals
PRE - tape echo pre-delay
RATE - tape anger rate
WAVE - tape anger waveform
DEPTH - tape anger intensity
MOD HALL
Classic 1980s electronic hall reverb with adjustable pitch modulation. We’ve add-
ed high and low EQ controls to allow for ne-tuning the reverb tone.
SIZE* - reverb decay time
TONE - reverb high EQ
MIX - mix of wet and dry signals
LOW - reverb low EQ
RATE - reverb modulation rate
WAVE - modulation waveform
DEPTH - modulation intensity
PITCH
Chamber reverb eect with twin adjustable pitch shifters. Each shifter has select-
able intervals ranging from a detune eect to an octave. Try with detune or down
an octave for a cool textural wash.
SIZE* - reverb decay time
TONE - reverb high EQ
MIX - mix of wet and dry signals
UP - pitch up amount
DOWN - pitch down amount
P.UP - pitch up interval
P.DN - pitch down interval
SPRING
Surf’s up! Spring reverb eect with multi-wave tube bias type tremolo. We’ve
placed the tremolo after the reverb to ensure that it stays juicy no matter how wet
you run the springs.
PING - spring reverb“drip”
TONE - reverb tank tone control
MIX - mix of wet and dry signals
TANK - size of reverb springs
RATE - tube bias tremolo rate
WAVE - tremolo waveform
DEPTH - tremolo intensity
LO-FI
1990s style electronic reverb with distortion on the reverb trails. Classic
“shoegaze”eect, try this with the SAW modulation to simulate whammy bar
guitar.
SIZE* - reverb decay time
DIRT - post-reverb dirt
MIX - mix of wet and dry signals
PRE - reverb pre-delay
RATE - vibrato modulation rate
WAVE - vibrato waveform
DEPTH - vibrato intensity
ANALOG
“Electronic” reverb based on an obsolete analog delay chip, these units were often
used in karaoke units and have a distinctive tone. Keep the time knob low for
reverb or increase for cascading delay eects.
TIME - delay time
REPT - delay feedback / repeats
MIX - mix of wet and dry signals
TONE - delay tone control
RATE - chorus modulation rate
WAVE - chorus waveform
DEPTH - chorus intensity
DYNAMIC
Large cathedral-style reverb with a volume-sensing fade eect. GATE mode will
cut o the reverb like‘80s drums, BLOOM will fade in just the reverb signal, and
SWELL fades in both wet and dry for a more intense eect.
SIZE - reverb decay time
DAMP - reverb high EQ
MIX - mix of wet and dry signals
PRE - reverb pre-delay time
TIME - slow-attack gate time
ATTK - gate sensitivity
RELS - gate release
TYPE (pg3) - GATE, BLOOM, SWELL
ECHOVERB
Room reverb and delay in parallel. Each eect has its own set of controls and is
independent. The delay eect works even when the reverb eect is in the HOLD /
FREEZE state.
REVB* - reverb decay time
TONE - reverb high EQ
MIX - mix of wet and dry signals
DTIM - delay time control
REPT - delay feedback / repeats
DMIX - delay mix
D.EQ - delay high EQ

To enter the global setup menu, rst hold down the PAGE / MENU knob
(lower right,) then hold the left footswitch.
Turn the lower left knob to select the parameter you want to change, then
turn the lower right knob to set its value.
Hold the PAGE / MENU knob (lower right) to save your settings and exit
the menu.
GLOBAL SETUP MENU
M.JACK EXPRESSN MultiJack is expression pedal input
FOOT. SW MultiJack is foot switch input
MIDI MultiJack is MIDI input (requires MIDI to TRS adapter)
CHANNL Sets MIDI input channel
STEREO MONO IN INPUT jack is mono
INP. SUM INPUT jack sums to mono
STEREO INPUT jack is stereo
RPHASE Sets phase of R output, allows correction for amp or eect phase.
PRESET Sets number of presets available on device. Does not aect MIDI.
DISPLY PRESET Display shows preset except when turning knobs
KNOBS Display shows knobs except when loading preset
OFF Display is o when not adjusting knobs
BRIGHT Sets display brightness
RETURN Timer for display to return to normal state
CC OUT OFF Pedal does not send MIDI CC values
JACK Pedal sends MIDI CC from MultiJack
USB Pedal sends MIDI CC from USB MIDI
BOTH Pedal sends MIDI CC from both
TRAILS OFF - hard bypass, ON - trails bypass, AUTO - trails fade out
EXP LO / HI Sets heel and toe calibration for expression pedal
TAPCNT Enable or disable tap tempo timer display
PWR ON Choose BYPASS or ENGAGE to set the power-on state of pedal
RESET Turn to reset CONFIG, PRESETS, or ALL. Hold PAGE knob to reset.
Select MIDIDUMP to export presets over USB MIDI
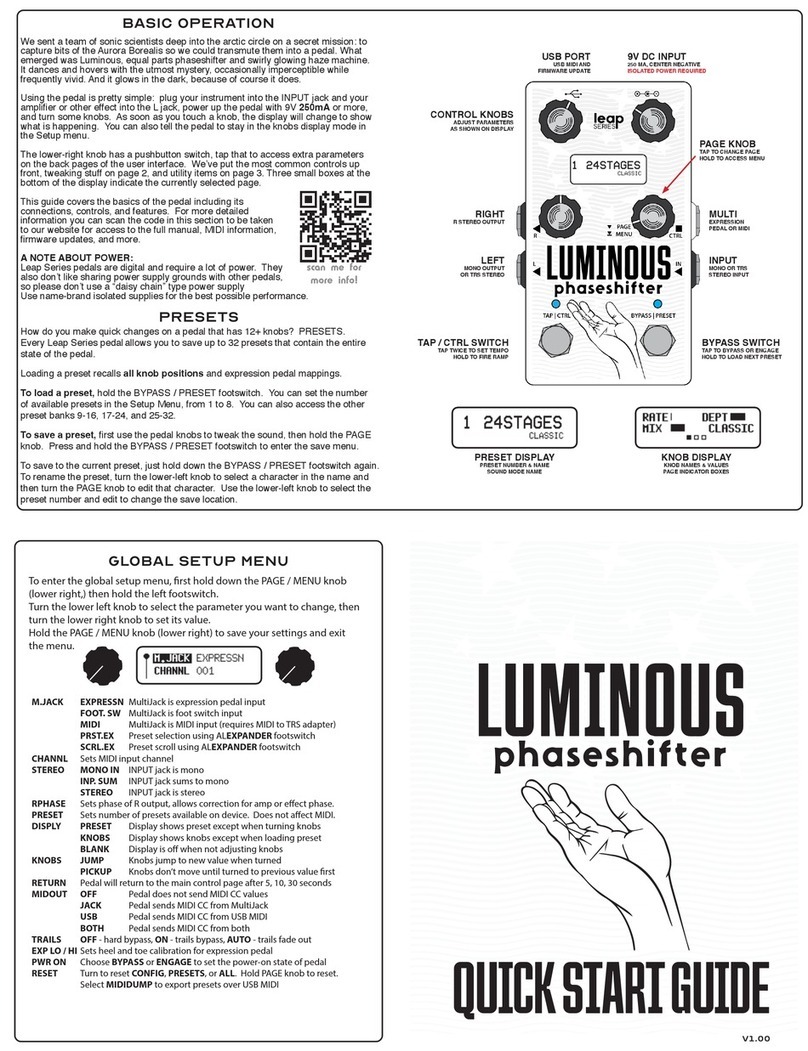
QUICK START GUIDE
BETA 4
SPACESPACE
FORCEFORCE
reverberation
CONTROL KNOBS
ADJUST PARAMETERS
AS SHOWN ON DISPLAY
PAGE KNOB
TAP TO CHANGE PAGE
HOLD TO ACCESS MENU
TAP / CTRL SWITCH
TAP TO SET TEMPO
HOLD TO FIRE RAMP
BYPASS SWITCH
TAP TO BYPASS OR ENGAGE
HOLD TO LOAD NEXT PRESET
INPUT
MONO OR TRS
STEREO INPUT
RIGHT
R STEREO OUTPUT
LEFT
MONO OUTPUT
OR TRS STEREO
MULTI
EXPRESSION
PEDAL OR MIDI
Mankind has long known of the amazing properties of reverberant spaces. From
the brilliant reections of the largest concert halls to the splashy depths of your own
shower, every space has its own characteristic sound.
The Space Force is our love letter to the sounds of “elsewhere,” and features eight
ingenious ways to add some space to your place, whether you’re reaching for the
stars or just trying to make your world a little bigger.
Using the pedal is pretty simple: plug your instrument into the INPUT jack and your
amplier or other effect into the L jack, power up the pedal with 9V 250mA or more,
and turn some knobs. As soon as you touch a knob, the display will change to show
what is happening. You can also tell the pedal to stay in the knobs display mode in
the Setup menu.
The lower-right knob has a pushbutton switch, tap that to access extra parameters
on the back pages of the user interface. We’ve put the most
common controls up front, tweaking stuff on page 2, and utility
items on page 3. Three small boxes at the bottom of the display
indicate the currently selected page.
This guide covers the basics of the pedal including its connec-
tions, controls, and features. For more detailed information you
can scan the code in this section to be taken to our website
foraccess to the full manual, MIDI information, rmware updates,
and more.
BASIC OPERATION
PRESETS
How do you make quick changes on a pedal that has 12+ knobs? PRESETS. Every
Leap Series pedal allows you to save up to 32 presets that contain the entire state of
the pedal.
Loading a preset recalls all knob positions and expression pedal mappings.
To load a preset, hold the BYPASS / PRESET footswitch. You can set the number
of available presets in the Setup Menu, from 1 to 8. You can also access the other
preset banks 9-16, 17-24, and 25-32.
To save a preset, rst use the pedal knobs to tweak the sound, then hold the PAGE
knob. Press and hold the BYPASS / PRESET footswitch to enter the save menu.
If you want to save to the current preset, you can just hold down the BYPASS / PRE-
SET footswitch again. If you prefer to rename the preset, turn the PAGE knob to se-
lect a character in the name and then tap the PAGE knob to edit that character. Use
the PAGE knob to select the preset number and edit to change the save location.
scan me for more info!
reverberationreverberationreverberation
FORCEFORCE
SPACESPACE
BYPASS | PRESETTAP | CTRL
SERIESSERIESSERIES
R
L IN
CTRL
DOT MATRIX DISPLAY
DOT MATRIX DISPLAY
DOT MATRIX DISPLAY
PAGEPAGE
MENUMENU
PAGE
MENU
9V DC INPUT
250 MA, CENTER NEGATIVE
USB PORT
USB MIDI AND
FIRMWARE UPDATE
PRESET DISPLAY
PRESET NUMBER & NAME
SOUND MODE NAME
KNOB DISPLAY
KNOB NAMES & VALUES
PAGE INDICATOR BOXES

Other Alexander Music Pedal manuals

Alexander NEO Series User manual

Alexander

Alexander NEO Series User manual

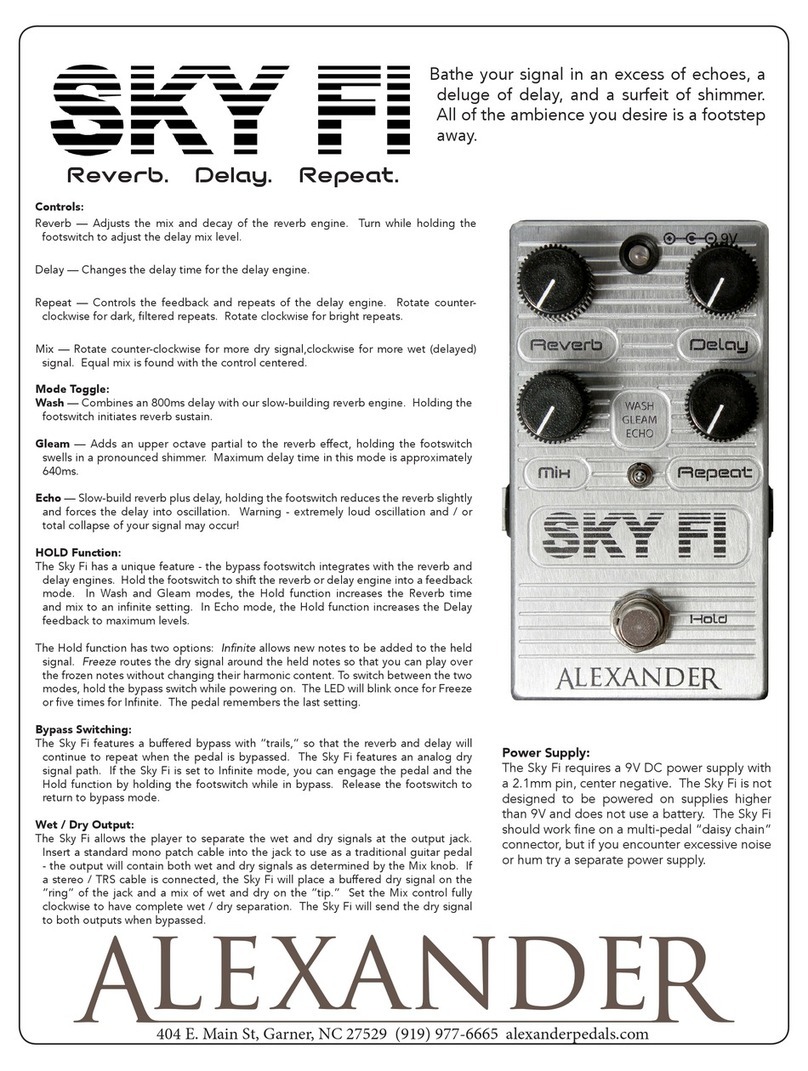
Alexander SKY FI User manual

Alexander

Alexander SKY FI User manual

Alexander Quadrant User manual

Alexander

Alexander Quadrant User manual

Alexander NEO Series Manual

Alexander

Alexander NEO Series Manual

Alexander Leap Luminous Beta User manual

Alexander

Alexander Leap Luminous Beta User manual

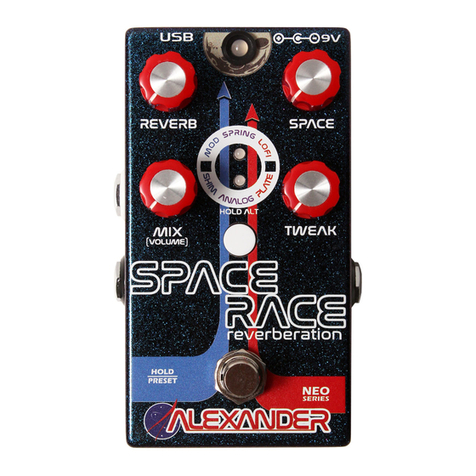
Alexander Space Race User manual

Alexander

Alexander Space Race User manual

Alexander SUPER Neo-Matic User manual

Alexander

Alexander SUPER Neo-Matic User manual

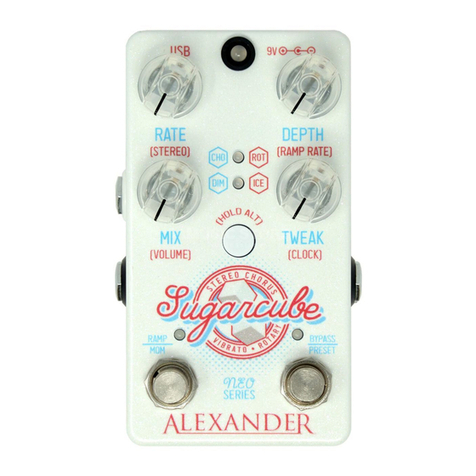
Alexander Sugarcube User manual

Alexander

Alexander Sugarcube User manual

Alexander NEO Series User manual

Alexander

Alexander NEO Series User manual

Alexander SPACE FORCE REVEBERATION LEAP Series User manual

Alexander

Alexander SPACE FORCE REVEBERATION LEAP Series User manual

Alexander NEO Series User manual

Alexander

Alexander NEO Series User manual

Alexander SYNTAX ERROR User manual

Alexander

Alexander SYNTAX ERROR User manual

Alexander Venture Series User manual

Alexander

Alexander Venture Series User manual

Alexander History Lesson VOL.3 User manual

Alexander

Alexander History Lesson VOL.3 User manual

Alexander F-13 Neo Flanger User manual

Alexander

Alexander F-13 Neo Flanger User manual

Alexander Marshmallow User manual

Alexander

Alexander Marshmallow User manual

Alexander leap Series User manual

Alexander

Alexander leap Series User manual

Alexander leap SPACE FORCE User manual

Alexander

Alexander leap SPACE FORCE User manual

Popular Music Pedal manuals by other brands

Siegmund FFP2 Product information

Siegmund

Siegmund FFP2 Product information

Bad Cat X-TREME TONE operating manual

Bad Cat

Bad Cat X-TREME TONE operating manual

Roland Jet Phaser AP-7 instruction manual

Roland

Roland Jet Phaser AP-7 instruction manual

EBS UniChorus Black Label Series user manual

EBS

EBS UniChorus Black Label Series user manual

BMF Effects BMF Wah quick start guide

BMF Effects

BMF Effects BMF Wah quick start guide

BJF Electronics BLUE BERRY owner's manual

BJF Electronics

BJF Electronics BLUE BERRY owner's manual

BYOC Green Pony Kit instructions

BYOC

BYOC Green Pony Kit instructions

Electro-Harmonix Grand Canyon manual

Electro-Harmonix

Electro-Harmonix Grand Canyon manual

digi-tech RP200 user guide

digi-tech

digi-tech RP200 user guide

Behringer COMPRESSOR SUSTAINER CS100 quick start guide

Behringer

Behringer COMPRESSOR SUSTAINER CS100 quick start guide

Valeton Dapper Amp Mini owner's manual

Valeton

Valeton Dapper Amp Mini owner's manual

KMA GUARDIAN OF THE WURM quick start guide

KMA

KMA GUARDIAN OF THE WURM quick start guide

DingoTone VFZ Custom Shop Vintage Fuzz user manual

DingoTone

DingoTone VFZ Custom Shop Vintage Fuzz user manual

Rockbox Brown Sugar user guide

Rockbox

Rockbox Brown Sugar user guide

Strymon Volante user manual

Strymon

Strymon Volante user manual

Fender Pugilist Distortion manual

Fender

Fender Pugilist Distortion manual

Becos CIQ-2 COMPIQ MINI PRO manual

Becos

Becos CIQ-2 COMPIQ MINI PRO manual

Behringer V-Tone Bass BDI21 user guide

Behringer

Behringer V-Tone Bass BDI21 user guide

manuals.online logo
manuals.online logoBrands
  • About & Mission
  • Contact us
  • Privacy Policy
  • Terms and Conditions

Copyright 2025 Manuals.Online. All Rights Reserved.