manuals.online logo
Brands
  1. Home
  2. •
  3. Brands
  4. •
  5. Alexander
  6. •
  7. Music Pedal
  8. •
  9. Alexander F-13 Neo Flanger User manual

Alexander F-13 Neo Flanger User manual

404 E. Main St, Garner, NC 27529 (919) 977-6665 alexanderpedals.com
GREAT TONES. DOING GOOD.
NEO
SERIES
Alien mojo meets military tech, circa 1958. The F.13 Neo is our take on space junk stolen
from Area 51 and put into the service of rock ‘n’ roll.
Equal parts science, art, weapon and instrument, the F.13 Neo generates interplanetary ange
never heard in this galaxy or any other.
The sonic scientists at Alexander Pedals have been working overtime to cram
the most pedal into the smallest box, and we now present the Neo Series!
Each Neo Series pedal incorporates an advanced 32-bit microcontroller adding
presets, expression, and MIDI capability.
MultiJack
Expression, Footswitch, or MIDI
Output
Stereo output on ring
Input
Instrument or line level
USB Mini-B
MIDI or rmware update
DC 9V
80mA, center negative
Select Button
Hold to access ALT knobs
Foot Switch
Tap to bypass, hold for next preset
CONTROLS
Rate (ALT1): Controls the speed of the anger low-frequency oscillator. In DYNA mode, this
knob controls the sensitivity of the envelope detector. Hold the Select button and turn this
knob to set the ALT1 parameter, which varies by effect mode.
Dept (ALT2): Controls the level of the anger’s low-frequency oscillator. In DYNA mode, this
knob controls the direction and maximum sweep of the anger. Hold the Select button and
turn this knob to set the ALT2 parameter, which varies by effect mode.
Mix (Volume): Controls the amount of effected signal. Turn fully clockwise to “kill” the dry
signal. Hold the select button and turn this knob to set the Volume of both wet and dry
signals.
Regen: Adjusts the amount of anged signal that is fed back into the anger. Center this
control for no regeneration, or rotate it away from the center for more regeneration. Counter-
clockwise adds negative regeneration, clockwise adds positive regeneration.
EFFECT MODES
Tap the Select Button to move to the next mode.
Auto: Traditional anging sounds live here. The rate and depth knobs adjust the F.13N’s
hypertriangular oscillator, which drives the anger delay line. Set the Rate knob at zero for
manual anging, the Depth knob adjusts the anger with no sweep for classic “lter matrix”
tones. ALT1 controls the delay time of the anger, sometimes also called “manual.” The
maximum anger sweep is found with ALT1 at minimum settings.
Step: This mode replaces the smooth sweep of the Auto mode with a jagged and gnarly
stepped pattern generator. Adjust ALT1 to select the anger pattern from the following:
Dyna: This one is kind of unusual, even for us! The anger delay time is set by the volume of
the input signal. The Rate knob adjusts the sensitivity, to allow for different pickups or effects
before the F.13 Neo. The Depth knob controls which direction the anger will sweep when
it hears the input signal. The F.13 Neo now features an envelope speed control on the ALT1
knob. Set this to the fastest speed for a more excentrifugal experienz. Don’t say we didn’t
warn you.
Echo: This one is for all you radio friendly unit shifters out there looking to become the
genius of love. We couple a erce anger with an exceptional echo for a very interesting
take on time delay effects. The ALT1 and ALT2 knobs control the delay time and feedback
of the echo, while the Rate, Depth, and Regen knobs control the anger side. You can set
either side to a very short delay for maximum comb ltering, or you can create spiraling
soundscapes.
GETTING TO KNOW YOUR NEO
F.13N
SCI-FI FLANGER
MIDI CONTROL
Connect a compatible MIDI controller to the Neo pedal to access its full feature set!
The Neo pedal can accept MIDI over USB from a computer or mobile device, or from a MIDI
controller using a 1/4” cable. The Neo pedals are compatible with interface converters made
by Disaster Area Designs and Empress.
The following commands are accepted by the Neo pedal:
MIDI Program Change: Load Presets 0-15
0-3 are the four Red presets on the pedal itself.
4-7 are the Green bank
8-11 are the Blue bank
12-15 are the White bank
MIDI Continuous Controller 93: Tap Tempo
(supported pedals only)
MIDI Continuous Controller 97: Ramp
Send value 1-8 to set the ramp speed
Send any other value to trigger the ramp
MIDI Continuous Controller 100: Expression Pedal
Value 0 = Heel down, Value 127 = toe down
MIDI Continuous Controller 102: Bypass
Value 0-63 = Bypass, Value 64-127 = Engage
MIDI Continuous Controller 50-57: Pedal Knobs
Value 0 = CCW, Value 127 = CW
CC 50 = Lower right main CC 54 = Lower right alt
CC 51 = Upper left main CC 55 = Upper left alt
CC 52 = Upper right main CC 56 = Upper right alt
CC 53 = Lower left main CC 57 = Lower left alt
MIDI Continuous Controller 59: Mode Select
Accepts values 0-7 to select modes 1-8.
(Not all Neo pedals support the full 8 modes.)
MIDI Channel Assignment:
Set the Neo pedal to Cong mode by holding Select at boot, then send a MIDI program
change on your desired MIDI channel to set the Neo pedal’s MIDI channel. Hold the Select
button to save the MIDI channel assignment.
CONFIGURING YOUR NEO PEDAL
Power on the pedal while holding the Select button to enter
conguration mode. Release the button when the main LED
turns violet.
Tap the Select button to choose the MultiJack function. The
upper program LED will change colors to indicate the function.
Green = Expression Pedal, Orange = Foot Switch, Red = MIDI
Connect a MIDI controller to the EXP port and send a program
change to set the Neo Pedal’s MIDI channel.
Turn the lower left knob to set the Ramp Morph speed. The low-
er program LED will change colors to indicate the speed setting.
Green = slow, Orange = medium, Red = fast.
Turn the lower right knob to set the main LED brightness.
Hold the Select button to save the conguration and exit.
EXPRESSION AND RAMP MORPH
The Neo Series feature a comprehensive expression control setup. Connect an expression
pedal to the Neo pedal MultiJack (red) and sweep its treadle until the heel is down. Turn the
knobs to your desired setting. Now sweep the expression pedal until its toe is down, and turn
the Neo pedal’s knobs to a new setting. You should now be able to sweep the expression
pedal and hear the change in the Neo pedal! Please note that the Neo pedal’s physical
knobs won’t move when you sweep the expression pedal but the pedal settings will change
internally. The main LED will fade in and out to indicate the expression pedal position.
If you set up the EXP port on the Neo pedal for use with a foot switch, you can use it in the
same way as the expression pedal. Tap the foot switch to make the Neo pedal Ramp down,
then tap again to Ramp up. You can adjust the knob positions at these two settings and the
Neo pedal will ramp between them at the speed you selected in setup. Neat!
If you prefer to use MIDI commands to control your pedal, both Expression and Ramp are
accessible using MIDI continuous controller (CC) messages. Please consult the MIDI Control
section for more details.
Please note that both the main AND alternate knob functions may be controlled by the
expression or ramp controls!
BYPASS AND PRESETS
Tap the foot switch to toggle the pedal between bypass and active. The bypass signal is
buffered and 100% analog. The dry signal path is routed through the DSP to maintain time
and phase alignment with the effect signal.
Hold the bypass footswitch to move to the next preset. The Neo Series pedals have 16
presets, four of which are accessible on the pedal itself. The main LED will blink one, two,
three, or four times to indicate the current preset.
Hold the select button down, then hold the footswitch down to save. The pedal will save the
current settings to the active preset. The main LED will blink to indicate the preset has been
saved.
404 E. Main St, Garner, NC 27529 (919) 977-6665 alexanderpedals.com
GREAT TONES. DOING GOOD.
Other Alexander Music Pedal manuals

Alexander NEO Series User manual

Alexander

Alexander NEO Series User manual

Alexander SPACE FORCE User manual

Alexander

Alexander SPACE FORCE User manual

Alexander leap SPACE FORCE User manual

Alexander

Alexander leap SPACE FORCE User manual

Alexander Venture Series User manual

Alexander

Alexander Venture Series User manual

Alexander NEO Series User manual

Alexander

Alexander NEO Series User manual

Alexander History Lesson VOL.3 User manual

Alexander

Alexander History Lesson VOL.3 User manual

Alexander Marshmallow User manual

Alexander

Alexander Marshmallow User manual

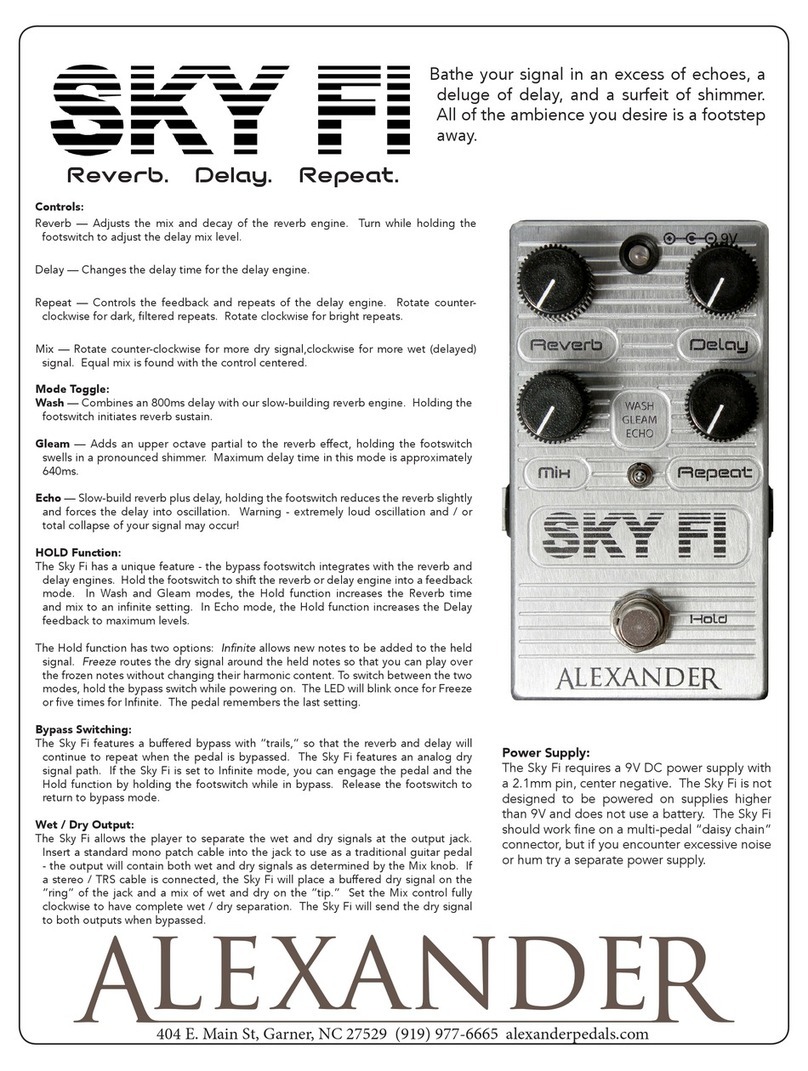
Alexander SKY FI User manual

Alexander

Alexander SKY FI User manual

Alexander SYNTAX ERROR User manual

Alexander

Alexander SYNTAX ERROR User manual

Alexander NEO Series User manual

Alexander

Alexander NEO Series User manual

Alexander Space Race User manual

Alexander

Alexander Space Race User manual

Alexander Sugarcube User manual

Alexander

Alexander Sugarcube User manual

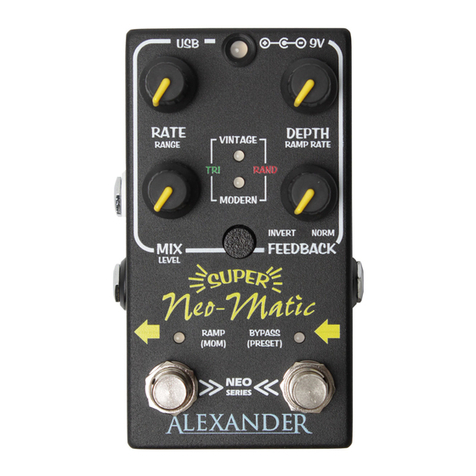
Alexander SUPER Neo-Matic User manual

Alexander

Alexander SUPER Neo-Matic User manual

Alexander leap Series User manual

Alexander

Alexander leap Series User manual

Alexander Leap Luminous Beta User manual

Alexander

Alexander Leap Luminous Beta User manual

Alexander NEO Series Manual

Alexander

Alexander NEO Series Manual

Alexander Quadrant User manual

Alexander

Alexander Quadrant User manual

Alexander SPACE FORCE REVEBERATION LEAP Series User manual

Alexander

Alexander SPACE FORCE REVEBERATION LEAP Series User manual

Popular Music Pedal manuals by other brands

Dunlop MXR Phase 45 Operation manual

Dunlop

Dunlop MXR Phase 45 Operation manual

Behringer CHORUS ORCHESTRA CO600 quick guide

Behringer

Behringer CHORUS ORCHESTRA CO600 quick guide

Behringer SUPER FUZZ SF300 quick start guide

Behringer

Behringer SUPER FUZZ SF300 quick start guide

MCM Electronics GUITAR EFFECT MACHINE user manual

MCM Electronics

MCM Electronics GUITAR EFFECT MACHINE user manual

GLX SD-100 Soft Distortion owner's manual

GLX

GLX SD-100 Soft Distortion owner's manual

Behringer HELLBABE HB01 manual

Behringer

Behringer HELLBABE HB01 manual

Mission Expressionator user guide

Mission

Mission Expressionator user guide

MORLEY PRO-II manual

MORLEY

MORLEY PRO-II manual

Way Huge Red Llama WHE-206 instruction manual

Way Huge

Way Huge Red Llama WHE-206 instruction manual

Alesis Midiverb instruction manual

Alesis

Alesis Midiverb instruction manual

Soldano Super Lead Overdrive Pedal quick start guide

Soldano

Soldano Super Lead Overdrive Pedal quick start guide

Electro-Harmonix Deluxe Bass Big Muff Pi quick start guide

Electro-Harmonix

Electro-Harmonix Deluxe Bass Big Muff Pi quick start guide

Old Blood Noise Endeavors Flat Light manual

Old Blood Noise Endeavors

Old Blood Noise Endeavors Flat Light manual

Carl Martin 2wah manual

Carl Martin

Carl Martin 2wah manual

Voodoo Lab MICRO VIBE user manual

Voodoo Lab

Voodoo Lab MICRO VIBE user manual

Yamaha MFC 10 owner's manual

Yamaha

Yamaha MFC 10 owner's manual

EarthQuaker Devices Aurelius manual

EarthQuaker Devices

EarthQuaker Devices Aurelius manual

Behringer Ultra Octaver UO300 quick guide

Behringer

Behringer Ultra Octaver UO300 quick guide

manuals.online logo
manuals.online logoBrands
  • About & Mission
  • Contact us
  • Privacy Policy
  • Terms and Conditions

Copyright 2025 Manuals.Online. All Rights Reserved.