777 Aldridge Road | Vacaville, CA 95688 | 800.680.5800 | www.allweatheraa.com 3
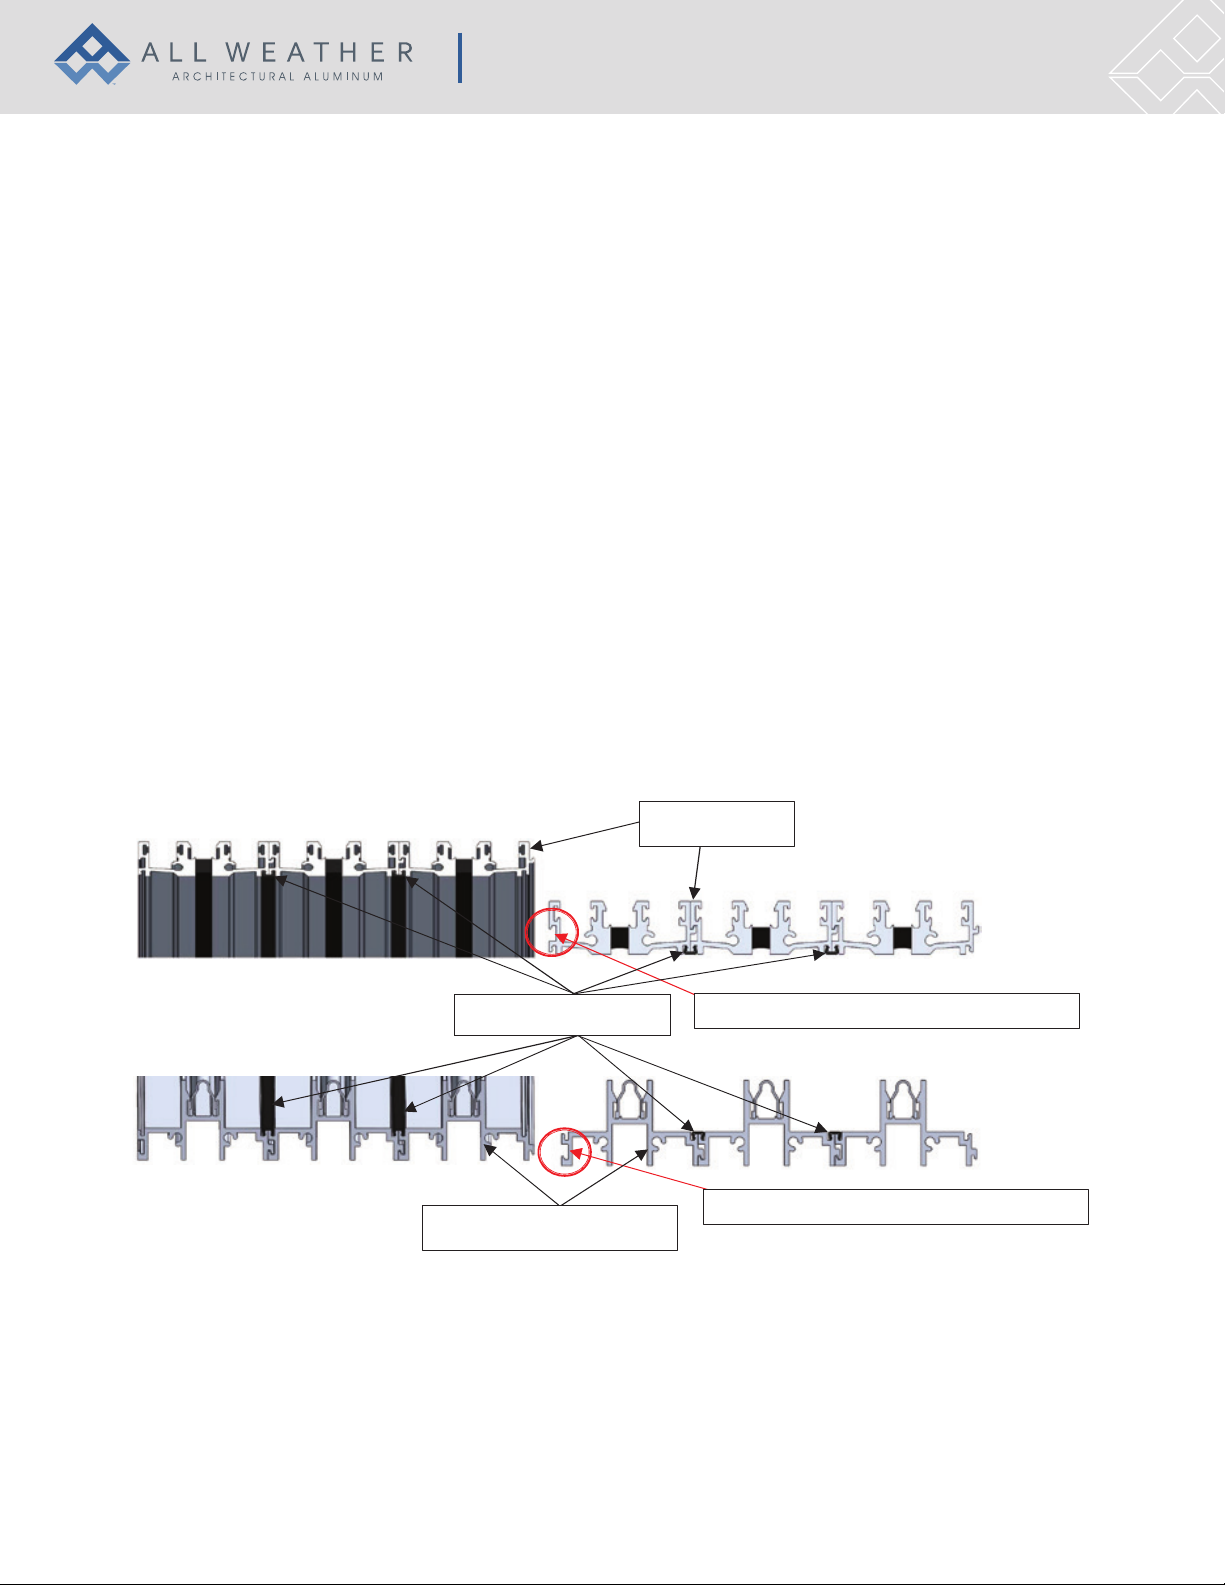
SERIES 8100 IMULTI SLIDE DOOR SYSTEM
CORNER DOOR IINSTALLATION INSTRUCTIONS
INSTALLATION
All installation materials used have been checked for compatibility
Weather resistant barrier and flashing were coordinated with contractor or authority on site
If Swing Series, correct orientation of system has been identified. Inswing or Outswing.
If Slider Series (including Stacking and Pocketing Series), location of operable and non-operable panels has been checked
If Bi-Fold Series, panel sequence has been checked from right to left, as seen from exterior
Frame has been sealed and joined at all points indicated in instructions
Opening checked for correct dimensions
Frame is installed at correct depth within the opening
Frame has been installed square, level and plumb
Plastic shims were utilized under sill when required
Jambs were shimmed to prevent rolling
Head track installed with the appropriate crown over width of frame
Installation holes prepared correctly
Sealant was applied to sill installation holes prior to inserting screws & top of screw heads once applied
Correct fastener placement has been followed as directed by manufacturer
Proper operation and adjustment has been achieved
Product was installed as directed by the Manufacturer
FINAL CHECK OF INSTALLATION
Frame has been checked for level, square and plumb
All horizontal and vertical adjustments have been made so that proper reveals are present and product is operating as
designed
Weep holes have been checked and free of obstruction and debris
All trash has been discarded
All hardware has been installed correctly and checked for proper operation
Product has been closed and locked and recommended to not be used as thoroughfare by other trades.
Product is protected from damage
Final inspection of weather proofing and operation has been performed
Job has been turned over to contractor or other responsible party with approval
Other
IMPORTANT
All Weather recommends that installers return to site and perform a final check of installation. Namely that the header has
not sagged under structure settlement and/or weight and necessary adjustments have been made prior to installation of exterior
siding/stucco and interior finishes.
Where applicable, each of the items checked above have been properly reviewed, verified and completed as part of my field
quality control check prior to turning over the job to the responsible party/approving authority.
Installer’s Signature: Date: