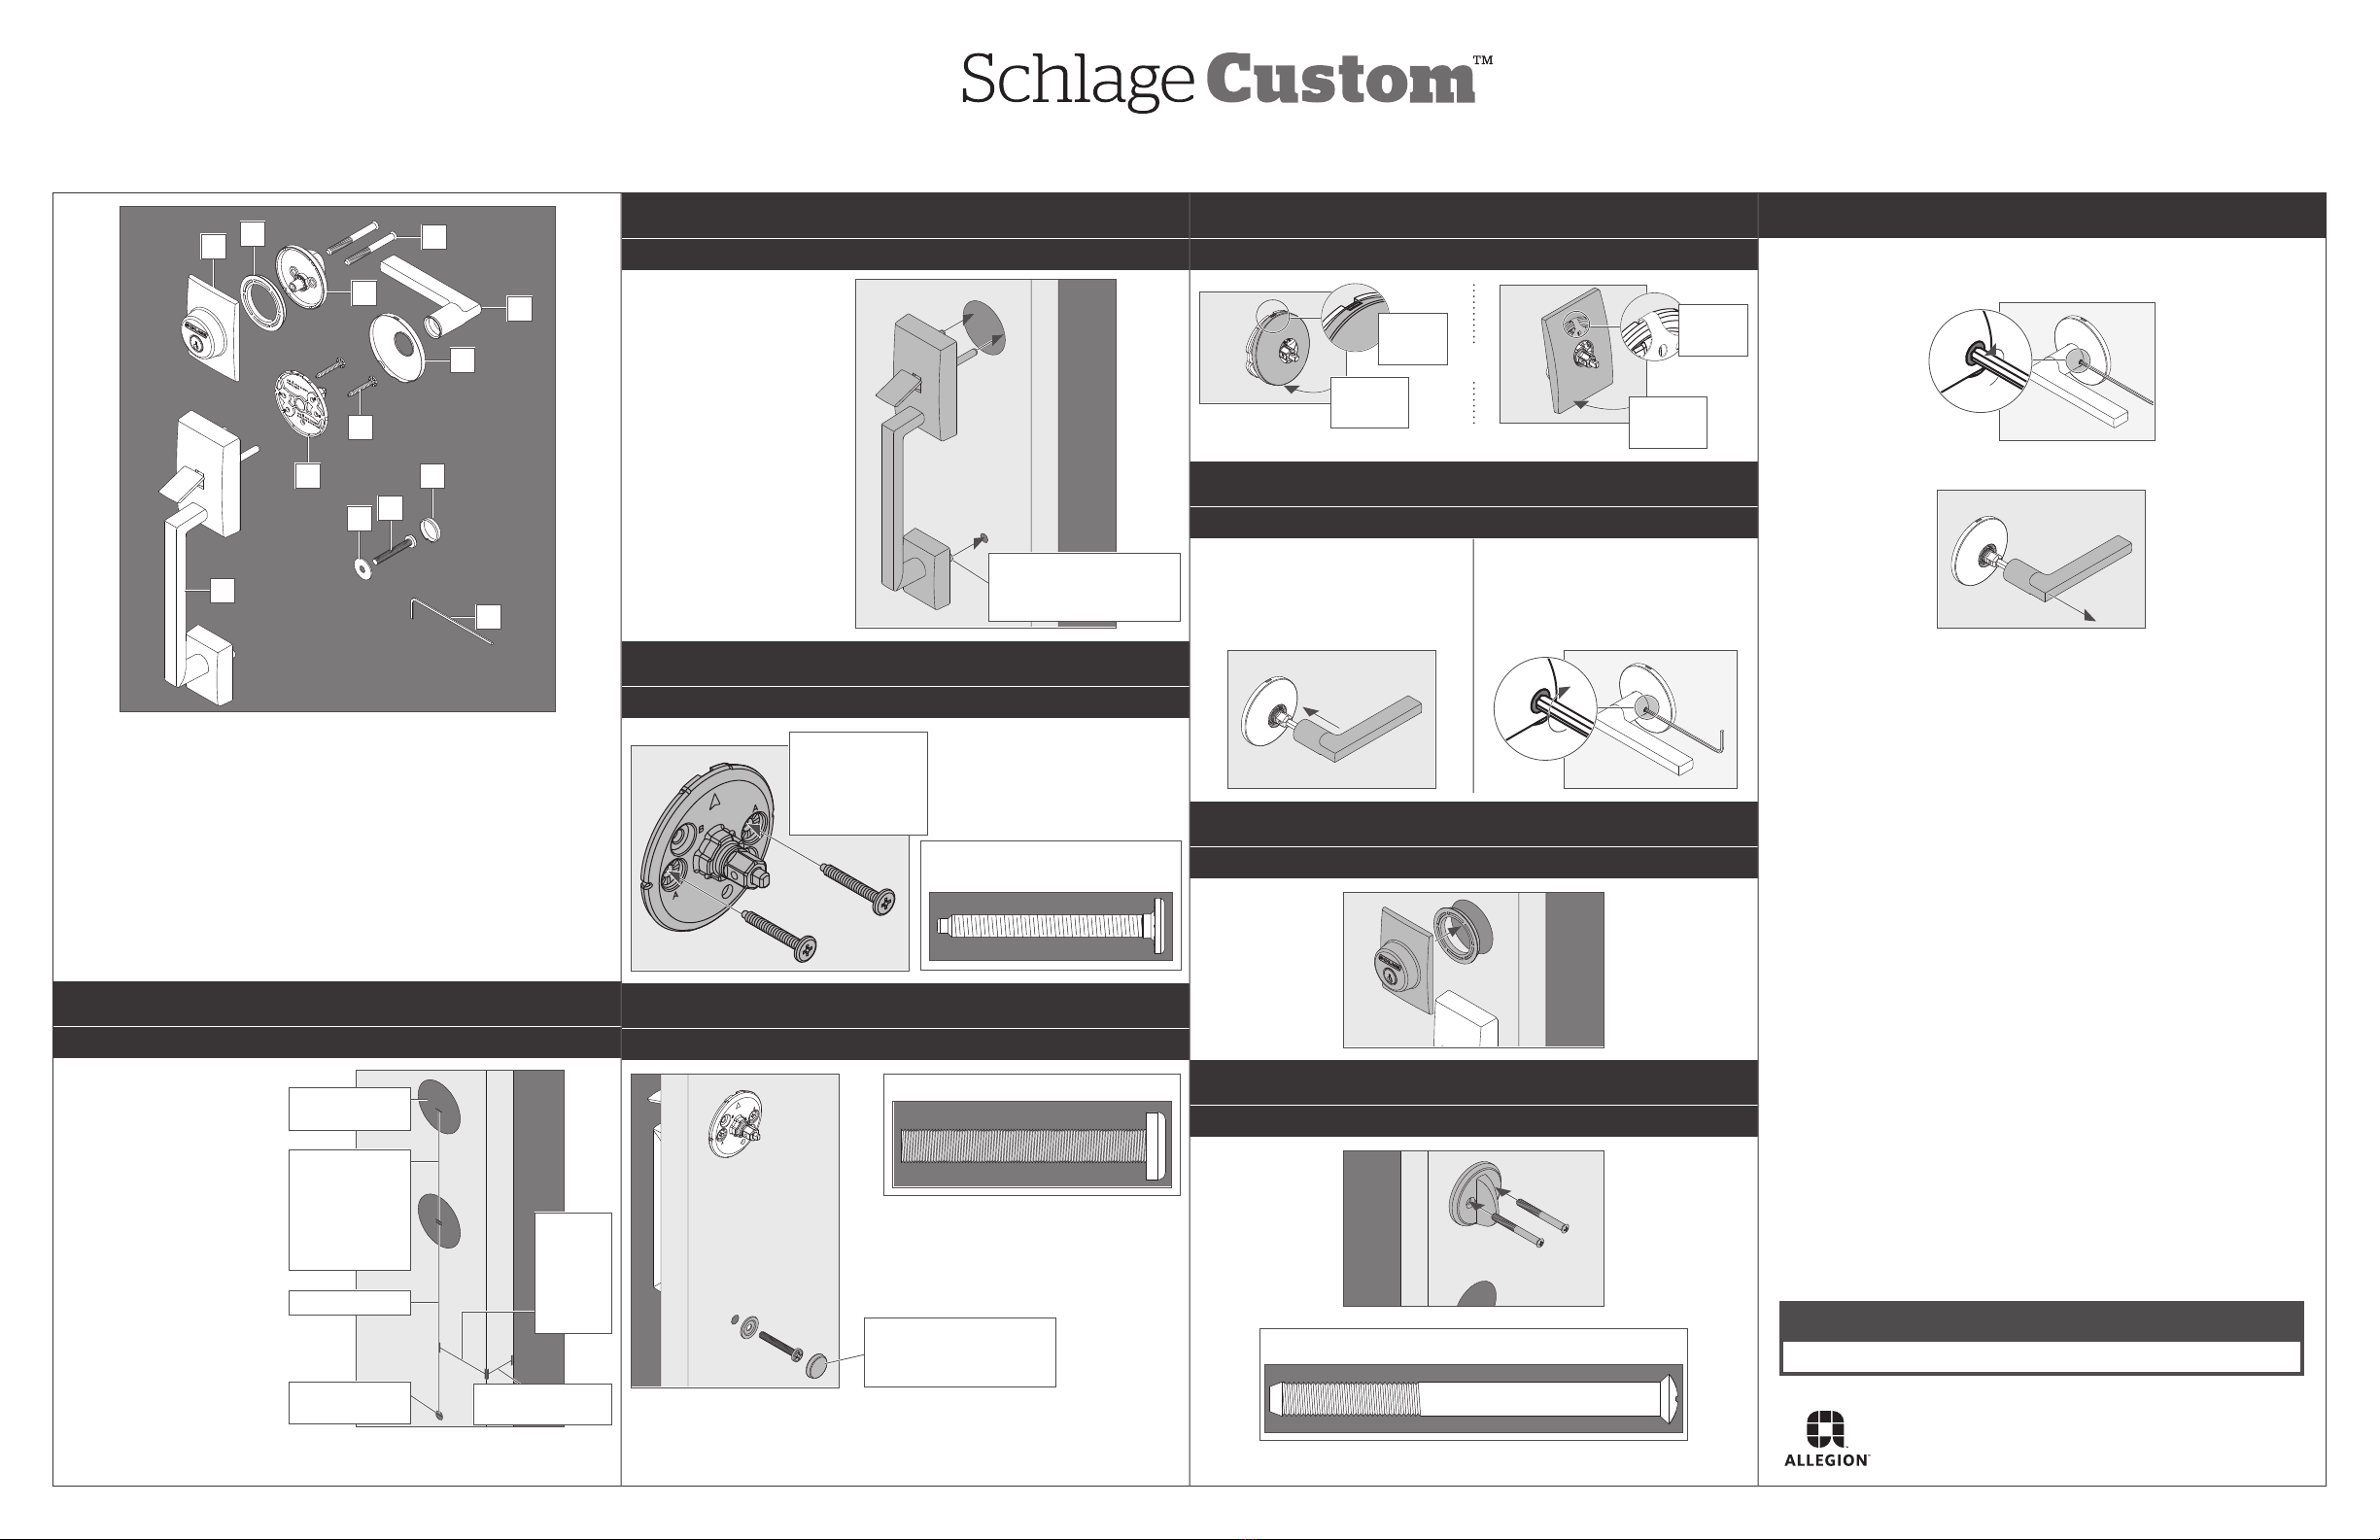
Allegion Schlage Custom FCT93 User manual

Other Allegion Door Lock manuals

Allegion
Allegion Von Duprin 374-T-BE User manual

Allegion
Allegion LEGGE 6000 Series User manual

Allegion
Allegion Olivari PT Series User manual

Allegion
Allegion SCHLAGE XE360 Series User manual

Allegion
Allegion SCHLAGE Element Series User manual

Allegion
Allegion SIMONS VOSS SmartHandle AX User manual

Allegion
Allegion Von Duprin 98/99 User manual

Allegion
Allegion Milre MI-260S User manual

Allegion
Allegion SCHLAGE S-6500 User manual

Allegion
Allegion Falcon D261F User manual

Allegion
Allegion Milre MI-5650 User manual

Allegion
Allegion LEGGE G2 Series User manual

Allegion
Allegion Schlage Control User manual

Allegion
Allegion Falcon CD User manual

Allegion
Allegion FALCON 25-V User manual

Allegion
Allegion Schlage B-Series User manual

Allegion
Allegion SD9 User manual

Allegion
Allegion Simons Voss Scandinavian Oval User manual

Allegion
Allegion SCHLAGE NDEB User manual

Allegion
Allegion Interflex IF-271 Door Handle air User manual


Popular Door Lock manuals by other brands

Assa Abloy
Assa Abloy Effeff Technilock L4 Series Installation and fitting instructions

Endura
Endura Trilennium 3070 Replacement instructions

Hafele
Hafele DT 100 FH installation instructions

Schlage
Schlage BE365 user manual

Weiser
Weiser 28721 instructions

Wittkopp
Wittkopp Primor 2000 / Level 15 user manual


Abus
Abus PR2600 Fitting and operating instructions

Borglocks
Borglocks BL4409 ECP Parts List, Installation and General Information

Masterlock
Masterlock 3681 installation instructions

Itec
Itec iCLASSIC SP Series quick start guide

Prime-Line
Prime-Line E 2400-INS quick guide

GEM
GEM GL600-F Specification sheet