Allmatic B.RO MINI 1CH User manual
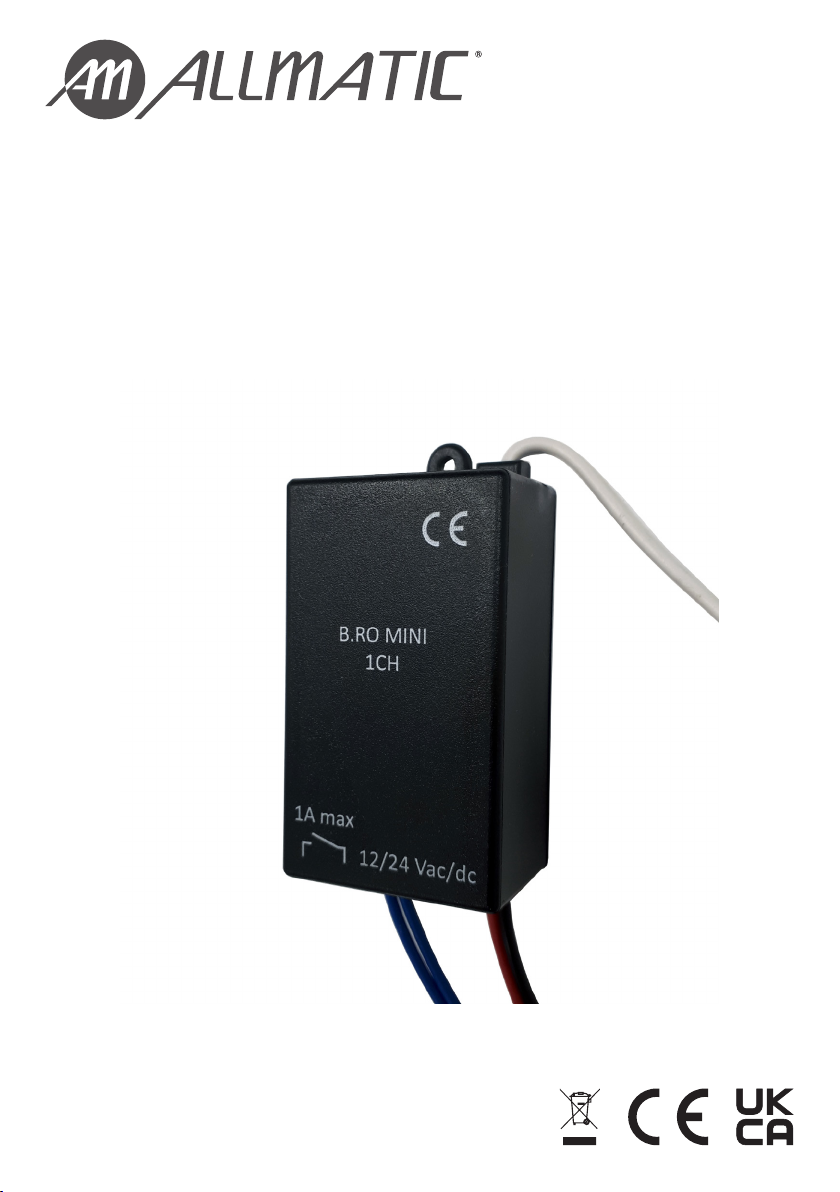
B.RO MINI 1CH
Programmable radio receiver, single relay output.
6-1620051 - English - rev.8 - 30/09/2021 - FW:BRO50AM

2- English 6-1620051 - rev.8 - 30/09/2021
INDEX
1. GENERAL SAFETY WARNINGS 3
2. DESCRIPTION AND TECHNICAL CHARACTERISTICS 3
3. FIRST INSTALLATION 4
4. LEARNING OF A TRANSMITTER 4
5. RELAY OUTPUT PROGRAMMING 5
6. LEARNING A NEW TRANSMITTER THROUGH A LEARNED ONE 6
7. CANCELLATION OF A LEARNED SINGLE TRANSMITTER 6
8. TOTAL RESET OF THE DEVICE 7
9. PRODUCT DISPOSAL 7
10. WARRANTY 7
English - 36-1620051 - rev.8 - 30/09/2021
1. GENERAL SAFETY WARNINGS
WARNING!
Before installing the product it is mandatory to read the document related to the GENERAL SAFETY WARNINGS
accompanying the product. Document 6-1620001. The additional sheet can also be downloaded from www.
allmatic.com.
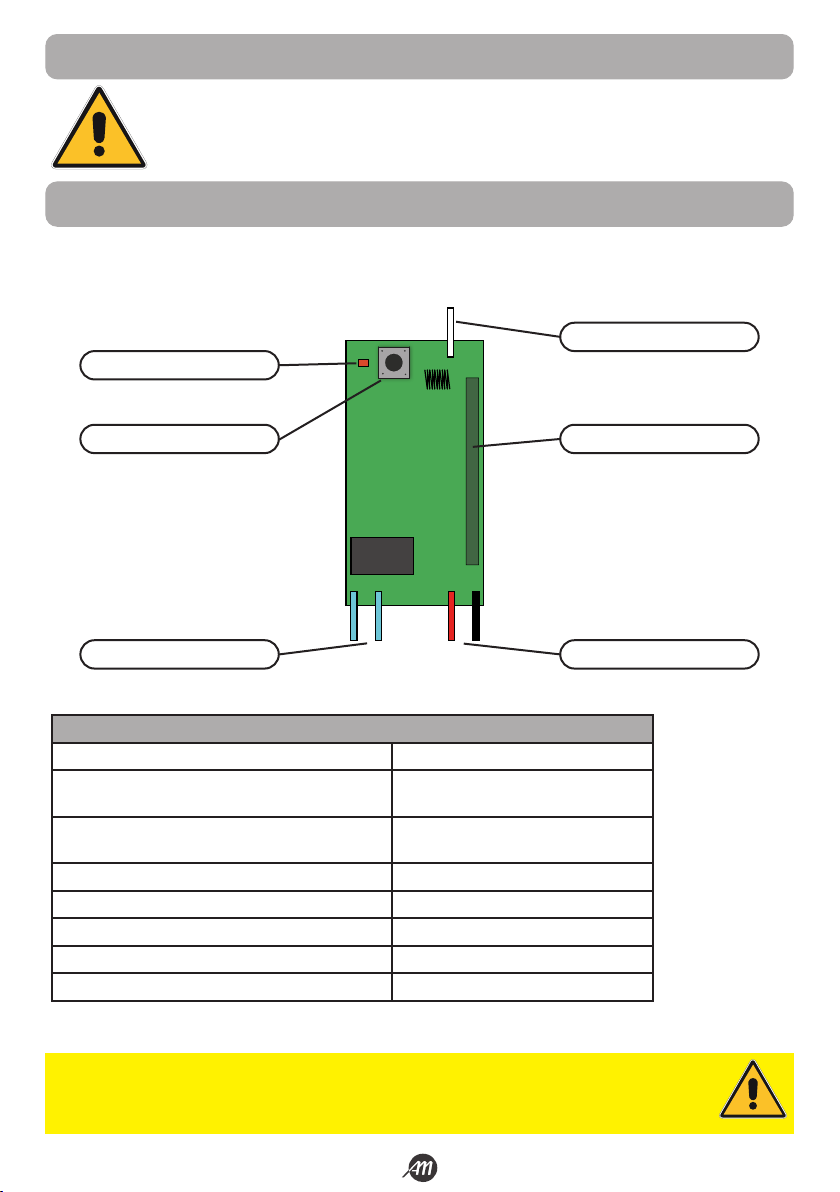
2. DESCRIPTION AND TECHNICAL CHARACTERISTICS
The B.RO MINI 1CH is a miniaturized Rolling Code receiver programmable with single voltage-free contact relay output, already
equipped with 30 cm long cables. In the B.RO MINI 1CH it is possible to configure the relay output in 3 dierent modes of use:
"toggle" mode, immediate and timed.
COM
N.O.
12-24
Vac / Vdc
+ -
ATTENTION!
The maximum range is aected by the type of transmitter and antenna in use. In addition, the range can vary signifi-
cantly in the presence of metal parts, in the presence of shielding between the device and the transmitter in use or in
the presence of other devices that communicate at the same radio frequency.
ANTENNA
TECHNICAL CHARACTERISTICS
Power Supply 12-24 Vac/Vdc
Consumption 45mA dc - 85mA ac @ 12V
50mA dc - 100mA ac @ 24V
Contact relay Normally Open 1A @ 30Vdc MAX
0,5A @ 42,4Vac MAX
Radio coding Rolling Code Allmatic
Frequency 433.92 MHz
Max transmitters can be stored 1000
Max range (in open field) 250 m
Operating temperature -10 ... +55 °C
INDICATOR LED
LEARNING BUTTON RADIO MODULE
RELAY OUTPUT POWER SUPPLY

4- English 6-1620051 - rev.8 - 30/09/2021
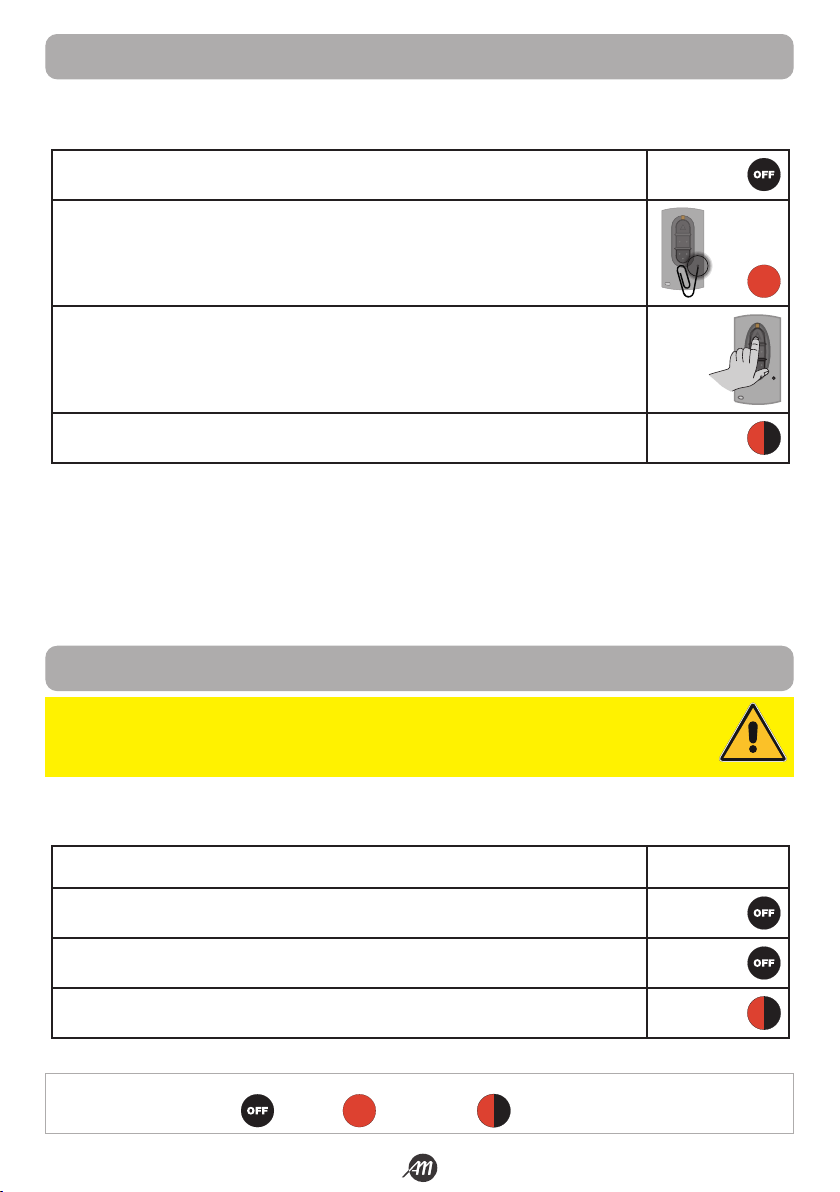
4. LEARNING OF A TRANSMITTER
KEY:
= LED O;
R
= LED On Fixed; = flashing LED
The B.RO MINI 1CH is compatible with all Rolling Code Allmatic transmitters. Before learning a new remote control make sure that
the type of transmitted code is compatible with that of the receiver in use and move close to the receiver itself.
Make sure the receiver is powered and ready to use (LED o).
Once press the learning button, the LED lights up. R
Press the button of the transmitter you want to store.
The LED will flash two times to confirm the correct storage of the remote control. 2 x
Repeat the procedure for each transmitter you want to store.
Warning: After 10 seconds of inactivity the device automatically exits the programming menu.
Attention: The receiver stores only one button per transmitter. If a second key is stored, it will replace the previously
stored key.
3. FIRST INSTALLATION
Once the device is installed, before you can use it you need to power it and wait for the LED to flash two flashes.
Power the receiver, the LED performs two flashes. 2 x
Once the LED is turned o, the receiver is ready to be used.

English - 56-1620051 - rev.8 - 30/09/2021
5. RELAY OUTPUT PROGRAMMING
The receiver has three modes in which you can program the operation of the relay output (Normally Open Contact).
1. In TOGGLE mode, the relay changes its status each time the transmitter button is pressed.
2. In IMMEDIATE mode, the relay output remains closed until the transmitter button is pressed.
3. In TIMED mode, from the moment the transmitter button is pressed, the relay output remains closed for a programmable
time of 1 to 120 seconds.
TOGGLE MODE OF USE
Make sure the receiver is powered and ready to use (LED o).
Hold down the learning button for at least 2 seconds, but less than 10.
When you see the LED flash slowly release the button. SLOW
The led will run 5 flashes to confirm the correct programming. 5 x
IMMEDIATE USE MODE (DEFAULT)
Make sure the receiver is powered and ready to use (LED o).
Press and hold the learning button for at least 10 seconds.
When you see the LED flash quickly release the button. FAST
Press and hold the learning button for 5 seconds.
The led will run 5 flashes to confirm the correct programming. 5 x
TIMING MODE OF USE
Make sure the receiver is powered and ready to use (LED o).
Press and hold the learning button for at least 10 seconds.
When you see the LED flash quickly release the button. FAST
Press the learning button a number of times equal to the seconds for which you want to program that
the contact of the relay remains closed (minimum 1, maximum 120).
At each press of the button the led flashes.
Example: 10 press of key = the output remains closed for 10 seconds.
Example
10 x
Press and hold the learning button for 5 seconds.
The led will run 5 flashes to confirm the correct programming. 5 x
KEY:
= LED O;
R
= LED On Fixed; = flashing LED
6- English 6-1620051 - rev.8 - 30/09/2021
7. CANCELLATION OF A LEARNED SINGLE TRANSMITTER
The ability to delete a single remote control is linked to the type of transmitter in use. In case the transmitter is not compatible with
this procedure, to delete the transmitter it is necessary to perform a complete reset of the memory.
Get close to the receiver from which you want to delete the transmitter.
Press and hold the hidden button of the transmitter to be deleted.
(Please refer to your transmitter instruction manual)
Without releasing the hidden button, press the first button of the transmitter.
The LED of the receiver performs 4 flashes to confirm the cancellation of the transmitter. 4 x
WARNING!
This operation deletes the transmitter from all active automations in its vicinity, to which it was previously associated.
6. LEARNING A NEW TRANSMITTER THROUGH A LEARNED ONE
The ability to learn a new remote using one already learned is linked to the type of transmitter in use. If the transmitter is not
compatible with this procedure, please refer to Chapter 4 of this manual to learn a new remote control.
Make sure the receiver is powered and ready to use (LED o).
Once press the hidden button of an already learned transmitter.
(Please refer to your transmitter instruction manual)
This corresponds to pressing the learning button on the receiver.
The LED on the receiver lights up. R
Press the button of the new transmitter you want to store.
The LED will flash two times to confirm the correct storage of the remote control. 2 x
Repeat the procedure for each transmitter you want to store.
Warning: After 10 seconds of inactivity the device automatically exits the programming menu.
Attention: The receiver stores only one button per transmitter. If a second key is stored, it will replace the previously
stored key.
KEY:
= LED O;
R
= LED On Fixed; = flashing LED

English - 76-1620051 - rev.8 - 30/09/2021
9. PRODUCT DISPOSAL
8. TOTAL RESET OF THE DEVICE
This procedure allows to completely erase the radio memory of the receiver and to return the receiver to its default mode of use
(IMMEDIATE mode of use).
Power o the receiver.
Press and hold the learning button.
Turn on the receiver, the LED will turn on.
At this stage it is important not to release the learning button.
R
When the LED turns o you can release the learning button.
The LED will flash two times to confirm the correct execution of the procedure. 2 x
10. WARRANTY
This product is an integral part of automation, and therefore must be disposed of together with it. As with installation operations, even
at the end of the life of this product, dismantling operations must be carried out by qualified personnel. This product consists of various
types of materials: some can be recycled, others must be disposed of. Find out about the recycling or disposal systems required by the
regulations in force in your territory for this category of product.
WARNING! - certain parts of the product may contain pollutants or dangerous substances which, if dispersed in the
environment, could have harmful eects on the environment and human health.
As indicated by the symbol on the side, it is forbidden to throw this product into household waste. Then perform the
“separate collection” for disposal, according to the methods provided by the regulations in force in your territory, or
return the product to the seller when buying a new equivalent product.
WARNING! - the regulations in force at local level may provide for heavy penalties in case of improper disposal of this
product.
The manufacturer’s warranty is valid from the date stamped on the product and is limited to the repair or replacement free of charge
of the parts recognized by the same as defective due to lack of essential quality in the materials or lack of processing. The warranty
does not cover damage or defects due to external agents, maintenance deficiency, overload, natural wear, choice of incorrect type,
assembly error, or other causes not attributable to the manufacturer. Tampered products will not be guaranteed or repaired. The data
given are purely indicative. No liability may be charged for reductions in scope or malfunctions due to environmental interference.
The liability of the manufacturer for damage caused to anyone by accidents of any nature caused by our defective products, are only
those that derive from the Italian law.
WARNING!
Performing the reset procedure results in the deletion of all previous remote controls learned in the receiver.

ALLMATIC S.r.l
32026 Borgo Valbelluna – Belluno – Italy
Via dell’Artigiano, n°1 – Z.A.
Tel. 0437 751175 – 751163 r.a. Fax 0437 751065
Other manuals for B.RO MINI 1CH
2
Table of contents
Other Allmatic Receiver manuals


