2
OPERATING INSTRUCTIONS
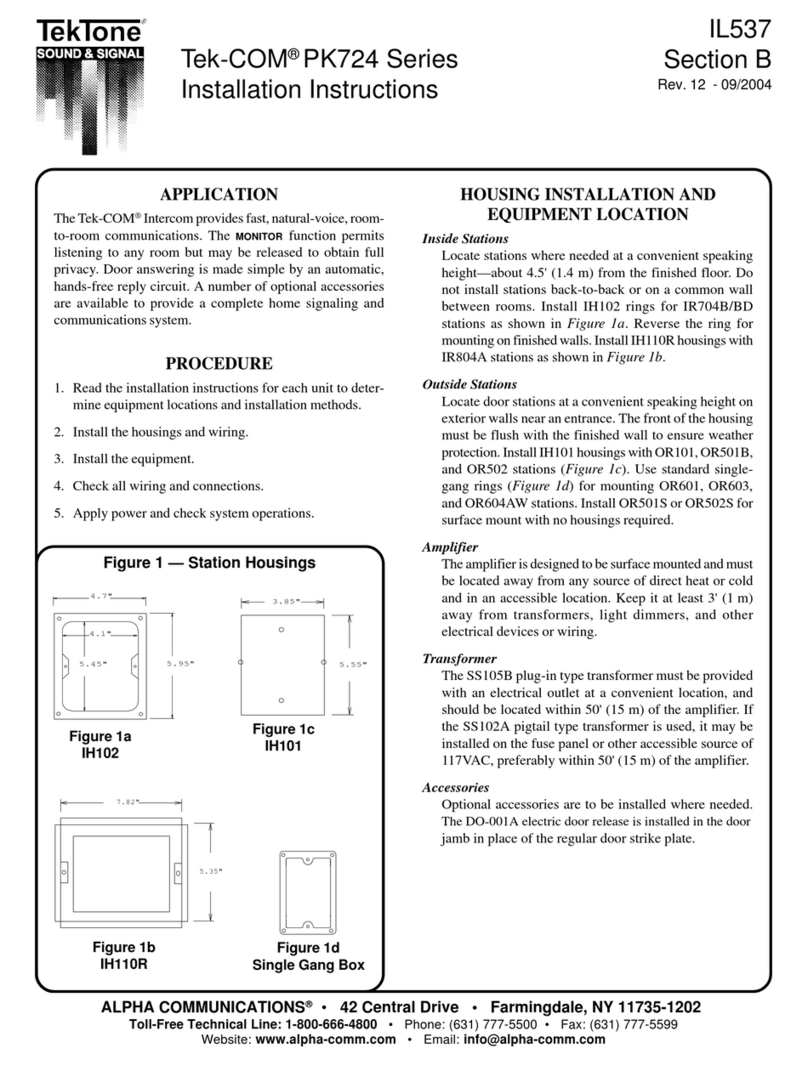
TO PLACE A CALL TO THE REMOTE
MONITOR+HANDSET UNITS:
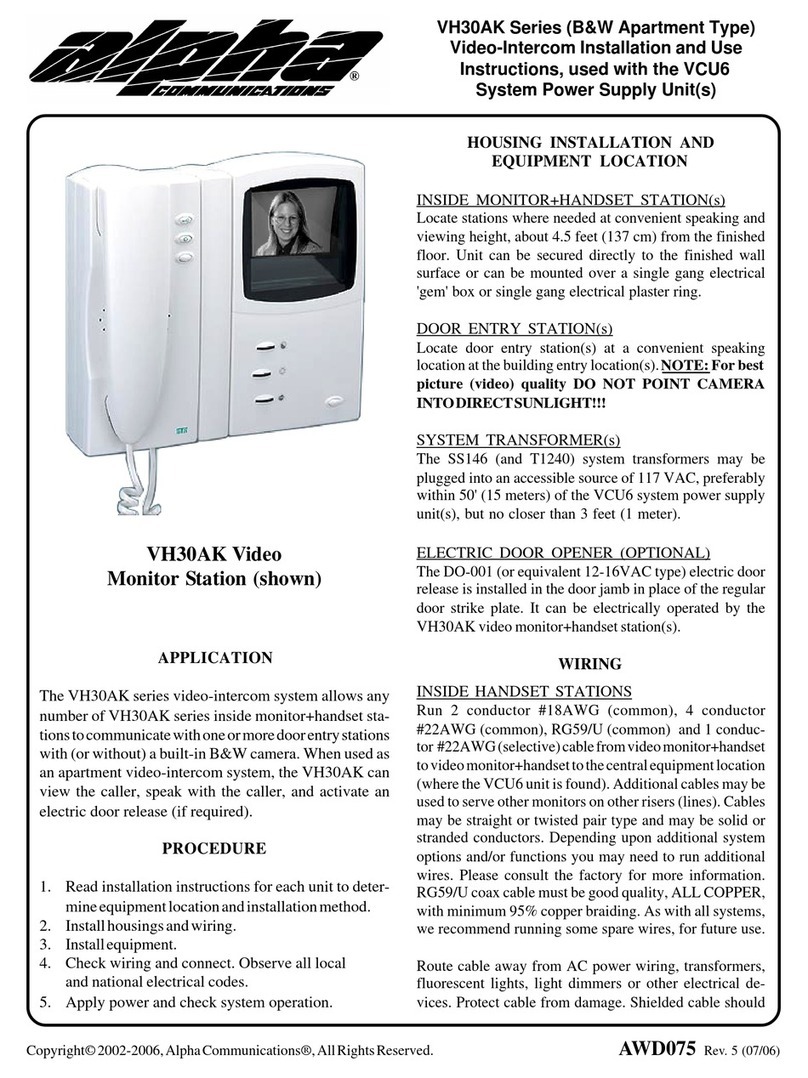
At the remote door entrance station, depress button (for a
few seconds) for video monitor+handset you wish to call.
Thiswillsignalthebuzzer(oroptionalAlphatone™)signal
at the monitor handset, and will cause the video screen to
light and display the visitor. The resident may choose to
ignore the caller, or to lift the intercom handset to answer.
Resident may speak to the visitor by simultaneous 2-way
(DUPLEX) voice. If resident is satisfied with identity of
callerandwishestoletvisitorintothebuilding,residentshall
momentarily depress the door release (KEY) button on the
handset, which will electrically activate the door release
mechanism.Monitorwilltime-outautomaticallyafterapprox.
40 seconds (unless the time-out duration has been changed
by the installer/user). NOTE:in the lower right hand corner
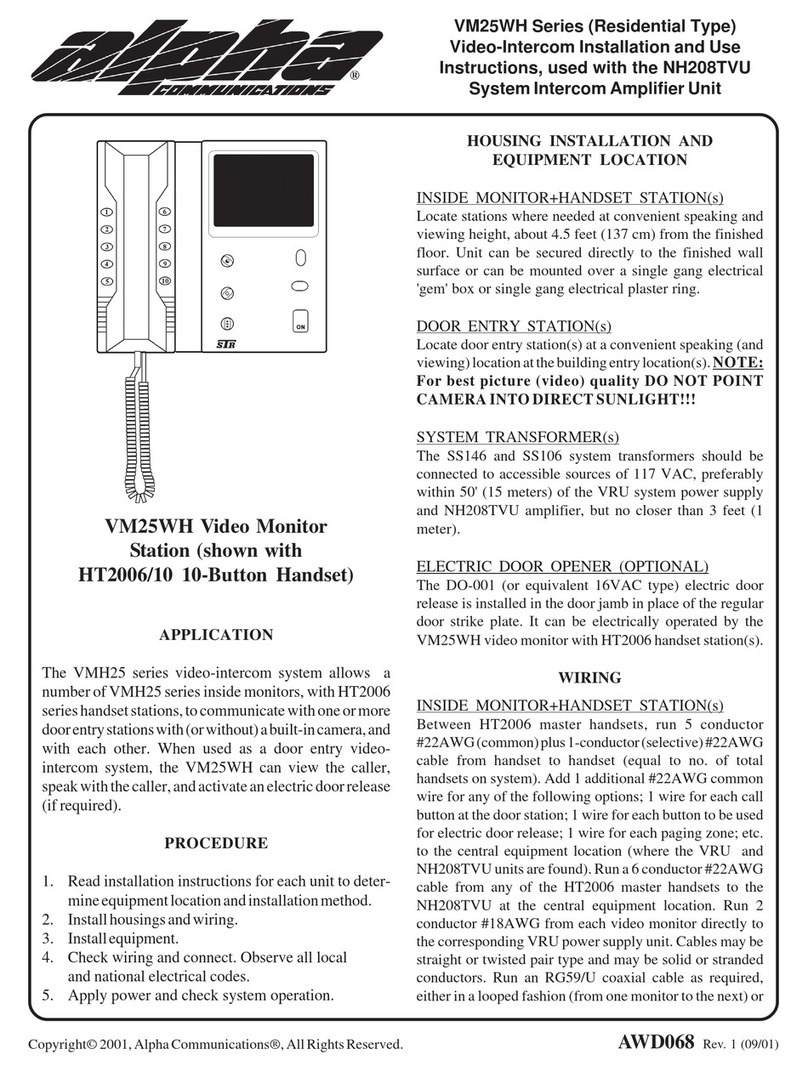
of each monitor unit is a button marked 'ON'. Momentarily
depressing this button will cause the monitor to activate
again,andwilltimeoutafterthepre-programmeddelaytime.
Insystemswithmultipledoorentrystations,thesystemwill
automatically switch the voice, video and door release
functions to the last entry station that placed a call (when
used with the appropriate multiple entrance adaptors).
TROUBLESHOOTING
If the system fails to operate as required, review operating
instructions again. If the equipment fails to operate as
indicatedintheinstructions,checkthefollowingpoints:
1. ENTIRE SYSTEM DEAD: Check for 16VAC at the
two (2) transformer secondaries; wiring between trans-
formerandamplifier/powersupplyunit(s);connectionsat
main power supply units, 117VAC at transformer pri-
mary, and check the (3 amp slo-blo European size) fuse
in the VRU power supply. If fuse is blown, replace with
our model #50T-3A.
2. NO CALL UP BUZZER AT HANDSET: Check for
approx. 16VAC at terminals 'O' and 'S' on handset, when
entrystationpushbuttonisdepressed.Temporarilyswitch
handset with one from a functioning location. Check
wiring connections at remote handset. Check that wiring
insidehandsetbaseisnotrestrictingmovementofbuzzer
clapper; temporarily switch handset to another location
thatisfunctioning,andtryagain. Check that entry station
pushbutton is making contact, by shorting out the two (2)
wires on the back of the button.
3. NO PICTURE AT MONITOR: If screen is NOT
LIGHTING UP, check for approximately 16VDC at
(+) and (-) terminals on monitor PC board (VH250E or
fluorescent lights, light dimmers or other electrical devices.
Protectcablefromdamage.ShieldedcableshouldbeusedifAC
interference is a concern, or if cables cannot be run adequately
spaced away from any source of electrical interference.
DOORRELEASE
Run 2 conductor #18 from each door release location to the
central equipment location and NH208TVU amplifier unit.
Routeawayfromanystationwiring. Note:ifwire run is longer
than 50 feet (15m), use #16AWG cable.
CONNECTIONS
Before connecting, make certain wires are free from shorts or
grounds. Make connections as shown on the enclosed system
diagrams, and as indicated below.
NOTE: Please keep in mind that all wiring terminals
shown may not be in the actual order in which they
appear on the equipment. This is done for clarity of
wiring diagram purposes.
TRANSFORMER
1. Connect the SS146 and SS106 (16VAC) transformers to
the VRU power supply and NH200A amplifier unit(s),
respectively,whereindicated.Donot use transformer(s) to
power any other device(s).
2. Do not connect transformer primary to 117 VAC until
entire installation is complete and all wiring is checked.
DOORRELEASE
1. Connect 16 VAC electric door opener using 2 conductor
#18AWG (polarity not important). Route away from any
station wiring. Note: if wire run is longer than 50 feet
(15m), use #16AWG cable.
FINISH INSTALLATION
1. Install all components. Do not overtighten screws.
2. Connect primary of all transformers to 117 VAC.
Observe all local and national electrical codes.
TEST AND CHECKOUT
1. Atallremotemonitor+handsetstations,makecertainthe
handsets are completely hung-up on the handset cradle.
2. Check each monitor+handset unit in the system for
operation in accordance with the operating instructions.
3. Checkforproperdoor release function (on systems with
door release capability.
4. On systems with multiples entrances, check for proper
operation from each calling entrance station.
NOTE: System warranty is void if this system is installed
or used in any manner other than described in this
manual.
