manuals.online logo
Brands
  1. Home
  2. •
  3. Brands
  4. •
  5. Alpha Communications
  6. •
  7. Intercom System
  8. •
  9. Alpha Communications ART4LITE/G2 User manual

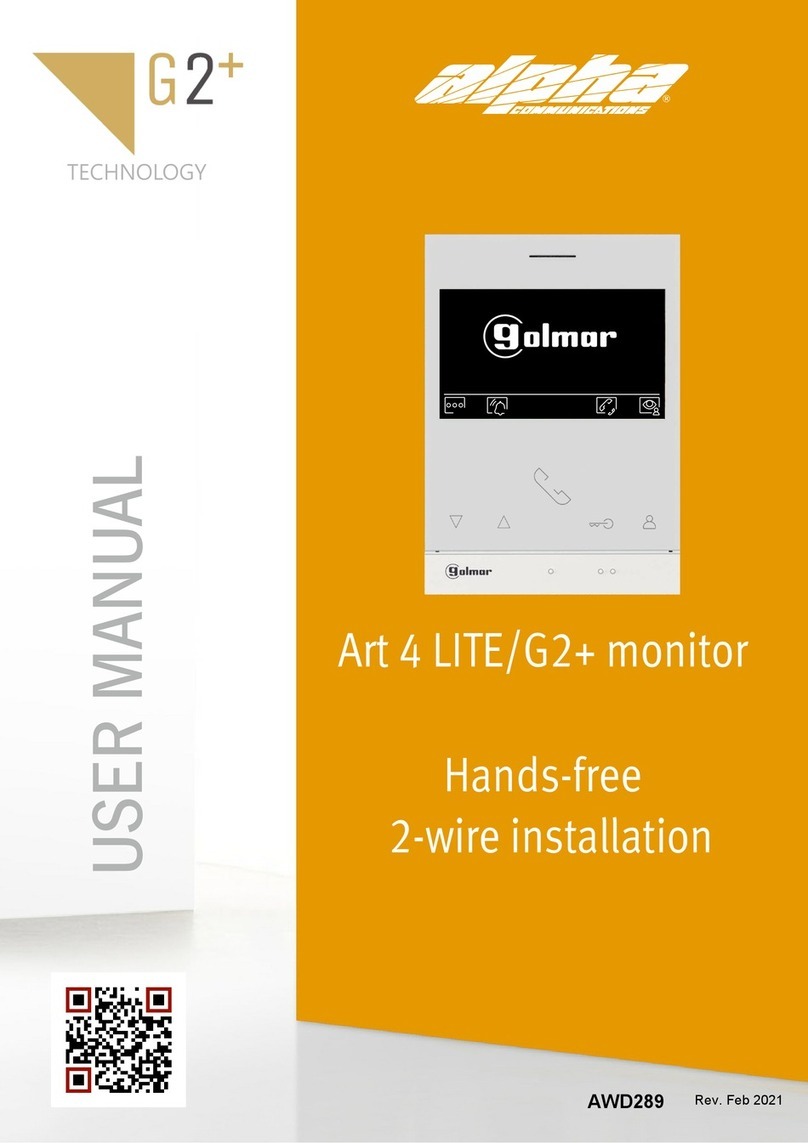
Alpha Communications ART4LITE/G2 User manual

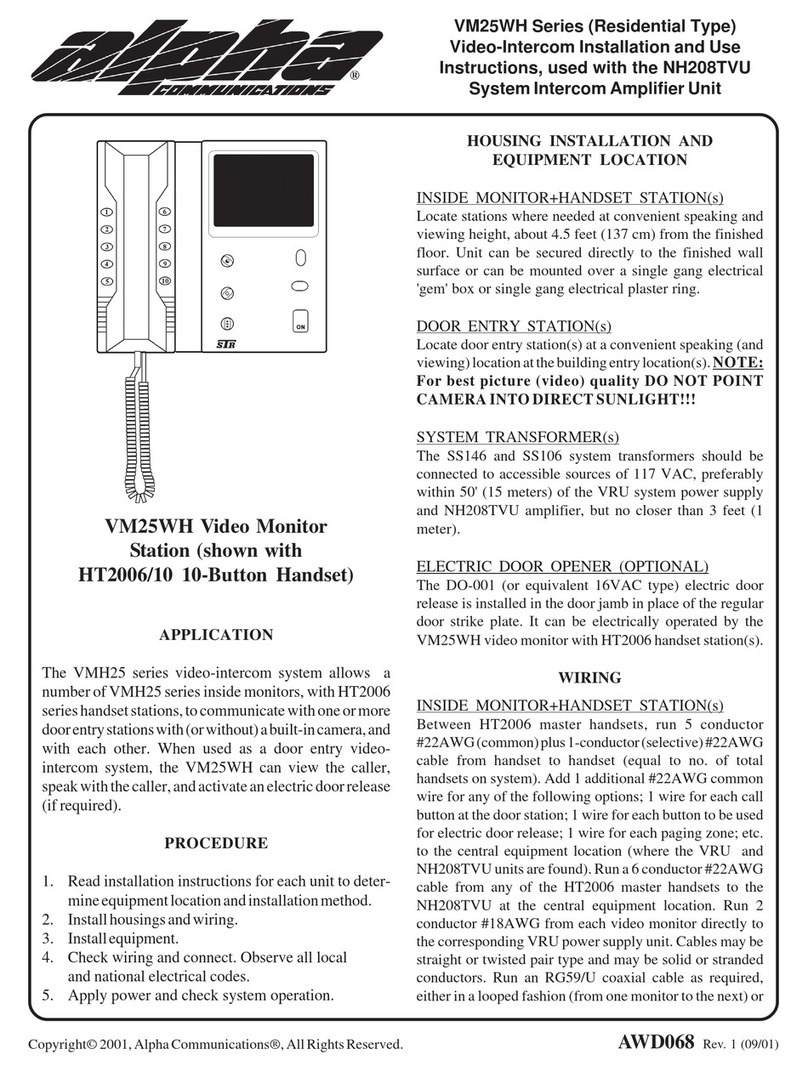
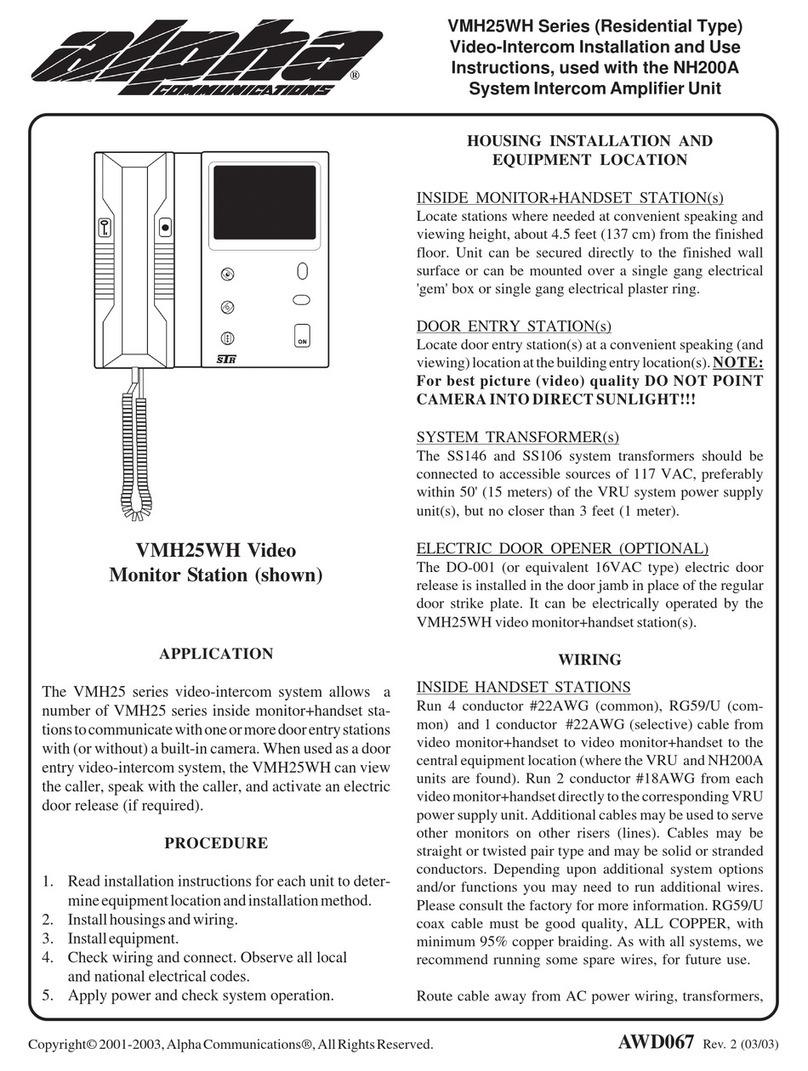
Description of the monitor when receiving a call and during communication.
4
*
( )
*
( )
ART4LITE/G2 MONITOR
Alpha Communications reserves the right to make any modifications
to this manual and its contents without prior notice.
www.AlphaCommunications.com
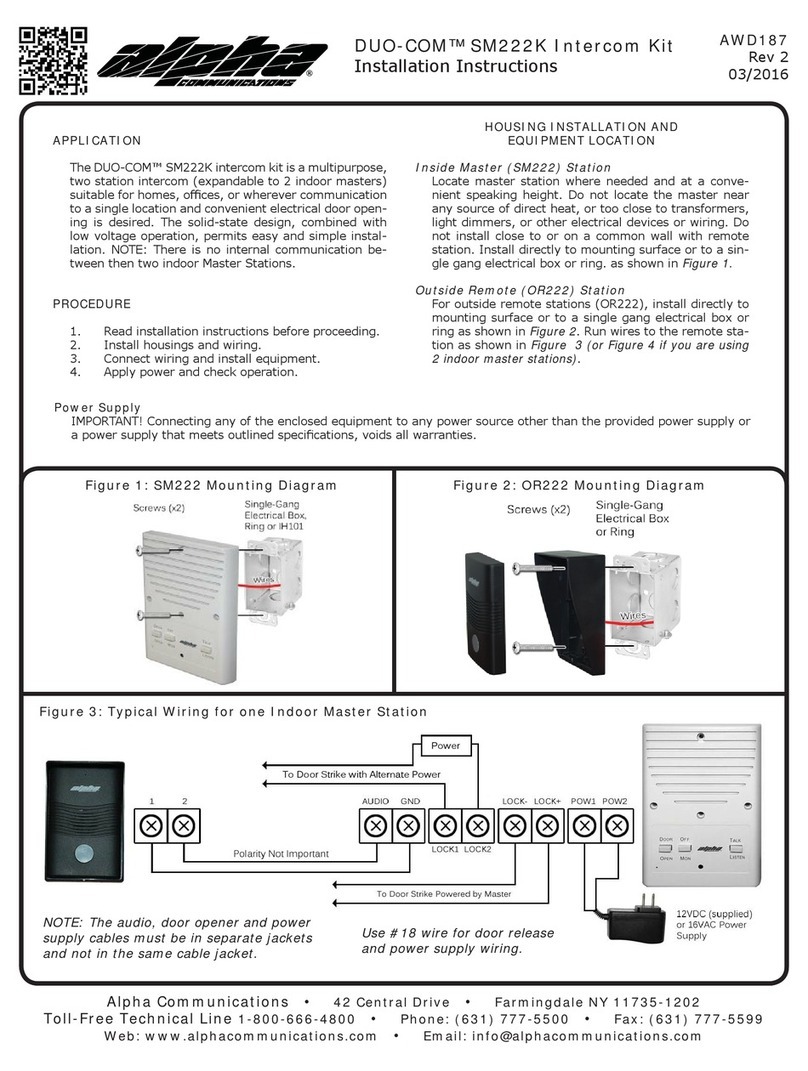
For more information, see “AWD289" user manual.
http://interco.ms/awd289
ART4LITE/G2 MONITOR
Communication screen
Door panel call screen
The screen is displayed when receiving a call or pressing icon of the main menu. During a call, icon .
displayed on the screen will blink green (during the call process). In the top of the screen, the source ofright
the image is displayed. The call has a duration of 45 seconds.
The screen is displayed during a communication process. In the top of the screen, the source of theright
image is displayed Communication has a maximum duration of 90 seconds.
.
Press the button below icon for 3 seconds to access the image and call tone volume settings
menu during a call process or communication volume settings menu during a communication
process monitor. Select the option to be modified by pressing the buttons below corresponding
icons / , change to the desired level by pressing the buttons below corresponding icons
./ and validate the changes made by pressing the button below icon
Press the button below icon / to start or end communication with the door panelthe
displayed. Communication has a maximum duration of 90 seconds. Once communication
has ended, the screen will turn off.
Press the button below icon hange the source of the image as long as the system has moreto c
than one door panel or has an external camera connected and display has been activated (see
monitor manual and corresponding door panel manual). It is possible to make the change during
display, call and communication processes.
Press the button below icon to a 1ctivate the lock release (or device connected to the outputrelay
of the door panel) for 3 seconds (factory setting, programmable by the installer; see monitor
manual and corresponding door panel manual).
Press the button below icon to activate the lock release (or device connected to the relay 2 output
of the door panel) for 3 seconds (factory setting, programmable by the installer; ees monitor
manual and corresponding door panel manual).
1
2
A B
A
B
QUICK GUIDE
50122622
2
1
2
1
1 2
1
1 2
End c with the door panel and then show the main menu.the all
Press the button below icon to "staircase light" activation (Additional Hardware Required)
Rev. Feb 2021
AWD290
2
SAFETY PRECAUTIONS
- Hands-free monitor.
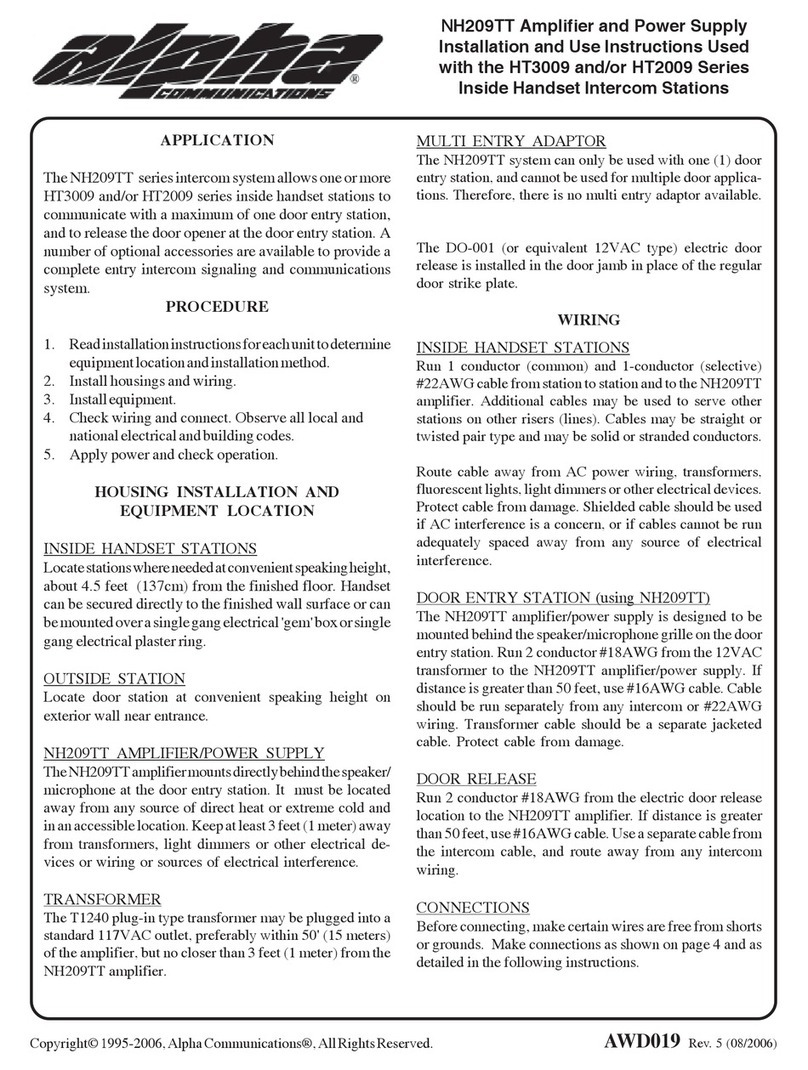
- 4.3" TFT color screen.
.
- for access and selection of menu function.Function push buttons
- Monitor .with simple installation (non-polarised 2 wires bus)
.User
- .User menu
.
- .Installer menu
.
- .Image and communication settings menu
.
- 50mA/12V ).Output auxiliary call repeater (max. dc
.
- "HZ" input for calls from apartment front door.
.
- Push buttons for door release 1 and 2.
.
- eds.Notification l
.
- call (1 to 128) end of line.Configuration switches to assign the address and
- Function codes to define whether the monitor is master or slave (default: master).
- before installing or making modifications to the device.Always disconnect the power supply
.
- The fitting and handling of these devices must be carried out by .authorised personnel
.
- The wiring must run at least 15.75" (40 cm.) away from any other wiring.
- Do not over tighten the screws on the connector.
- Install the monitor in a dry protected location free from the risk of dripping or splashing water.
- Do not place in humid, dusty or smoky locations, or near sources of heat.
- Before connecting the device to the mains, check the connections between the door panel, power
supply, distributors and monitors.
- Always follow the instructions contained in this manual.
CHARACTERISTICS
SYSTEM OPERATION
*
( )
*
( )
3
DESCRIP MONITORTION
Monitor address (code) setup:
*
( )
*
( )
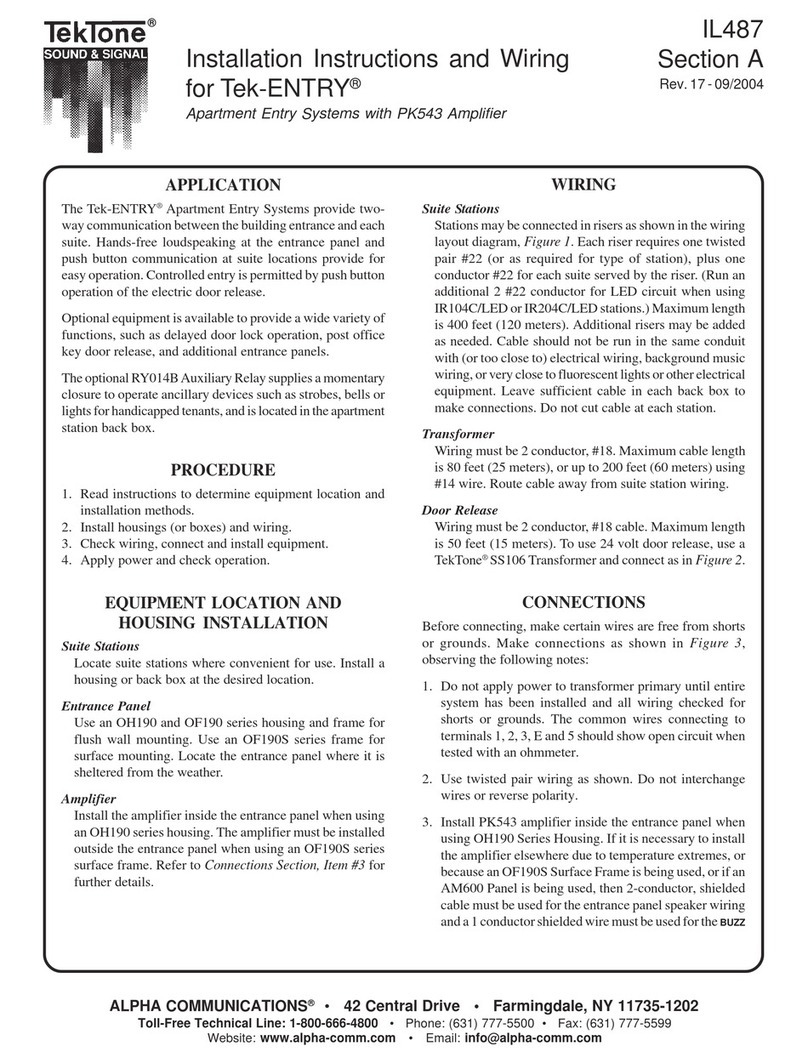
INSTALA MONITORTION OF THE
*
( )
Building / Villa (Nexa Door Panel)
*
( )
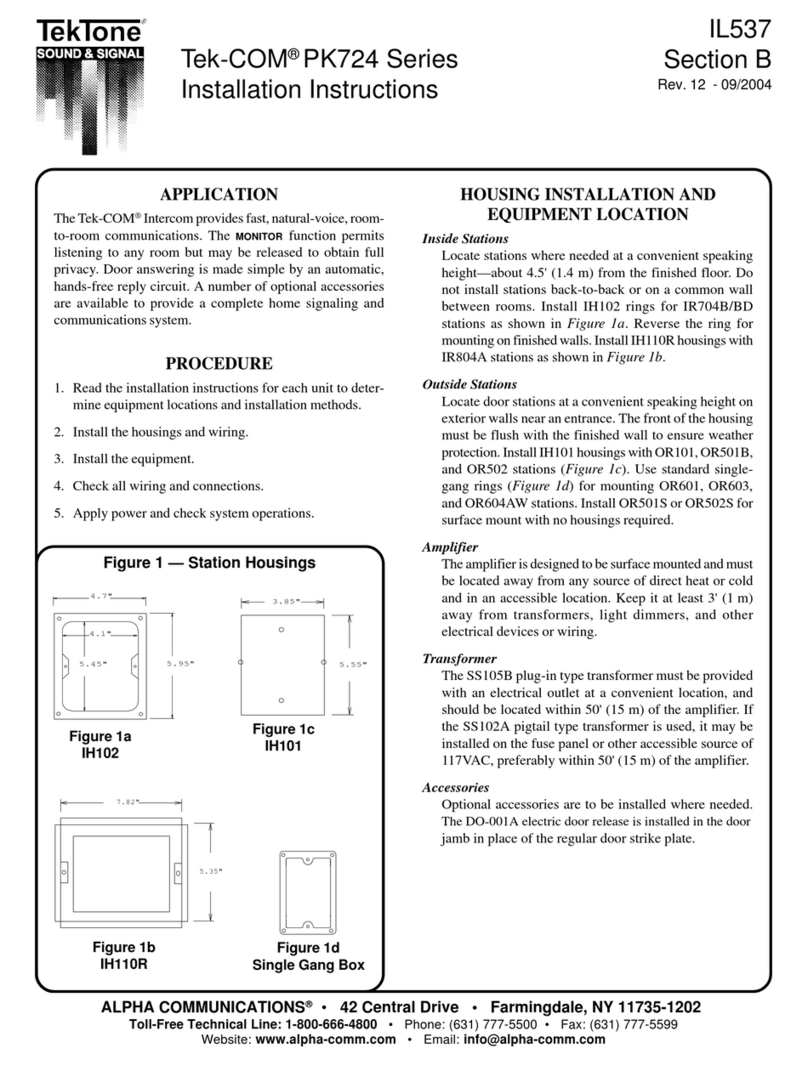
- To make a call, the visitor must press the button of the apartment; an audible sound indicates that the call
is being made and LED will turn on. If vocal synthesis is enabled, a 'Call is in progress'door panel
message appears indicating that a call is being made.At this moment, the apartment's monitors receive
the call. If another apartment is called by mistake, press the button for the correct apartment and the first
call will be cancelled.
.
- Upon receiving the call, the image will appear on the screen of the master monitor (and slave 1, if it
exists) without the visitor knowing and icon displayed on the screen will blink green. To view the
image from slave monitors 2 or 3, press . If theone of the buttons of the monitor to display the image
call isnot answered within 45 seconds, LED will turn off and the system will become free.door panel
.
- To establish communication, press off-the-hook icon o the screen. Doorthe button below sh wn on
panel LED will . If the monitor is a with icon on thewill turn off and the led turn on n 'ART 4H LITE'
front, make sure that the hearing aid is between 15 and 25 cm away from the monitor to ensure
maximum audio quality during communication with the door panel.
.
- Co will last for 90 seconds or until on-the-hook iconmmunication the button below shown on the screen
is door panelpressed. When communication ends, LED will turn off and the system will become free. If
vocal synthesis is enabled, a 'Communication is finished' message will indicate that the call is over.
.
- , press the corresponding iconTo open door of the door panel on theor button below the displayed
screen 3during the call or communication processes: one press will activate the lock release for
seconds and LED will also turn on for seconds. If vocal synthesis is enabled, a 'Doordoor panel 3 is
open' message will be indicated on the door panel.
.
- and configuration , see "TART /G2+" user manualDetailed operation of the monitor 4 .
12
A. Speaker.
B. Function buttons, access and selection of menu functions.
The function of each button is shown on the monitor screen with an
icon located just above each button (see “AWD289” manual).
Press to access 'Doctor mode' function (standby monitor):
-
-
With the special code '0441' (Doctor mode) already entered (see
special codes in manual “AWD289”), press the button
for 1sec. to activate/ deactivate the function.
The push button led will blink in white color if the
function 'Doctor mode' is activated and it will turn off if the
function is deactivated.
C. Monitor status LED:
Yellow ON: Standby without notification.
Red ON: “Do not disturb”Mode activated.
D. 4.3" TFT color screen.
E. Alpha use only.
F. Microphone.
G. Raised dots for the visually impaired people.
In call :/communication
Above this raised dot is the 'Start/ nd communication' button.E
Above these raised dots is the 'Door opening' button.
For more information, see “AWD289" user manual
http://interco.ms/awd289
ART4LITE/G2 MONITOR ART4LITE/G2 MONITOR
A
D
B
C
G
E
F
*
J
H
I
J
J
J
SA
GND
HZ
HZ
ON
1 2 3 4 5 6 7 8
BUS
BUS
SA
OFF = 0
ON = 1
DIP 1 to 7
DIP 8
Monitor
address
EOL
resistor
GND
HZ
HZ
BUS
BUS
128
codes
Dip1 Dip7:- Sets the monitor address (addresses to ).1 21 8
The switches set to OFF have a zero value. The values of the switches set to ON are shown in the table below. The
monitor code is the sum of the values of the switches set to ON.
Dip8: This activates the end-of-line resistance in the ON position.Activate it in monitors where the bus cable ends.
Deactivate it only in intermediate monitors.
Switch number: 1 2 3 4 5 6 7
:1 2 4 8 16 32 64
Value when ON
Table of values
Important: Apartment 1 (Dip1 to ON & Dip2-Dip to OFF).7
Important: Apartment 2 (Dip1 - Dip to OFF).1 8 7
1 2 3
ON
Example: 0+0+4+0+16+ = 200+0
4 5 6 7 8
123
ON
4 5 6 7 8
Dip 8 a ON
1 2 3
ON
4 5 6 7 8
Dip 8 a OFF
Not :e To define whether the monitor is master or slave, entering the corresponding “Special code”:
"0550" Master (factory default), 1, 2 3”0551" Slave “0552" Slave or “0553" Slave .
12210431 V03ProductVersion:
MONITOR 4.3”ART 4H LITE/G2+
GOLMARS.A. C/ Silici, 13 08940-SPAIN
WARNING
Toprevent fire or electric shock, do not
exposethis device to rain or moisture
CAUTION
Toprevent electric shock, do not remove cover.
Nouser serviceable parts inside.
Referservicing to qualified service personnel
MADEIN CHINA
128
codes
General
Panel
H. Configuration switches.
I. Installation terminals.
J. Wall mounting connector fixing (x4).
Other manuals for ART4LITE/G2

1

Other Alpha Communications Intercom System manuals

Alpha Communications ALPHA-PAGE v4.0 Operating instructions

Alpha Communications

Alpha Communications ALPHA-PAGE v4.0 Operating instructions

Alpha Communications STR QwikBus TT33-2 Assembly instructions

Alpha Communications

Alpha Communications STR QwikBus TT33-2 Assembly instructions

Alpha Communications ART4LITE/G2 User manual

Alpha Communications

Alpha Communications ART4LITE/G2 User manual

Alpha Communications TekTone Tek-ENTRY User manual

Alpha Communications

Alpha Communications TekTone Tek-ENTRY User manual

Alpha Communications NH209TT Series Operating and maintenance manual

Alpha Communications

Alpha Communications NH209TT Series Operating and maintenance manual

Alpha Communications MLS Operating instructions

Alpha Communications

Alpha Communications MLS Operating instructions

Alpha Communications STR QwikBus Assembly instructions

Alpha Communications

Alpha Communications STR QwikBus Assembly instructions

Alpha Communications VM25WH Series Operating and maintenance manual

Alpha Communications

Alpha Communications VM25WH Series Operating and maintenance manual

Alpha Communications DUO-COM SM222K User manual

Alpha Communications

Alpha Communications DUO-COM SM222K User manual

Alpha Communications VPD-5000 User manual

Alpha Communications

Alpha Communications VPD-5000 User manual

Alpha Communications VMH25WH Series Operating and maintenance manual

Alpha Communications

Alpha Communications VMH25WH Series Operating and maintenance manual

Alpha Communications TekTone Tek-View VM104 User manual

Alpha Communications

Alpha Communications TekTone Tek-View VM104 User manual

Alpha Communications Duo Com DC-300 Instruction sheet

Alpha Communications

Alpha Communications Duo Com DC-300 Instruction sheet

Alpha Communications AlphaTouch Instruction sheet

Alpha Communications

Alpha Communications AlphaTouch Instruction sheet

Alpha Communications AlphaECall 200 Series Instruction sheet

Alpha Communications

Alpha Communications AlphaECall 200 Series Instruction sheet

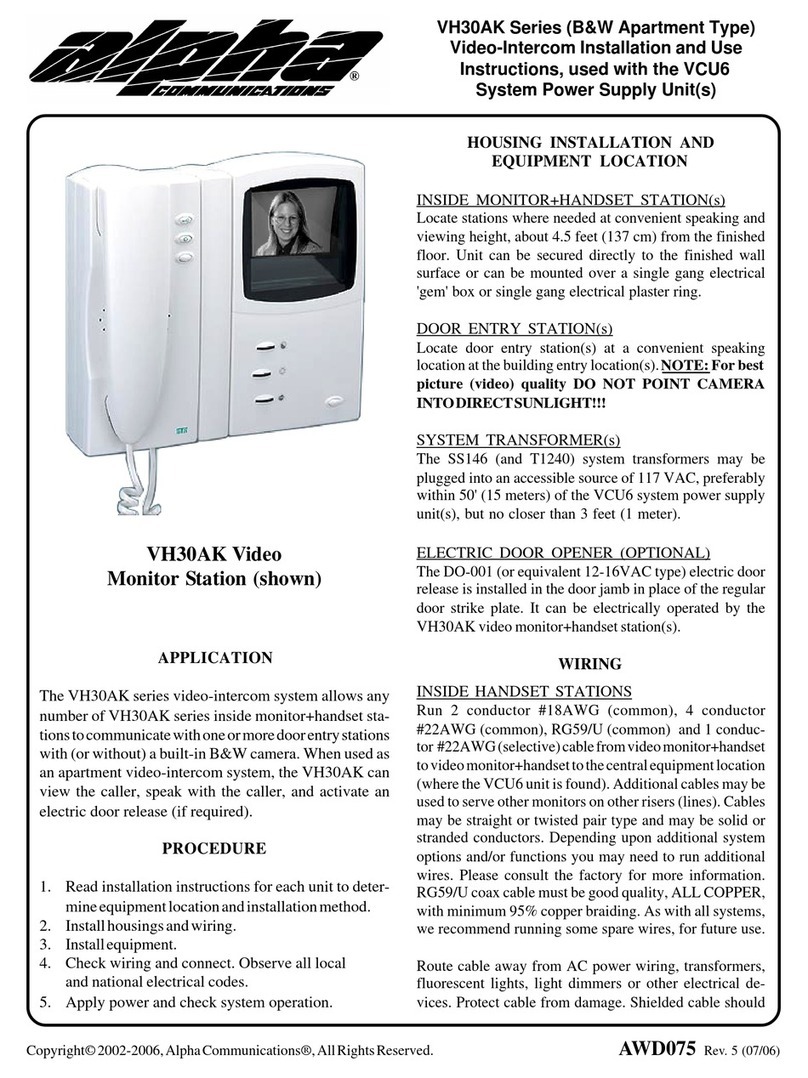
Alpha Communications TekTone Tek-COM PK724 Series User manual

Alpha Communications

Alpha Communications TekTone Tek-COM PK724 Series User manual

Alpha Communications VH30AK Operating and maintenance manual

Alpha Communications

Alpha Communications VH30AK Operating and maintenance manual

Popular Intercom System manuals by other brands

Elvox 6901 manual

Elvox

Elvox 6901 manual

GEV CVB 088337 manual

GEV

GEV CVB 088337 manual

Bpt XV/200+XKP/200 Instructions for use

Bpt

Bpt XV/200+XKP/200 Instructions for use

urmet domus sinthesi steel 1375 instructions

urmet domus

urmet domus sinthesi steel 1375 instructions

Bpt MTMA/01 Programming manual

Bpt

Bpt MTMA/01 Programming manual

Contacta STS-K020 Installation & user guide

Contacta

Contacta STS-K020 Installation & user guide

acet 662xx Series installation guide

acet

acet 662xx Series installation guide

Orno OR-DOM-AT-930/W Installation and operation manual

Orno

Orno OR-DOM-AT-930/W Installation and operation manual

Commax CDV-35A user manual

Commax

Commax CDV-35A user manual

VoIPon Slim IPDP - 01 Installation and operating instructions

VoIPon

VoIPon Slim IPDP - 01 Installation and operating instructions

Optimus Range installation guide

Optimus

Optimus Range installation guide

GVS T Series user manual

GVS

GVS T Series user manual

INTERPHONE START BTSTART user manual

INTERPHONE START

INTERPHONE START BTSTART user manual

Auta AC-900 manual

Auta

Auta AC-900 manual

WRT A6S-801ZCD8S43 instructions

WRT

WRT A6S-801ZCD8S43 instructions

DVA DVA-110DOOR quick guide

DVA

DVA DVA-110DOOR quick guide

Bticino Terraneo 344702 Instructions for use

Bticino

Bticino Terraneo 344702 Instructions for use

Bpt OPALE installation manual

Bpt

Bpt OPALE installation manual

manuals.online logo
manuals.online logoBrands
  • About & Mission
  • Contact us
  • Privacy Policy
  • Terms and Conditions

Copyright 2025 Manuals.Online. All Rights Reserved.