manuals.online logo
Brands
  1. Home
  2. •
  3. Brands
  4. •
  5. Alpkit
  6. •
  7. Tent
  8. •
  9. Alpkit AERONAUT User manual

Alpkit AERONAUT User manual

If this product does not meet your expectations upon
delivery or does not live up to the demands placed upon
it, please return it within 3 years of purchase for repair,
replacement or refund. If the problem is our fault then
we will do this to your satisfaction, if it’s your fault we will
help the best we can!
Email: [email protected]
Phone: +44(0) 1773 417007
Website: alpkit.com/support
IMPORTANT:
Thank you for purchasing the Alpkit Aeronaut. Please curtail
your excitement and do not use this product until you have
read, understood, and complied with all the instructions and
warnings contained within this manual.
Introducing your new Aeronaut
tent. A 3 season inflatable
bikepacking tent. Highly packable,
reliable, stable and light with
oodles of room for your kit.
Use your Schrader valve bike pump
to inflate your home for the night.
AERONAUT
PITCHING INSTRUCTIONS
1.
2.
3.
WARNING
This tent is NOT fireproof and will burn in sceonds if
exposed to flames or excessive heat.
Do not cook in your tent.
Do not place hot appliances close to the walls or roof of your
tent, observe safety warnings for any appliances and do not
allow children to play near them.
Keep exits of tent free from obstructions and woodland
creatures, they will steal your food.
Maintain adequate ventilation at all times, death by
suffocation is possible. Always store any cheesy socks in
vestibules or outside tent.
Anchor your tent carefully at all times: the use of tent pegs
is recommended, anchors are very heavy.
Choose your campsite wisely, be aware of the possibility of
falling rocks and trees, lightning, flash floods, avalanches
and airborne whales.
(1)
(2)
Go Nice Places, Do Good Things.
Date: 10/02/21
Aeronaut is an outer pitch first tent but it’s best to pitch
outer and inner together. If you have a footprint now is the
time to peg it out (1). Ensure the ground is free from sharp
objects and rocks.
You do not need to plant the pegs fully at this stage as you
may need to adjust their position once the tent is erected.
Now unpack and layout the flysheet upside down (so
the inside is accessible) and line up the inner against the
flysheet. Using the toggles and buckles attach the inner
to the flysheet, particularly along the tent pole sleeve (2).
Flip the now joined flysheet and inner over and attach to
your peg points. It does not need to be perfect, as you can
adjust these later.
4.
HAPPY
CAMPING!
5.
7.
(3)
CARE AND MAINTENANCE
Clean and dry tent thoroughly after each use.
Never use a washing machine or tumble dryer to clean your
tent. Car washes are also frowned upon.
Spot clean with mild detergent and warm water.
Air dry only.
Pack tent carefully to avoid punctures.
Avoid prolonged UV exposure.
SPECIFICATION
Sleeps: 1 or 2 (depending on your Aeronaut)
Outer: 15d Nylon, Silicon face, PU backer ripstop
(HH: 3,000mm)
Inner mesh: 20d Nylon Breathable ripstop
Floor: 20d Nylon, Silicon face PU backer, ripstop (HH: 3,000mm)
Poles: Main pole: Welded TPU; Other poles: 7001-T6 alloy
Pegs: 10 pegs, Alpkit Y Beams
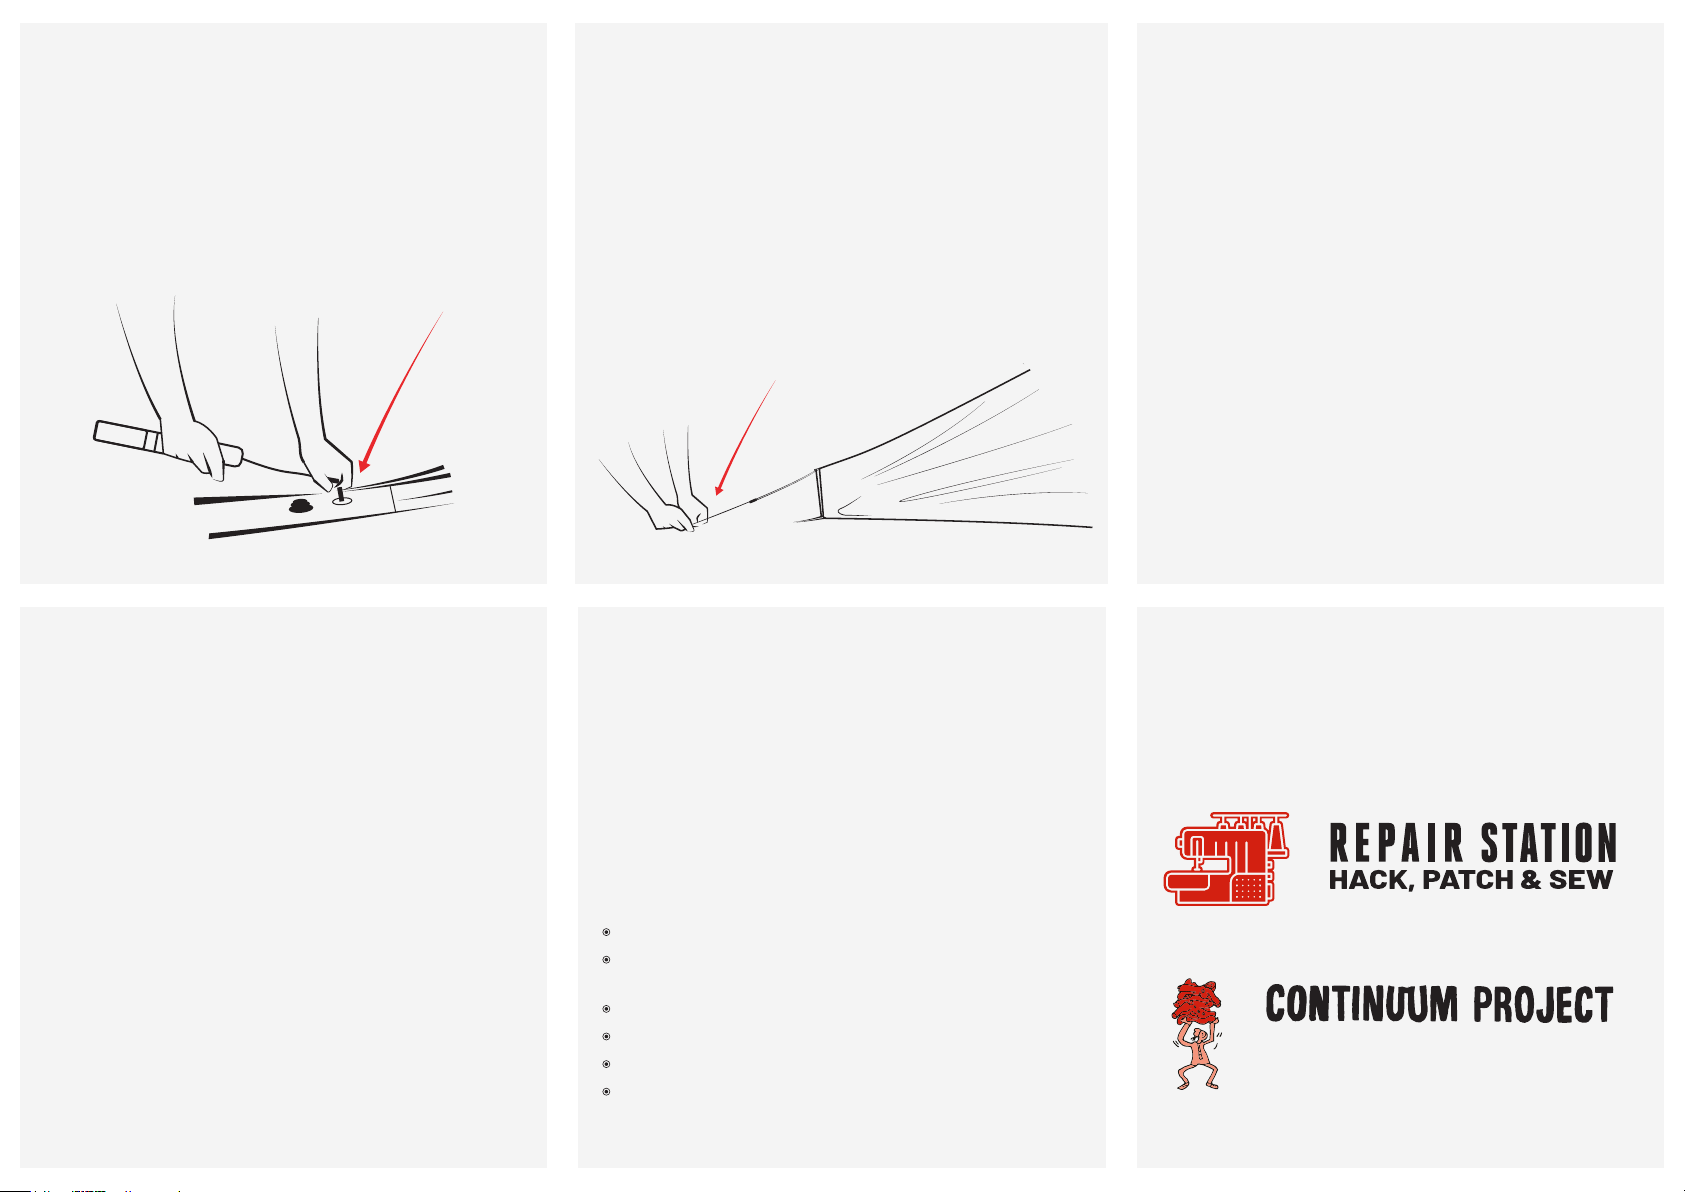
CONTINUE THE JOURNEY
When your partnership with this product is over please don’t
leave it hidden in a cupboard, never to see another adventure.
Wash it, pass it on, give to a friend, sell it, donate it to charity,
make it into something else or recycle it and let someone else
live their dream.
THE TAKEDOWN AND PACK UP
In store service for your kit: alpkit.com/stores
For more ideas on how you can extend the life of or donate
your outdoor products visit: alpkit.com/continuum
Once the flysheet and inner are toggled and pegged down
you can begin to inflate the pole. Locate the valves by the
flysheet door. Ensure the unused valve is securely tightened
before you inflate.
Attach your pump and inflate. Aeronaut should now begin to
erect. When you are satisfied with the pressure detach your
pump and secure with the valve lid. The ideal pressure should
make the pole quite firm, so you cannot pinch the pole easily.
6.
Once erect, prepare the two alloy poles and fit these to the
foot end of the tent. It is easiest to first thread the top eyelet
and then pull the peg point webbing to thread the bottom
eyelet.
With the alloy poles in place, unravel the guylines and peg
these out, adjust the tensionlock until the flysheet is taut
and Aeronaut is stable. You may need to adjust your other
pegs to get the perfect pitch.
In strong weather you can use the additional guylines to
secure Aeronaut. Be sure to adjust the guyline tensionlocks
to have an equalised guyline.
(4)
It’s important to look after your Aeronaut, if possible avoid
moisture build up inside the pole by leaving the valve open
inbetween adventures.
The best way we’ve found to pack Aeronaut is to remove all
the air from the pole before packing away into the stuff bag.
once you’ve unpegged Aeronaut and opened the valve, simply
roll the pole up from none valve end, pressing the air out of
the pole as you go.
Once happy this is done, unroll the pole and fold the flysheet
and inner together and stuff into the stuff bag. Not only does
this extend the life of Aeronaut, it also reduces the pack size
considerably.
1.
2.
3.

Other Alpkit Tent manuals

Alpkit AXIOM 4 User manual

Alpkit

Alpkit AXIOM 4 User manual

Alpkit VISO User manual

Alpkit

Alpkit VISO User manual

Alpkit ZHOTA User manual

Alpkit

Alpkit ZHOTA User manual

Alpkit VISO 2 User manual

Alpkit

Alpkit VISO 2 User manual

Alpkit KANGRI User manual

Alpkit

Alpkit KANGRI User manual

Alpkit ORDOS 2 User manual

Alpkit

Alpkit ORDOS 2 User manual

Alpkit KANGRI User manual

Alpkit

Alpkit KANGRI User manual

Alpkit ZHOTA User manual

Alpkit

Alpkit ZHOTA User manual

Alpkit Ordos 2 User manual

Alpkit

Alpkit Ordos 2 User manual

Alpkit JARAN User manual

Alpkit

Alpkit JARAN User manual

Alpkit HEKSA User manual

Alpkit

Alpkit HEKSA User manual

Alpkit Jaran 2 User manual

Alpkit

Alpkit Jaran 2 User manual

Alpkit TETRI User manual

Alpkit

Alpkit TETRI User manual

Alpkit Jaran 3 User manual

Alpkit

Alpkit Jaran 3 User manual

Popular Tent manuals by other brands

Palram Feria 3x5.46 manual

Palram

Palram Feria 3x5.46 manual

Performance Designs Spire-08M owner's manual

Performance Designs

Performance Designs Spire-08M owner's manual

Baytex ALISPAN Assembly instructions

Baytex

Baytex ALISPAN Assembly instructions

outdoorer Trek Escape 2 Setup instructions

outdoorer

outdoorer Trek Escape 2 Setup instructions

Costway AW10001 user manual

Costway

Costway AW10001 user manual

GigaTent Summer Chalet Mini Tent owner's manual

GigaTent

GigaTent Summer Chalet Mini Tent owner's manual

Palram Arizona 5000 Wave - WINGS manual

Palram

Palram Arizona 5000 Wave - WINGS manual

Vango SIGMA 300 Pitching instructions

Vango

Vango SIGMA 300 Pitching instructions

Bestway 68080 quick start guide

Bestway

Bestway 68080 quick start guide

Skandika Drammen 4 Setup & maintenance

Skandika

Skandika Drammen 4 Setup & maintenance

MSW MSW-CC-450-130 user manual

MSW

MSW MSW-CC-450-130 user manual

Burton BIG AGNES X quick start guide

Burton

Burton BIG AGNES X quick start guide

Snugpak JOURNEY DUO Assembly instructions

Snugpak

Snugpak JOURNEY DUO Assembly instructions

OZtrail CT-1008 owner's manual

OZtrail

OZtrail CT-1008 owner's manual

TentCraft MASTERTENT Setup instructions

TentCraft

TentCraft MASTERTENT Setup instructions

Coleman TACOMA 9277-139 instructions

Coleman

Coleman TACOMA 9277-139 instructions

E-Z UP INSTANT SHELTER owner's manual

E-Z UP

E-Z UP INSTANT SHELTER owner's manual

AMERICANA PERGOLA Assembly instructions

AMERICANA

AMERICANA PERGOLA Assembly instructions

manuals.online logo
manuals.online logoBrands
  • About & Mission
  • Contact us
  • Privacy Policy
  • Terms and Conditions

Copyright 2025 Manuals.Online. All Rights Reserved.