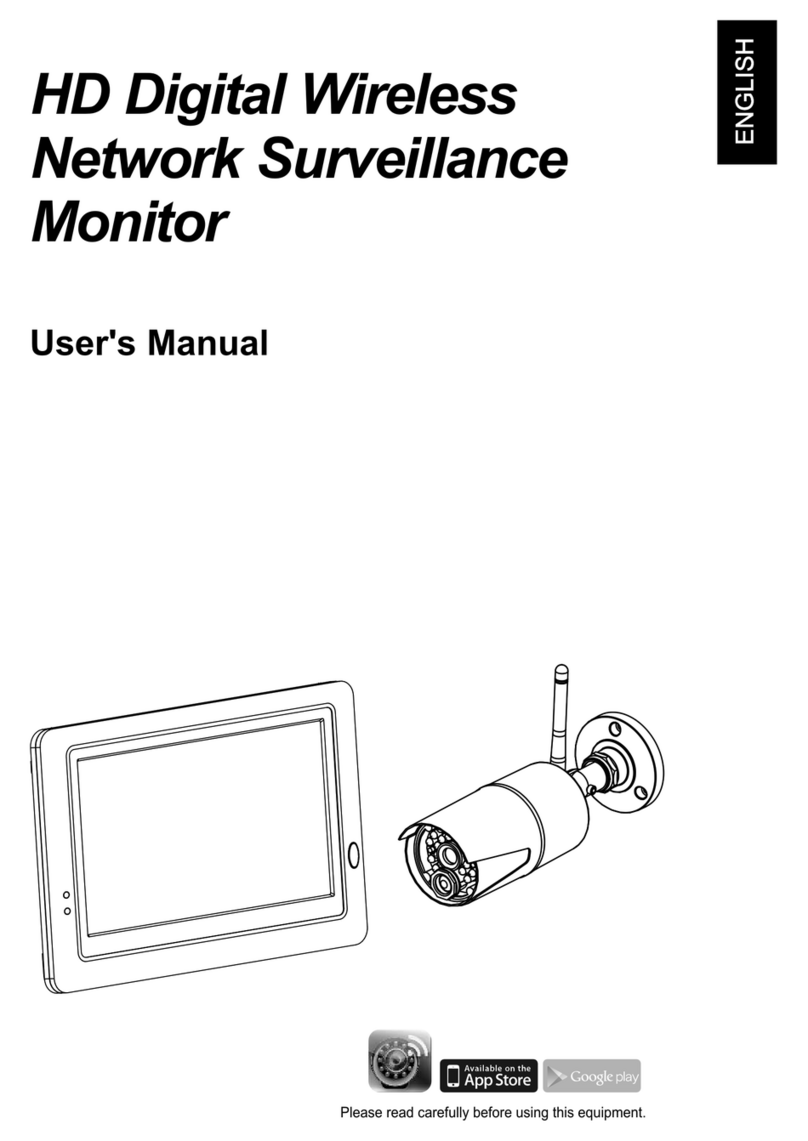
Amcrest WLD895 User manual


Product Layout
Camera
1. Antenna
2. Pairing button
3. Allen screw
4. Mounting bracket
5.
6. Infrared LEDs (Twenty LEDs provide
infrared for night vision)
Screw for mounting
7. Power LED
8. PIR(Passive Infrared Sensor)
9. Lens
10. Light sensor
Package Contents
One camera
One monitor
Two power adapters (9V/800mA for Camera, 5V/2A for Monitor)
Three screws and three anchors
1
Monitor
1. Antenna
2. Menu button
3. Alert LED
4. Power LED
5. Power ON/OFF switch
6. MicroSD card slot
7. Power adapter plug
8. Speaker
9. Ethernet port
10. Stand
One antenna
One allen key
One ethernet cable
5
6
7
8
9
10
1
3
4
2
1
6
7
810
9
2
1
4
5
3
User's manual
One ethernet cable
Un câble Ethernet
Un cable Ethernet
Ein Netzwerkkabel
Un cavo Ethernet

3
12
2
1Setting up the Camera
1.2 Use the included mounting screws to mount the camera to the
mounting surface:
* Mark the positions of the screw holes
on the mounting surface.
* Drill holes and insert the anchors
(included) as needed.
* Firmly attach the camera to the
mounting surface using the included
screws.
Loosen the allen screw (1), (2) and the adjustment ring (3) by
turning them counter clockwise.
1.3
Cable notch
1.1 Twist the antenna clockwise onto the antenna port on the back
of the camera.

1.4 Adjust the angle of the cameras until the desired view is set.
Tighten the allen screws, and the adjustment ring to secure each
camera’s position.
1.5 Connect the power cable from the camera to the provided
power adapter. Make sure the power plug is pushed all the
way in. Plug the power adapter into a wall outlet.
3

2Setting up the Monitor
The system is designed for MicroSD card recording. Please
insert an MicroSD card into the Micro SD card slot in the
monitor if you want to record video. The system supports
MicroSD cards with a maximum capacity of 32GB.
Note: The package doesn't include a MicroSD card.
2.2
Plug one end of the provided power adapter into a wall outlet
and the other end into the monitor. Slide the power switch to
the ON position.
2.3
Slide the ON/OFF switch
to the ON position.
Peel off the plastic cover that is protecting the LCD display.
2.1
4

LED indicator
2.4
LED Status
Power
Glows green when powered on.
Glows orange when charging.
Flashes red if the battery is running low.
Alert
Glows blue when the camera has detected motion.
Flashes blue if the system is unlinked.
2.5 Changing How the Live Screen Displays
The live screen displays in three views (Quad view, Dual view
or Single view) that depend on how many cameras have been
selected in the Menu (Menu --> Camera --> Selection). If
there is only one camera selected, the live view screen will
only display a Single view. If two cameras have been
selected, the live view screen can be switched between
Single view and Dual view. If three or four cameras have
been selected, the live view screen can be switched between
Single view and Quad view. If you are in Dual view or Quad
view, tap on the camera image area you want to expand to
Single view. Tap on that image again to return to Dual view or
Quad view.
Note: When a certain alert event has been viewed on the device,
tap the screen or press the Menu button, the LED will turn off.
On-Screen Icons
2.6
1.
(White Icon): Displays the camera image and also
provides audio.
(Gray Icon): Only displays the camera image.
2. Signal Strength: Shows the strength of the signal being
received.
3. Resolution: Displays the current resolution of the
camera you are viewing.
VGA(640x480) resolution.
HD (720p) resolution.
Camera Number: Displays the camera number.
5

4. Recording modes: Displays the current event that has
been scheduled to record. There are 3 modes for
recording (Motion detection / Schedule / Manual).
Motion recording
Schedule recording
5. Record Status: If the recording symbol is red, this
indicates that the device is currently recording. You can
also tap this icon to start recording manually. Tap again to
stop recording.
6. Battery Capacity: Displays battery capacity.
7. MicroSD Card Status: This icon indicates that a
MicroSD card has been inserted into the card slot.
A MicroSD is currently inserted.
A MicroSD has not been inserted.
The MicroSD card is currently full. It will display the
icon when the Non-overwrite function has been selected
in the Menu (Menu --> Record --> Non-overwrite) and the
MicroSD card is full.
8. Remote viewing : The icon indicates that someone is
connected to the device using the app. The icon will
disappear when the app is no longer connected to the
device.
6
1 2 3 4 5
7 68

3Menu Options
Press the menu button on the monitor to display the main
menu on the screen; Press again to return live view when it is
in the menu.
The main menu contains 6 sub-menus.
Note : In menu, if you don't tap the screen or press the Menu button,
after 1 minute, the screen will return to live view automatically.
7
3.1 3.2 3.3
3.4 3.5 3.6
Camera Record System
Ale rt Pla yback Volu me

System Setup
Alert Setup
Playback
Volume Setup
Camera Setup
Pairing (Camera 1 - 4)
Camera ON/ OFF Selection (Camera 1 - 4)
Resolution (VGA/ HD)
Brightness (Lever 1 - 8)
Anti-Flicker (50 Hz/ 60 Hz)
Motion Detection Sensitivity (High/ Medium/ Low)
Recording Mode (Motion Recording/ Schedule Recording/ Manual Recording)
Recording Time (5 min/ 10 min/ 15 min)
Storage Management
Format MicroSD card
Overwrite/ Non-Overwrite
Date and Time
Power Saving (3 min/ 10 min/ OFF)
Default Setting
Language
Upgrade FW
Network
IP Setting
Information
Motion Alert (Tone 1/ Tone 2/ Tone 3/ OFF)
Unlink Alert (Tone 1/ Tone 2/ Tone 3/ OFF)
Battery Low Alert ((Tone 1/ Tone 2/ Tone 3/ OFF)
Alert Volume (Low/ Meduim/ High/ OFF)
Alert Cycle (15 sec/ 30 sec/ 1 min)
Level 0 - Level 9
Main Menu
Record Setup
Menu Layout
8

3.1
The camera menu contains 5 sub-menus.
Camera Setup
3.1.1Pairing:
If you have purchased addition cameras, use the pairing function
to add the cameras. You will also need to use the pairing button
located at the back of the camera.
1. Tap the camera number you want to pair at the screen. You will
see a small pairing animation underneath the camera selection.
2. Use a paperclip or pen to press the pair button at the back of
the camera. The red Power LED of the camera will start to flash.
3. After a short moment, the LED will stop flashing and you will see
an image from the camera on screen. The camera is now paired.
3.2
3.1.2Camera Selection:
The camera selection function is useful if you have multiple
cameras configured. If only one camera has been selected, the
live view screen will only display the Single view. If two
cameras have been selected, the live view screen can be
switched between Single view and Dual view. If three or four
cameras have been selected, the live view screen can be
switched between Single view and Quad view.
9

Resolution:
In this submenu you can setup each camera’s resolution
individually. You have the option of viewing and recording your
camera(s) in VGA resolution (640x480) or HD (720p).
Brightness:
In this submenu you can change the brightness for each
camera that is configured. Repeatedly tap the camera to select
the desired brightness level from 1 to 8.
3.2
3.1.3
3.2
3.1.4
Anti-flicker:
If you find that the camera(s) have a flicker effect cause by
indoor lighting, this indicates that the anti-flicker function is not
set correctly. Tap the correct setting for your particular country.
Note : 50Hz : Europe, Australia, Africa, Asia, China and Japan(East).
60Hz : America, Taiwan, Korea and Japan(West).
3.2
3.1.5
10

Record mode: Tap the screen to select the time sections and
set up the recording type. The system offers 3 types of recording:
Manual , Time Schedule and Motion detection .
By default, motion detection is enabled for each camera.
(1) Tap a camera that you would like to configure.
(2) Tap on the icon to change the event type.
(3) Tap the icon to go to the second page
displaying 12:00pm to 23:00pm.
Note : Motion recording: System only records when motion is
detected by the camera and will stop recording after 30
seconds from when the last motion was detected.
3.2.2
Record
Record
00:00 01:00 02:00 03:00 04:00 05:00 06:00 07:00 08:00 09:00 10:00 11:00
Mon
Wed
Sun
Sat
Tu e
Thu
F r i
Motion Schedule Manual
3.2 Record Setup
The record menu contains 4 sub-menus.
Motion Detection Sensitivity:
In this submenu you can repeatedly tap the camera to change
the motion detection sensitivity for each camera. You have the
choice of low, medium and high.
3.2.1
11

Recording Time:
In this submenu you can select the recording time for each
recording file.
3.2
3.2.3
Storage Management:
This menu contains 2 sub-menus.
1. Format SD Card: Tap the Format icon to format the
MicroSD Card. Formatting the card will remove all files
that you have on there.
2. Overwrite: The function allows you to select if you would
like to overwrite files when the card is full or to stop
recording. Tap the option that is relevant to your needs.
3.2
3.2.4
12

Power Saving:
To conserve battery power, the power saving feature will turn off
the display after a set time of in-activity. Tap “OFF” to disable
power saving. When the display has turned off, tap the screen
to turn it on again.
3.2
3.3.2
Default setting:
The function will reset the system to factory default settings.
3.2
3.3.3
Note: Pairing settings will not be affected by the default setting function.
The camera will remain connected with the monitor.
3.3 System Setup
The system menu contains 6 sub-menus.
Date and Time:
This function allows you to configure the date and time. Tap the
”+” and “-” icons to adjust it.
3.3.1
13

Upgrade FW:
If the monitor has a connection to the Internet, it will auto detect
if there is any new version firmware that can be updated.
3.3.5
Warning: The firmware upgrade process must not be interrupted or the
system may be damaged. If the system firmware is the latest, it
will display the message, as below.
Upgrade FW
System
System
Firmware version: Vx.xx
This is the latest firmware.
Language:
This function allows you to change to the language that you
prefer.
3.2
3.3.4
English
Français
Español
Deutsch
Italiano
14

15
Network:
This menu contains 2 sub-menus that allow you to configure your
network settings.
1. IP Setting: The default setting is DHCP and the IP
address that has been provided to the monitor by your
router. There is not much to do here unless you want to
use a “Static IP”. We don't recommend using a static IP
unless you have some experience with networking. The
default setting works fine.
3.2
3.3.6
2. Information: The display information includes the
network settings UID number. Also the default password
is 12345, and you can change the password using your
smartphone or tablet.

3.4 Alert Setup
The alert menu contains 5 sub-menus.
Motion Alert:
This selection allows you to choose the alert tones or disable
the alerts for motion detection.
3.4.1
Unlink Alert:
This selection allows you to choose the alert tones or disable
the alerts when the cameras disconnected.
3.4.2
16
Battery Alert:
This selection allows you to choose the alert tones or disable
the alerts when low on battery.
3.4.3

Alert Volume:
This function allows you to increase / decrease the volume or
turn off the alert sound.
3.4.4
Cycle:
This function allows you to adjust the time duration between
each alert.
Note : When the alert tone has been heard, tap the screen or press the Menu
button; the alert tone will be stopped.
3.4.5
17
3.5 Playback
Recording files are managed based on date and time.
1. Tap a date folder (YYYY/MM/DD) that you prefer to view.
000000 1 5 20 13/12/01
000000 1 4 20 14/04/17
000000 1 3 20 14/04/16
000000 1 2 20 14/04/15
000000 11 2014/0 4 /14
000000 1 0 20 14/04/13
000000 0 9 20 14/04/12
Page 0001 / 00 02

082946 S 2
062929 D 1
055823 M 1
2014/0 4 / 21 08 : 10 : 18
2014/0 3 / 06 06 : 33 : 02
2014/0 3 / 06 05 : 58 : 23
1 2 3 4 5 6
1. File name
2. Camera number
3. Event date
4. Event time
5. Event type
6. Tap the button to
delete an event
7. Next page
1 2 63 4 5 7
1. Return to file list
2. Return to live view
3. Fast backward
4. Pause / Play
5. Fast forward
6. Backward speed
7. Forward speed
2. Tap on the file to play the event.
3. When playing the recording file, tap the play button for
pause/play, tap the right button for fast forward, and tap
the left button for fast backward.
Page 0001 / 00 01
7
18
3.6 Volume Setup
Tap the volume up button and volume down button to adjust
the volume level.
Other manuals for WLD895
1
Table of contents
Languages:
Other Amcrest Security System manuals
Popular Security System manuals by other brands

Nice
Nice Linear IV200 Series user manual

Federal Signal Corporation
Federal Signal Corporation AV1ST Installation and service instructions

Olympia
Olympia Protect 6XXX Series instruction manual

steute
steute ZS 80 KST Extreme Series Mounting and wiring instructions

Technology Programs
Technology Programs 911 Alert Owner's instructions

Falcon
Falcon 25 Series quick start guide