To avoid serious personal in-
jury, always wear proper pro-
tective gear, such as hard
hats, safety glasses, gloves,
and steel toe shoes when us-
ing hydraulic equipment.
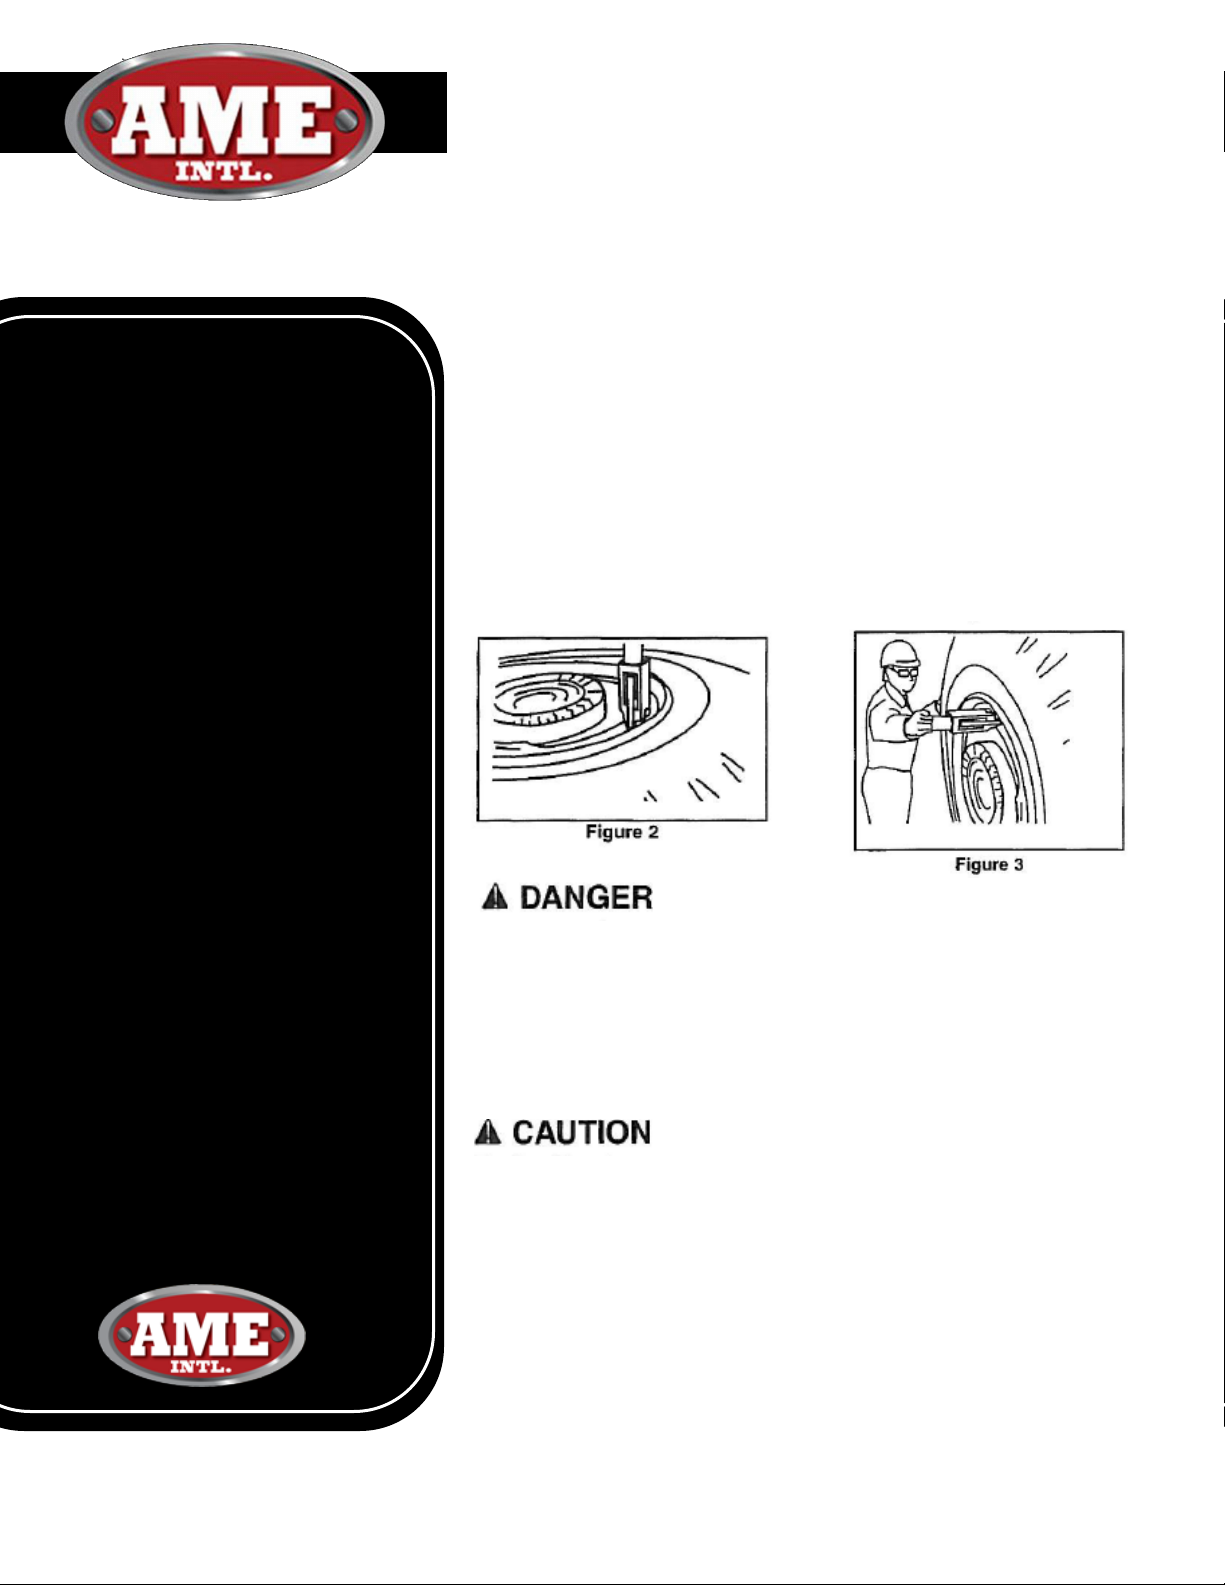
Failure to chock the wheels
and crib the vehicle can re-
sult in Serious injury or
death. Always deflate tires
before removing a wheel, a
rim, or part of a rim clamp or
nut. If you do not deflate the
tire, the tire could explode,
causing serious injury of
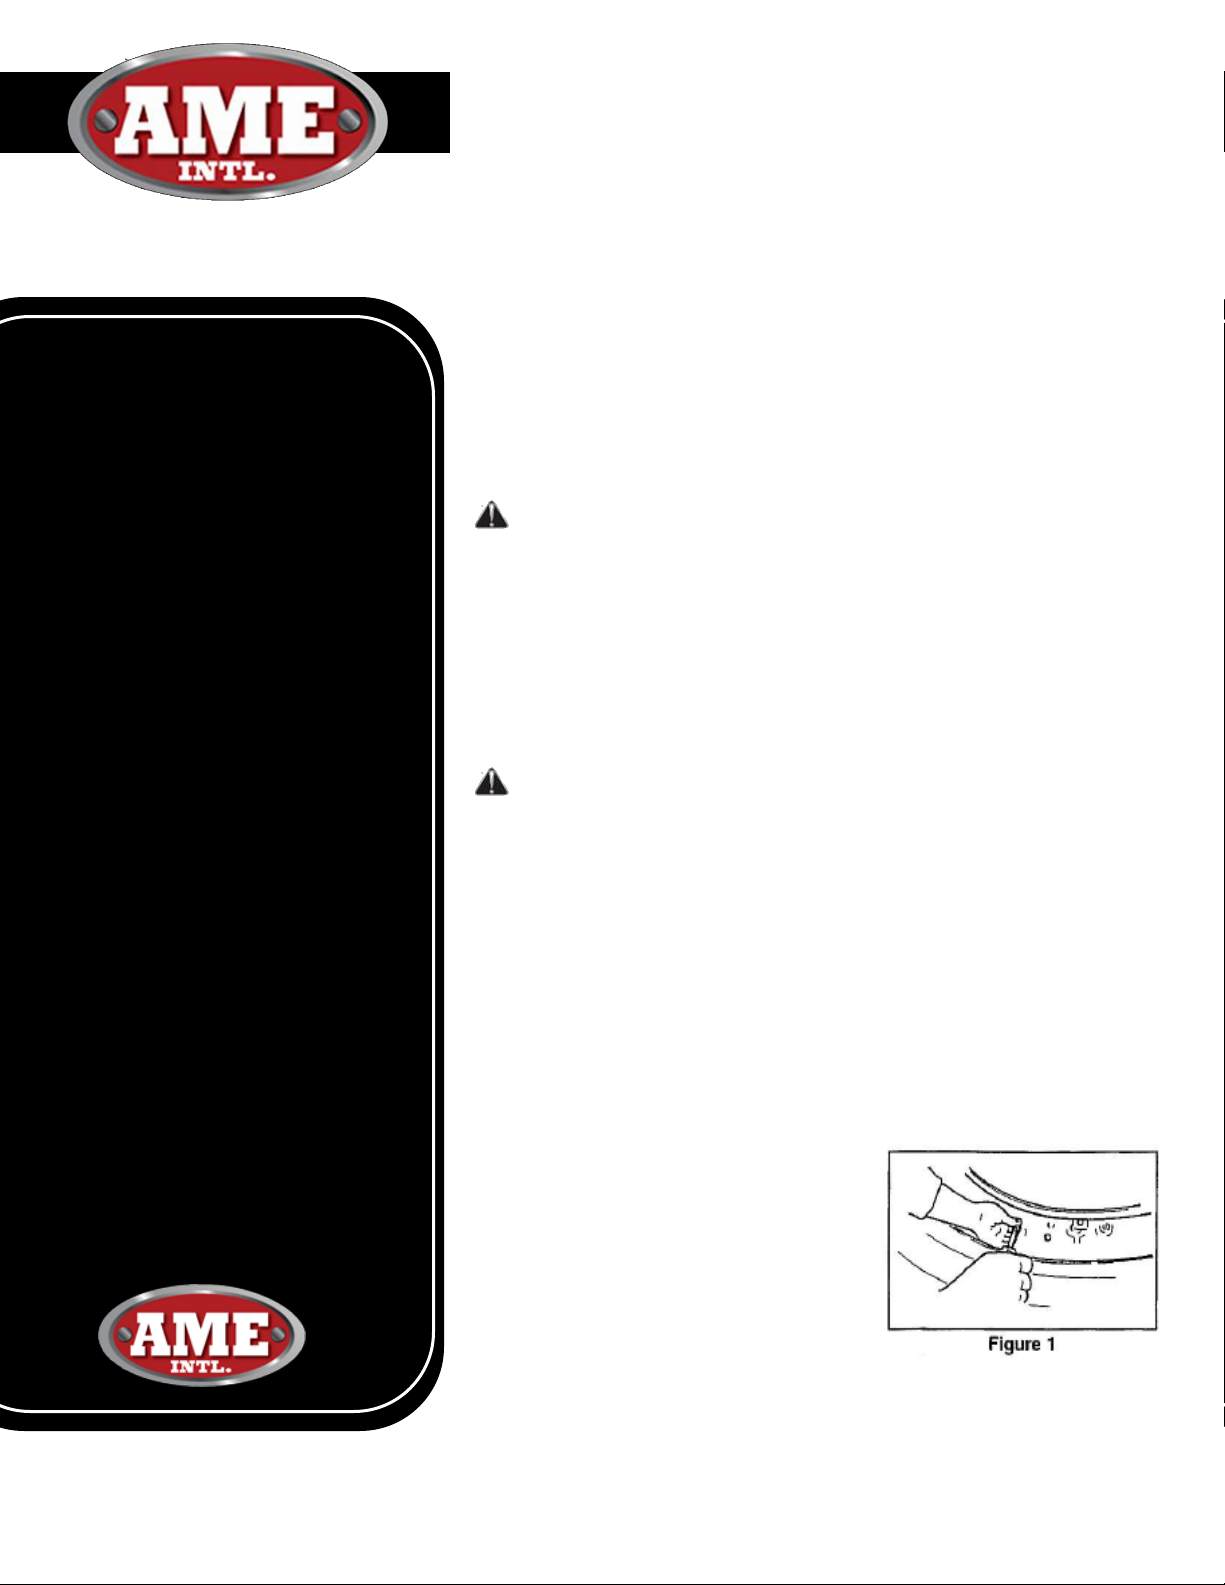
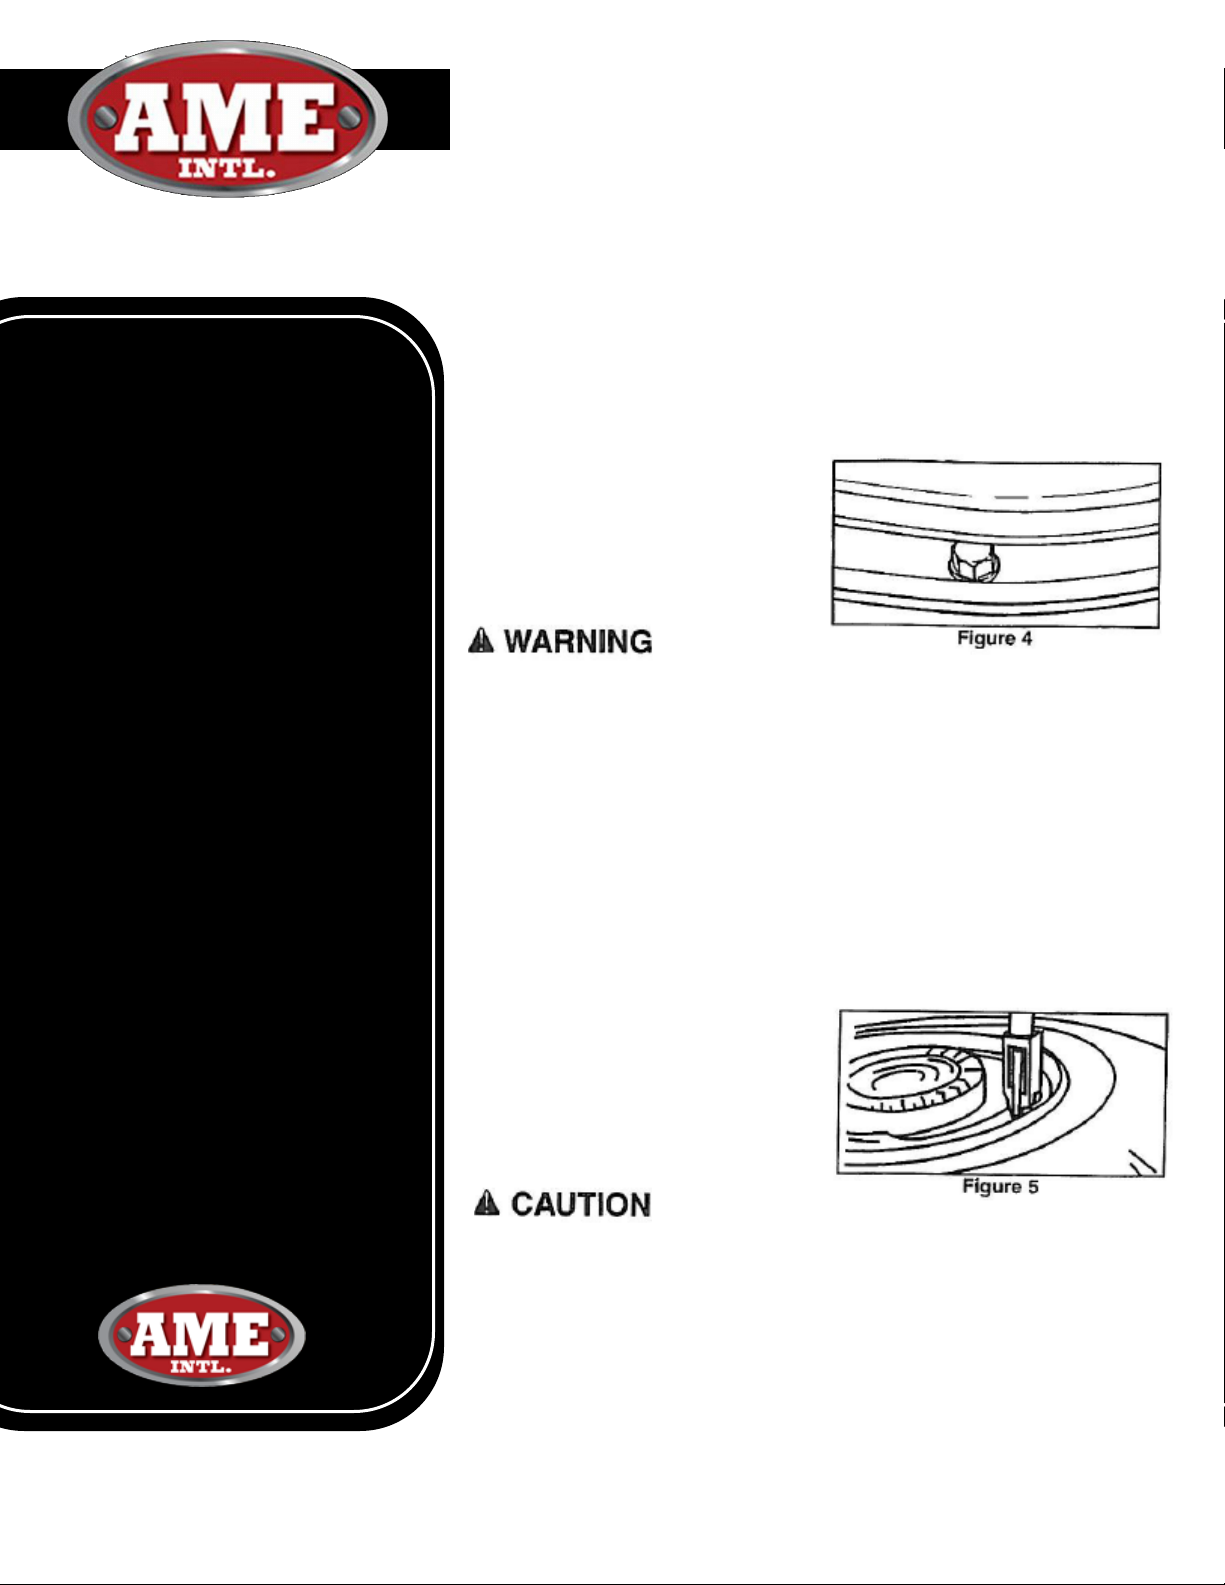
death. Always stand to one
side of the rim when using
the bead breaker. Standing to
one side of the bead breaker
allows you to maintain con-
trol of the bead breaker. If it
is not seated properly and
flies off the rim, the bead
breaker could cause serious
injury or death.
AME ITERNATIONAL WWW.AMEINTL.NET
! WARNING !
- 2 -
IMPORTANT RECEIVING INFORMATION
Visually inspect all parts for shipping damage. If you find shipping dam-
age, notify the carrier at once. Shipping damage is not covered by your
warranty. The carrier is responsible for all costs of replacement or repair
caused by shipping damage.
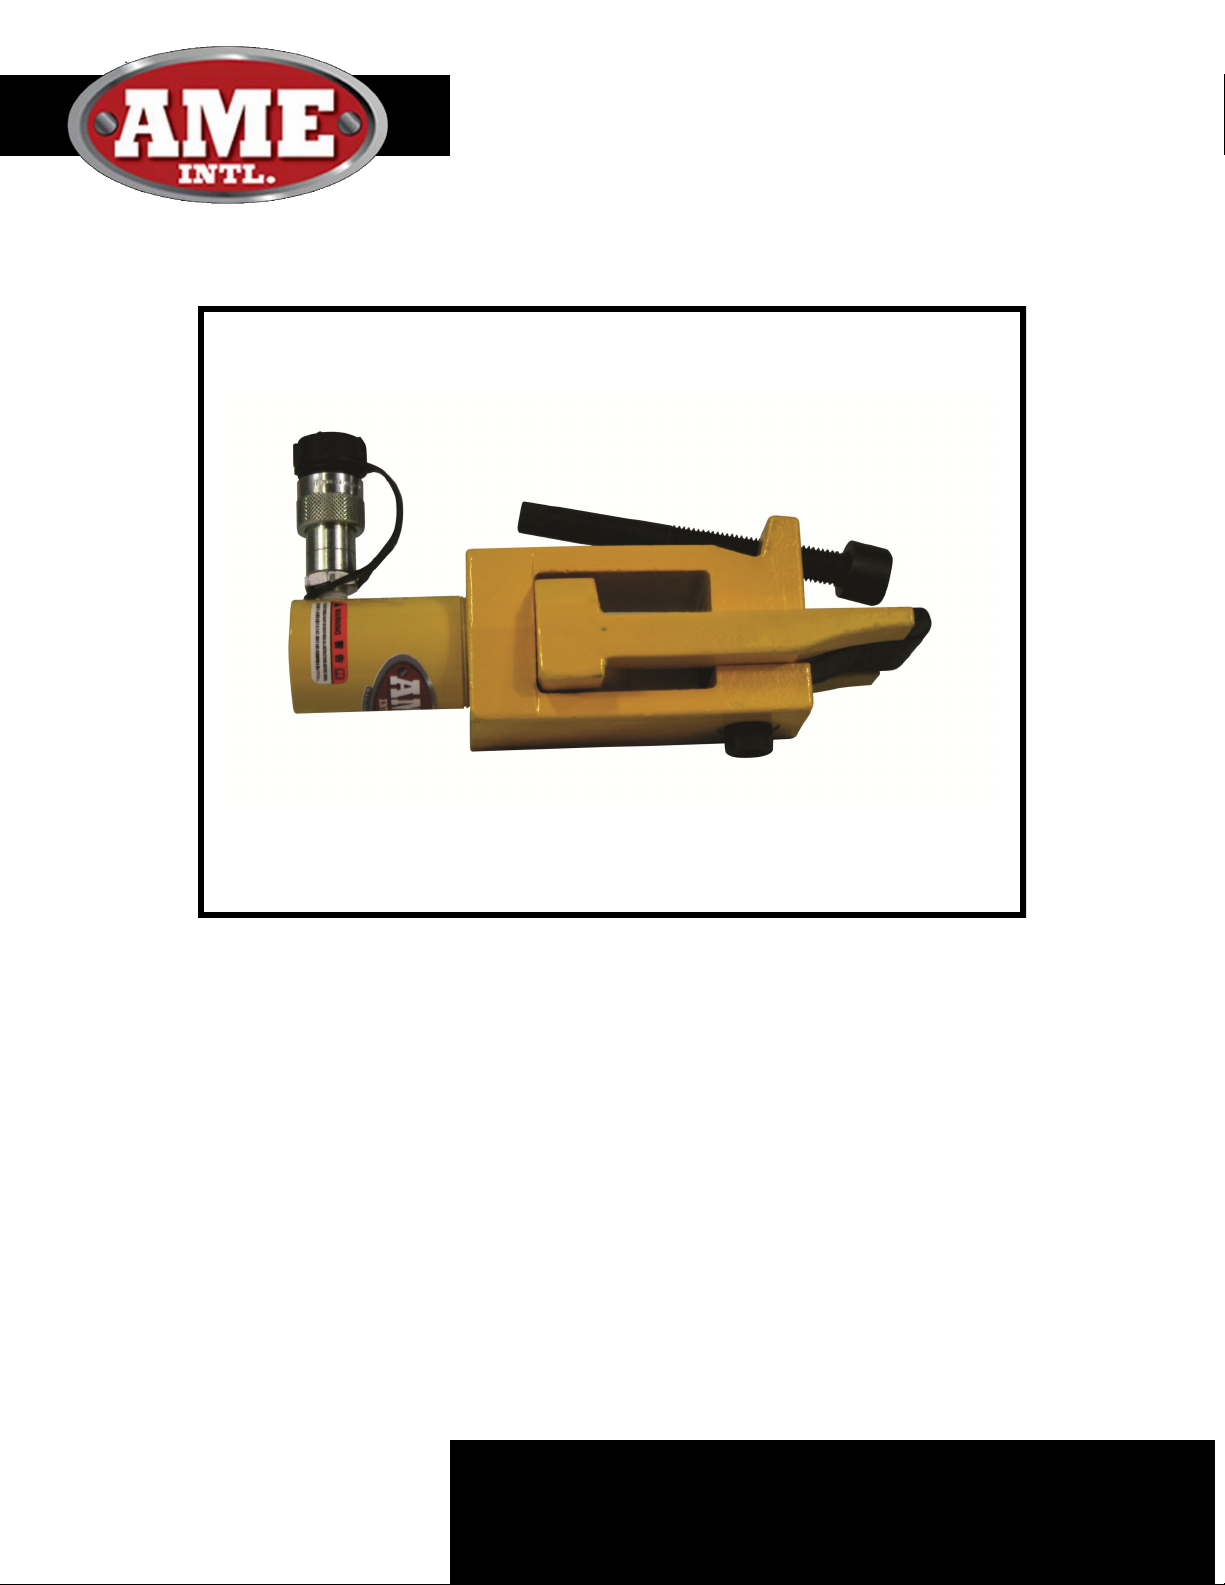
DESCRIPTION
These bead breakers are used on 25” – 51” multi-piece rims with pry bar
pockets. They are designed to break earthmover tire beads on any rim.
They can be used with all models of AME air hydraulic pump (15000,
15020, 15040, 15900, 15920, 15940) or equivalent 10,000 psi [700 bar]
pumps.
SAFETY INFORMATION
To avoid personal injury or property damage while using this product,
read and follow all DANGERS, WARNINGS, CAUTIONS, and IN-
STRUTIONS that are attached to, or included with, this product. Follow
the instructions of the tire manufacturer and the vehicle manufac-
turer when deflating, demounting, mounting, and inflating tires.
These operating instructions do not apply to any specific rim.
Therefore, contact the rim manufacturer for the correct procedure
for your rim. For the publication, “Multipiece Rim Matching Chart”
contact the United States Department of Labor Occupational Safety
and Health Administration (OSHA), Washington, DC,20210, 202-219-
6091 or contact AME Intl. at 877-755-4263. If you are outside the
U.S., contact your local government officials. AME Intl. cannot be
held responsible for damage or injury resulting from unsafe use of
this product, lack of maintenance, or incorrect product and system
application. Contact AME Intl. when in doubt about safety precau-
tions or applications.
WARNING
To avoid serious personal injury, always wear proper protective
gear, such as hard hats, safety glasses, gloves, and steel toe shoes
when using hydraulic equipment.
INSTRUCTION MANUAL
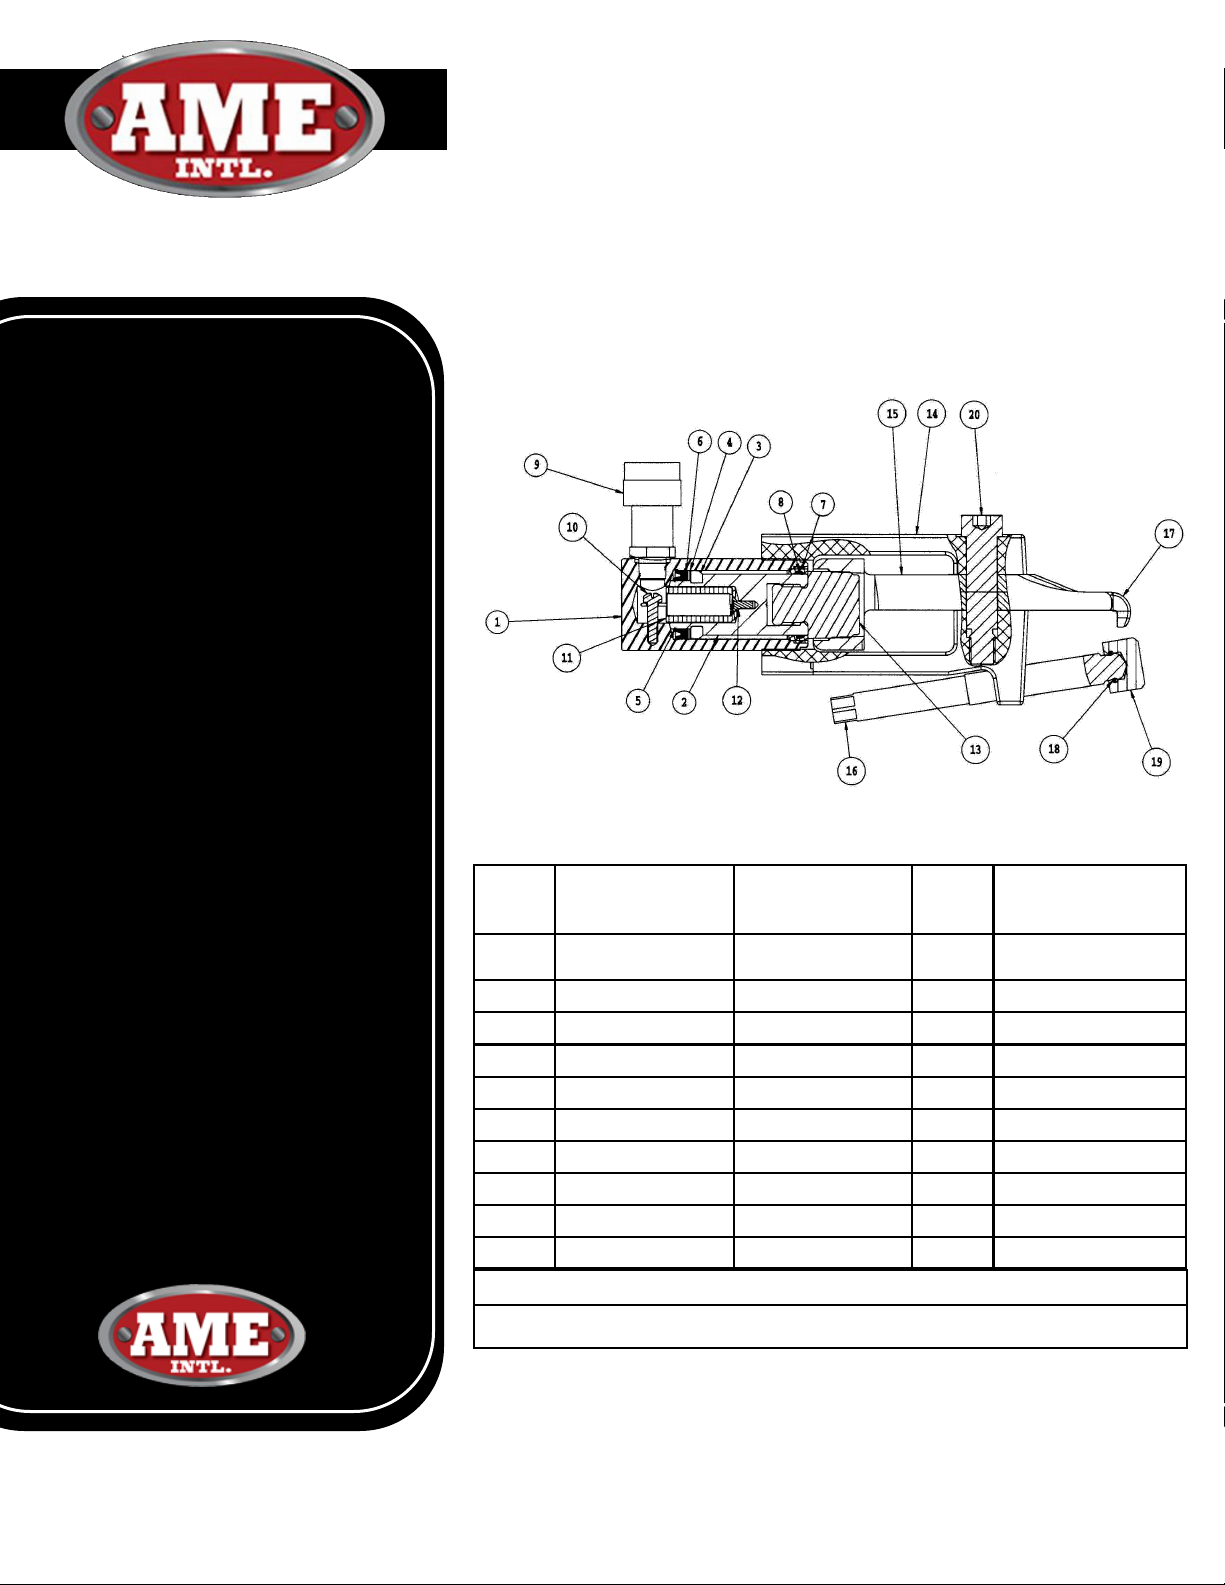
Model No. 11050
Stroke [in. (cm)] 4.25 (10.8)
Capacity [U.S. Tons] 10
CAUTION
The bead breaker, and all the tire tools, should be used only by per-
sons property trained according to OSHA Regulation
#29CFR19010.177, “Servicing Single-Piece & Multi-Piece Wheels.”
Free copies of this regulation are available upon reguest from AME Intl.