manuals.online logo
Brands
  1. Home
  2. •
  3. Brands
  4. •
  5. Ameriwood
  6. •
  7. Indoor Furnishing
  8. •
  9. Ameriwood 5670308PCOM User manual

Ameriwood 5670308PCOM User manual

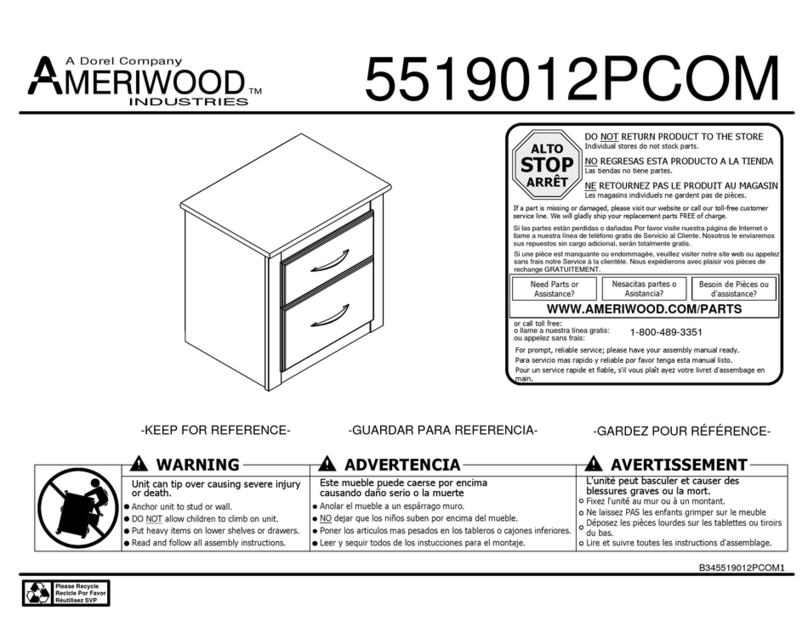
WARNING ADVERTENCIA AVERTISSEMENT
Unit can tip over causing severe injury
or death.
Anchor unit to stud or wall.
DO NOT allow children to climb on unit.
Put heavy items on lower shelves or drawers.
Read and follow all assembly instructions.
Este mueble puede caerse por encima
causando daño serio o la muerte
Anolar el mueble a un espárrago muro.
NO dejar que los niños suben por encima del mueble.
Poner los articulos mas pesados en los tableros o cajones inferiores.
Leer y sequir todos de los instucciones para el montaje.
L'unité peut basculer et causer des
blessures graves ou la mort.
Fixez l'unité au mur ou à un montant.
Ne laissez PAS les enfants grimper sur le meuble
Déposez les pièces lourdes sur les tablettes ou tiroirs
du bas.
Lire et suivre toutes les instructions d'assemblage.
STOP
ALTO
ARRÊT
DO NOT RETURN PRODUCT TO THE STORE
NO REGRESAS ESTA PRODUCTO A LA TIENDA
NE RETOURNEZ PAS LE PRODUIT AU MAGASIN
Individual stores do not stock parts.
Las tiendas no tiene partes.
Les magasins individuels ne gardent pas de pièces.
If a part is missing or damaged, please visit our website or call our toll-free customer
service line. We will gladly ship your replacement parts FREE of charge.
Si las partes están perdidas o dañadas Por favor visite nuestra página de Internet o
llame a nuestra línea de teléfono gratis de Servicio al Cliente. Nosotros le enviaremos
sus repuestos sin cargo adicional, serán totalmente gratis.
Si une pièce est manquante ou endommagée, veuillez visiter notre site web ou appelez
sans frais notre Service à la clientèle. Nous expédierons avec plaisir vos pièces de
rechange GRATUITEMENT.
Need Parts or
Assistance? Nesacitas partes o
Asistancia? Besoin de Pièces ou
d'assistance?
WWW.AMERIWOOD.COM/PARTS
or call toll free:
o llame a nuestra línea gratis:
ou appelez sans frais: 1-800-489-3351
For prompt, reliable service; please have your assembly manual ready.
Para servicio mas rapido y reliable por favor tenga esta manual listo.
Pour un service rapide et fiable, s'il vous plaît ayez votre livret d'assembage en
main.
-KEEP FOR REFERENCE- -GUARDAR PARA REFERENCIA- -GARDEZ POUR RÉFÉRENCE-
B345670308PCOM0
5670308PCOM
Please Recycle
Recicle Por Favor
Réutilisez SVP
A Dorel Company
MERIWOOD
INDUSTRIES
TM
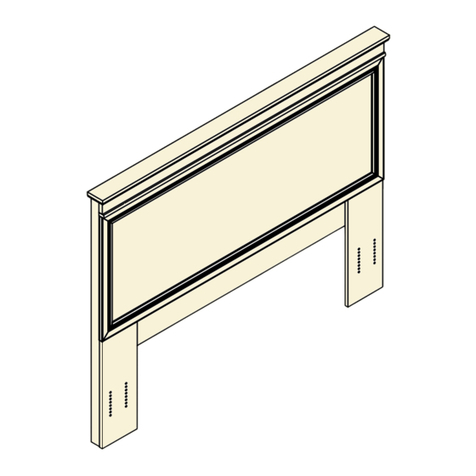
The mirror weighs 54 lbs.
Hardware for hanging on a wall is not provided.
You will need to purchase the appropriate
hardware from your local hardware store.
El espejo pesa 24.5 kg.
Para colgar en una pared no se suministra.
Usted necesitará comprar el apropiado
hardware de su ferretería local.
Le miroir pèse 24.5 kg.
Matériel pour accrocher sur un mur n'est pas
fourni.
Vous aurez besoin d'acheter le cas échéant
matériel de quincaillerie.
B345670308PCOM0
3 /12
?? www.ameriwood.com ??
PARTS - PIEZAS - PIECES
H
I
J
left side panel
panel lateral
izquierdo
panneaux latéraux
gauche
35670308010
upper top
tapa superior
haut haut
35670308030
bottom
fondo
fond
35670308060
2 support rails
2 riel de soportes
2 barre supports
35670000070
frame assembly
ensamblaje del marco
cadre de montage
35670308080
back
trasero
arriere
35670000050
lower top
tapa inferior
haut bas
35670308040
right side panel
panel lateral derecho
panneau latéral droit
35670308020
top rail
riel superior
traverse supérieure
35670000090
wall support
soporte de pared
support mural
35670000100
AB
G
CDE
F
G
B345670308PCOM0
4 /12
?? www.ameriwood.com ??
PARTS - PIEZAS - PIECES
x
1 8
#A22920
connector
conectador
raccord
#A13930
#8 x 2-1/2" screw
#8 x 2-1/2" tornillo
#8 x 2-1/2" vis
x
28
#A22910
connector bolt
perno del conectador
boulon de raccordement
#A81185
nylon spacer
espaciador de nilón
entretoise nylon
#A13210
#8 X 1-1/2" flat head screw
#8 x 1-1/2" tornillo de cabeza plana
#8 x 1-1/2 "vis à tête plate
#A12930
#8 X 1-1/8" screw
#8 x 1-1/8" rornillo
#8 x 1-1/8" vis
#A12950
#8 X 1-1/8" flat head screw
#8 x 1-1/8" tornillo de cabeza plana
#8 x 1-1/8" vis à tête plate
3x 6
4x12
5x 3
6x16 x 3
7#A21660
wood dowel
pasador de madera
cheville bois
8x 4 #A13720
#8 x 2" screw
#8 x 2" tornillo
#8 x 2" vis
9x 2
1
B345670308PCOM0
5 /12
?? www.ameriwood.com ??
Approx.
7/16"
8
x
1 8
You may need to tap the connector (1) with a hammer to fully insert. Be sure the connector is
positioned as shown before pushing into holes.
Quizá necesites golpear el conector (1) suavemente con un martillo para insertar
conpletamente. Esté seguro que conectador está colocado como se muestra antes de
empujar en los agujeros.
Vous devrez taper légèrement sur le raccord (1) avec un matreau pourl'insérer complétement.
Assuez-vous que le raccord est placé tel que montré avant de le pousser dans les trous.
1
1
1
1
1
1
1
1
1
8x 4
88
88
I
E
2
B345670308PCOM0
6 /12
?? www.ameriwood.com ??
6x 8
NOTE: Make sure the holes in the frame assembly (H) line up with the
holes in the back (E) as shown.
Nota: Asegúrese de que los orificios en el armazón (H) se alineen con
los orificios en la parte de atrás (E) como se muestra.
Remarque : Assurez-vous que les trous dans le châssis de roulement
(H) alignés avec les trous dans le dos (E) comme illustré.
6
6
6
6
6
6
6
6
H
E
3
B345670308PCOM0
7 /12
?? www.ameriwood.com ??
x
26
A
1st
2nd
Tighten the connectors (1) by using a phillips screwdriver
and turning the screw in the connector clockwise.
Apriete los conectores (1) utilizandor y girar el tornillo en
el conector para asegurar.
Serrez les connecteurs (1) avec le tournevis à tête
cruciflrme et tourne la vis du connecteur dans le sens
horaire.
A
BB
2
2
2
2
2
2
I
E
Angle cut in top rail.
Ángulo de corte en riel superior.
Angle coupé dans la traverse du haut.
I
4
B345670308PCOM0
8 /12
?? www.ameriwood.com ??
x
2 2
C
7x 3
1st
2nd
Tighten the connectors (1) by using a phillips screwdriver
and turning the screw in the connector clockwise.
Apriete los conectores (1) utilizandor y girar el tornillo en
el conector para asegurar.
Serrez les connecteurs (1) avec le tournevis à tête
cruciflrme et tourne la vis du connecteur dans le sens
horaire.
7
7
7
2
2
D
E
finished edge
borde acabado
bord fini
finished edge
borde acabado
bord fini
D
C
5
B345670308PCOM0
9 /12
?? www.ameriwood.com ??
finished edge
borde acabado
bord fini
5
5
5
5x 3
E
I
F
6
B345670308PCOM0
10 /12
?? www.ameriwood.com ??
4
3x 6 x 12
4
44
44
4
4
444
44
333
333
F
E
Make sure you use the 2-1/2" screws, item (3).
Asegúrate de utilizar los tornillos 2-1/2", del artículo (3).
Assurez-vous que vous utilisez les vis 2-1/2", le point (3).
G
G
7
B345670308PCOM0
11 /12
?? www.ameriwood.com ??
6x 8
Align support rail holes to the holes in back of the dresser and fasten the mirror to the dresser using the screws (6).
Alinee los agujeros de carril de apoyo a los agujeros en la parte trasera del armario y sujete el espejo de la cómoda con los tornillos (6).
Alignez les trous de rail de soutien pour les trous à l'arrière de la commode et fixez le miroir de la commode à l'aide des vis (6).
This step is for attaching the mirror to the back of the dresser model 5667308PCOM.
Este paso es para colocar el espejo en la parte posterior de la cómoda modelo 5667308PCOM.
Cette étape est pour fixer le miroir à l'arrière de la commode modèle 5667308PCOM.
6
6
8
B345670308PCOM0
12 /12
?? www.ameriwood.com ??
CertificateofConformity
1.ThiscertificateappliestotheAmeriwoodIndustriesInc.productidentifiedbythisinstructionmanual.
2.ThiscertificateappliestocomplianceofthisproductwiththeCPSCBanonLead‐ContainingPaint(16CFR1303).
3.Thisproductisdistributedby:AmeriwoodIndustriesInc.
410EastFirstStreetSouth
WrightCity,MO63390
636‐745‐3351
4.SiteofManufacture:
□DowagiacMI
5.Seefrontpageofinstructionmanualfordateofmanufacture.
Supplied is the wall support (J) to hang the mirror onto a wall.
Suministrado es el soporte de pared (J) para colgar el espejo en la pared.
Le support de mur (J) pour accrocher le miroir sur un mur est livrée. stud
montante
planche
wallboard
muro
mur
Locate the wall studs where you plan to hang the mirror. Mark and drill 3/16" diameter
holes into the wall support so they are 16 inches apart. Make sure the holes are parallel
with the long edge of the wall support. Mark the wall where you want to hang the mirror
through the drilled holes. Use a carpentar's level and make sure the holes are level. Use
the (2) screws (9) and attach the wall support to the wall.
If there are no wall studs where you wish to hang the mirror, you will need to purchase
appropriate wall anchors from your local hardware store.
Localice los montantes de la pared donde va a colgar el espejo. Marque y perfore orificios
de 3/16" de diámetro en el soporte de pared así que son 16 pulgadas aparte. Asegúrese
de que los agujeros estén paralelos con el borde largo del soporte de pared. Marque la
pared donde quieres colgar el espejo a través de los orificios perforados. Utilice un nivel y
asegúrese de que los agujeros estén nivelados. Utilice los tornillos (2) (9) y fijar el soporte
a la pared.
Si no no hay montantes de pared donde desee colgar el espejo, usted necesitará comprar
taquetes apropiados de su ferretería local.
Localiser les montants du mur où vous souhaitez accrocher le miroir. Tracer et percer des
trous de diamètre 3/16" sur le support afin qu'ils soient 16 pouces de distance.
Assurez-vous que les trous sont parallèles avec le côté long du support mural. Marquez le
mur où vous voulez accrocher le miroir à travers les trous percés. Utilisez un niveau et
assurez-vous que les trous sont de niveau. Utilisez les vis (2) (9) et fixer le support au
mur. Peut-être devrez-vous assistance d'une autre personne pour accrocher le miroir sur
le support de mur.
S'il n'y a aucun montants du mur où vous souhaitez accrocher le miroir, vous aurez besoin
d'acheter les chevilles appropriées de votre quincaillerie locale.
Angle cut in board to be at top.
Ángulo de corte en tablero para estar en la parte superior.
Angle coupé en pension pour être au top.
16 inches
J
J
9x 2

Other Ameriwood Indoor Furnishing manuals

Ameriwood 7642320COM User manual

Ameriwood

Ameriwood 7642320COM User manual

Ameriwood Essential Home Grayson 6 Drawer Dresser User manual

Ameriwood

Ameriwood Essential Home Grayson 6 Drawer Dresser User manual

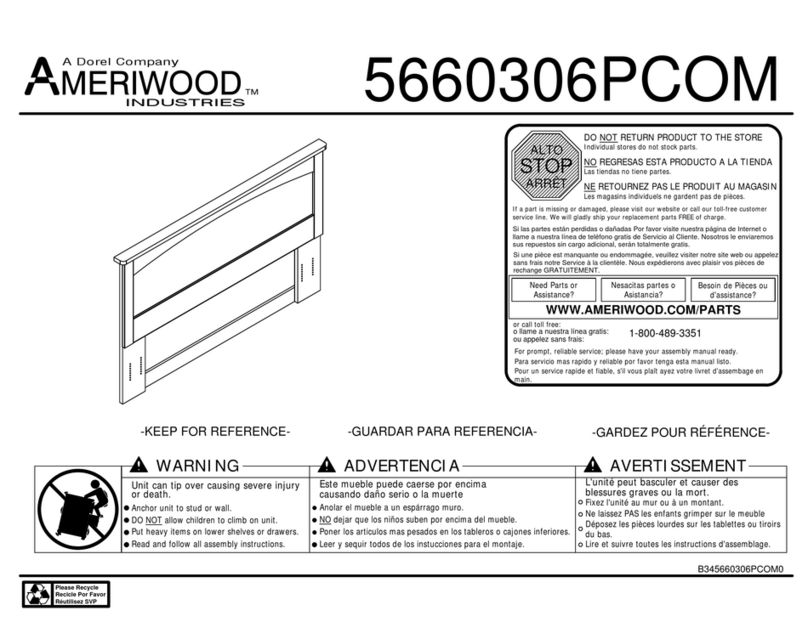
Ameriwood 5660306PCOM User manual

Ameriwood

Ameriwood 5660306PCOM User manual

Ameriwood 1870012COM User manual

Ameriwood

Ameriwood 1870012COM User manual

Ameriwood System Build 7161401PCOM User manual

Ameriwood

Ameriwood System Build 7161401PCOM User manual

Ameriwood 3597318PCOM User manual

Ameriwood

Ameriwood 3597318PCOM User manual

Ameriwood 9867303KP User manual

Ameriwood

Ameriwood 9867303KP User manual

Ameriwood BS1208 User manual

Ameriwood

Ameriwood BS1208 User manual

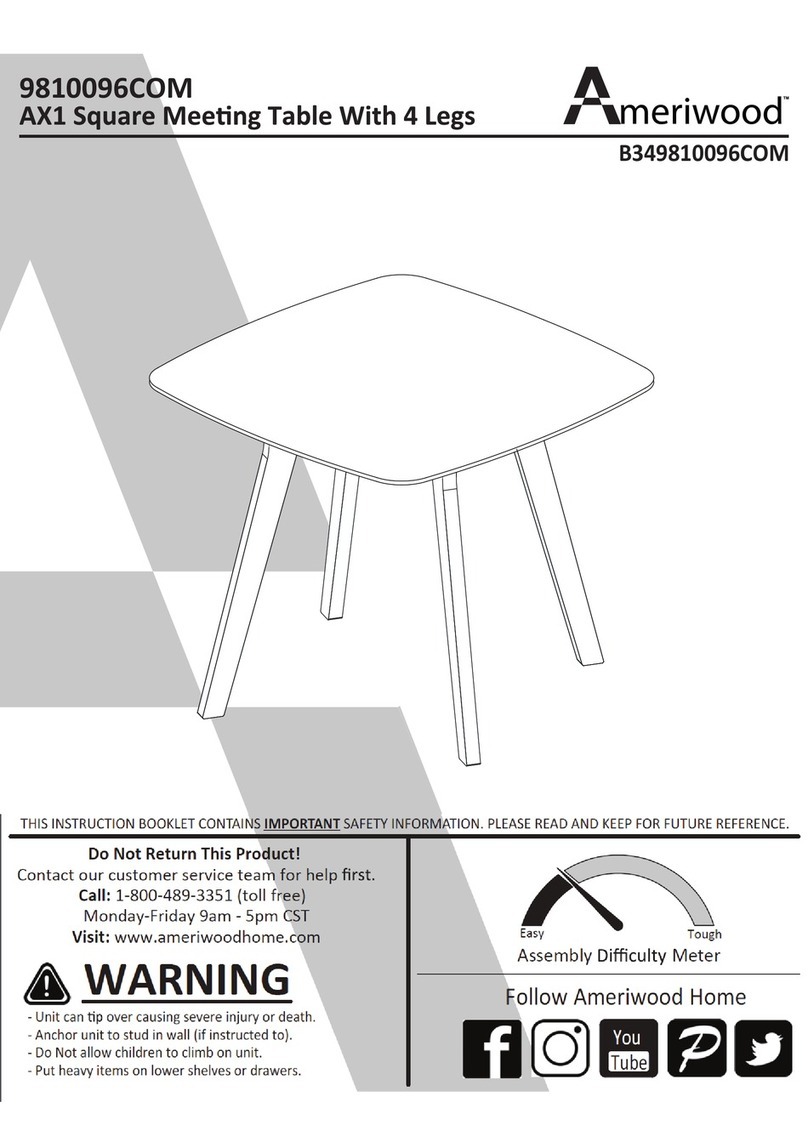
Ameriwood AX1 9810096COM User manual

Ameriwood

Ameriwood AX1 9810096COM User manual

Ameriwood COSCO 7448059P User manual

Ameriwood

Ameriwood COSCO 7448059P User manual

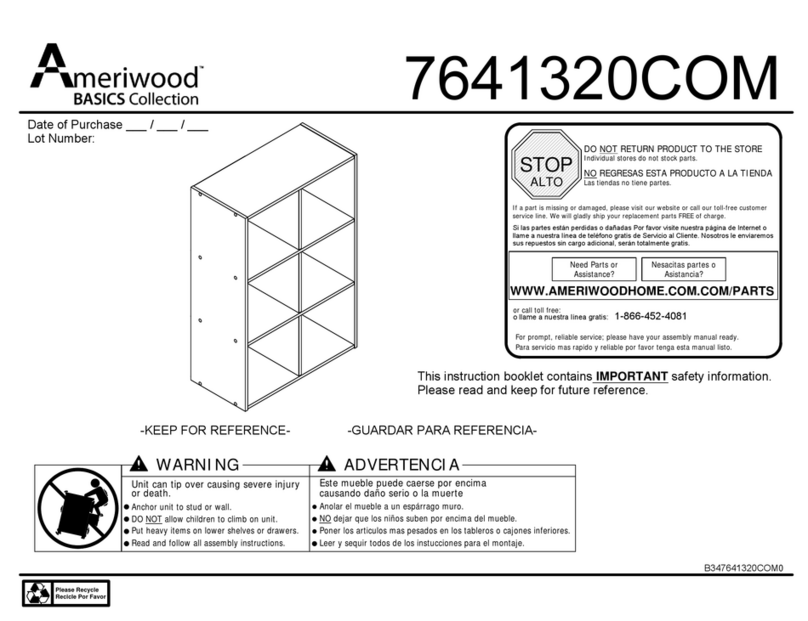
Ameriwood BASIC 7641320COM User manual

Ameriwood

Ameriwood BASIC 7641320COM User manual

Ameriwood 5065322PCOM User manual

Ameriwood

Ameriwood 5065322PCOM User manual

Ameriwood 9425026PCOM User manual

Ameriwood

Ameriwood 9425026PCOM User manual

Ameriwood 1759303KP User manual

Ameriwood

Ameriwood 1759303KP User manual

Ameriwood 9294196COM User manual

Ameriwood

Ameriwood 9294196COM User manual

Ameriwood 5669323PCOM User manual

Ameriwood

Ameriwood 5669323PCOM User manual
Ameriwood 348012PCOM User manual

Ameriwood

Ameriwood 348012PCOM User manual

Ameriwood 7303028 User manual

Ameriwood

Ameriwood 7303028 User manual

Ameriwood 7203091Y User manual

Ameriwood

Ameriwood 7203091Y User manual

Ameriwood AX1 9294096COM User manual

Ameriwood

Ameriwood AX1 9294096COM User manual

Ameriwood 9425213PCOM User manual

Ameriwood

Ameriwood 9425213PCOM User manual

Ameriwood 9652301EBLP User manual

Ameriwood

Ameriwood 9652301EBLP User manual

Ameriwood 5829306PCOM User manual

Ameriwood

Ameriwood 5829306PCOM User manual

Ameriwood 1844335COM User manual

Ameriwood

Ameriwood 1844335COM User manual
Popular Indoor Furnishing manuals by other brands

Artesano 24814 Assembly

Artesano

Artesano 24814 Assembly

Mocka Edmond Assembly instructions

Mocka

Mocka Edmond Assembly instructions

Dorel Asia WM6095 Instruction booklet

Dorel Asia

Dorel Asia WM6095 Instruction booklet

Eureka Ergonomic ERK-EDK-GD Assembly guide

Eureka Ergonomic

Eureka Ergonomic ERK-EDK-GD Assembly guide

Furniture of America CM3175 Assembly instructions

Furniture of America

Furniture of America CM3175 Assembly instructions

FEZIBO Cubicubi Assembly instructions

FEZIBO

FEZIBO Cubicubi Assembly instructions

Coaster 724317 Assembly instructions

Coaster

Coaster 724317 Assembly instructions

U-Line H-8182 manual

U-Line

U-Line H-8182 manual

Ameriwood HOME 9835196COM manual

Ameriwood HOME

Ameriwood HOME 9835196COM manual

RiverRidge 02-144 Assembly instructions

RiverRidge

RiverRidge 02-144 Assembly instructions

Pawleys Island ROUND COFFEE TABLE instructions

Pawleys Island

Pawleys Island ROUND COFFEE TABLE instructions

Atmos 51 D operating instructions

Atmos

Atmos 51 D operating instructions

Costco SWH051639 Assembly instructions

Costco

Costco SWH051639 Assembly instructions

Whalen Crestwood MNFP68CW30MB Instruction booklet

Whalen

Whalen Crestwood MNFP68CW30MB Instruction booklet

Rauch AG199.0HB6.80 Assembly instructions

Rauch

Rauch AG199.0HB6.80 Assembly instructions

Triarch Indoor Lighting 31405 Assembly instructions

Triarch

Triarch Indoor Lighting 31405 Assembly instructions

Studio Designs Sew Ready PRO-LINE 13397 Assembly instructions

Studio Designs

Studio Designs Sew Ready PRO-LINE 13397 Assembly instructions

ThunderX3 TGC22 user manual

ThunderX3

ThunderX3 TGC22 user manual

manuals.online logo
manuals.online logoBrands
  • About & Mission
  • Contact us
  • Privacy Policy
  • Terms and Conditions

Copyright 2025 Manuals.Online. All Rights Reserved.