manuals.online logo
Brands
  1. Home
  2. •
  3. Brands
  4. •
  5. Ameriwood
  6. •
  7. Indoor Furnishing
  8. •
  9. Ameriwood COSCO 5871216PCOM User manual

Ameriwood COSCO 5871216PCOM User manual

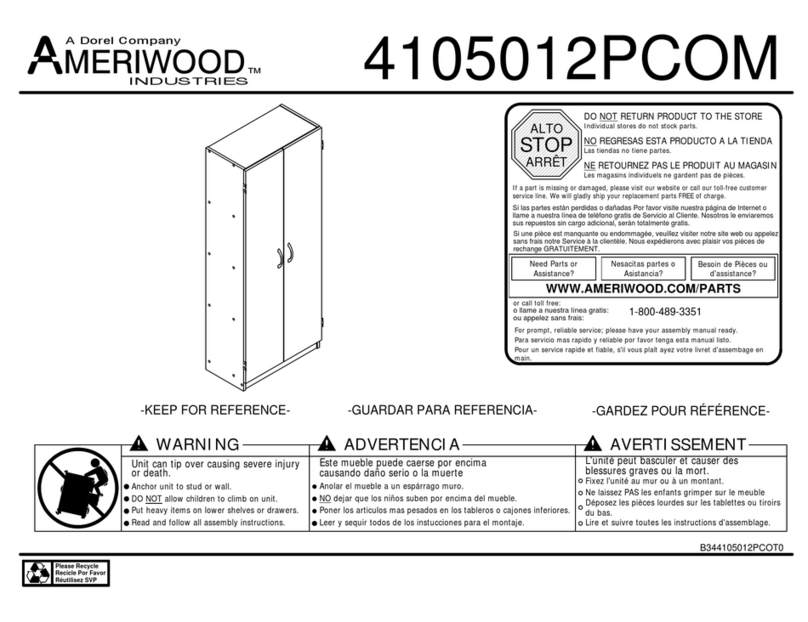
WARNING ADVERTENCIA AVERTISSEMENT
Unit can tip over causing severe injury
or death.
Anchor unit to stud or wall.
DO NOT allow children to climb on unit.
Put heavy items on lower shelves or drawers.
Read and follow all assembly instructions.
Este mueble puede caerse por encima
causando daño serio o la muerte
Anolar el mueble a un espárrago muro.
NO dejar que los niños suben por encima del mueble.
Poner los articulos mas pesados en los tableros o cajones inferiores.
Leer y sequir todos de los instucciones para el montaje.
L'unité peut basculer et causer des
blessures graves ou la mort.
Fixez l'unité au mur ou à un montant.
Ne laissez PAS les enfants grimper sur le meuble
Déposez les pièces lourdes sur les tablettes ou tiroirs
du bas.
Lire et suivre toutes les instructions d'assemblage.
STOP
ALTO
ARRÊT
DO NOT RETURN PRODUCT TO THE STORE
NO REGRESAS ESTA PRODUCTO A LA TIENDA
NE RETOURNEZ PAS LE PRODUIT AU MAGASIN
Individual stores do not stock parts.
Las tiendas no tiene partes.
Les magasins individuels ne gardent pas de pièces.
If a part is missing or damaged, please visit our website or call our toll-free customer
service line. We will gladly ship your replacement parts FREE of charge.
Si las partes están perdidas o dañadas Por favor visite nuestra página de Internet o
llame a nuestra línea de teléfono gratis de Servicio al Cliente. Nosotros le enviaremos
sus repuestos sin cargo adicional, serán totalmente gratis.
Si une pièce est manquante ou endommagée, veuillez visiter notre site web ou appelez
sans frais notre Service à la clientèle. Nous expédierons avec plaisir vos pièces de
rechange GRATUITEMENT.
Need Parts or
Assistance? Nesacitas partes o
Asistancia? Besoin de Pièces ou
d'assistance?
WWW.AMERIWOOD.COM/PARTS
or call toll free:
o llame a nuestra línea gratis:
ou appelez sans frais: 1-800-489-3351
For prompt, reliable service; please have your assembly manual ready.
Para servicio mas rapido y reliable por favor tenga esta manual listo.
Pour un service rapide et fiable, s'il vous plaît ayez votre livret d'assembage en
main.
-KEEP FOR REFERENCE- -GUARDAR PARA REFERENCIA- -GARDEZ POUR RÉFÉRENCE-
B345871216PCOM0
5871216PCOM
Please Recycle
Recicle Por Favor
Réutilisez SVP
COSCO®
B345871216PCOM0
3 /35
?? www.ameriwood.com ??
PARTS - PIEZAS - PIECES
Parts List
DESCRIPTION
PART NUMBE
QT
ITE
LEFT PANEL358712160101A
RIGHT PANEL
358712160201B
PARTITION
358712160301
C
TOP
358712160401D
BOTTOM
358710000501E
TOP APRON
358712160601F
KICK
358712160701
G
STRINGER
358710000802H
BACK PANEL
K5871000001T
Parts shown are the base cabinet of your model. Drawers shown on next page. Please note, some parts are labeled with a sticker and some
parts have a letter stamped on a raw edge.
Piezas mostradas son la base del gabinete de su modelo. Cajones que se muestra en la siguiente página. Tenga en cuenta las mismas
partes se etiquetan con una etiqueta engomada y algunas partes tienen una carta impresa en un borde crudo.
Pièces indiquées sont le placard de votre modèle. Tiroirs montrés sur la page suivante. Veuillez noter que les mêmes pièces sont pourvus
d'une étiquette et certaines régions ont une lettre estampillée sur le bord brut.
This piece is paperboard construction. It is not made from
wood but is required for the assembly of your unit.
Esto pedazo son la construcción del cartón. Ello no son
hecho de madera, pero se requlere para la asamblea de su
unidad.
Cette pièce est de construction en carton. Elle n'est pas
fabriquée de bois, mais nécessaire pour l'assemblage de
votre meuble.
Spanish & French parts list on page 5.
Lista de piezas españolas y francesas en la página 5.
Liste des pièces espagnoles et françaises à la page 5.
A
B
C
D
E
F
G
H
H
T
B345871216PCOM0
4 /35
?? www.ameriwood.com ??
PARTS - PIEZAS - PIECES
Parts List
DESCRIPTION
PART NUMBER
QTY
ITEM
LEFT DRAWER SIDE
358690150906I
RIGHT DRAWER SIDE358690151006
J
DRAWER BACK
358710151106K
DRAWER BRACE
355380001206L
DRAWER BOTTOM
358710151306M
LEFT TOP DRAWER FRONT
358710151401N
LEFT BOTTOM DRAWER FRONT
358710151501
O
LEFT MIDDLE DRAWER FRONT
358710151601P
RIGHT TOP DRAWER FRONT358710151701Q
RIGHT BOTTOM DRAWER FRONT
358710151801R
RIGHT MIDDLE DRAWER FRONT
358710151901
S
Parts shown are for the drawers. Please note, some parts are labeled with a sticker and some parts have a letter stamped on a raw edge.
Piezas que se muestran son para los cajones. Tenga en cuenta que algunas partes están etiquetados con una pegatina y algunas partes
tener una carta sellada en un borde crudo.
Pièces indiqués sont pour les tiroirs. S'il vous plaît noter, certaines parties sont marqués avec un autocollant et certaines parties ont une
lettre estampillée sur un bord brut.
left top drawer
cajón superior izquierdo
tiroir supérieur gauche
left bottom drawer
cajón inferior izquierdo
tiroir en bas à gauche
left middle drawer
cajón medio izquierdo
tiroir du milieu gauche
right top drawer
cajón superior derecho
tiroir en haut à droite
right bottom drawer
cajón inferior derecha
tiroir en bas à droite
right middle drawer
derecho cajón del medio
tiroir du milieu droit
IIII
II
JJJJ
JJ
KKKK
KK
LL
LLLL
NOPQ
RS
MMMM
MM
B345871216PCOM0
5 /35
?? www.ameriwood.com ??
Parts List
DESCRIPTION
PART NUMBER
QTY
ITEM
PANEL IZQUIERDO / PANNEAU GAUCHE
358712160101A
PANEL DERECHO / PANNEAU DROIT
358712160201B
PARTICIÓN / CLOISON
358712160301C
CIMA / DESSUS
358712160401D
FONDO / FOND
358710000501E
TOP DELANTAL / TOP TABLIER358712160601
F
RETROCESO / PLAQUE
358712160701
G
CARRIL / RAIL
358710000802H
LADO DEL CAJÓN IZQUIERA / CÔTE DE TIROIR GAUCHE
358690150906I
LADO DEL CAJÓN DERECHO / CÔTE DE TIROIR DROIT
358690151006J
CAJÓN DE ATRÁS / ARRIERE DE TIROIR
358710151101K
SOPORTE DE CAJÓN / RENFORT DE TIROIR
355380001206L
PARTE INFERIOR DEL CAJÓN / FONDO DE TIROIR INFERIEUR
358710151306
M
SUPERIOR IZQUIERDA FRENTE CAJÓN / TIROIR AVANT SUPÉRIEUR GAUCHE
358710151401N
INFERIOR IZQUIERDA FRENTE CAJÓN / TIROIR AVANT INFÉRIEUR GAUCHE
358710151501
O
CENTRO IZQUIERDA FRENTE CAJÓN / MOYEN GAUCHE AVANT TIROIR
358710151601
P
SUPERIOR DERECHO FRENTE CAJÓN / TIROIR AVANT SUPÉRIEUR DROIT
358710151701
Q
INFERIOR DERECHO FRENTE CAJÓN / TIROIR AVANT INFÉRIEUR DROIT
358710151801R
CENTRO DERECHO FRENTE CAJÓN / MOYEN DROIT AVANT TIROIR
358710151901
S
PANEL TRASERO / PANNEAU ARRIÈRE
K5871000001T
B345871216PCOM0
6 /35
?? www.ameriwood.com ??
PARTS - PIEZAS - PIECES
COSCOR
x
16 1
#A93350
cosco label
etiqueta de COSCO
étiquette de Cosco
x
#A17400
8-32 x 7/8" bolt
tornillo 7/8"
vis 7/8"
15 12
x
14 36
#A11600
1-1/4" flat head
cabeza plano 1-1/4"
tête plate 1-1/4"
x13 45
#A21110
nail
clavo
clou
tête plate 1-3/4"
cabeza plano 1-3/4"
1-3/4" flat head
x
#A13410
11 2x
12 12
#A54220
drawer bracket
soporte de caón
support de tiroir
x
#A22570
cam lock
cerradura de leva
serrure de came
420
x
cam bolt
#A22510
perno de leva
boulon de came
520
x
31
#A84050
safety bracket kit
juego del soporte de seguridad
ensemble de courroie sécurite
3a
3b
3c 3d
x
936
#A11070
1/4" euro screw
tormillo euro 1/4"
euro vis 1/4"
x
#A12120
7/16" pan head
cabeza redondo 7/16"
tête ronde 7/16"
10 76
x
#A53600
angle bracket
support de l'angle
anaquel del ángulo
88
x
#A21660
wood dowel
clavija de madera
goujon de bois
65
x
212
#A51990
knob
perilla
bouton
x
16
#A56540
slide
corredera
glissiere coulissante
x
17 1
#A43105
foot
pie
patte
x
710
#A21520
compression dowel
clavija de compresion
goujon de compression
B345871216PCOM0
7 /35
?? www.ameriwood.com ??
2
3½ turn to fully
lock.
½ se vuelven a
totalmente
cerradura.
½ tour pour
verrouiller
complètement.
4
Tighten to fully seat. Do not over
tighten.
Apriétese a totalmente asiento. No
haga encima de apriétese.
Serrez pour mettre le siège bien en
place. Ne pas trop serrer.
Proper orientation of cam.
La orientación apropiada de leva.
Bonne orientation de la came.
1
This illustration shows how the CAM fastening system works.
Esta ilustración muestra el sistema de fijación de leva y como funciona.
Cette illustration montre le système de fixation CAME et son fonctionnement.
Lock
Apretar
Serrer
Titus
Titus
Titus
1
B345871216PCOM0
8 /35
?? www.ameriwood.com ??
Finished Edge
Borde Acabado
Bord Fini
x
31
3a
3b 3a
3b
x
56
Be sure to use the holes shown.
Asegúrese de utilizar los orificios mostrados.
N'oubliez pas d'utiliser les trous indiqués.
D
5
5
2
B345871216PCOM0
9 /35
?? www.ameriwood.com ??
May need to tap with a hammer to fully insert.
Puede necesitar golpee con un martillo para insertar completamente.
Devrez peut-être taper avec un marteau pour introduire complètement.
x
62
x
44
x
17 1
4
4
6
6
17
E
Proper orientation of CAM LOCK
Posición correcta de la cerradura de leva.
Bonne orientation de la SERRURE DE CAME
3
B345871216PCOM0
10 /35
?? www.ameriwood.com ??
x
44
x
74
Approx.
7/16"
7
4
4
7
7
Hx2
You wil have 2 stringers (H).
Usted deberá 2 largueros (H).
Vous devrez fournir 2 longerons (H).
Proper orientation of CAM LOCK
Posición correcta de la cerradura de leva.
Bonne orientation de la SERRURE DE CAME
4
B345871216PCOM0
11 /35
?? www.ameriwood.com ??
End View
Vista Final
Vau Finale
Angle bracket (8) will be flush with the edge.
Escuadra de fijación (8) quedará al ras con el borde.
Equerre (8) sera aligné avec le bord.
x
10 4
x
84
8
10
F
5
B345871216PCOM0
12 /35
?? www.ameriwood.com ??
x
84
x
10 4
End View
Vista Final
Vau Finale
10
8
Note: Pilot hole is closer to the top edge.
Nota: Agujero piloto está más cerca del
borde superior.
Remarque : Prépercer est plus proche de la
partie supérieure.
Do not fully tighten this screw.
No apretar este tornillo.
Ne pas serrer complètement cette vis.
G
6
B345871216PCOM0
13 /35
?? www.ameriwood.com ??
x
10 4
10
D
F
Do not fully tighten this screw.
No apretar este tornillo.
Ne pas serrer complètement cette vis.
7
B345871216PCOM0
14 /35
?? www.ameriwood.com ??
x
10 4
End View
Vista Final
Vau Finale
Now fully tighten this screw.
Ahora apriete este tornillo.
Maintenant, bien serrer cette vis.
This edge and surface will be flush with each other.
Este borde y la superficie debe estar a nivel con el otro.
Ce rebord et la surface soit à égalité avec l'autre.
10
E
G
8
B345871216PCOM0
15 /35
?? www.ameriwood.com ??
x
53
x
61
x
42
5
5
6
Be sure to use the holes shown.
Asegúrese de utilizar los orificios mostrados.
N'oubliez pas d'utiliser les trous indiqués.
4
Finished Edge
Borde Acabado
Bord Fini
A
Proper orientation of CAM LOCK
Posición correcta de la cerradura de leva.
Bonne orientation de la SERRURE DE CAME
9
B345871216PCOM0
16 /35
?? www.ameriwood.com ??
x
42
x
53
x
61
6
5
5
Finished Edge
Borde Acabado
Bord Fini
Be sure to use the holes shown.
Asegúrese de utilizar los orificios mostrados.
N'oubliez pas d'utiliser les trous indiqués.
4
B
Proper orientation of CAM LOCK
Posición correcta de la cerradura de leva.
Bonne orientation de la SERRURE DE CAME
10
B345871216PCOM0
17 /35
?? www.ameriwood.com ??
Extend each slide as shown. Press the black plastic lever upward and seperate the two parts of the slide.
Ampliar la diapositiva como se muestra. Presione hacia arriba la palanca negra de plástico y separar las dos partes de la diapositiva.
Étendre la lame comme illustré. Appuyez sur le levier en plastique noir vers le haut et séparer les deux parties de la diapositive.
This outer side will attach to your side panels.
Este lado hacia fuera adjuntará a los paneles laterales.
Ce côté à se joindre à vos panneaux latéraux.
Plastic Lever
Palanca de Plástica
Levier en Plastique
This inner slide will be attached to the drawer sides.
Esta corredera interior se adjuntará a los lados del cajón.
Cette diapositive intérieure sera attachée aux côtés de tiroir.
Use these three holes when attaching slide.
Utilice estos tres agujeros al colocar la diapositiva.
Utilisez ces trois trous pour la fixation de glissière.
Use these three holes when attaching inner slide.
Utilice estos tres agujeros al colocar la diapositiva.
Utilisez ces trois trous pour la fixation de glissière.
x
16
This outer side will attach to your side panels.
Este lado hacia fuera adjuntará a los paneles laterales.
Ce côté à se joindre à vos panneaux latéraux.
1
11
B345871216PCOM0
18 /35
?? www.ameriwood.com ??
x
99
x
13
(From step 10)
(De paso 10)
(Partir de l'étape 10)
Use these three holes when attaching slide.
Utilice estos tres agujeros al colocar la diapositiva.
Utilisez ces trois trous pour la fixation de glissière.
front
frente
avant
Finished Edge
Borde Acabado
Bord Fini
front
frente
avant
1
1
1
1
9
99
9
99
9
9
9
9
A
1
12
B345871216PCOM0
19 /35
?? www.ameriwood.com ??
x
99
x
13
Use these three holes when attaching slide.
Utilice estos tres agujeros al colocar la diapositiva.
Utilisez ces trois trous pour la fixation de glissière.
(From step 10)
(De paso 10)
(Partir de l'étape 10)
front
frente
avant
front
frente
avant
Finished Edge
Borde Acabado
Bord Fini
1
1
1
1
9
99
9
99
9
99
9
1
B
13
B345871216PCOM0
20 /35
?? www.ameriwood.com ??
left surface
superficie izquierda
surface gauche
right surface
superficie derecha
surface de droite
x
918
x
16
Use these three holes when attaching slide.
Utilice estos tres agujeros al colocar la diapositiva.
Utilisez ces trois trous pour la fixation de glissière.
front
frente
avant (From step 10)
(De paso 10)
(Partir de l'étape 10)
Use these three holes when attaching slide.
Utilice estos tres agujeros al colocar la diapositiva.
Utilisez ces trois trous pour la fixation de glissière.
(From step 10)
(De paso 10)
(Partir de l'étape 10)
front
frente
avant
Finished Edge
Borde Acabado
Bord Fini
Finished Edge
Borde Acabado
Bord Fini
99
9
99
9
99
9
99
9
99
9
99
9
99
1
1
11
1
1
1
1
1
1
You will attach three outer slides (from step
10) to the left and right surface of the
partition (C) as shown.
Usted adjuntar tres toboganes exteriores
(desde el paso 10) a la superficie de
izquierda y derecha de la partición (C) como
se muestra.
Vous allez fixer trois glissières extérieures
(de l'étape 10) à la surface gauche et à
droite de la partition (C) comme indiqué.
CC

Other Ameriwood Indoor Furnishing manuals
Ameriwood 7303028 User manual

Ameriwood

Ameriwood 7303028 User manual

Ameriwood 5947220T User manual

Ameriwood

Ameriwood 5947220T User manual

Ameriwood 9416207P User manual

Ameriwood

Ameriwood 9416207P User manual

Ameriwood 3598319PCOM User manual

Ameriwood

Ameriwood 3598319PCOM User manual

Ameriwood Altra 1789308S User manual

Ameriwood

Ameriwood Altra 1789308S User manual

Ameriwood 1222012PCOM User manual

Ameriwood

Ameriwood 1222012PCOM User manual

Ameriwood 348012PCOM User manual

Ameriwood

Ameriwood 348012PCOM User manual

Ameriwood BS1208 User manual

Ameriwood

Ameriwood BS1208 User manual

Ameriwood 5841015PCOM User manual

Ameriwood

Ameriwood 5841015PCOM User manual

Ameriwood 7642500PCOM User manual

Ameriwood

Ameriwood 7642500PCOM User manual

Ameriwood BASIC 7641320COM User manual

Ameriwood

Ameriwood BASIC 7641320COM User manual

Ameriwood 9402328WP User manual

Ameriwood

Ameriwood 9402328WP User manual

Ameriwood 7224012PCOM User manual

Ameriwood

Ameriwood 7224012PCOM User manual

Ameriwood 1213012PCOM User manual

Ameriwood

Ameriwood 1213012PCOM User manual

Ameriwood AX1 9810096COM User manual

Ameriwood

Ameriwood AX1 9810096COM User manual

Ameriwood 9524207PCOM User manual

Ameriwood

Ameriwood 9524207PCOM User manual

Ameriwood 5206015GM User manual

Ameriwood

Ameriwood 5206015GM User manual

Ameriwood 9652301EBLP User manual

Ameriwood

Ameriwood 9652301EBLP User manual

Ameriwood 9867303KP User manual

Ameriwood

Ameriwood 9867303KP User manual

Ameriwood 7224328PCOM User manual

Ameriwood

Ameriwood 7224328PCOM User manual
Ameriwood 5187012YCOM User manual

Ameriwood

Ameriwood 5187012YCOM User manual

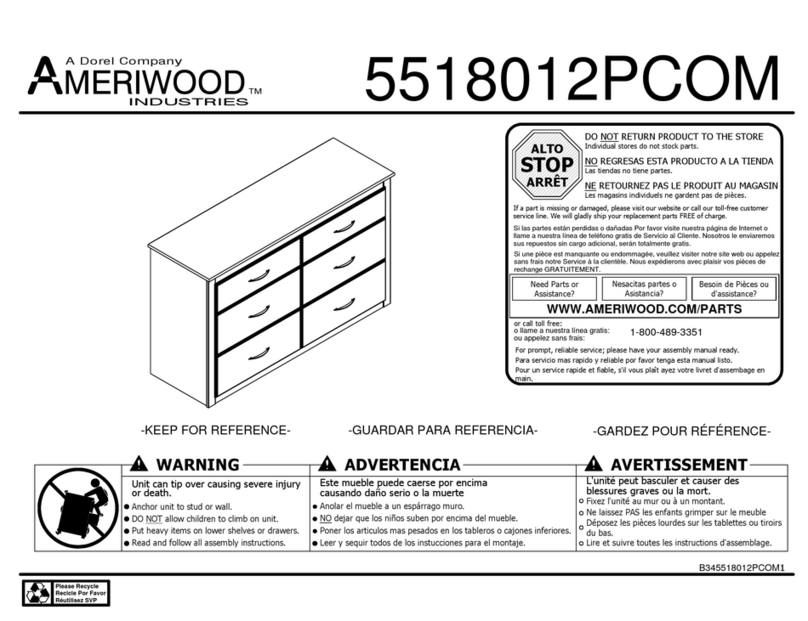
Ameriwood 5518012PCOM User manual

Ameriwood

Ameriwood 5518012PCOM User manual
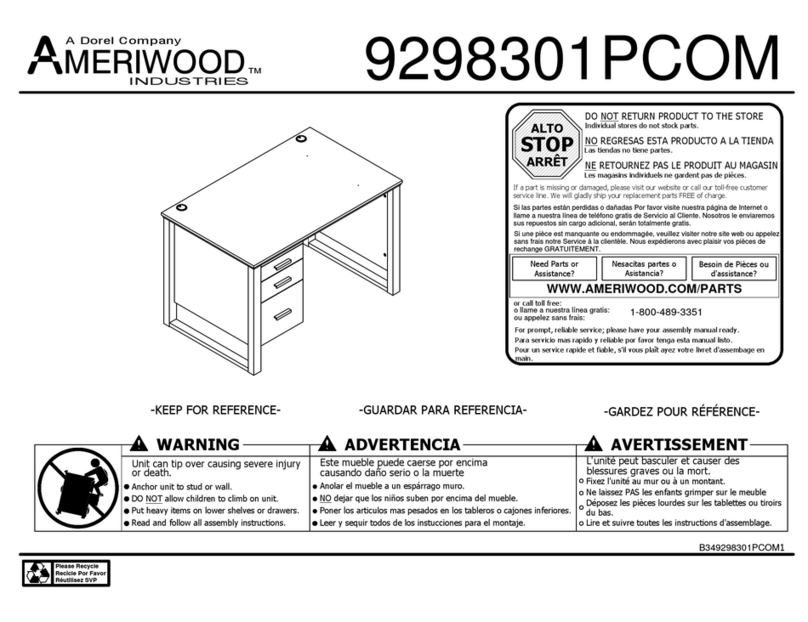
Ameriwood 1760303KP User manual

Ameriwood

Ameriwood 1760303KP User manual

Ameriwood 9425052 User manual

Ameriwood

Ameriwood 9425052 User manual

Popular Indoor Furnishing manuals by other brands

FourStarGroup 11223767V quick start guide

FourStarGroup

FourStarGroup 11223767V quick start guide

Gautier 310.085 Assembly instructions

Gautier

Gautier 310.085 Assembly instructions

HOMCOM 713-069V82 manual

HOMCOM

HOMCOM 713-069V82 manual

EXPEDO DITA K2D2SZ Assembly instruction

EXPEDO

EXPEDO DITA K2D2SZ Assembly instruction

Forte Bellevue BLQK351LT Assembling Instruction

Forte

Forte Bellevue BLQK351LT Assembling Instruction

Eureka GTG-Z43 quick start guide

Eureka

Eureka GTG-Z43 quick start guide

modway 6412 manual

modway

modway 6412 manual

KI All Terrain Binder Tower Assembly instructions

KI

KI All Terrain Binder Tower Assembly instructions

SIMON LI FURNITURE Liviana J825-832 Assembly instructions

SIMON LI FURNITURE

SIMON LI FURNITURE Liviana J825-832 Assembly instructions

Seconique ABBEY DINING TABLE Assembly instructions

Seconique

Seconique ABBEY DINING TABLE Assembly instructions

Habitat SCOUT Shelving Unit Assembly instructions

Habitat

Habitat SCOUT Shelving Unit Assembly instructions

Cooper Lighting PM113cbi Specification sheet

Cooper Lighting

Cooper Lighting PM113cbi Specification sheet

Habitat Bold 804303 manual

Habitat

Habitat Bold 804303 manual

Plymold Cebra Wall Style installation manual

Plymold

Plymold Cebra Wall Style installation manual

Kogan ovela COVENTRY OVCOVMBSWA user guide

Kogan

Kogan ovela COVENTRY OVCOVMBSWA user guide

FURNITUREBOX OSLO OFFICE CHAIR Assembly guide

FURNITUREBOX

FURNITUREBOX OSLO OFFICE CHAIR Assembly guide

Furniture of America Bridgewater FOA7490PL Assembly instructions

Furniture of America

Furniture of America Bridgewater FOA7490PL Assembly instructions

Enclume PR33 instructions

Enclume

Enclume PR33 instructions

manuals.online logo
manuals.online logoBrands
  • About & Mission
  • Contact us
  • Privacy Policy
  • Terms and Conditions

Copyright 2025 Manuals.Online. All Rights Reserved.