manuals.online logo
Brands
  1. Home
  2. •
  3. Brands
  4. •
  5. Amulet Hotkey
  6. •
  7. Extender
  8. •
  9. Amulet Hotkey CoreModule FX600 User manual

Amulet Hotkey CoreModule FX600 User manual

CoreModule FX600 Expansion Module
Remote Workstaon soluons for Dell FX2s FC630/FC640 blade servers
Quick Start Guide
www.amulethotkey.com QS-FX60-0001 v1.4 August 2021
For Health and safety informaon, refer to the sheet LS-AHKL-0001.
The Amulet Hotkey CoreModule FX600 is an expansion module for use with
the CoreStaon WFC630 and WFC640. The expansion module can provide the
funconality for GPU accelerated one-to-one (1:1) host workstaons.
This guide tells you how to install a Quad-Expansion module into a FX2s chassis.
Expansion modules can provide 1:1 soluons: These modules use
a combinaon of GPU cards and PCoIP host cards to provide remote
workstaon soluons. There are network ports on the module.
The CoreModule can be used in a two blade or four blade setup.
Assign four module slots to two blades (default)
Each CoreModule FX600 contains up to four cards that map to one or two blades
installed in the top/boom posions in the same side at the front of the chassis.
Figure 1: Four blade conguraon example
In Figure 1 the two cards in posion A,B at the top of the CoreModule connect
with a blade in the boom Compute posion. The remaining two (C & D)
connect to the blade in the top Compute posion. So Compute 1 connects
through to C & D, Compute 3 to A & B on the RHS (at the rear).
Note: On the chassis and in the CMC, slots are enumerated 1 to 8 with PCIe A
on the LHS equivalent to slot 1 and PCIe D on the RHS equivalent to slot 8.
Assign four module slots to one blade
If only one blade is used on half of the chassis, the space below can be empty,
contain a storage sled, or a compute sled with no PCIe expansion requirement.
In Figure 2, all four cards in the CoreModule connect with a single blade in the
top Compute posion. So Compute 1 connects to A, B, C & D on the RHS (rear).
Compute 2 connects to A, B, C & D on the LHS (rear).
Figure 2: Two blade conguraon example
How to select the mapping for four module slots to one blade
1 Login to the CMC with the IP address, username and password.
2 Select PCIe Overview from the le-hand menu and click the Setup tab.
3 Make sure the Enable PCIe Slot Reassignment box is checked. See Figure 3.
Note: This selecon is automac when a storage sled is installed in the chassis
slots Compute 3 or Compute 4, reassigning the slot below to the slot above.
Figure 3: Recongure the iDRAC for alternave slot reassignment
Prepare the blades in the Dell FX2s chassis
1 For a new install, power down all the blades.
2 Remove any Dell Single slot PCIe modules that occupy the slots where you
will install the CoreModule.
Install a CoreModule in the Le or Right Hand Side
The CoreModule FX600 installs easily into the rear of the FX2s chassis on either
the Le Hand Side (LHS) or Right Hand Side (RHS) of the expansion bay.
Cauon: !
Always use an-stac handling procedures such as wearing a
wrist-strap before handling the CoreModule.
1 Remove all packaging and the connector protector from the module.
2 Read the label on the CoreModule(s) and idenfy the cards that it contains.
‘DXF-G’ for a GPU card. ‘DXF-H4’ for a DXH4 host card.
3 Decide which is the correct posion (LHS or RHS) to install the module(s).
Note: Make sure you install the CoreModule in the correct side of the expansion
bay for your conguraon.
www.amulethotkey.com CoreModule FX600 Expansion Module Quick Start Guide
Health and Safety (Refer to legislaon sheet LS-AHKL-0001)
• This device complies with part 15 of the FCC Rules (Class A)
• Operang temperature range: 15° to 35° C (59° to 95° F)
• Operang humidity range: 10% to 80% (non-condensing)
For product documentaon, downloads and technical assistance, visit:
For further informaon on all our products, visit www.amulethotkey.com.
© 2021 Amulet Hotkey Ltd. All rights reserved.
Informaon in this document is subject to change. No part of this document may be reproduced through any means including (but not limited to) electronic or
mechanical, without express wrien permission from Amulet Hotkey Ltd. Amulet Hotkey Ltd may have patents, patent applicaons, trademarks or copyrights or other
intellectual property rights covering subject maer in this document. PC-over-IP, PCoIP and the PCoIP logo are registered trademarks of Teradici Corp. Amulet Hotkey
and ‘soluons you can bank on’ are registered trademarks of Amulet Hotkey Ltd. Other product names and company names listed within this document may be trade-
marks of their respecve owners. Amulet Hotkey products are designed and built in the UK.
4 Align the connectors on the rear of the CoreModule with the four
expansion connectors at the rear of the FC640 blade. (Figure 4).
5 Push the module into the expansion bay so it is almost fully installed.
6 Push the card-puller lever up unl you hear a click. The module is installed.
Figure 4: Install the CoreModule FX600 in the Le Hand Side (LHS).
If you install two CoreModule FX600s, the FX2s chassis looks like Figure 5.
Figure 5: FX2s chassis with two CoreModule FX600s installed
Set up the FX600 module
1 See our website for the latest approved driver and soware versions.
2 Make sure you install the latest approved blade iDRAC on all blades in the
FX2s chassis. See our support link for the latest informaon.
3 To select the conguraon in Figure 1, make sure the checkbox for Enable
PCIe Slot Reassignment is deselected.
4 To select the conguraon in Figure 2, make sure the checkbox for Enable
PCIe Slot Reassignment is selected.
5 Power on the blades in the FX2s chassis.
6 To set up 1:1 conguraon, see the Conguraon Manual HB-CONF-0001.
Note: Set the Dell Wyse P25/P45 BIOS Access parameter to ENABLE in the BIOS.
This allows the remote PCoIP to enter or modify the BIOS sengs. See Figure 6.
Figure 6: System BIOS sengs for 1:1 conguraon
To remove the CoreModule
Cauon: !
Always use an-stac handling procedures such as wearing a
wrist-strap before handling the CoreModule.
1 Power down the blades that map to the CoreModule FX600.
2 Press in the release tab on the top of the module lever.
3 Pull the lever down. This ejects the module from the connectors on the
backplane of the chassis.
4 Carefully draw out the CoreModule FX600 and t the connector
protector that came with the unit. See Figure 7.
5 Put in a suitable an-stac bag.
Figure 7: Remove the CoreModule FX600 from the FX2s chassis
Blanking plugs
The CoreModule FX600 may or may not come ed with a blanking plug in the
lower posion. See Figure 8 and make sure of the following:
Single user octal operaon: t the plug in the lower network socket.
Dual user quad operaon: provide a network connecon to each socket.
Figure 8: Make sure blanking plugs are ed correctly

Other Amulet Hotkey Extender manuals

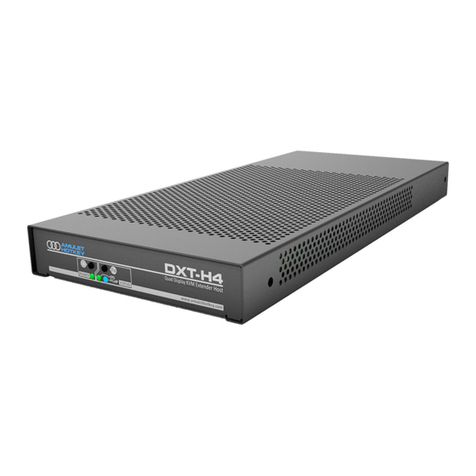
Amulet Hotkey DXT-H4 User manual

Amulet Hotkey

Amulet Hotkey DXT-H4 User manual

Amulet Hotkey DeTwo User manual

Amulet Hotkey

Amulet Hotkey DeTwo User manual

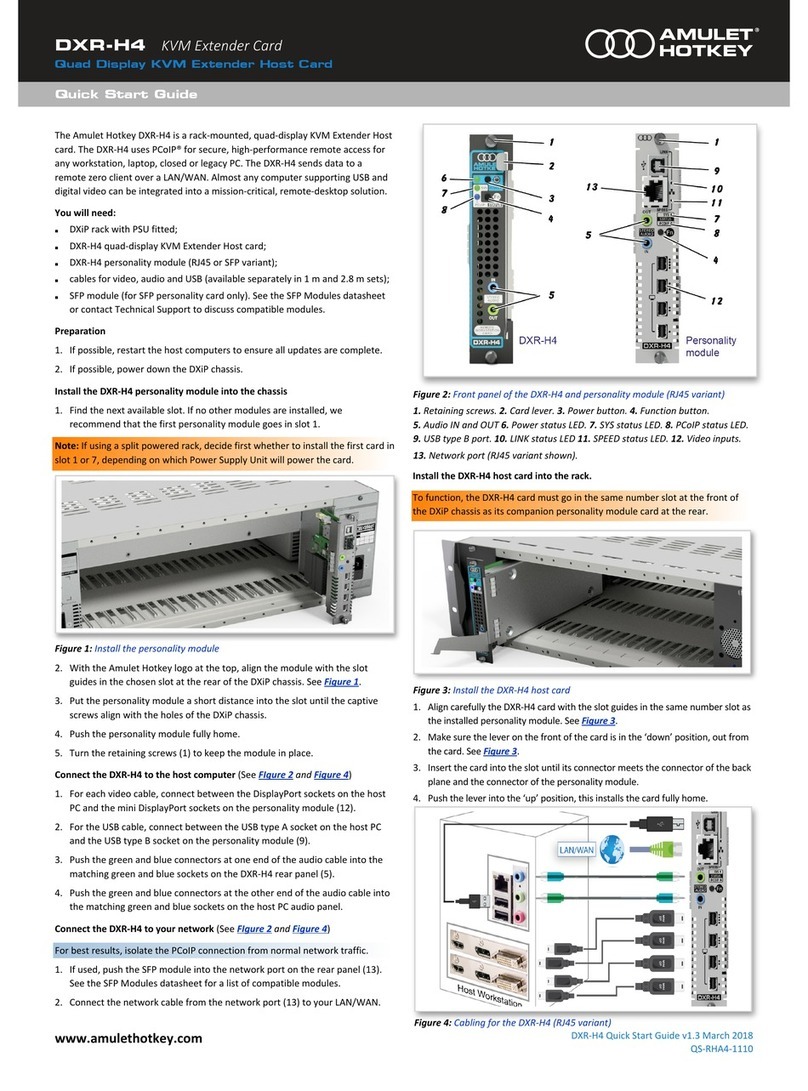
Amulet Hotkey DXR-H4 User manual

Amulet Hotkey

Amulet Hotkey DXR-H4 User manual

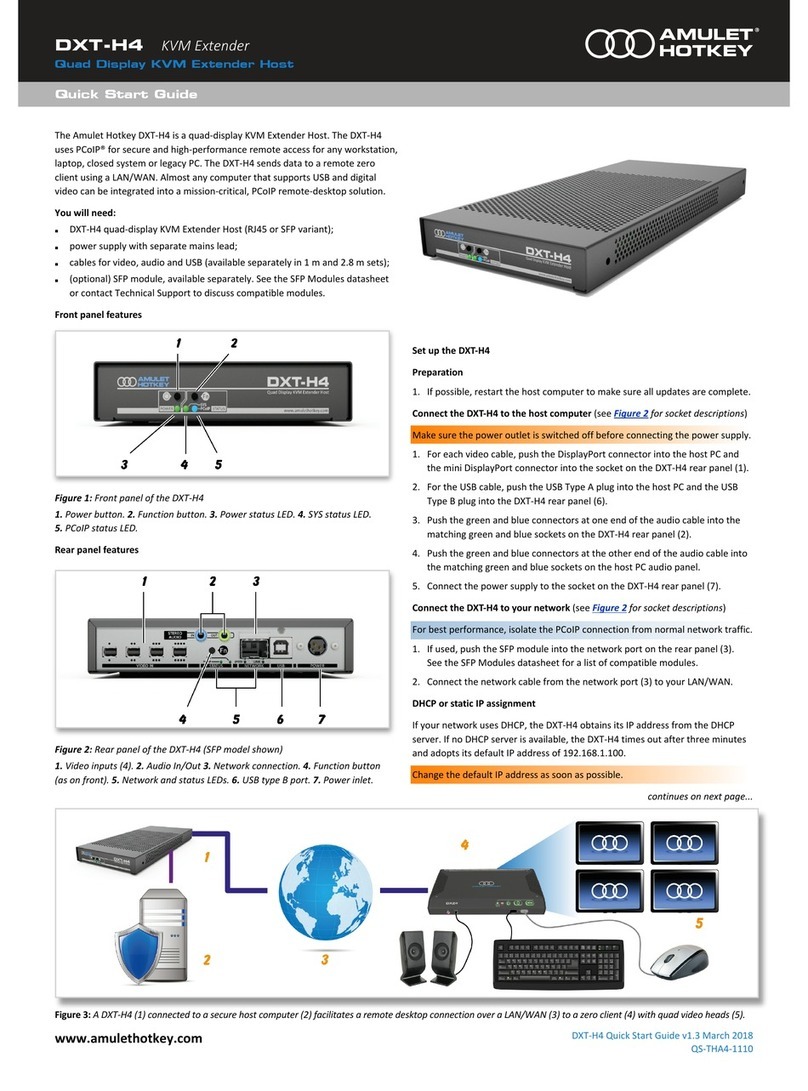
Amulet Hotkey DXT-H4 User manual

Amulet Hotkey

Amulet Hotkey DXT-H4 User manual

Amulet Hotkey DXR-H4 User manual

Amulet Hotkey

Amulet Hotkey DXR-H4 User manual

Amulet Hotkey DXZC User manual

Amulet Hotkey

Amulet Hotkey DXZC User manual

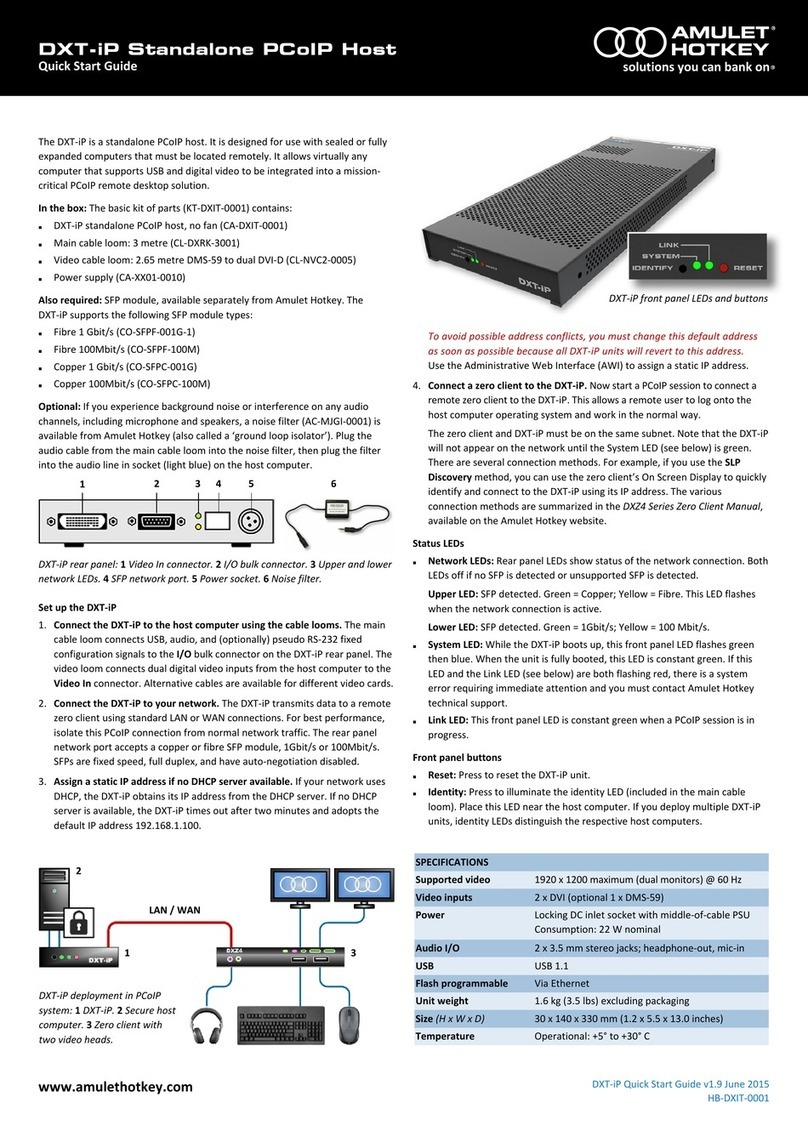
Amulet Hotkey DXT-iP User manual

Amulet Hotkey

Amulet Hotkey DXT-iP User manual

Amulet Hotkey DXT-H4 User manual

Amulet Hotkey

Amulet Hotkey DXT-H4 User manual

Amulet Hotkey DXR-H4 User manual

Amulet Hotkey

Amulet Hotkey DXR-H4 User manual

Popular Extender manuals by other brands

Kikusui PLZ-5W Series user manual

Kikusui

Kikusui PLZ-5W Series user manual

Cisco AT&T 3G MicroCel user manual

Cisco

Cisco AT&T 3G MicroCel user manual

MuxLab 500456 Quick installation guide

MuxLab

MuxLab 500456 Quick installation guide

Hawking HWUR54G Product tutorial

Hawking

Hawking HWUR54G Product tutorial

Shinybow USA SB-6210R instruction manual

Shinybow USA

Shinybow USA SB-6210R instruction manual

SC&T IP09 user manual

SC&T

SC&T IP09 user manual

Honeywell IB2 Mounting and Connection Instructions

Honeywell

Honeywell IB2 Mounting and Connection Instructions

Cables to Go 29343 user manual

Cables to Go

Cables to Go 29343 user manual

Wilson Electronics DB Pro 4G installation instructions

Wilson Electronics

Wilson Electronics DB Pro 4G installation instructions

HDanywhere XTND4K100TPC manual

HDanywhere

HDanywhere XTND4K100TPC manual

nedis VREP3460AT quick start guide

nedis

nedis VREP3460AT quick start guide

D-Link Eagle Pro AI AX1500 E15 manual

D-Link

D-Link Eagle Pro AI AX1500 E15 manual

Airspan Sprint AIRAVE 4 LTE installation guide

Airspan

Airspan Sprint AIRAVE 4 LTE installation guide

NETGEAR XAU2511 user manual

NETGEAR

NETGEAR XAU2511 user manual

weBoost Home-4G 470001 installation instructions

weBoost

weBoost Home-4G 470001 installation instructions

GeMNeXT EXT-UHBT100-R user manual

GeMNeXT

GeMNeXT EXT-UHBT100-R user manual

Avenview FO-DVI-1000M-EMIX user guide

Avenview

Avenview FO-DVI-1000M-EMIX user guide

Farfisa FX-1000 User's manual and guarantee

Farfisa

Farfisa FX-1000 User's manual and guarantee

manuals.online logo
manuals.online logoBrands
  • About & Mission
  • Contact us
  • Privacy Policy
  • Terms and Conditions

Copyright 2025 Manuals.Online. All Rights Reserved.