1
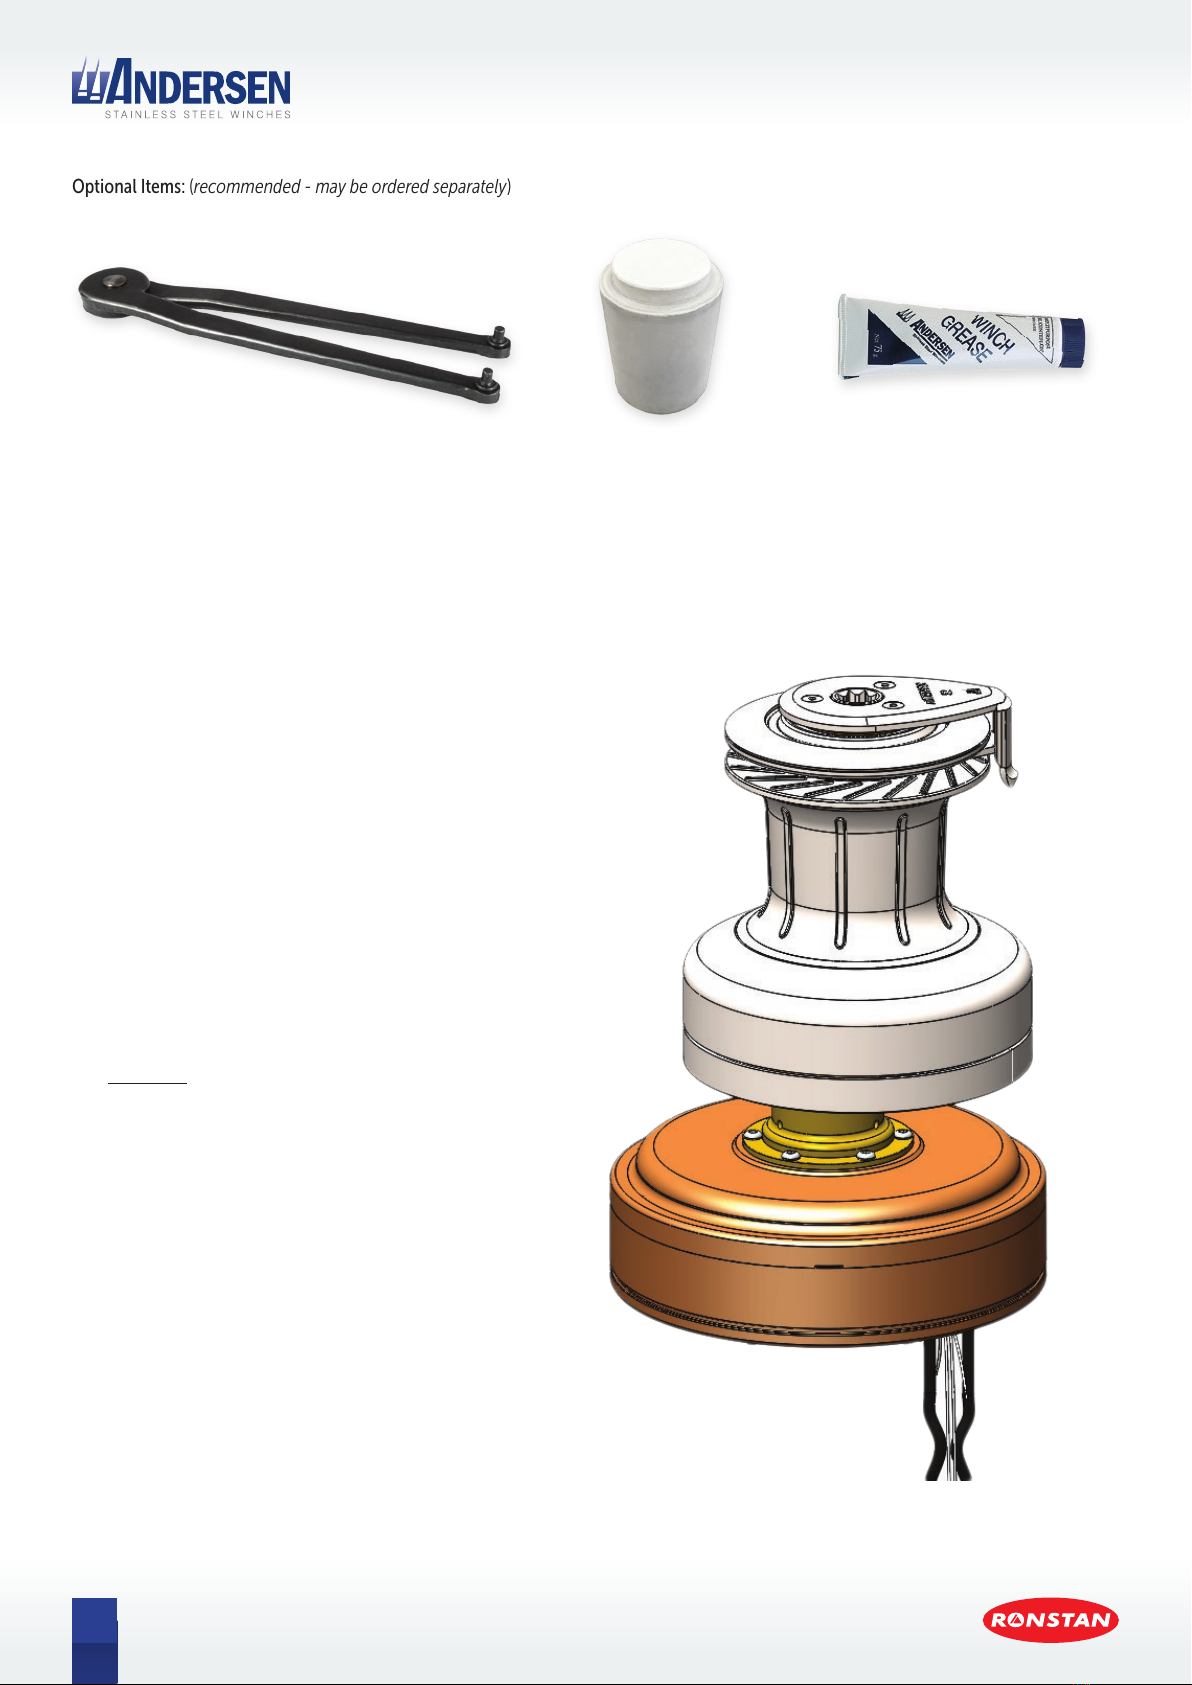
RA710023 SERVICE KIT
“Below Deck” Compact Motor™
Safety First! Always disconnect power before performing any service or maintenance work on an electric winch.
Service Kit Contents
2
4
8
9
6
7
10
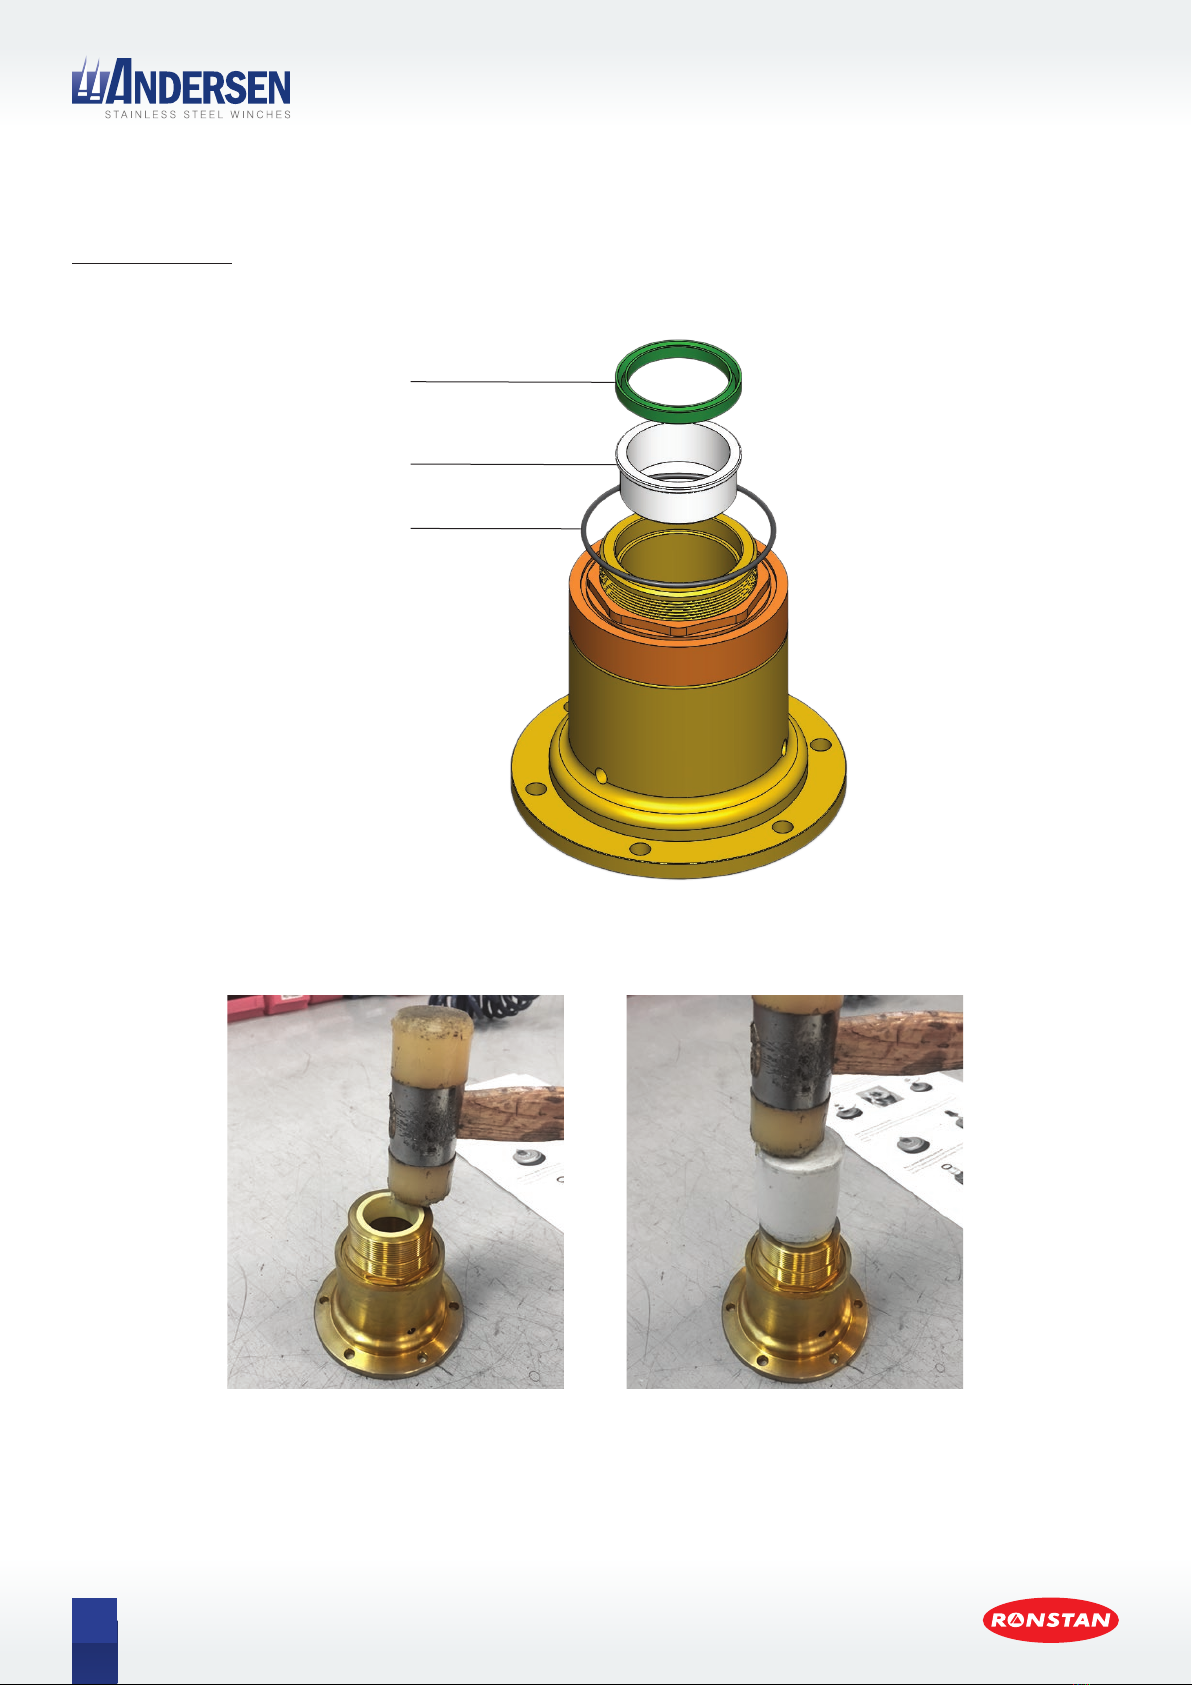
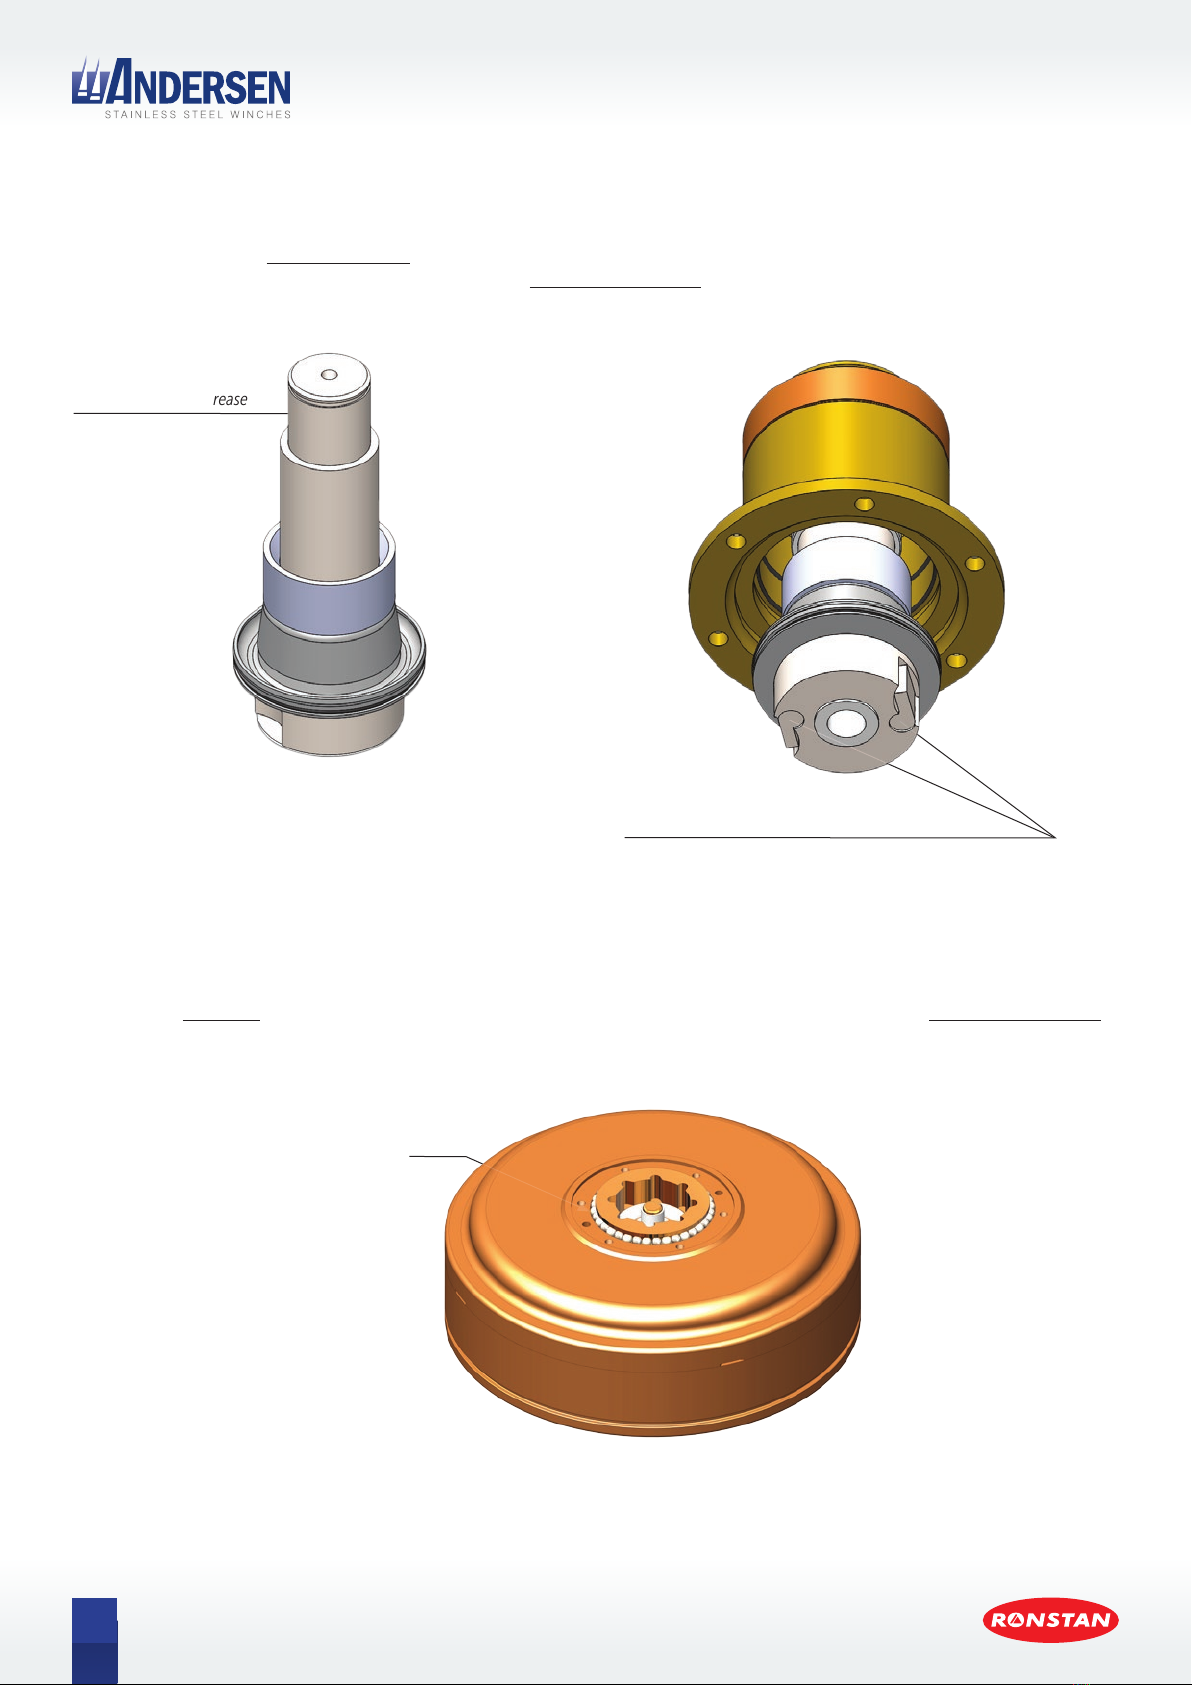
1RD100169 Lip Seal 30mm x 37mm x 4mm
2823100 Glide Bushing 34mm OD x 30mm ID
32x ISO7380-A4-M6X12mm Screw
4990299 Thread-lock
5536000 Spacer 40mm OD x 30mm ID
6821802 Upper Cone
72x RD100066 NBR O-ring 30mm OD x ⌀1.5mm
8821801 Lower Cone
92x RD100074 NBR O-ring 54mm OD x ⌀1.5mm
10 980700 Klüber Isoflex®TOPAS NB52 Grease
Isoflex®is a registered trademark of Klüber Lubrication München SE & Co. KG
RA710023 Service Kit for “Below Deck” Compact Motor™
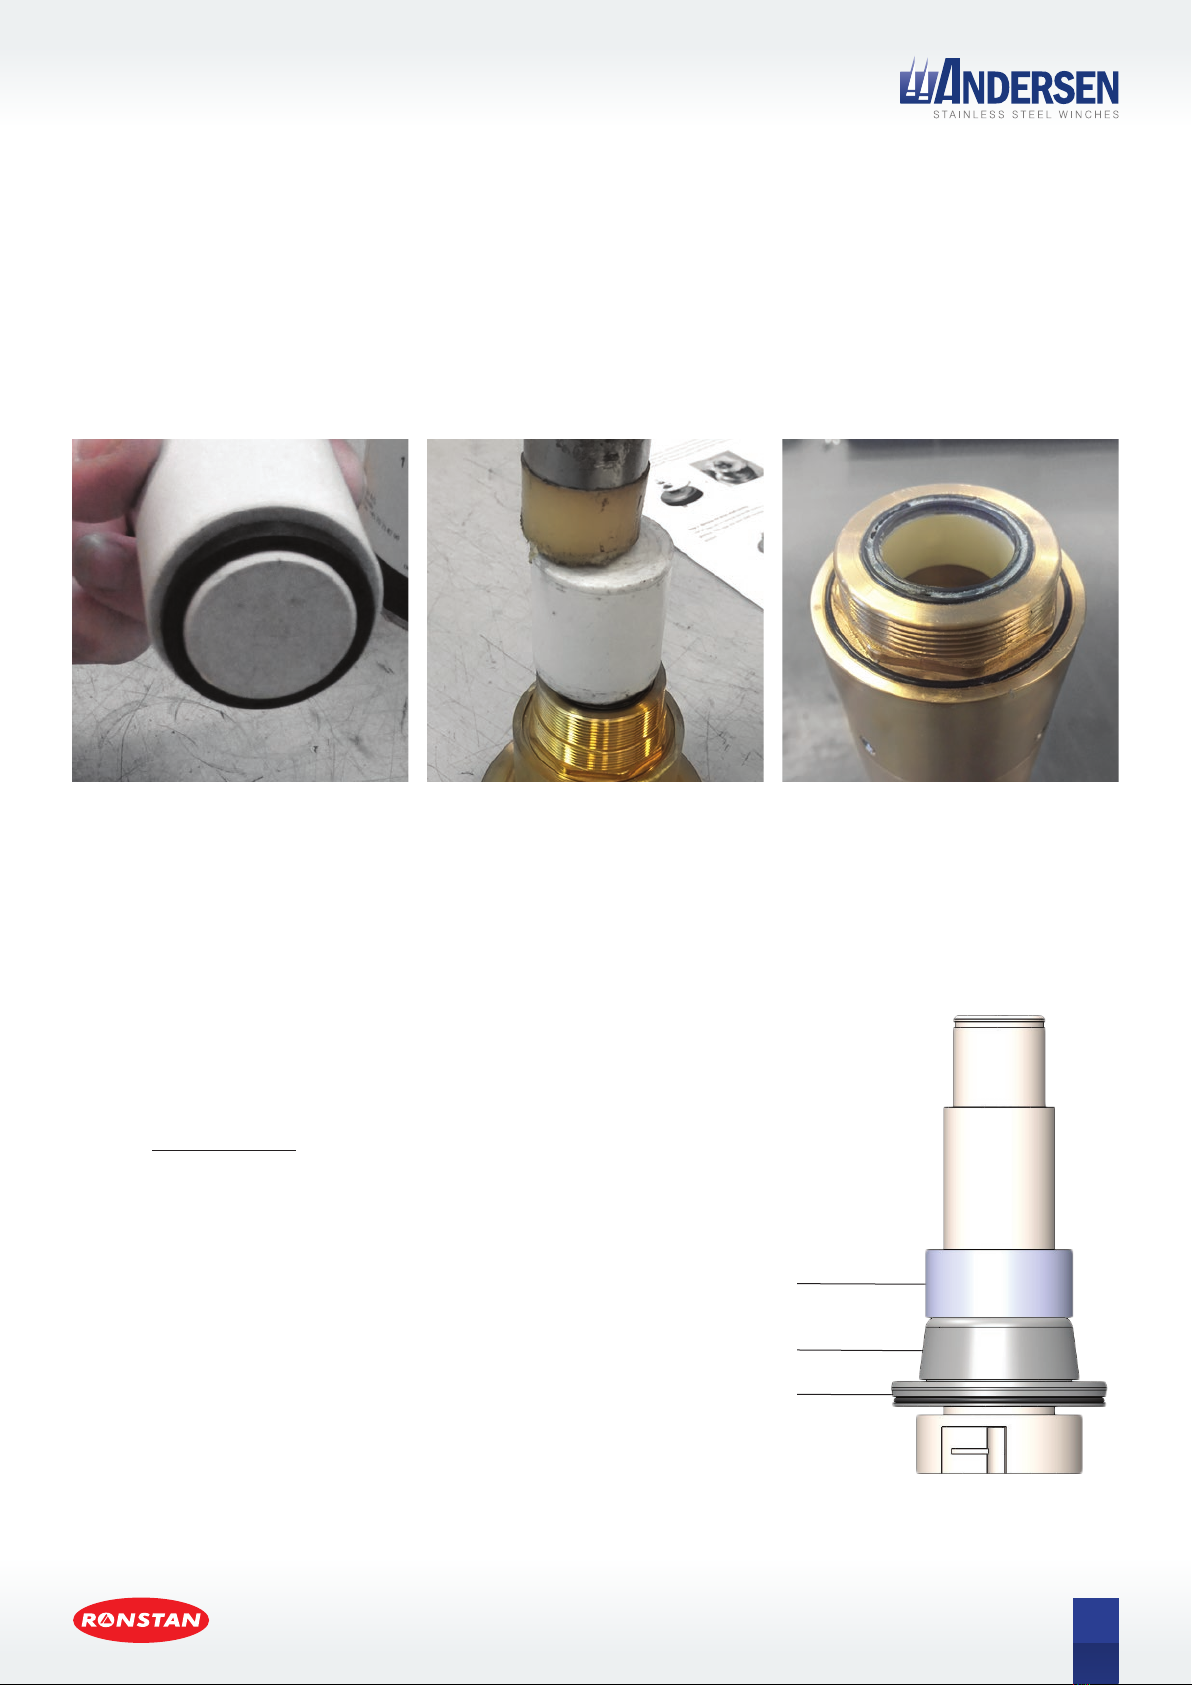
Instructions For Water Trap Retrofit And Lip Seal Replacement
We recommend replacement of the drive shaft lip seal on your Compact Motor™every 3 to 5 years, depending on usage, in order to avoid water
ingress and ensure a long and trouble-free service life.
Since 2015, below-deck Compact motor units are fitted with a water trap located in the drive
shaft housing for enhanced protection against water ingress. These units can be identified by
the presence of three drain holes, 5mm in diameter, at the base of the drive shaft housing.
If your motor unit does not have these drain holes, we recommend that you retrofit the water
trap when replacing the drive shaft lip seal. The procedure is quite simple, and all necessary
parts are provided in this Service Kit 710023.
If your motor unit already has these drain holes, it already has a water trap fitted and you may
use the basic Service Kit 710022 instead of this one if you wish.
Please take a moment to familiarise yourself with the contents of the RA710023 service kit.
Drain holes at base of drive shaft
RD100169
823100
536000
RD100066
821802
821801
RD100074
1
3
5