- 7 -
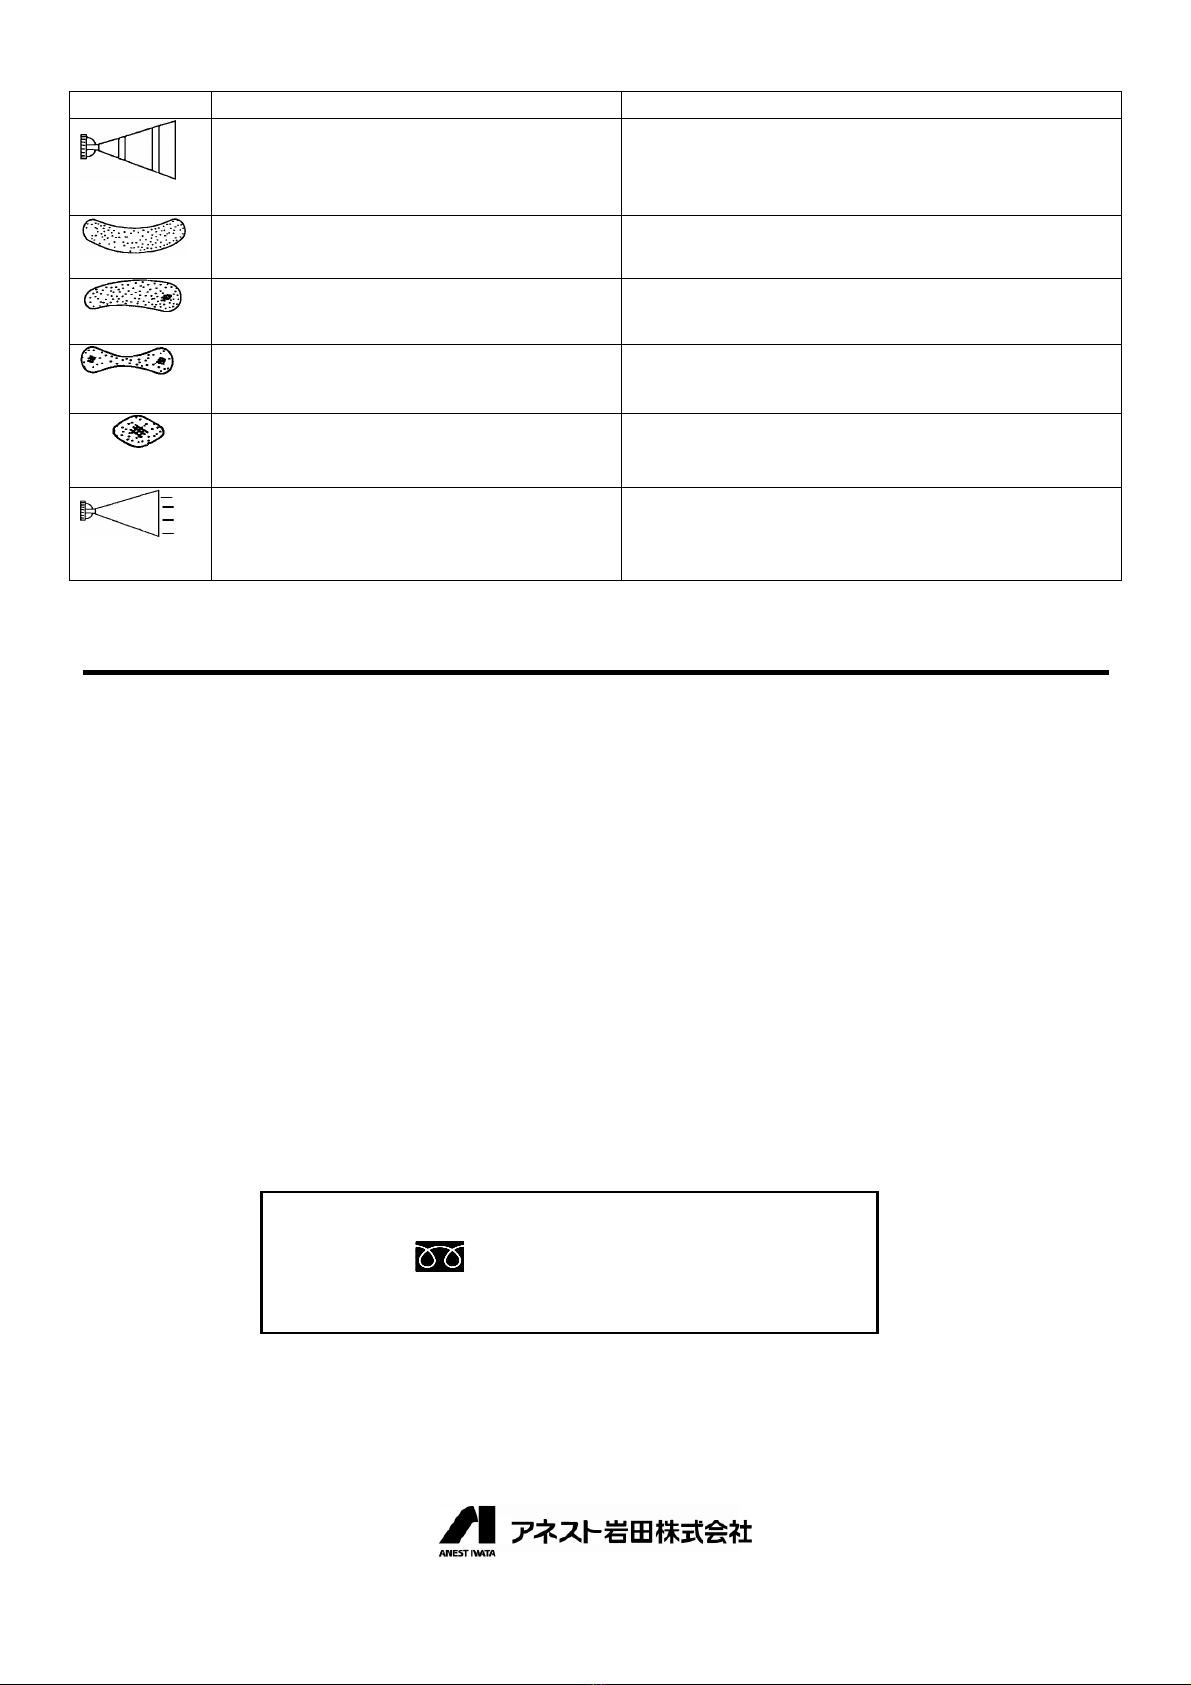
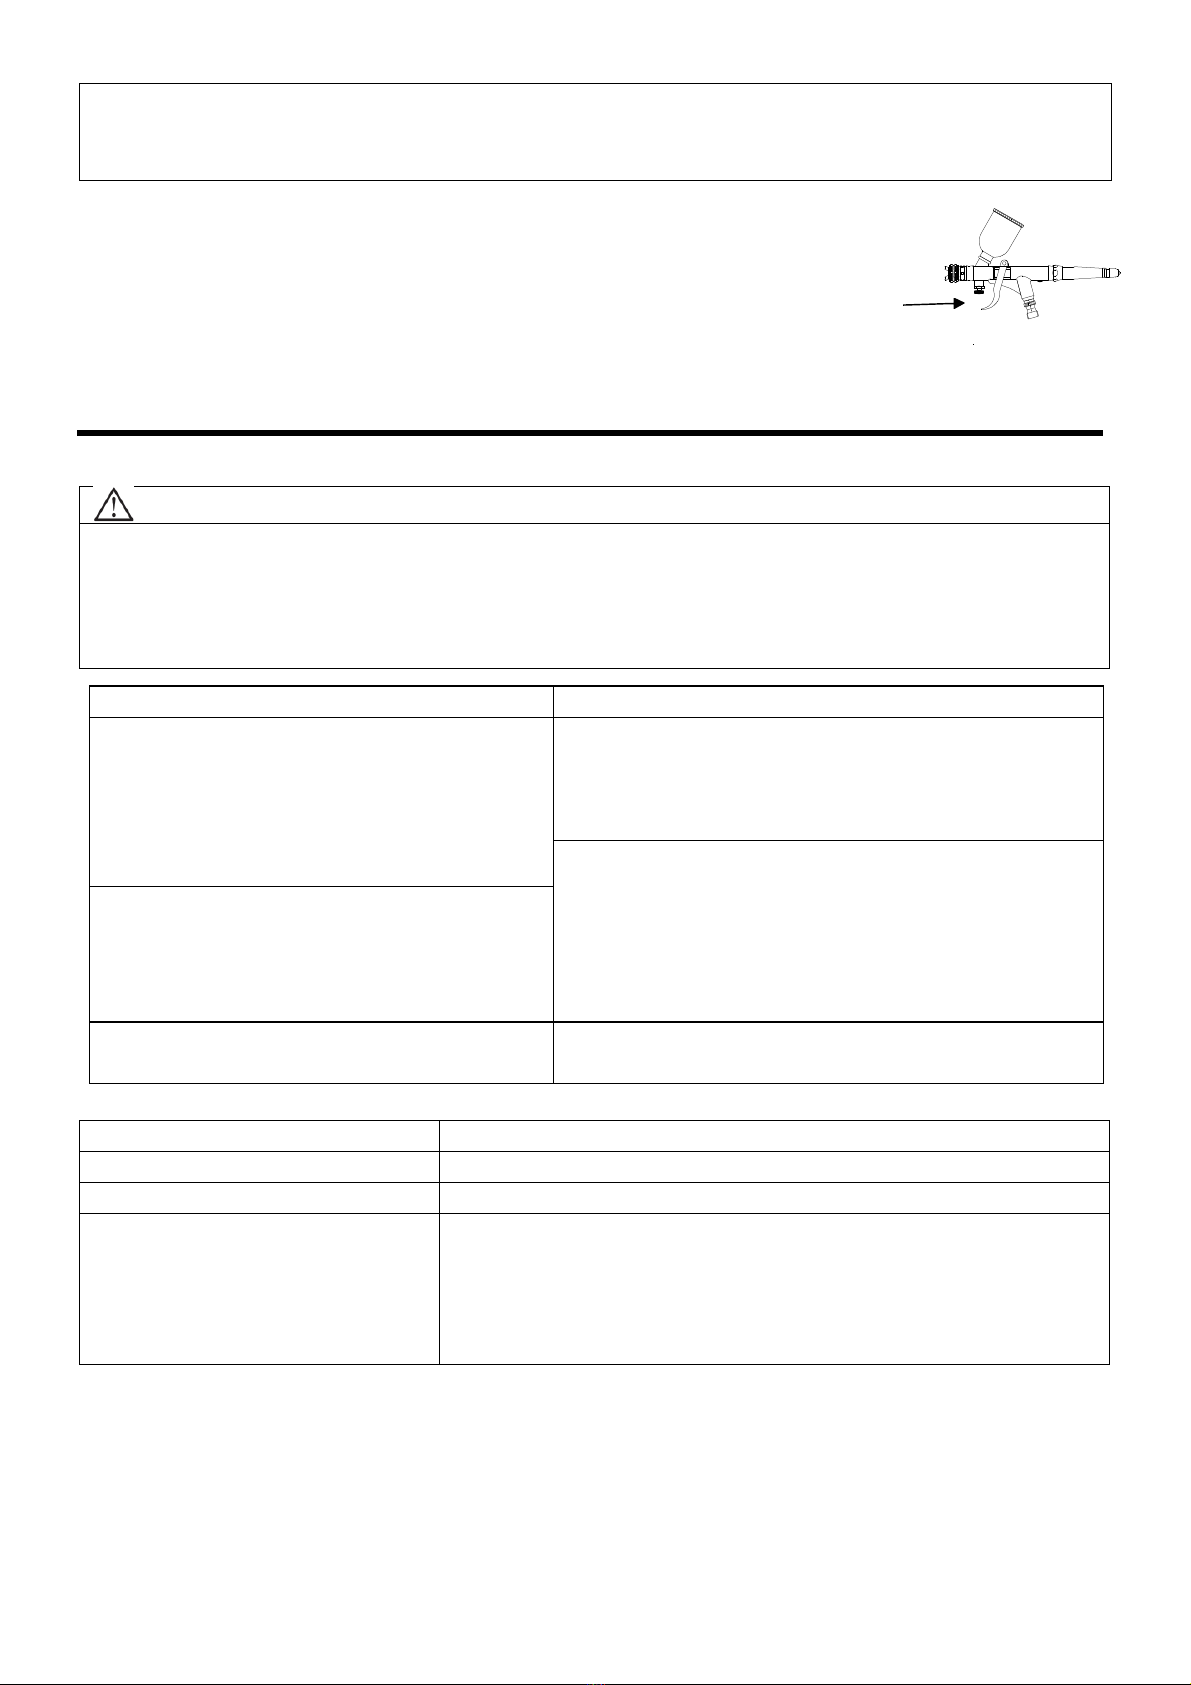
●Spraying
・
aterial with fine filter paper (cloth), or pigments may clog nozzle.
・Never damage nozzle cap or nozzle. If done, it will adversely affect atomization.
・Do not mix different color material (example: paint and dyestuff).
If done, the viscosity will increase and cause malfunction.
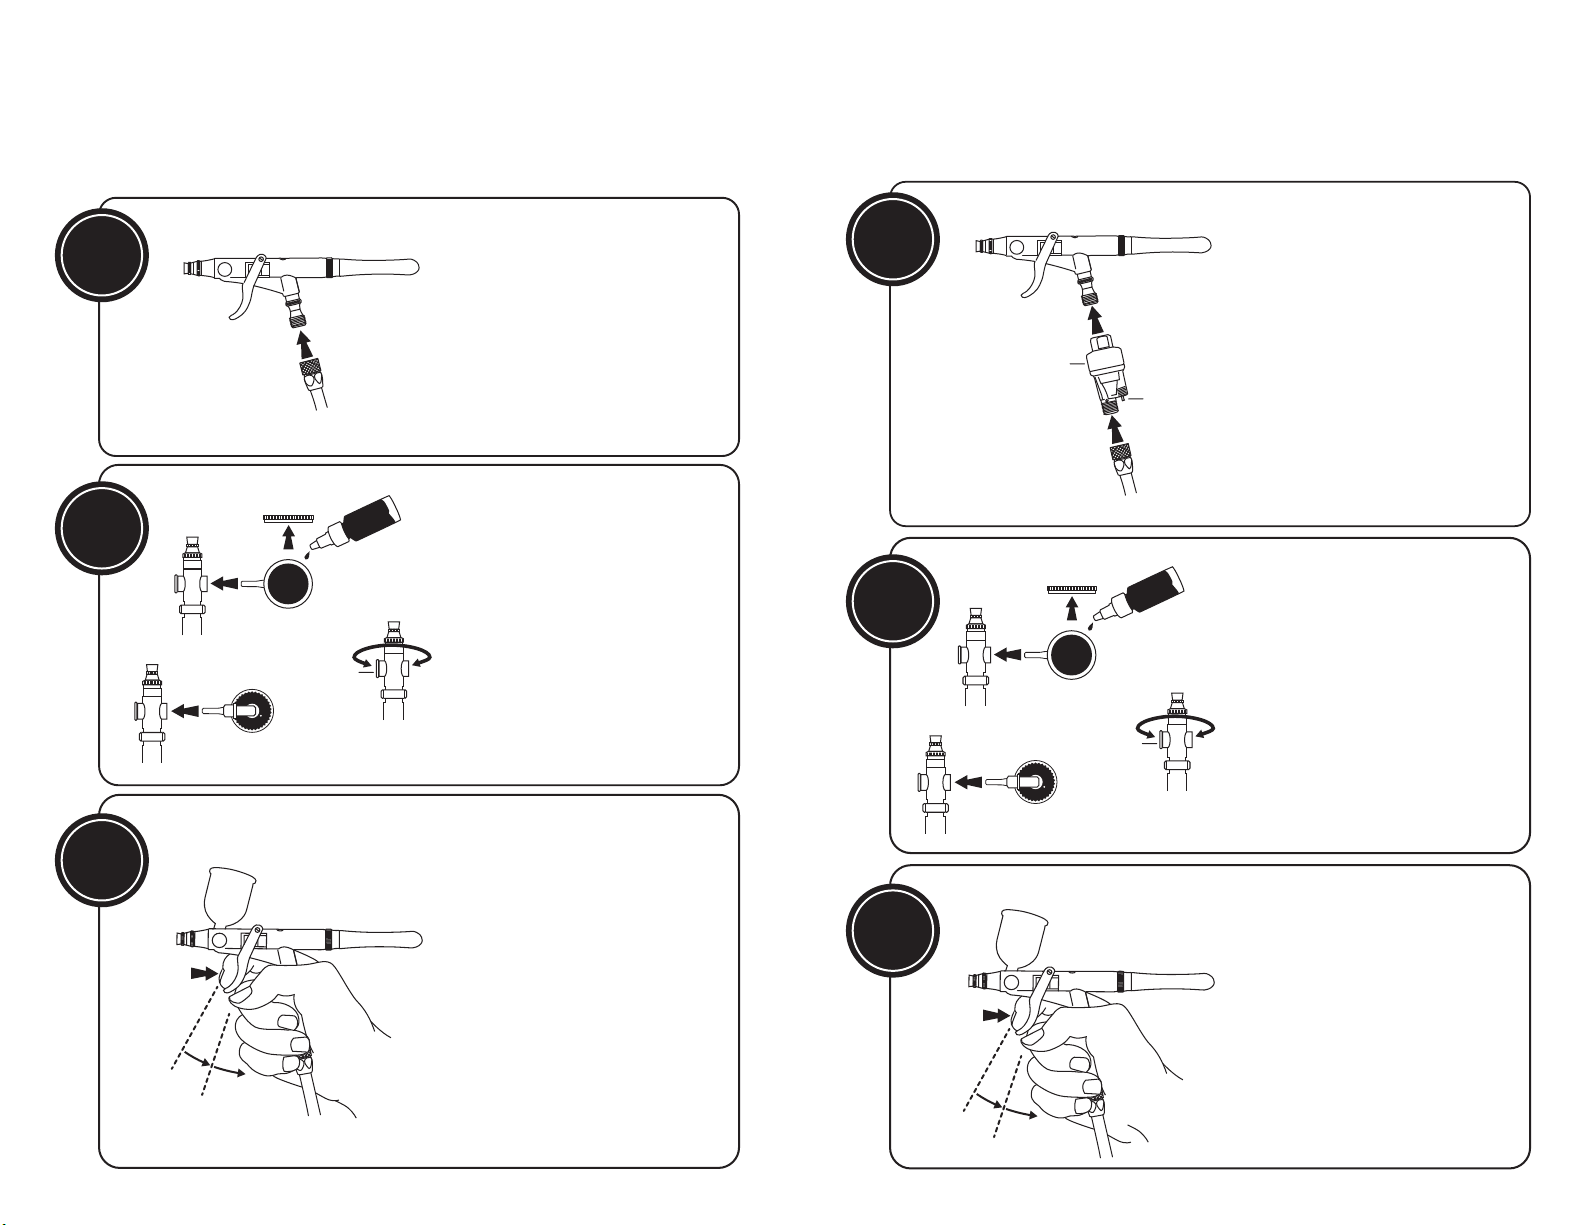
1)Before spraying, loosen needle chucking nut and gradually push needle inwards till needle touches nozzle,
and then retighten needle chucking nut. Pour cleaning liquid into cup and clean fluid passage.
2)Pour small amount of paint material in the paint reservoir for test spraying. While testing,
make adjustment to the material flow, air flow and a pattern size.
~How to Adjust~
①Set the operating air pressure to approximately 0.1~0.15MPa. or{1.0~1.5kgf/c㎡}
The pressure setting may vary according to the viscosity of the paint material being used.
②Allow 100~200mm、from the surface while using a fan pattern cap. Allow 1~200mm.
While Using a round pattern cap.
■ Maintenance after Painting
●Maintenance
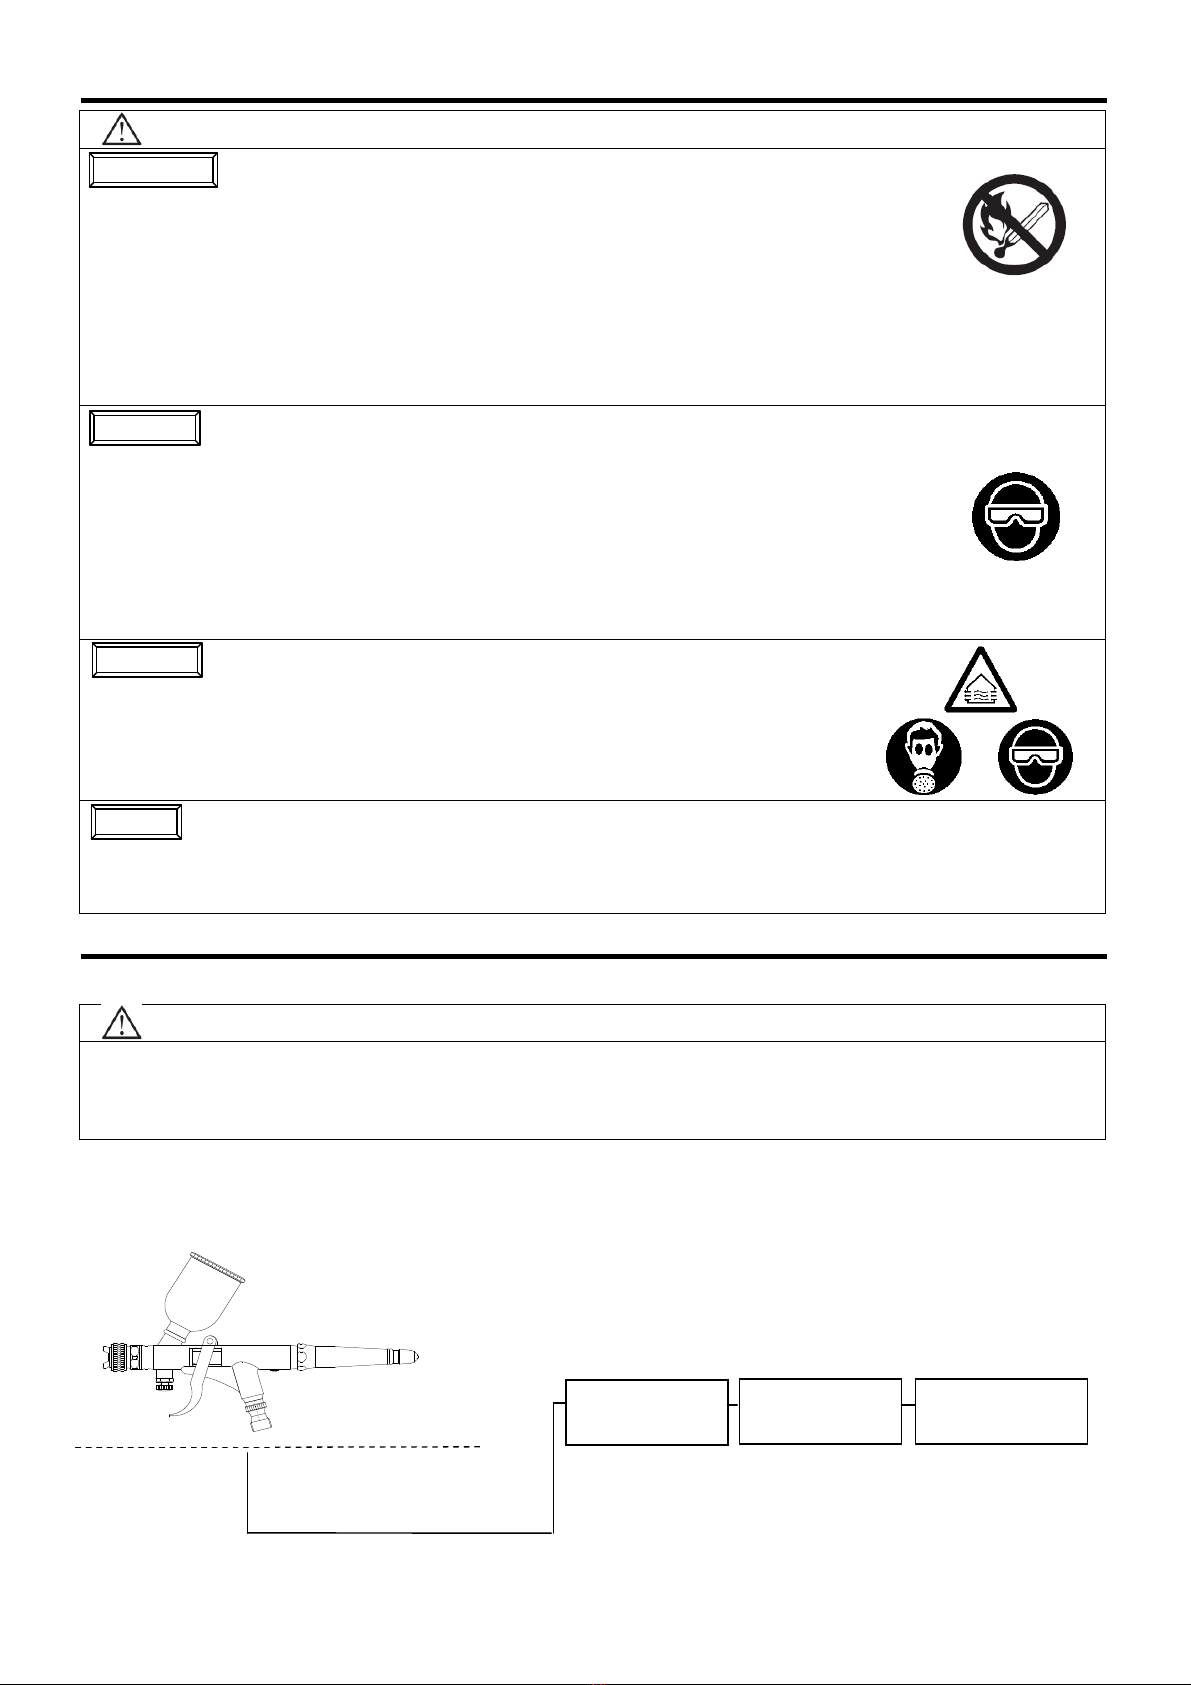
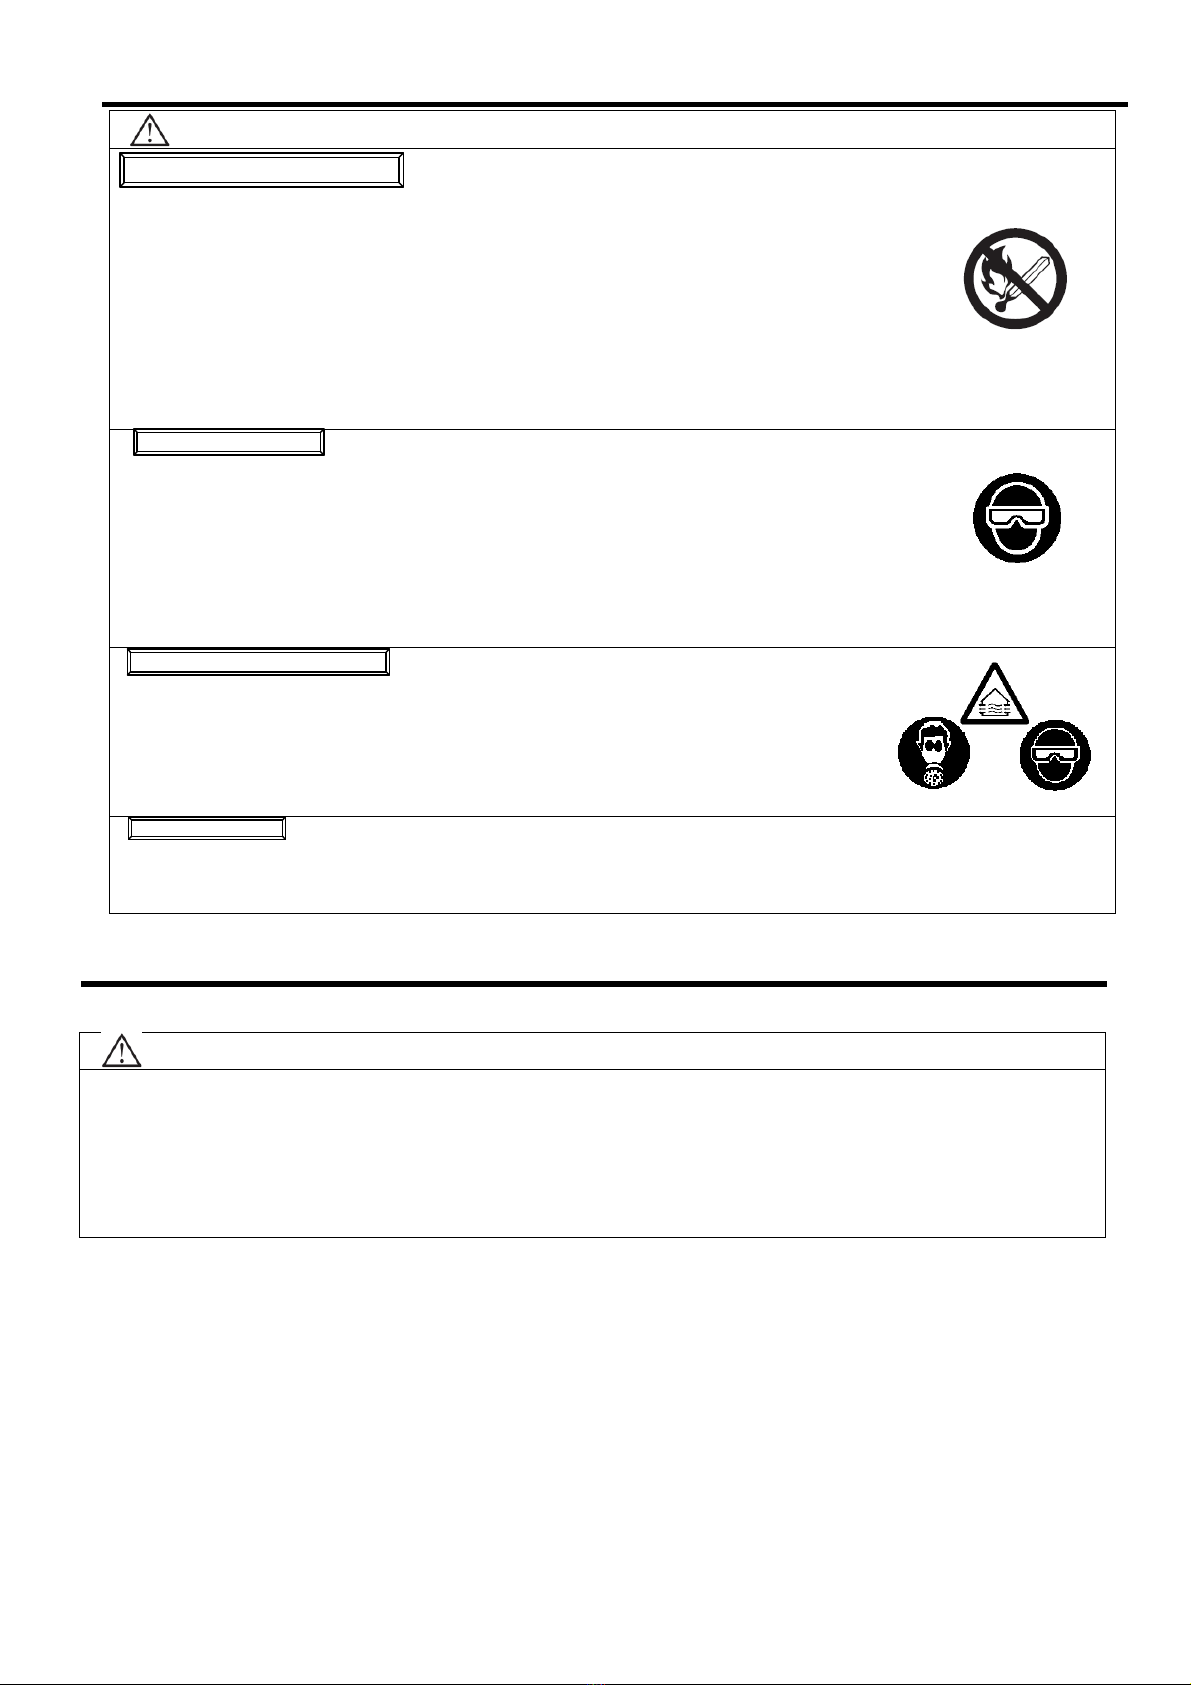
WARNING
Always completely release pressure before maintenance in accordance with warning of safe operation
on page 2. If not done, remaining pressure can cause injury by the splashing of
cleaning liquid or other misuse.
* The operator must be fully conversant with the requirements in this manual and have sufficient
knowledge and experience.
* Pay full attention to the sharp tip of needle in order to avoid injury.
Maintenance procedure Important
spray water or cleaning liquid for cleaning.
*Then close tip of nozzle cap with finger and
pour water or solvent into cup. Then if you
push main lever, air flows backward into nozzle
which works like gargling.
1. Incomplete cleaning can cause adverse pattern shape
and particles.
*Be careful with handling of the tip of needle and nozzle
since they are very weak.
2. Never immerse the whole airbrush into liquid such as
thinner.
*Immersion for a long time can damage O ring or
packing.
*Never damage holes of nozzle cap, nozzle, or needle.
If done, it can influence atomization adversely.
Pull out needle and remove foreign matter.
Clean needle and insert it till it touches nozzle.
Clean other parts with attached brush soaked
with cleaning liquid and waste cloth.
3. Fully clean fluid passage before disassembly. 3. Remove fluid nozzle while pulling needle with main lever
pulled (toward you), in order to protect seat section.
●Inspection
Where to inspect When to replace parts
1. Each hole passage of cap and nozzle *Replace if damaged or deformed.
2. Packing or o rings *Replace if damaged or worn out.
3. Seat section between nozzle and
needle for leakage
*Replace if there is still leakage even after you clean nozzle and needle.
If you replace nozzle or needle
only, first match up nozzle and needle to see if there is any leakage.
*When replacing nozzle, use exclusive tool and gradually tighten. Use of
other tools can cause breakage of thread or incomplete centering.
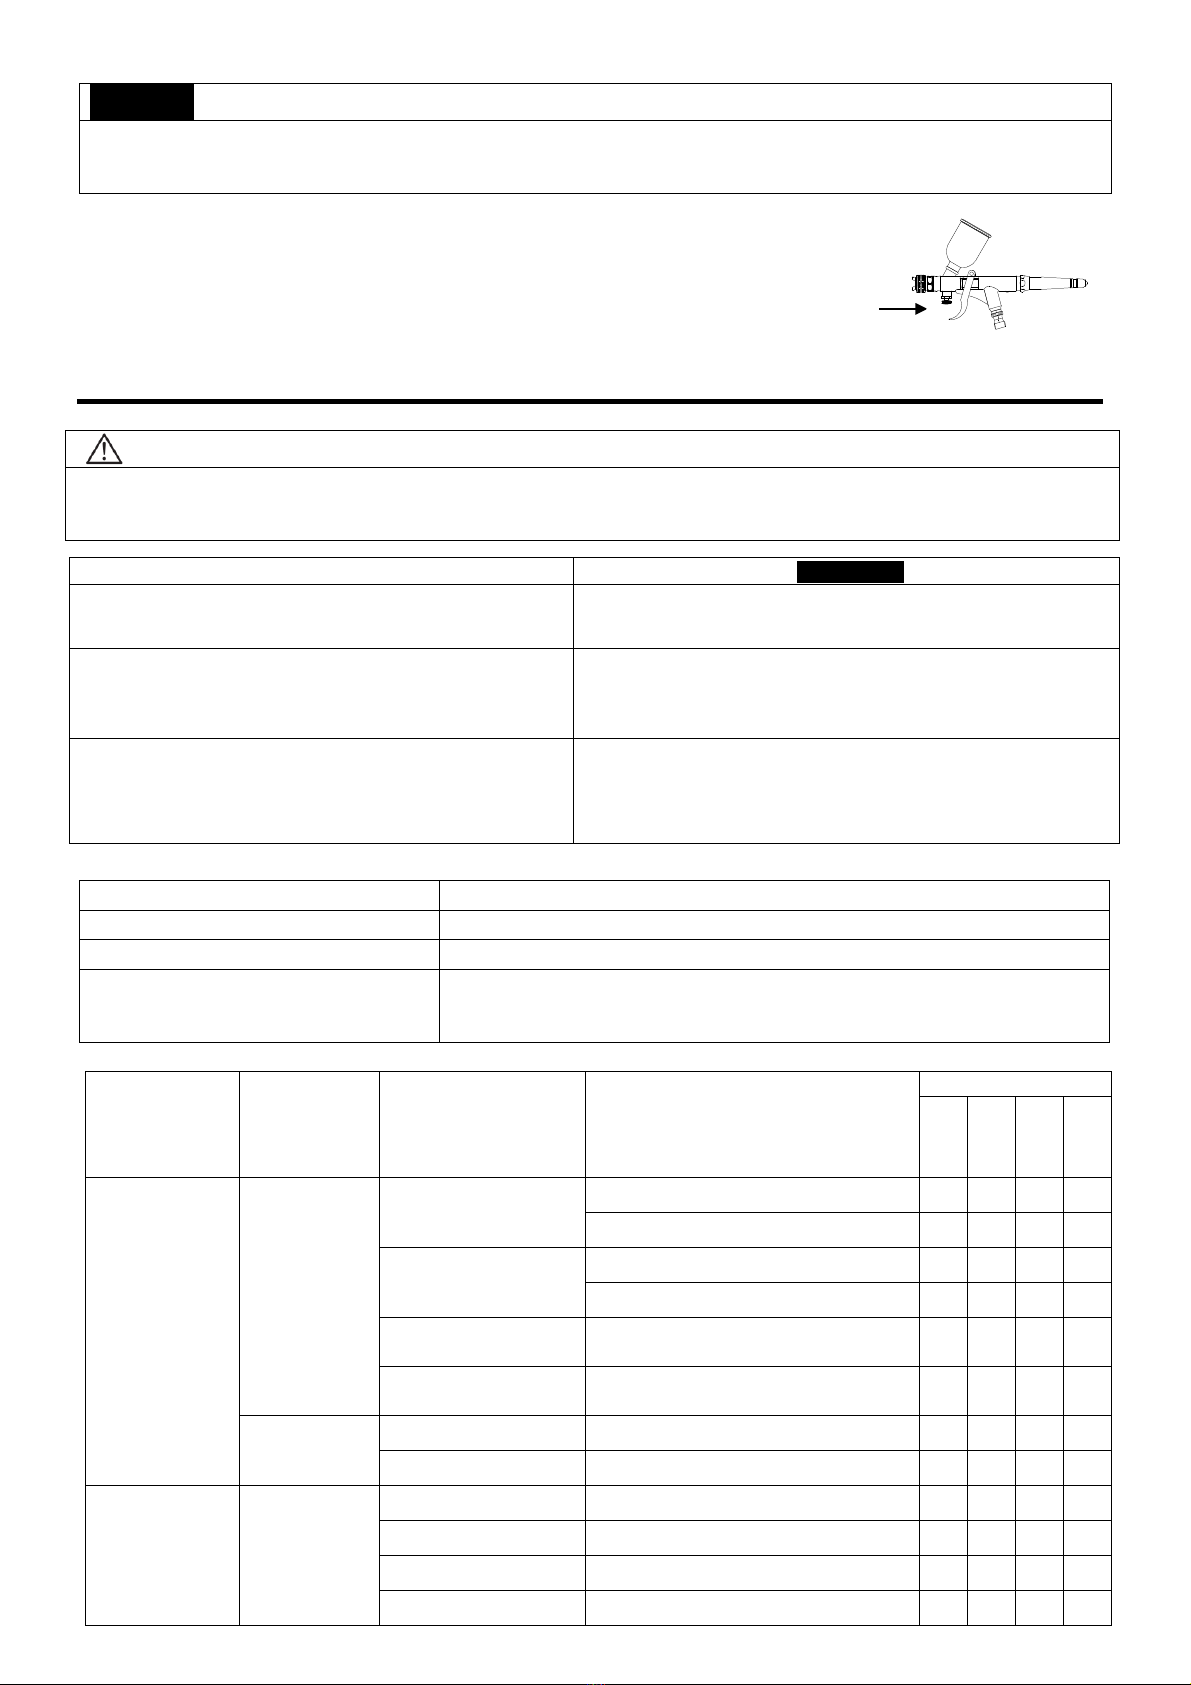
Pull the trigger. First only the
air will flow and pull the trigger
further for paint to flow.