manuals.online logo
Brands
  1. Home
  2. •
  3. Brands
  4. •
  5. ANTAIRA
  6. •
  7. Server
  8. •
  9. ANTAIRA STE-501C User manual

ANTAIRA STE-501C User manual

Other manuals for STE-501C

2

Other ANTAIRA Server manuals

ANTAIRA STW-601C User manual

ANTAIRA

ANTAIRA STW-601C User manual

ANTAIRA STE-708 Series Manual

ANTAIRA

ANTAIRA STE-708 Series Manual

ANTAIRA STE-501C User manual

ANTAIRA

ANTAIRA STE-501C User manual

ANTAIRA STE-708 Series User manual

ANTAIRA

ANTAIRA STE-708 Series User manual

ANTAIRA STE-502C User manual

ANTAIRA

ANTAIRA STE-502C User manual

ANTAIRA INJ-C200G-60-24-T-AIX User manual

ANTAIRA

ANTAIRA INJ-C200G-60-24-T-AIX User manual

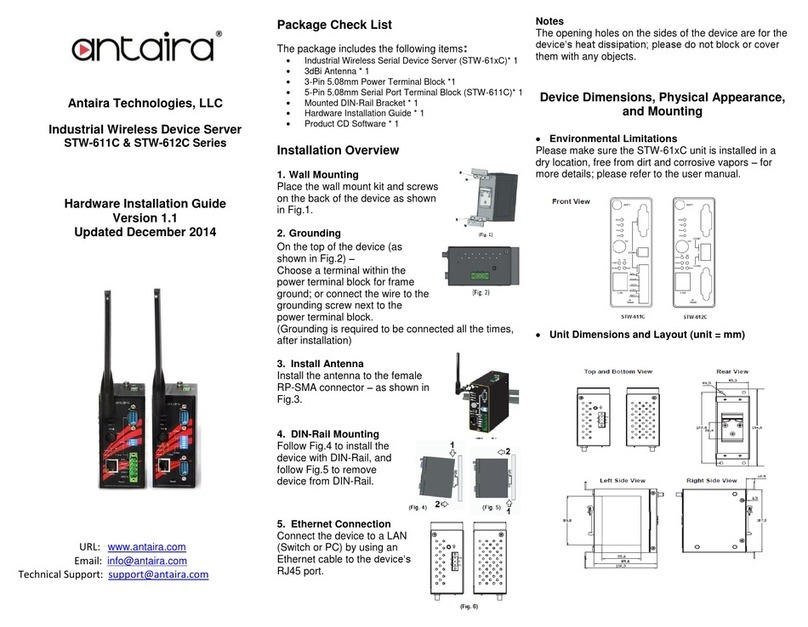
ANTAIRA STW-611C User manual

ANTAIRA

ANTAIRA STW-611C User manual

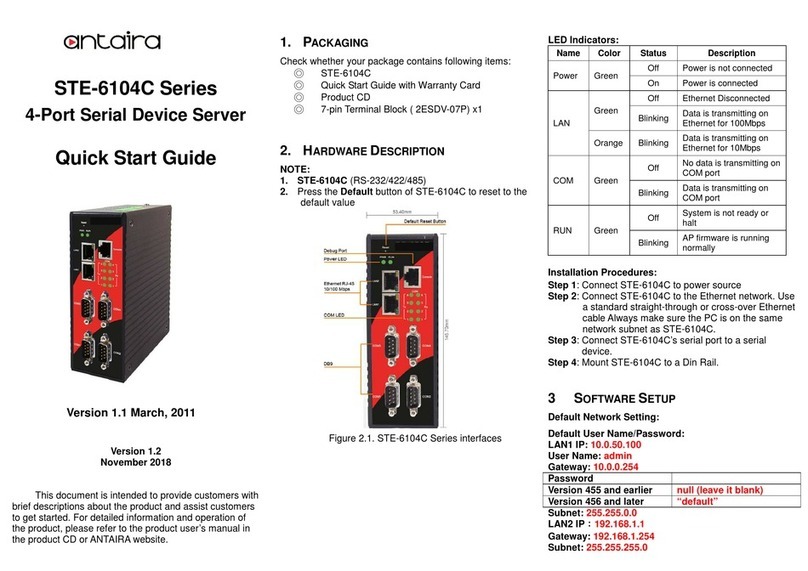
ANTAIRA STE-6104C Series User manual

ANTAIRA

ANTAIRA STE-6104C Series User manual

ANTAIRA STE-502C User manual

ANTAIRA

ANTAIRA STE-502C User manual

ANTAIRA STE-6104C Series User manual

ANTAIRA

ANTAIRA STE-6104C Series User manual

ANTAIRA ute-404k User manual

ANTAIRA

ANTAIRA ute-404k User manual

ANTAIRA IS-STW6 Series User manual

ANTAIRA

ANTAIRA IS-STW6 Series User manual

ANTAIRA STE-6104C Series User manual

ANTAIRA

ANTAIRA STE-6104C Series User manual

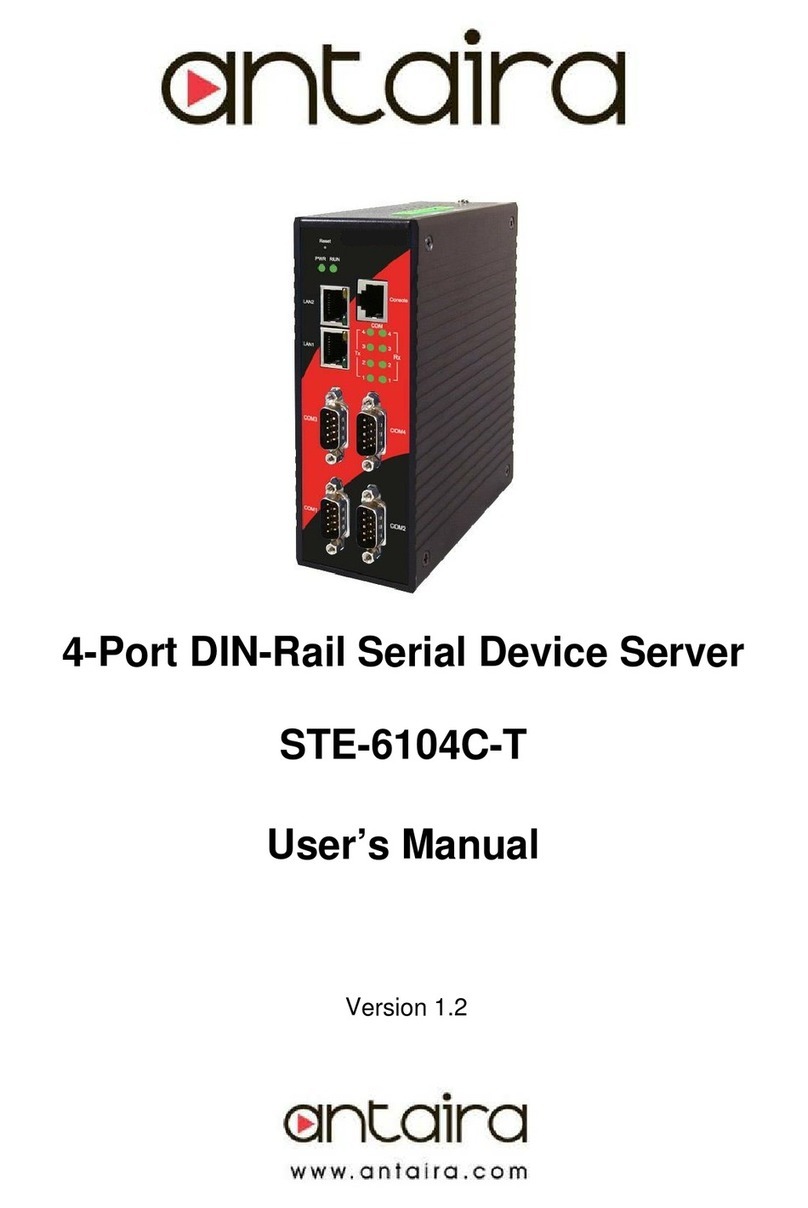
ANTAIRA STE-6104C-T User manual

ANTAIRA

ANTAIRA STE-6104C-T User manual

ANTAIRA STE-516C User manual

ANTAIRA

ANTAIRA STE-516C User manual

ANTAIRA STE-604C User manual

ANTAIRA

ANTAIRA STE-604C User manual

ANTAIRA STW-602C User manual

ANTAIRA

ANTAIRA STW-602C User manual

ANTAIRA STE-501C User manual

ANTAIRA

ANTAIRA STE-501C User manual

Popular Server manuals by other brands

HP Tc2120 - Server - 256 MB RAM installation guide

HP

HP Tc2120 - Server - 256 MB RAM installation guide

Lenovo ThinkServer RD230 manual

Lenovo

Lenovo ThinkServer RD230 manual

Avocent CPS810 Installer/user guide

Avocent

Avocent CPS810 Installer/user guide

Dell PowerEdge R6615 Installation and service manual

Dell

Dell PowerEdge R6615 Installation and service manual

FreeWave HT2+ installation guide

FreeWave

FreeWave HT2+ installation guide

GIGA-BYTE TECHNOLOGY G492-Z50 user manual

GIGA-BYTE TECHNOLOGY

GIGA-BYTE TECHNOLOGY G492-Z50 user manual

Lanner HTCA-E400 user manual

Lanner

Lanner HTCA-E400 user manual

Bull NovaScale T840 E2 user guide

Bull

Bull NovaScale T840 E2 user guide

Asus RS740-E70RS24-EG Configuration guide

Asus

Asus RS740-E70RS24-EG Configuration guide

Meinberg LANTIME M300/TCR manual 

Meinberg

Meinberg LANTIME M300/TCR manual 

HP ProLiant SL335s G7 Maintenance and service guide

HP

HP ProLiant SL335s G7 Maintenance and service guide

ZyXEL Communications VANTAGE RADIUS 50 user guide

ZyXEL Communications

ZyXEL Communications VANTAGE RADIUS 50 user guide

Lantronix xDirect-IAP quick start guide

Lantronix

Lantronix xDirect-IAP quick start guide

Fujitsu PRIMEQUEST 2400E3 General description

Fujitsu

Fujitsu PRIMEQUEST 2400E3 General description

IBM 9040-MR9 manual

IBM

IBM 9040-MR9 manual

IBM 306m - eServer xSeries - 8849 user guide

IBM

IBM 306m - eServer xSeries - 8849 user guide

green hippo Hippotizer Nevis+ quick start guide

green hippo

green hippo Hippotizer Nevis+ quick start guide

IBM 8203-E4A Brochure & specs

IBM

IBM 8203-E4A Brochure & specs

manuals.online logo
manuals.online logoBrands
  • About & Mission
  • Contact us
  • Privacy Policy
  • Terms and Conditions

Copyright 2025 Manuals.Online. All Rights Reserved.

Antaira Technologies
STE-501C
1-Port RS-232/422/485 to Ethernet Device Server (STE-501C)
Quick Installation Guide
Version 2.0
(September 2018)
Tel: 1-844-268-2472
Fax: 1-714-671-9944
www.antaira.com
Package Check List
The package contains the following items:
⚫1 –Quick installation guide
⚫1 –STE-501C Serial Server
⚫1 –Product CD
⚫1 –Wall Mount Screws
⚫1 –3-pin terminal block for power input
Hardware Setup
LED Indicators
LAN LED
COM Port LED
RUN LED
Quick Installation
Ethernet Ports
RJ45 Ports (Auto MDI)
All RJ45 ports are auto-sensing for 10Base-T or 100Base-TX
device connections. Please follow the wiring pin assignment
table below for Ethernet port installation.
Serial Pin Assignments
Message
Description
Off
Ethernet disconnected
Blinking with Green
Data is transmitting on Ethernet for 100Mbps
Blinking with Orange
Data is transmitting on Ethernet for 10Mbps
Message
Description
Off
No data is transmitting on COM port
Blinking
Data is transmitting on COM port
Message
Description
On
Jumper JP1 Pin1 and Pin2 are shorted to disable
AP firmware running
Blinking (rate:
0.5 Sec)
AP firmware is running normally
Pin#
RS-232
Full Duplex
RS-485 2-wire
Half Duplex
RS-422/RS-485
4-wire
Full Duplex
1
DCD
N/A
N/A
2
RXD
N/A
TXD+
3
TXD
DATA+
RXD+
4
DTR
N/A
N/A
5
SG
(Signal Ground)
SG
(Signal Ground)
SG
(Signal Ground)
6
DSR
N/A
N/A
7
RTS
DATA-
RXD-
8
CTS
N/A
TXD-
9
N/A
N/A
N/A
Installation Procedures:
1. Connect the STE-501C to the power source
using 5VDC jack (or 9~30VDC terminal block
power source).
Note: STE-501C provides two power inputs that can be
connected simultaneously to live DC power sources. If
any one of the power inputs fails, the other live source
acts as a backup to support power needs automatically.
The redundant dual DC power inputs give an extra
assurance of non-stop operation.
2. Connect the STE-501C to one’s Ethernet
network. Use a standard straight-through
Ethernet cable when connecting it to a
hub/switch; one also can connect it to one’s PC
Ethernet port via a cross-over Ethernet cable for
easy set up. However, in this case it is necessary
to make sure the PC is in the same network
sub-net as the STE-501C.
3. Connect the STE-501C’s serial port to a serial
device.
4. Placement options: Mount the STE-501C to a
wall/panel (mounting screws included) or
Din-Rail rack (requires optional item model:
Din-Rail-Kit).
Software Setup
Default Network Setting:
Firmware 3.609 or
Greater
Firmware 3.605 or earlier:
IP: 10.0.50.100
User Name: admin
User Name: admin
Gateway: 10.0.0.254
Password: “default”
Password: “” null/blank
Subnet: 255.255.0.0
Auto IP (Dynamic IP):
A DHCP server can automatically assign the IP address and
network settings. The STE-501C supports the DHCP function. By
default, the DHCP function on the STE-501C is disabled; you can
use Monitor.exe to enable this function, see Figure 1.
Figure 1
Assign a Static IP address by:
A. Using Telnet
•Telnet to the STE-501C using DOS command “Telnet
IP_address”. Example: telnet 10.0.50.100
•Network, Link Mode, and COM Ports settings can be
configured in the telnet window.
B. Using Monitor.exe Utility
Use Monitor.exe which comes inside the product CD to
automatically search for all STE-501Cs connected to the local
area network. Then select the desired STE-501C to configure the
network setting individually.
C. Using Web Browser
1. Make sure ones PC is located on the same network
sub-net as the STE-501C
2. Open a web browser, then type in the IP address of
the STE-501C to be configured. Default user name
is admin and default password is null (leave it
blank).
3. The STE-501C’s network, link mode and COM ports
settings can be configured in different web pages.
4. Click Save Configuration to save settings.
5. Click Restart to make the change effective if
necessary.
Field Maintenance and Service
⚫If the device requires servicing of any kind, the user is
required to disconnect and remove it from its mounting. The
initial installation should be done in a way that makes this as
convenient as possible.
⚫Voltage/power lines should be properly insulated as well as
other cables. Be careful when handling them so as to not trip
over.
⚫Do not under any circumstance insert foreign objects of any
kind into the heat dissipation holes located in the different
faces of the device. This may not only harm the internal
layout, but might cause harm to user as well.
⚫Do not under any circumstance open the device for any
reason. Please contact your dealer for any repair needed or
follow the instructions within the manual.
Warranty Policy
Warranty Conditions
Products supplied by Antaira Technologies are covered in this
warranty for sub-standard performance or defective
workmanship. The warranty is not, however, extended to goods
damaged in the following circumstances:
(a) Excessive forces or impacts
(b) War or an Act of God: wind storm, fire, flood, electric shock,
earthquake
(c) Use of unqualified power supply, connectors, or
unauthorized parts/kits
(d) Replacement with unauthorized parts
RMA and Shipping Costs Reimbursement
Customers shall always obtain an authorized "RMA" number
from Antaira before shipping the goods for repair or
replacement.
•Within the warranty period (based on the invoice date), all
parts and labor are free of charge to the customers.
•Customers are responsible for the cost of parts and labor, if
the products are out of warranty.
•For RMA service, customers are responsible for the shipping
expense for shipping the RMA unit(s) to Antaira. Antaira is
responsible for the shipping expense via a ground service
for the return repair/replace unit(s) back to customers.
Limited Liability
Antaira would not be held responsible for any consequential
losses from using Antaira’s product.
Warranty Period
5-Year Warranty
Antaira’s Customer Service and Support
•Antaira’s Technical Service & Support Centers:
+ 844-268-2472 (Antaira US Headquarter)
+ 48-22-862-88-81 (Antaira Europe Office)
+ 886-2-2218-9733 (Antaira Asia Office)
•Antaira’s Web Sites & Repair/Support Emails:
www.antaira.com / [email protected]
www.antaira.eu / i[email protected]
www.antaira.com.tw / i[email protected]
*Any changes will be announced on the Antaira website.