2 DMA 4100/4500/5000 M – An Overview
6XDLIB017EN-E
2 DMA 4100/4500/5000 M – An Overview
The density measurement is based on the
oscillating U-tube method, which has been first
introduced on the market by Anton Paar in 1967.
State-of-the-art digital density and concentration
meters have been developed to combine highest
precision with easy operation and robust design.
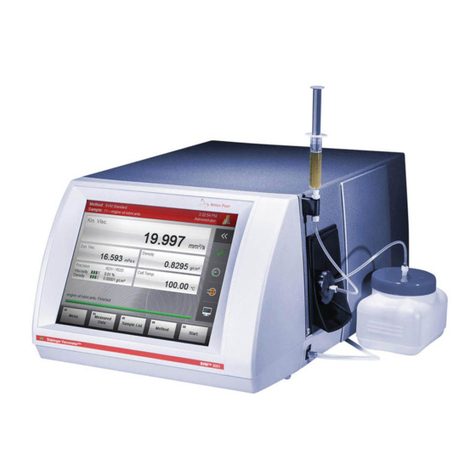
Your DMA M series instrument is equipped with the
world's most advanced digital density measurement
technology. This “Pulsed Excitation Method” and
various features supporting your density measure-
ments are described below.
Inside DMA 4100/4500/5000 M
• The oscillation periods of the U-tube and the
reference oscillator are measured by optical
pickups.
• Two integrated Pt 100 platinum thermometers
together with Peltier elements provide an
extremely precise thermostatting of the sample.
• ThermoBalance™: The additional reference
oscillator provides long-term stability and
enables precise measurements over the whole
temperature range of the instrument, with only
one adjustment at 20 °C.
• Viscosity-related errors are automatically
corrected over the full viscosity range by
measuring the damping effect caused by the
viscous property of a sample. The result is
subsequently used for the calculation of the
viscosity corrected density value.
Condition monitoring
• The built-in sensor for the atmospheric pressure
enables the automatic calculation of the current
air density required for adjustments and checks
of the instrument, as the air density is dependent
on the atmospheric pressure.
• FillingCheck™: A major source of measuring
errors with density meters are gas bubbles in the
measuring cell. The instrument automatically
detects inhomogeneities and gas bubbles in the
whole measuring cell by an advanced analysis
of its oscillation pattern. Where necessary, a
warning message is generated in real time for
every single measurement.
• U-View™: Real-time images by a camera with
zoom function enable you to visually inspect the
measuring cell.
• The patented “Pulsed Excitation Method”
(AT 516420 (B1)) even improves operational
safety, as the condition of the measuring cell
can be monitored in detail.
User interface
The touchscreen user interface facilitates easy and
intuitive operation in routine applications as well as
in demanding scientific research work:
• For the most common applications, 10 measur-
ing methods are predefined. Just select the
method fitting your application, or create your
own methods.
• Density values are automatically converted into
concentration values for a large number of
factory-programmed substances. You can add
further substances as required by yourself.
• Optionally operate DMA 4100/4500/5000 M via
an external keyboard, a mouse, gesture control
or a bar code reader.
• Optionally connect an external monitor or
touchscreen (VGA interface).
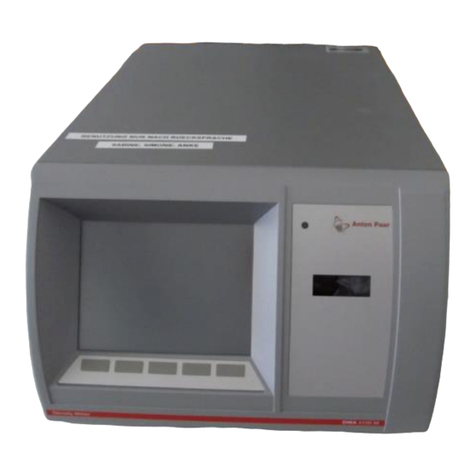
Compact and robust design
The instruments of the DMA M series are ready for
reliable measurements also in demanding
environments thanks to the following strengths:
• Compact design
• Sealed housing that withstands shocks, dirt,
and spillages
• Robust housing materials: coated aluminum
(top and sides), aluminum (base and back), and
polystyrene/butadiene (front)

