manuals.online logo
Brands
  1. Home
  2. •
  3. Brands
  4. •
  5. Antrica
  6. •
  7. Media Converter
  8. •
  9. Antrica SpotBox4K User manual

Antrica SpotBox4K User manual

!
00
www.antrica.com
Page of 118
SpotBox4K
32 ONVIF Camera Decoder & Multi viewer
User Manual
Firmware 1.0.6 dated
15th June 2017
PN: ANT-37000
Version: 2.0
www.antrica.com
!
00
www.antrica.com
Page of 218
Contents / Index
Page
Section
Contents
2
Contents/ Index
Page number sand Contents
3
Whats in the Box
Contents of the Spotbox4K Box and all components inside
4
Port Interface
Connections to the Spotbox unit
5
System Connections
How to connect the Spotbox into a system
6
Log In
Details of logging in via a Browser, User name and password
7
Home
Home page of the web interface
8
Network
Network settings page
9,10
Cameras
Camera settings information and Display grid settings page
11
Display
Display settings for Monitor & OSD Font size adjustment
12
Discover Page 1
Discover allows ONVIF discovery and manual RTSP entry
13
Discover Page 2
Details on using ONVIF discovery
14
Discover Page 3
How Spotbox uses ONVIF profiles automatically in each Grid mode
15
System
System information , firmware , reboot , reset and config settings
16
Remote Control
IR Remote Control buttons and functions
17
FAQs
Usefull information and FAQs
18
Support
Support details & API Document
!
ANT-37000
www.antrica.com
Page of 318
SpotBox- Whats in the Box
A. HDMI Cable 1m- Connect to Monitor
B. Spotbox4K
C. Remote Control
D. AAA Batteries for Remote
E. 12v Power Converter 110-240 AC
F. UK Plug adapter
G. Euro Plug adapter
H. China Australia Plug adapter
I. USA plug adapter
J. IR extender cable for Remote
NOT IN BOX: Ethernet cable
A
J
H
G
F
E
D
C
B
I
!
ANT-37000
www.antrica.com
Page of 418
IR Extender
Port
S/PDIF
[digital audio]
Port Not used
USB [2.0]
Port
HDMI [1.4]
Port
AV port
Not Used
RJ-45
Ethernet
LAN port
DC 12V
SpotBox Port Interface
!
ANT-37000
www.antrica.com
Page of 518
SpotBox- System Connections
HDMI Cable supplied
Lan Cable
Not supplied
12v Power Adapter
Supplied
4K or 1080P Monitor
Not supplied
IR Extender Cable
supplied
Network
Reserved for future use
!
ANT-37000
www.antrica.com
Page of 618
Logging into the SpotBox user interface
Using a web browser (Google Chrome recommended) browse to the SpotBox (ANT-37000)
Default address http://192.168.0.222 (NOTE: Port 80 is now used instead of 8080)
(The Spotbox will display its current ip address for 10 seconds on boot up. Alternatively
disconnecting and re-connecting the ethernet cable will also display the IP address for upto 10
seconds).
Also you can press MENU on IR Remote to see the IP address and firmware version also
NOTE: Please delete browser history and clear browser cache in case of issues where you
cannot see buttons or difficulty saving changes.
The default login credential for the Spotbox4k :
username - admin password - admin
!
ANT-37000
www.antrica.com
Page of 718
The HOME page displays all the currently registered stream URL’s (RTSP and
ONVIF)for each of the display options. Selecting the pull down menu shows which
cameras are registered for the 4 view options:2x2 3x3 4x4 and Full screen mode .
Selecting the options from the pull down will cause the display to change and show the
respective option.
VIEW
In Quad mode: View 1 is Top Left, View 2 Top Right View 3 bottom left and so on.In
other view modes the View 1 starts top left and moves to top right, then line 2 left to
right and so on.
LABEL
This is the name entered into the CAMERAS settings page or DISCOVER and is
displayed on screen in 4 selectable positions Top left, top right, bottom left, bottom
right. See CAMERAS for setting the label position
URL
Shows if RTSP/HTTP or ONVIF is selected with respective URL info
PROFILE
If ONVIF is used this shows which profile the Spotbox4K has selected (automatically)
to display in the chosen mode (2x2 3x3 4x4 Full Screen)
PERIOD
Shows the time in seconds the camera is displayed for, if multiple cameras are
selected for the same position (Camera switching Mode).
Camera Switching Mode allows up to 32 cameras (depending on their resolution) to be
displayed sequentially
Home Page
!
ANT-37000
www.antrica.com
Page of 818
The NETWORK settings page allow for custom IP configurations from DHCP (dynamic
host configuration protocol) to setting a static IP address, subnet mask & gateway.
dhcp/static: Select if you wish to use DHCP server allocated IP address or a fixed IP
address
Netmask: This determines the range of IP addresses the Spotbox has access to
Address: The fixed IP address of the spot box either via DHCP or manually entered here
Gateway: the router Gateway IP address
DNS: Domain Name Server IP address if used.
NTP: If using an NTP time server this is its IP address. This will help to sync cameras
assuming they use NTP as well
Network
!
ANT-37000
www.antrica.com
Page of 918
Camera Settings 2
A detailed description of these settings is shown on the next page
SUMMARY
C1; Camera position 1 (1 to 32 positions or camera settings)
LABEL: The name that is displayed on screen (OSD) for each camera/ feed.
URL: The RTSP url to be decoded or ONVIF IP address discovered in the Discovery page
T(s): Time that cameras are displayed in a given position before switching to next camera
LATENCY: Internal Buffer setting used with poor quality streams to reorganise RTP
packets in correct sequence.
TIMEOUT: Number of seconds the decoder waits before trying a reconnect if a stream
temporarily drops out
RESTART: Number of minutes the decoder waits before restarting a stream automatically.
GRID 2x2 ,3x3,4x4 : Grid number this camera will be displayed in.
!
ANT-37000
www.antrica.com
Page of 10 18
Camera Settings 1
The Cameras page allows for viewing camera information and choosing display
option settings in 1,4,9 and 16 view mode.
All cameras discovered using the DISCOVER feature or manually entered in the
DISCOVER page (later in this manual) will be displayed here.
Label this will be displayed as an overlay on the decoded Video on the monitor display.
Enter or Edit the name of the camera you wish to display on screen. Cameras discovered
using ONVIF will have their IP address added here automatically.
URL: Here you can see the full RTSP or basic ONVIF URL. See examples on next page.
Other information like PORT and user name & password are entered in the DISCOVER
section but not shown here (ONVIF ). You may also edit the URL here.
T(S) (Seconds): This is the switching time if more than one camera occupies a position in
one of the grid modes. The camera will display for this time in seconds then switch to the
next.
Latency (mSeconds): Adjusts a buffer in mS used by the Decoder to re arrange RTP
packets .When packets arrive in the correct sequence this buffer is not needed so
there is no impact on Video Latency. However if the Decoder see’s packets out of
sequence (time stamps) it will use this available buffer to store packets of data until it can
re-arrange them with correct time stamps. During this packet buffering period latency is
increased temporarily until packets start arriving in correct sequence again. Traffic over
the Internet can result in this phenomenon of packets arriving out of sequence . We
suggest keeping this buffer at default unless you see a camera not being decoded
smoothly or dropping out of video. In this case try increasing this buffer (Latency) size.
Timeout: Number of seconds the decoder waits if a stream drops out , before trying to
reconnect.
Restart (Mins): In some situations streams may appear to lose frames or freeze for
various reasons over time. Usually this is due to differences in clock timing. To overcome
this a periodic regular Restart of the stream will solve the issue. Restarting the stream
results in a momentary black screen and then the camera is back after 1-2 seconds
typically. Pressing the exit button has the same effect as restart, except EXIT restarts all
streams. Set a time e.g 60 mins, eery 60 mins the stream is restarted automatically
GRID 2x2 : The position in a 2x2 grid the camera will occupy (maximum 1080P30
streams) Position 1 is top left Position2 top right etc
GRID 3x3 : The position a camera will occupy in a 3x3 Grid (maximum 720P30) Position
1= top left, position two= top middle, position 3= top right etc
GRID 4x4 :The position a camera will occupy in a 3x3 Grid (maximum 480P30) Position
1= top right , position 2= top 2nd , Position 3= top 3rd , position 4= Top right etc
POSITION: This is the position that the label will occupy on screen 1=Top Left , 2=Top
Right 3= Bottom left 4= bottom right. If the camera has burnt in OSD information you may
choose an alternative position for the Spotbox OSD.(Label)
NOTE: ONVIF urls that are discovered are only shown as single URLs even if multiple
profiles were selected. So for example if you saved two profiles like 1080p30 and 720P30
these are saved internally but shown as a single ONVIF URL.
You can allocate this ONVIF URL to all 3 positions 2x2 3x3 4x4 . However the Spotbox will
allocate the highest resolution profile automatically to the 3 grid modes. In this example
1080P will be in 2x2, 720P in 3x3 but when you view 4x4 it will say on screen NO
PROFILE. This is because there were no profiles with low enough resolution selected to
be shown in 4x4 mode. (480P max)
!
ANT-37000
www.antrica.com
Page of 11 18
Display Settings
DISPLAY settings allow the change of supported screen resolutions and Font sizes for
the various display modes (Label). (UHD resolutions will only show when a UHD display is
connected in full screen mode).
Font Size:
Select a Font size for the various Grid modes that you wish the LABEL to be displayed. Click
Apply when completed. Small Medium or Large. The position of the LABEL is entered in the
CAMERAS section
Display Mode:
To select a different LCD resolution manually select the desired resolution and click Apply.
(APPLY-bottom of page-not shown here). Resolutions displayed are supported by the
connected LCD . 4K resolutions only show when a 4K monitor is used.
Note: changing resolution may cause the Spotbox to reboot.
!
ANT-37000
www.antrica.com
Page of 12 18
DISCOVER
This section allows you to :
A: Enter a camera manually such as RTSP HTTP .
B: Search for cameras using ONVIF Discover
C: Enter ONVIF information manually
ADD CAMERAS (Manually entering RTSP URLs or ONVIF IP/user/password)
URL: Enter the Full RTSP URL here excluding the user name and password (If
Authenticated)
Username: If authenticated add user name here
Password: If authenticated add password here.
NETWORK CAMERAS - SEARCH (FOR ONVIF CAMERAS)
Click the Search button and ONVIF cameras which are discoverable will be displayed
as shown here
Discover page 1
!
ANT-37000
www.antrica.com
Page of 13 18
Discover page 2
Selecting an ONVIF camera
Choose a camera to add and enter username and password and click ADD
Cameras
At the bottom of the page the camera is shown in this example with position C1 ….Click
Query to find the ONVIF profiles for this camera
SAVE
The camera profiles are ticked by default . If you click save this camera is saved in
Position C1 and BOTH profiles are saved internally in Spotbox.
Searching and selecting ONVIF cameras
Click on the SEARCH button and Spotbox will discover all discoverable ONVIF cameras
!
ANT-37000
www.antrica.com
Page of 14 18
Discover page 3
ONVIF PROFILES : How SpotBox4K deals with saving and using
ONVIF profiles (Streams)
Spotbox4K saves different profiles and displays them in 1, 2x2 3x3 4x4 mode
depending on the resolution of the profile.
Spotbox has these maximum display settings:!
Full Screen: 3840x2160 at 30fps
2x2 : 1920x180 at 30fps
3x3: 1280 x720 at 30fps
4x4: 640 x480 at 30fps
Example1:CameraC1 with Profile1= 3840 x2160 and Profile 2=1080P
In this example you will only see profile 1 in Full screen mode and Profile 2 in 2x2
mode. In 3x3 and 4x4 mode Spotbox will display NO PROFILE in these view modes as
the resolution of these two profiles is too high
Example2: Camera C2 with Profile 1=1080P and Profile 2= 480P
In this example Profile 1 will show in 2x2 and full screen mode and profile 2 will be
used in both 3x3 and 4x4 mode
!
ANT-37000
www.antrica.com
Page of 15 18
System
System: Changing login password - Type a new Password then repeat and click
UPDATE.This will set a new password for admin. For the time being user name is always admin
and cannot be changed.
System Update: Upgrading/downgrading firmware - Select choose file and browse to the
update file (e.g spotbox-update_nano2_release.swu) confirm selection of the file and select
LOAD UPDATE.
Do not remove power, restart or reboot until the firmware upgrade process has fully completed.
Doing so may corrupt the firmware. You will see an Antrica logo page with the words UPDATE
COMPLETE-REBOOT SYSTEM.
If this splash screen does not appear do the following:
Wait 5 minutes and reboot system Splash screen with Logo should appear ,followed by a quad
display on screen.
If No screen display appears deposed spot box.
Press and HOLD the RED rectangular button on remote….keep pressing and reboot …keep pressing.
You will see a factory reset screen…follow instructions or wait to see the quad screen.
SystemConfig: Once you load 1.0.6 you will be able to save all settings using the save config
file. To restore a box to these settings Load a config file.
Restart: restarts all streams and clears down and refreshes display . EXIT on remote will do the
same
Reboot - Recycles the quad decoder keeping previous settings the same, complete Reboot .
Factory Reset - Defaults the quad decoder to factory default settings.
System Version: This is the current Firmware and build date. Please note there may be various
versions with same FW Version but build dates may vary . 15th June 2017 is a RELEASE
version, previous 1.0.6 are beta versions
!
ANT-37000
www.antrica.com
Page of 16 18
Remote Control Functions
Up Down buttons
change views from
2x2,3x3 to 4x4 and
back
MENU button displays
ethernet IP address
and Firmware Version
Factory Default: Press
and hold this button
whilst powering up
the Spotbox4k until
you see the screen
Factory Default.
Reboot
Turn ON/OFF the box
Press and Hold for 2
seconds to power OFF.
To turn ON Press and
hold for 3-4 seconds
then release…wait 10
seconds for the
Antrica screen to
appear.
EXIT: Press to refresh
the screen and restart
all the streams . Use if
a camera is not
displaying correctly
VIEW CAMERA NUMBER:
Select the camera number
1-32. eg for 12= 1 then 2
LEFT RIGHT buttons
in FULL SCREEN
mode allow you to
switch from camera to
camera
ON/OFF
MENU
EXIT
CAMERA No
LEFT/RIGHT
UP/DOWN
FACTORY
RESET
FAQ and Common Issues
Web Browser Not Responding
Refresh the browser and empty Cache, this will normally overcome problems especially after doing
a firmware upgrade. The browser remembers old pages which may not work with new Firmware.
Some browsers may not respond as intended especially older browsers.
We suggest Google Chrome as a default browser
Camera seems not to be connecting
Especially on first boot up some cameras may not respond in time to be displayed. Pressing the
EXIT key on the remote will cause the Spotbox to request all streams again and this usually fixes
the issue.
Splash screen shows FAILURE TO BOOT
On rare occasions you may see this splash screen , a physical reboot will fix this and allow
Spotbox to boot normally.
Forgot my IP address
Rebooting will cause the Sotbox to display its Firmware revision and IP address for about 20
seconds. Alternatively press MENU and this will cause Spotbox to display the same information
Factory Reset
There are two ways to factory reset: First is via the SYSTEM page in the browser. If for some
reason you cannot connect to the unit you may use the IR remote control. Unplug power from
Spotbox, press the rectangular RED button and hold this whilst powering up Spotbox. Do not
release the red button until you see the splash screen saying FACTORY RESET .
http://192.168.0.222 will be the Factory IP address
Firmware Versions
Firmware has a basic version like 1.0.5 or 1.0.6
However there may be various Beta releases of this firmware which are identified by a release date
e.g FW1.0.6 release 15th June 2017
Please always check with [email protected] which is the latest release
This manual is written for a 15th June 2017 release version of 1.0.6
ANT-37000
www.antrica.com
Page of 17 18
ANT-37000
www.antrica.com
Page of 18 18
SUPPORT
Contact [email protected]
or visit
www.spotbox4k.com / www.antrica.com
UK +44 1628 626098 Option 3
HTTP API Document Available on Request

Other manuals for SpotBox4K

3

This manual suits for next models

1

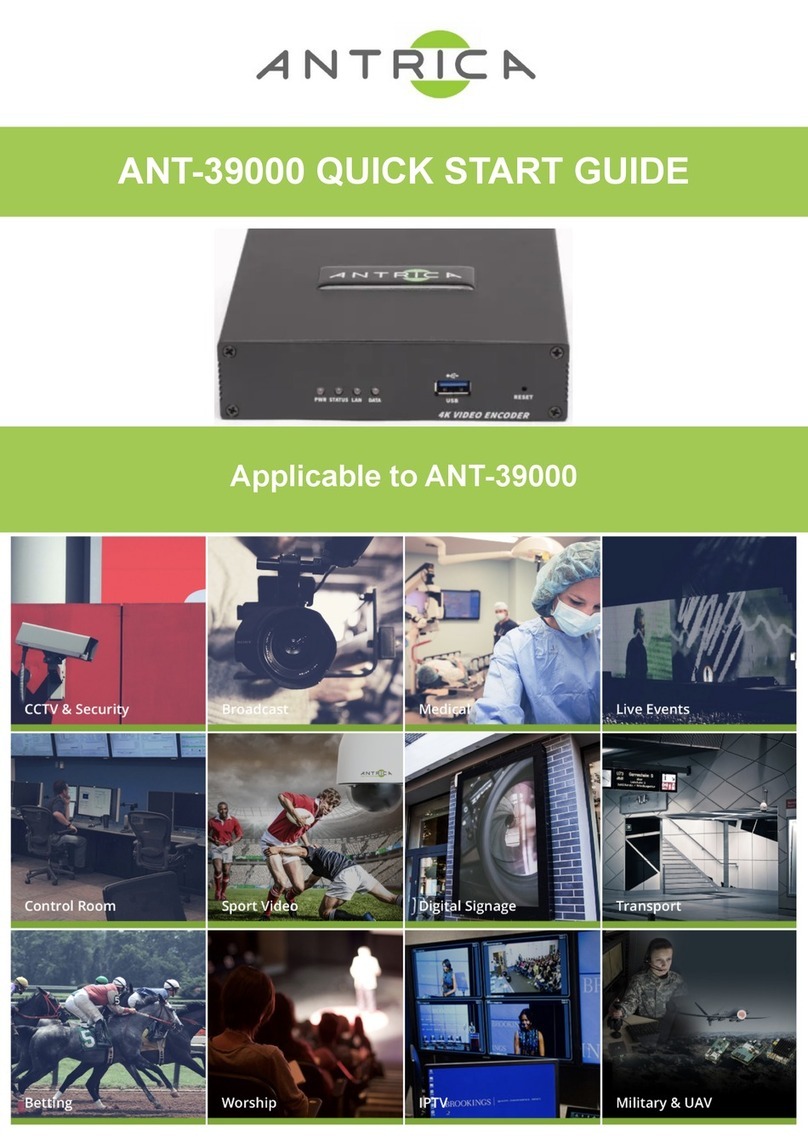
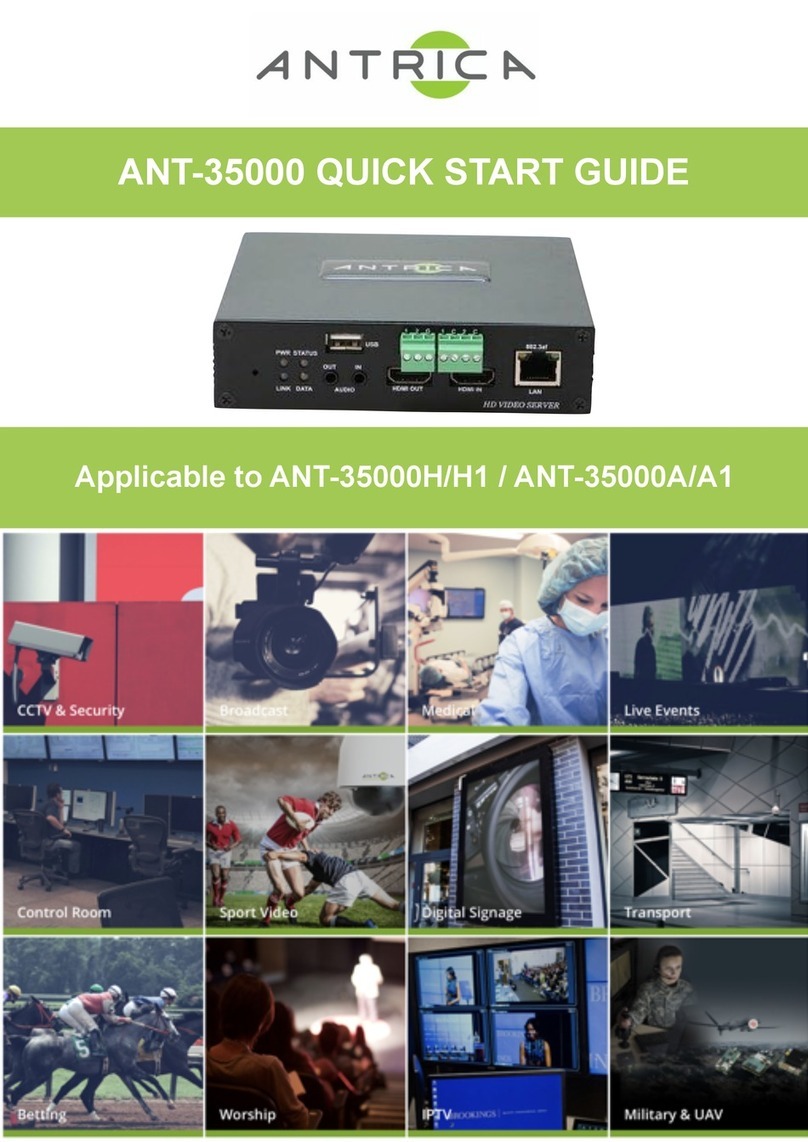
Other Antrica Media Converter manuals

Antrica ANT-6000E Installation instructions

Antrica

Antrica ANT-6000E Installation instructions

Antrica ANT-35000A User manual

Antrica

Antrica ANT-35000A User manual

Antrica SpotBox4K User manual

Antrica

Antrica SpotBox4K User manual

Antrica ANT-1774 User manual

Antrica

Antrica ANT-1774 User manual

Antrica ANT-39000 User manual

Antrica

Antrica ANT-39000 User manual

Antrica SpotBox4K User manual

Antrica

Antrica SpotBox4K User manual

Antrica ANT-36000A User manual

Antrica

Antrica ANT-36000A User manual

Antrica ANT-36000 User manual

Antrica

Antrica ANT-36000 User manual

Antrica ANT-2551 User manual

Antrica

Antrica ANT-2551 User manual

Antrica ANT-35000 User manual

Antrica

Antrica ANT-35000 User manual

Antrica SpotBox4K User manual

Antrica

Antrica SpotBox4K User manual

Antrica ANT-38500 User manual

Antrica

Antrica ANT-38500 User manual

Antrica ANT-36100 User manual

Antrica

Antrica ANT-36100 User manual

Antrica ANT-1773 User manual

Antrica

Antrica ANT-1773 User manual

Antrica ANT-2400 User manual

Antrica

Antrica ANT-2400 User manual

Antrica ANT-37500 User manual

Antrica

Antrica ANT-37500 User manual

Antrica ANT-2601 User manual

Antrica

Antrica ANT-2601 User manual

Antrica ANT-32000A User manual

Antrica

Antrica ANT-32000A User manual

Antrica ANT-38000 User manual

Antrica

Antrica ANT-38000 User manual

Antrica ANT-37000 User manual

Antrica

Antrica ANT-37000 User manual

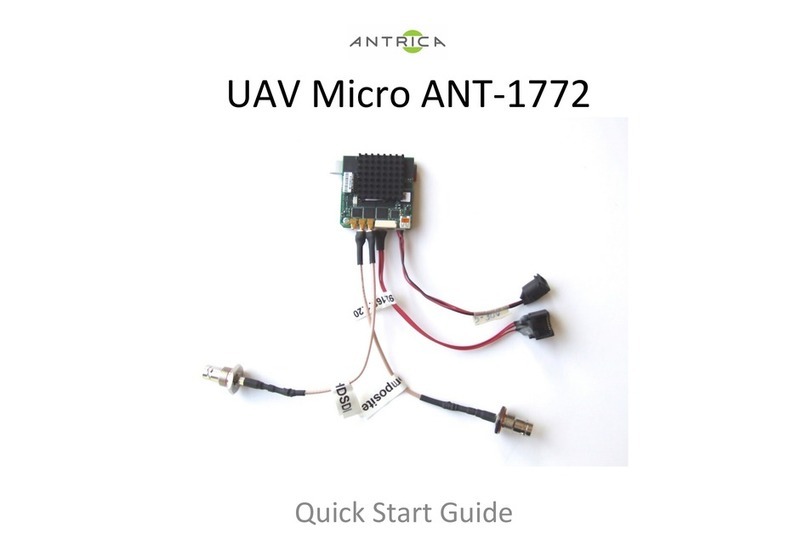
Antrica ANT-1772 User manual

Antrica

Antrica ANT-1772 User manual

Antrica ANT-38500 User manual

Antrica

Antrica ANT-38500 User manual

Antrica ANT-7000 User manual

Antrica

Antrica ANT-7000 User manual

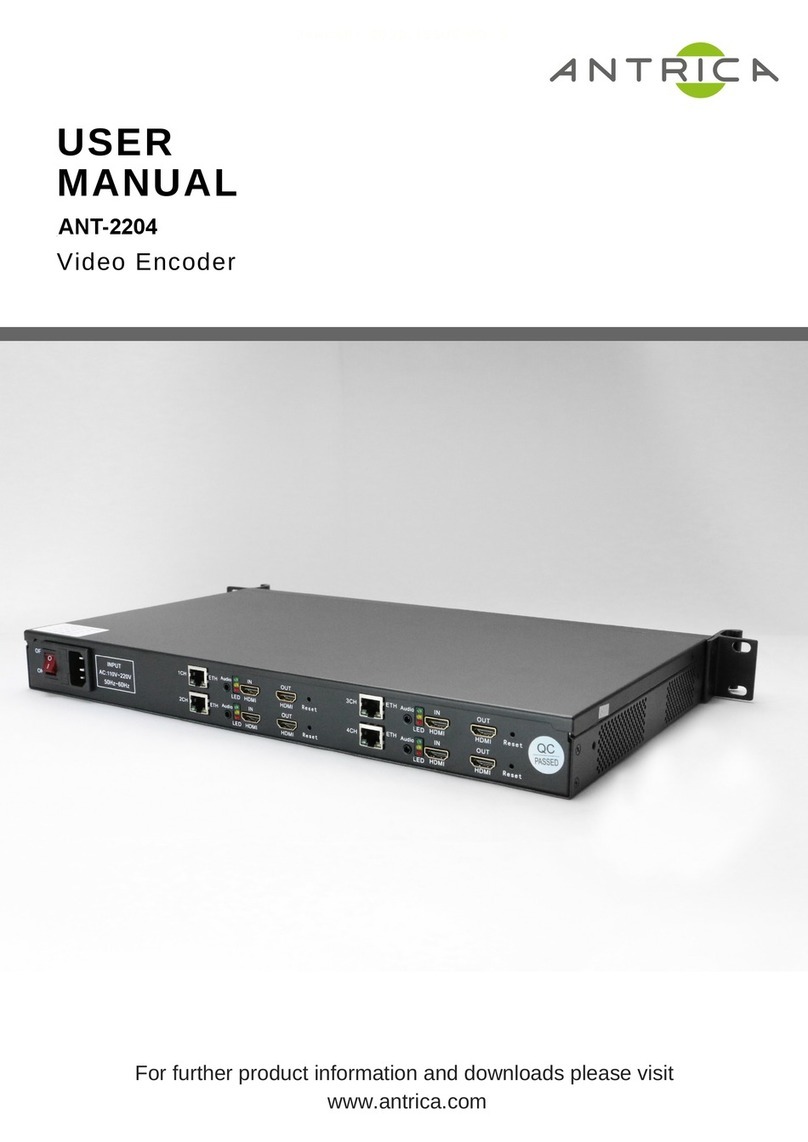
Antrica ANT-2204 User manual

Antrica

Antrica ANT-2204 User manual

Popular Media Converter manuals by other brands

WEISS GAMBIT ADC2 operating manual

WEISS

WEISS GAMBIT ADC2 operating manual

OTS ET1212Pp-S-DR Quick installation guide

OTS

OTS ET1212Pp-S-DR Quick installation guide

Matrox MC-100 user guide

Matrox

Matrox MC-100 user guide

Allied Telesis AT-MC115XL installation guide

Allied Telesis

Allied Telesis AT-MC115XL installation guide

PVI VuMATRIX 4K IPRX LE Operation manual

PVI

PVI VuMATRIX 4K IPRX LE Operation manual

Digitrax DS64 manual

Digitrax

Digitrax DS64 manual

Snell Kudos LC300 quick start guide

Snell

Snell Kudos LC300 quick start guide

Patton electronics 2310M user manual

Patton electronics

Patton electronics 2310M user manual

Analog Devices AD9681 quick start guide

Analog Devices

Analog Devices AD9681 quick start guide

Axis D1110 user manual

Axis

Axis D1110 user manual

ICP DAS USA ZB-2570 quick start guide

ICP DAS USA

ICP DAS USA ZB-2570 quick start guide

Louroe Electronics AOP-SP70 Installation and operating instructions

Louroe Electronics

Louroe Electronics AOP-SP70 Installation and operating instructions

Milltronics CVCC instruction manual

Milltronics

Milltronics CVCC instruction manual

Peak PBU2000 Installation and operating handbook

Peak

Peak PBU2000 Installation and operating handbook

Wavtech Link8 owner's manual

Wavtech

Wavtech Link8 owner's manual

Omnitron Systems Technology 10/100/1000 UTP to 100/1000X Ethernet Media Converter FlexPoint... user manual

Omnitron Systems Technology

Omnitron Systems Technology 10/100/1000 UTP to 100/1000X Ethernet Media Converter FlexPoint... user manual

Shure UA221DB-RSMA user guide

Shure

Shure UA221DB-RSMA user guide

Atlona AT-HD-M2C user manual

Atlona

Atlona AT-HD-M2C user manual

manuals.online logo
manuals.online logoBrands
  • About & Mission
  • Contact us
  • Privacy Policy
  • Terms and Conditions

Copyright 2025 Manuals.Online. All Rights Reserved.