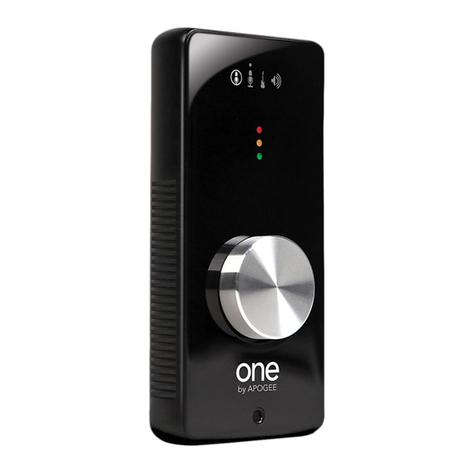
3ONE by APOGEE – User’s Guide
Quick Start
This Quick Start section describes how to set up ONE with your Apple
Macintosh computer, connect speakers or headphones to play back
music and podcasts with iTunes, and connect mics and instruments
to record and play back your own creations with GarageBand.
System Requirements
Your Mac should meet the following requirements:
Intel or PPC G5 processor, OS X 10.5.7 or greater•
1 GB minimum of installed RAM, 2 GB recommended•
As ONE is powered through the USB
connection, the LED will light,
indicating that ONE is now powered on.
Choose ONE for Mac Sound I/O
After connecting ONE to your
Mac, the dialog box shown at the
left will appear. Click Yes.
Connect Headphones or Speakers
Connect headphones to ONE’s front
panel jack.
It’s also possible to connect a pair of
powered speakers to the jack using
an adapter cable. The cable should
have an 1/8” stereo jack to connect
to ONE and two suitable jacks for
connection to the speakers.
Getting Started
Install Apogee Software
Insert the included CD into your Mac,
double click the “ONE Software Installer”
icon, and follow on-screen instructions.
When the installation is complete you will
be required to restart your Mac.
Please check www.apogeedigital.com/onesupport
for updated ONE software.
Connect the USB cable
After restarting your Mac, connect ONE’s
USB port to a USB port on your Mac,
using the provided cable.
When connecting the USB cable to
ONE, be sure to properly orient the
connectorwiththeatsideup(asshown
at right) before inserting it.


