manuals.online logo
Brands
  1. Home
  2. •
  3. Brands
  4. •
  5. Apogee
  6. •
  7. Accessories
  8. •
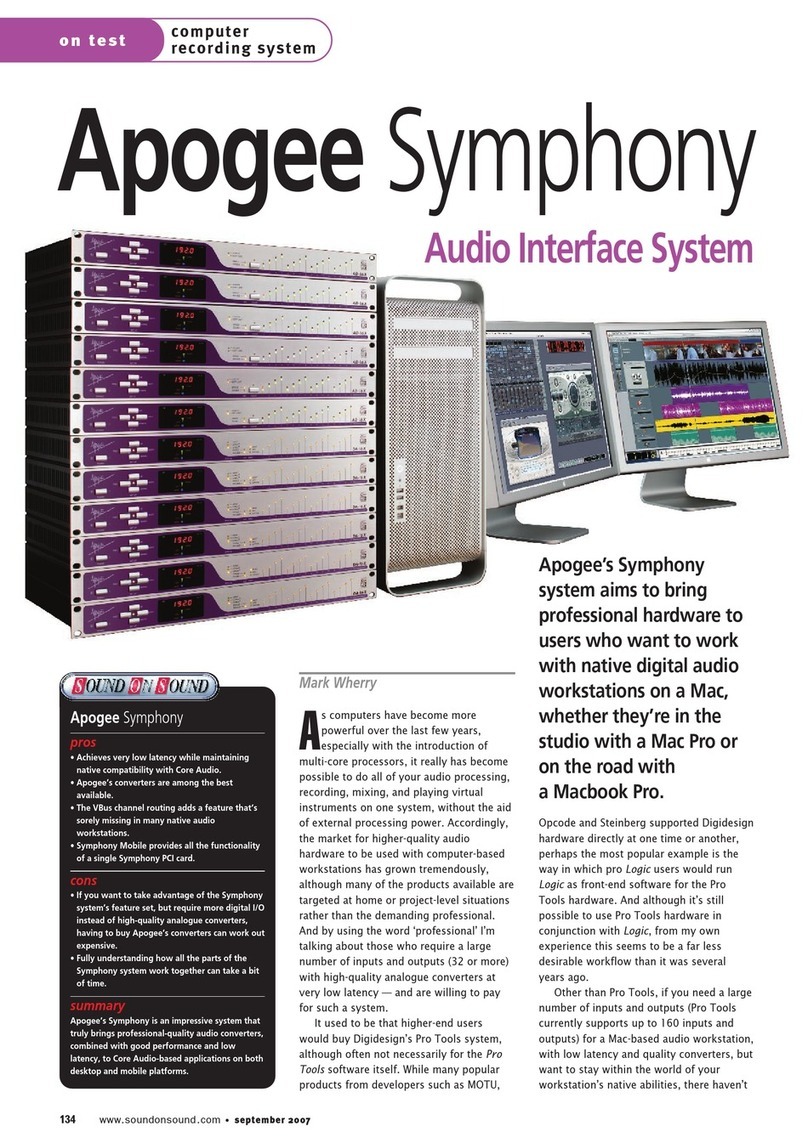
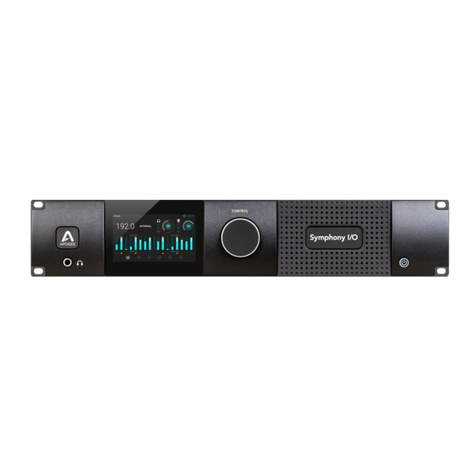
  9. Apogee Symphony I/O Instruction Manual

Apogee Symphony I/O Instruction Manual

Symphony I/O Connections
Instructions & Guidelines
Symphony I/O Systems: 1 Unit
Pro Tools HD
✴Software Release 2.1 or later must be downloaded from Apogeedigital.com and
installed. Following installation restart your computer.
✴Power off Symphony I/O.
✴Connect Symphony I/O to port 1 of HD core card.
✴Power up unit. Set Symphony I/O to "Pro Tools HD" Audio Interface Mode (hold in
the right encoder to check and change if needed)
✴Verify that the Symphony I/O is clocked to internal and displays "INT" on the front-
panel.
✴Launch Pro Tools (you should hear relays clicking from the Symphony I/O and the
exclamation mark icon on the front-panel should go away) and open the "hardware
setup". Click "default" to double-check that all the I/O display.
NOTE: You can use a Symphony I/O with any sort of ProTools HD card (PCI-X, PCIE,
ProToolsHD 7.4, 8, and 9). Both G5 computers and Intel computers are supported. To
get Maestro 2 control, you have to use Maestro 2 on an Intel Mac, which you can do
separately if you connect the units via USB.
2
© Copyright 2011, Apogee Electronics.
The information in this document is confidential and proprietary. Redistribution without consent is strictly prohibited.
Pro Tools Native-HD
(Using single PCI card- not to be confused with ProTools Native)
✴Software Release 2.1 or later must be downloaded from Apogeedigital.com and
installed. Following installation restart your computer.
✴Power off Symphony I/O.
✴Connect Symphony I/O to port 1 of Native-HD card.
✴Power up unit. Set Symphony I/O to "Pro Tools HD" Audio Interface Mode (hold in
the right encoder to check and change if you need to)
✴Verify that the Symphony I/O is clocked to internal and displays "INT" on the front-
panel.
✴Launch Pro Tools (you should hear relays clicking from the Symphony I/O and the
exclamation mark icon on the front-panel should go away) and open the "hardware
setup"... click "default" just to double-check that all the i/o show up.
NOTE: Native-HD is compatible with ProTools 9 Intel Mac Pros only.
3
© Copyright 2011, Apogee Electronics.
The information in this document is confidential and proprietary. Redistribution without consent is strictly prohibited.
Symphony 64 PCI
(Compatible with ProTools Native- not to be confused with ProTools
Native-HD)
✴Software Release 2.1 or later must be downloaded from Apogeedigital.com and
installed. Following installation restart your computer.
✴Power off Symphony I/O.
✴Connect Symphony I/O to Symphony 64 card 1, port 1.
✴Power up unit. Set Symphony I/O to "Symphony" Audio Interface Mode (hold in the
right encoder to check and change needed)
✴Open "Audio MIDI Setup" (found in Applications > Utilities...) make sure "Symphony
64" is selected for input and output. Make sure the "Source" is set to "PCI Card 1,
Port 1 (Ch 1-32)".
✴Wait for Symphony I/O to lock to Internal and display "INT" on the front-panel. (you
should hear relays clicking from the Symphony I/O and the exclamation mark icon
on the front-panel should go away) The clock source can be changed from front-
panel (hold in left encoder) or in Maestro 2.
✴Launch Logic (or any other CoreAudio application) and make sure Symphony 64 is
the I/O for the app in the audio preferences.
NOTE: SBUS and VBUS are not available when using ProTools Native due to the 32
channel limit.
4
© Copyright 2011, Apogee Electronics.
The information in this document is confidential and proprietary. Redistribution without consent is strictly prohibited.
Symphony I/O Systems: 2 Units
NOTE: As of January 28, 2011, a maximum of 2 units is supported. Daisy chaining units
is not supported. The Secondary PC32 port on the back of the Symphony I/O is not yet
functional.
Pro Tools HD
✴Software Release Beta 3.1 or later must be downloaded from ApogeeDigital.com
and installed. Following installation restart your computer.
✴Power off Symphony I/Os
✴Connect Loop Sync BNC cables to proper connectors in back of unit (Loop Sync Out
on Unit A to Loop Sync In on Unit B and vice versa). Make sure you don't
accidentally connect to the WC connectors!
✴Connect 1st Symphony I/O to port of HD core card.
✴Connect 2nd Symphony I/O to port of 2nd HD card.
✴Power up units. Set both Symphony I/Os in "Pro Tools HD" Audio Interface Mode
(hold in the right encoders to check and change if needed)
✴Launch Maestro 2 (Maestro 2 is Intel Mac only). Go to the "System Setup" tab and
check the checkbox "use Loop Sync" (in some versions of the software, the box is
ALWAYS checked and it's grayed out- this is normal). Also verify that unit A is the
"loop sync master" in the drop-down menu next to the checkbox.
✴Wait for both units to lock. Unit A should be clocked to Internal displaying "INT" and
Unit B should display "LOOP".
5
© Copyright 2011, Apogee Electronics.
The information in this document is confidential and proprietary. Redistribution without consent is strictly prohibited.
✴Launch Pro Tools and open the "hardware setup". Click "default" to double-check
that all I/O display.
NOTE: You can use Symphony I/Os with any sort of ProTools HD card (PCI-X, PCIE,
ProToolsHD 7.4, 8, and 9). G5 computers and Intel computers are supported. To get
Maestro 2 control, you have to use Maestro 2 on an Intel Mac, which you can do
separately if you connect the units via USB.
6
© Copyright 2011, Apogee Electronics.
The information in this document is confidential and proprietary. Redistribution without consent is strictly prohibited.
Pro Tools Native-HD
(using single PCI card- not to be confused with ProTools Native)
✴Software Release Beta 3.1 or later must be downloaded from Apogeedigital.com and
installed. Following installation restart your computer.
✴Power off Symphony I/Os
✴Connect Loop Sync BNC cables to proper connectors in back of unit (Loop Sync Out
on Unit A to Loop Sync In on Unit B and vice versa). Make sure they don't
accidentally connect to the WC connectors!
✴Connect 1st Symphony I/O to port 1 of Native-HD card.
✴Connect 2nd Symphony I/O to port 2 of Native-HD card.
✴Power up units. Set both Symphony I/O’s in "Pro Tools HD" Audio Interface Mode
(hold in the right encoders to check and change if you need to)
✴Launch Maestro 2 (Maestro 2 is Intel Mac only). Go to the "System Setup" tab and
check the checkbox "use Loop Sync" (in some versions of the software, the box is
ALWAYS checked and it's grayed out- this is normal). Also verify that unit A is the
"loop sync master" in the drop-down menu next to the checkbox.
✴Wait for both units to lock. Unit A should be clocked to Internal displaying "INT" and
Unit B should display "LOOP".
✴Launch Pro Tools and open the "hardware setup". Click "default" to double-check
that all I/O display.
NOTE: To use Native-HD, you have to use ProTools 9, on G5s, so only Intel Mac-Pros.
7
© Copyright 2011, Apogee Electronics.
The information in this document is confidential and proprietary. Redistribution without consent is strictly prohibited.
Symphony64
(Compatible with ProTools Native- not to be confused with ProTools
Native-HD)
✴Software Release Beta 3.1 or later must be downloaded from Apogeedigital.com and
installed. Following installation restart your computer.
✴Power off Symphony I/Os
✴Connect Loop Sync BNC cables to proper connectors in back of unit (Loop Sync Out
on Unit A to Loop Sync In on Unit B and vice versa). Make sure they don't
accidentally connect to the WC connectors!
✴Connect 1st Symphony I/O to Symphony 64 card 1, port 1.
✴Connect 2nd Symphony I/O to Symphony 64 card 1, port 2.
✴Power up units. Set both Symphony I/Os in "Symphony" Audio Interface Mode (hold
in the right encoders to check and change if you need to)
✴Launch Maestro 2 (Maestro 2 is Intel Mac only). Go to the "System Setup" tab and
check the checkbox "use Loop Sync" (in some versions of the software, the box is
ALWAYS checked and it's grayed out- this is normal). Also verify that unit A is the
"loop sync master" in the drop-down menu next to the checkbox.
✴Open "Audio MIDI Setup" (found in Applications > Utilities > Audio MIDI Setup),
select "Symphony 64" for input and output. Set the "Source" to "PCI Card 1, Port 1-2
(Ch 1-64)".
✴Wait for both units to lock. Unit A should be clocked to Internal displaying "INT" and
Unit B should display "LOOP".
8
© Copyright 2011, Apogee Electronics.
The information in this document is confidential and proprietary. Redistribution without consent is strictly prohibited.
✴Launch Logic (or any other CoreAudio application) and verify Symphony 64 as the I/
O for the app in the audio preferences.
NOTE: SBUS and VBUS are not available when using ProTools Native due to the 32
channel limit.
9
© Copyright 2011, Apogee Electronics.
The information in this document is confidential and proprietary. Redistribution without consent is strictly prohibited.

Other manuals for Symphony I/O

2

Other Apogee Accessories manuals

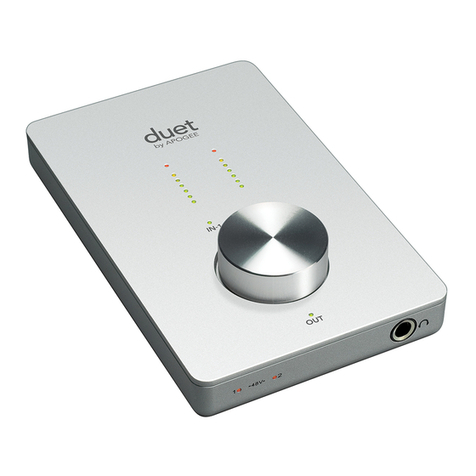
Apogee Apogee Duet User manual

Apogee

Apogee Apogee Duet User manual

Apogee SQ-512 User manual

Apogee

Apogee SQ-512 User manual

Apogee AD-16X User manual

Apogee

Apogee AD-16X User manual

Apogee ONE User manual

Apogee

Apogee ONE User manual

Apogee Apogee Duet User manual

Apogee

Apogee Apogee Duet User manual

Apogee SQX Series User manual

Apogee

Apogee SQX Series User manual

Apogee SQ-514 User manual

Apogee

Apogee SQ-514 User manual

Apogee ensemble User manual

Apogee

Apogee ensemble User manual

Apogee SQ-421X User manual

Apogee

Apogee SQ-421X User manual
Apogee Symphony Mobile User manual

Apogee

Apogee Symphony Mobile User manual

Apogee SQ-614 User manual

Apogee

Apogee SQ-614 User manual

Apogee SU-100 User manual

Apogee

Apogee SU-100 User manual

Apogee ONE User manual

Apogee

Apogee ONE User manual

Apogee duet3 User manual

Apogee

Apogee duet3 User manual

Apogee ensemble User manual

Apogee

Apogee ensemble User manual
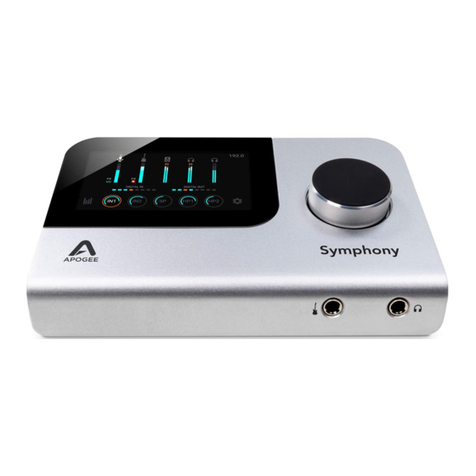
Apogee Quartet User manual

Apogee

Apogee Quartet User manual

Apogee Symphony Mobile User manual

Apogee

Apogee Symphony Mobile User manual
Apogee ensemble User manual

Apogee

Apogee ensemble User manual

Apogee ONE User manual

Apogee

Apogee ONE User manual

Apogee SP-214 User manual

Apogee

Apogee SP-214 User manual

Apogee Apogee Duet User manual

Apogee

Apogee Apogee Duet User manual

Apogee SQ-617 User manual

Apogee

Apogee SQ-617 User manual

Apogee SU-221 User manual

Apogee

Apogee SU-221 User manual

Apogee SO-110 User manual

Apogee

Apogee SO-110 User manual

Popular Accessories manuals by other brands

Datalogic DS2 Ethernet instruction manual

Datalogic

Datalogic DS2 Ethernet instruction manual

Nohken FM-16 instruction manual

Nohken

Nohken FM-16 instruction manual

Centrum Elektroniki MCE19 manual

Centrum Elektroniki

Centrum Elektroniki MCE19 manual

Knauer AZURA HPLC manual

Knauer

Knauer AZURA HPLC manual

Balluff BOS R254K-UUI-PR10-S4 Assembly instructions

Balluff

Balluff BOS R254K-UUI-PR10-S4 Assembly instructions

Heckler Design H483 Assembly & installation

Heckler Design

Heckler Design H483 Assembly & installation

MTS Systems Temposonics R V POWERLINK Series Operation manual

MTS Systems

MTS Systems Temposonics R V POWERLINK Series Operation manual

Conrad Electronic 61 08 99 operating instructions

Conrad Electronic

Conrad Electronic 61 08 99 operating instructions

Anker 555 user manual

Anker

Anker 555 user manual

Alcad 907 Series manual

Alcad

Alcad 907 Series manual

Lexicon MC-12 Balanced supplementary guide

Lexicon

Lexicon MC-12 Balanced supplementary guide

KAMEP T8 user manual

KAMEP

KAMEP T8 user manual

Axor Axor Massaud Freestanding Towel Holder... Specification sheet

Axor

Axor Axor Massaud Freestanding Towel Holder... Specification sheet

gaviota ARKO Assembly instructions

gaviota

gaviota ARKO Assembly instructions

Nortek 2GIG-DBELL1-345 manual

Nortek

Nortek 2GIG-DBELL1-345 manual

Schwaiger ZHD01 user manual

Schwaiger

Schwaiger ZHD01 user manual

Alesis iO Dock II user guide

Alesis

Alesis iO Dock II user guide

Velleman HAA23N manual

Velleman

Velleman HAA23N manual

manuals.online logo
manuals.online logoBrands
  • About & Mission
  • Contact us
  • Privacy Policy
  • Terms and Conditions

Copyright 2025 Manuals.Online. All Rights Reserved.