manuals.online logo
Brands
  1. Home
  2. •
  3. Brands
  4. •
  5. Applied Motion Products
  6. •
  7. DC Drive
  8. •
  9. Applied Motion Products 3540 MO User manual

Applied Motion Products 3540 MO User manual

Flip Over
Typical wiring for Oscillator Mode using external speed Control pot
Speed Control from a 0 to 5 Volt Analog Signal
In oscillator mode, the 3540MO can rotate the motor a speed proportional to an
analog voltage. The voltage must be applied to the WPR terminal. The direction of
rotation will be controlled by the digital DIR input and the motor can be stopped
either by setting the analog input voltage to 0 or by turning the digital RUN signal
off.
To use the 3540 MO in this mode, set switch #1 away from the JOYSTICK label,
and set switch #2 toward the EXT SPEED label.
DRAWING...........
The HI SPEED pot sets the maximum speed (the motor speed when the analog
signal is at 5 volt DC). The range is 0 - 25 rev/sec.
Wiring diagrams and a plot of speed vs voltage are shown below.
12–42V
motor
supply
12-42 VDC
+
–
4A slow
blow
fuse
DO NOT REVERSE WIRES - THIS WILL DAMAGE THE DRIVE
Quick Setup Guide
3540MO
TO DOWNLOAD A FULL USER MANUAL PLEASE VISIT OUR WEBSITE
WWW.APPLIED-MOTION.COM
Connecting the Power Supply
run
direction
common
ext
speed
input
12-42 VDC
hi/lo speed
current
0.4 to 3.5
A/phase
ext speed
joystick
A+
A–
B+
B–
to
motor
enable
tach out+
tach out-
50% idle
accel
LO
speed
HI
speed
Microstep
Sequencer
MOSFET
Amplier
Optical
Isolation
Digital Oscillator
&
Joystick Interface
power connector
• DC power supply
• motor
trim pots
• accel/decel rate
• low speed
• high speed
input connector
• run/stop (cw limit)
• dir (ccw limit)
• high/low speed select
• amp enable
• ext speed pot/joystick
• tach out
mounting hole (1 of 6)
DIP switches
• motor current
• idle current reduction
• joystick mode
• ext speed mode
Always use the blue & white
Applied Motion screwdriver
with this connector. Larger
screwdrivers may remove the
plastic dimples that prevent
the screws from falling out.
Modes of Operation
Note: We refer to an input as being ON when current is owing
through the input. A signal is OFF when no current is owing. An
input is OFF when COM and the input terminal are at the same voltage,
or when the input is left unconnected (open).
The 3540 MO features two modes of operation.
Joystick mode
Joystick mode is set by moving switch #1 toward the word “Joystick”. Switch #2
(EXT SPEED) has no effect in Joystick mode.
Joystick mode - speed and direction are determined by the voltage applied to the WPR
(wiper) terminal. 2.5 volts is “stopped” (no speed). Increasing the WPR voltage
toward 5 volts results in forward motion: speed increases with voltage. Decreasing
the WPR voltage from 2.5 toward 0 results in reverse motion, with speed increasing
as voltage decreases. The SPD (speed) input selects speed range. LO SPEED and HI
SPEED pots adjust the 2 speed ranges.
EXT SPD=ON speed adjusted by LO SPEED trimpot - range up to 5 rev/sec
EXT SPD=OFF speed adjusted by HI SPEED trimpot - range up to 25 rev/sec
In joystick mode, limit switches can be connected to the 3540 MO.
Refer to the full manual - available from the website for connection details.
Oscillator mode
Oscillator mode is selected by moving switch #1 away from the word Joystick.
Thespeed can be controlled by on-board potentiometers and/or
by an external analog voltage. RUN input starts and stops the motor. DIR input
controls direction of rotation. SPD input selects the speed range.
If the motor is wired according to the motor wiring section,
Motor speed and the function of the RUN input can be determined from the
following table.
SPD (speed) input selects speed range. LO SPEED and HI SPEED pots adjust the 2
speed ranges.
EXT SPD=ON speed adjusted by LO SPEED trimpot - range up to 5 rev/sec
EXT SPD=OFF speed adjusted by HI SPEED trimpot - range up to 25 rev/sec
If switch #2 is toward the words EXT SPEED, then the high speed is proportional to
the voltage applied to the WPR terminal, and is trimmed by the HI SPEED pot. You
can connect an external 1K - 5K pot to the WPR, CW and CCW terminals, or you can
apply a 0 to 5 volt analog signal to the WPR terminal (ground your analog signal to the
CCW pin.) The high speed range is 0 - 25 rev/sec (0 - 1500 rpm.) You can reduce the
range by turning down the HI SPEED pot.
When switch #2 is away from the EXT SPEED label, the high speed is set by the HI
SPEED pot and the WPR input does nothing.
Never apply more than 5 volts DC or less than 0 volts to the WPR pin.
In both operating modes, the accel/decel rate is set by the ACCEL pot. The
range is 1 to 250 rev/sec/sec.
5kW
joystick
joystick "re" button
fwd
rev
3540 MO
COM
DIR (REV LIMIT)
RUN (FWD LIMIT)
SPD
CCW
WPR
CW
+
5-24
VDC
SUPPLY
-
rev limit switch
fwd limit switch
Typical wiring for Joystick Mode 012345
-25
-20
-15
-10
-5
0
5
10
15
20
25
Speed vs Input Voltage
Joystick mode, SPD input off (or open)
HI SPEED pot at maximum
volts volts
speed (rev/sec)
SPD switch speed set when RUN when RUN
input #2 by goes ON goes OFF
ON accel to speed instant stop
OFF/open accel to speed decel to stop
ext speed
joystick
ext speed
joystick
ext speed
joystick
ext speed
joystick
LO SPEED
LO SPEED
HI SPEED
HI SPEED
WPR input
trimmed by
5kW
pot
speed switch (closed=lo speed)
cw
ccw
3540 MO
COM
DIR
RUN
SPD
CCW
WPR
CW
+
5-24
VDC
SUPPLY
-
direction switch
run/stop switch
(closed=run)
Wiring for Speed Control by 0 - 5 Volt Analog Signal
(Direction Control by Digital Signal or Switch)
0 - 5V speed signal
signal return
3540 MO
COM
DIR
RUN
CCW
WPR
+
5-24
VDC
SUPPLY
-
direction switch
run/stop switch
(closed=run)
Wiring for Speed Control by 0 - 5 Volt Analog Signal
(Unidirectional Rotation)
0 - 5V speed signal
signal return
3540 MO
COM
RUN
CCW
WPR
CW
Doc 920-0017B - 8/27/12
Choosing a Power Supply
To nd out how to choose a power supply refer to the tech notes on our website.
Mounting the Drive
To operate the drive continuously at maximumpower you must properly mount it on
a heat sinking surface with a thermal constant of no more than 4°C/watt. Often, the
metal enclosure of your system will make an effective heat sink.
smooth flat surface
#4 screws
wide side mount narrow side mount
Technical Specications
Ampliers Dual, bipolar MOSFET H-bridge, pulse width modulated
three state switching at 20kHz. 12-42 VDC input.
0.4 - 3.5 amps/phase output current, switch selectable
in 0.1 A increments. 122 watts maximum output power.
Automatic idle current reduction (switch selectable),
reduces current to 50% of setting after one second.
Minimum motor inductance is 1 mH.
Inputs Run/stop (cw limit), direction (ccw limit), hi/lo speed and
enable inputs are optically isolated, 5-24V logic. 3 - 15 mA
input current. 2200 ohms input impedance. Can be
congured for sinking or sourcing signals.
Recommended external pot/joystick resistance: 1K - 5K
Joystick dead zone: ± 80 mV.Potentiometer/analog signal
dead zone: 40 mV.
Recommended Maurey Instrument Corp., Chicago, IL (773)581-4555
Joystick JS31462S5T3 (2 axis) or SAJ2515-F-502 (1 axis)
Speed Ranges LO speed range: 0 - 5 rev/sec
HI speed range: 0 - 25 rev/sec
Accel/decel range: 1 to 250 rev/sec/sec
Tach Output Phototransistor, open collector, open emmiter.
24 volts max, 20 mA max.100 pulses per motor revolution,
50% duty cycle (square wave).
Physical Mounted on 1/4 inch thick black anodized aluminum
heat transfer chassis. 1.5 x 3.0 x 4.0 inches overall. Power
on red LED. Ambient temperature range: 0 - 70 C.
Connectors European style screw terminal blocks.
Power Supply & Motor: 6 position. Wire size: AWG 12 - 28.
Signal Input: 10 position. Wire size: AWG 16 - 28.
Microstepping CE Mark 1/64 step (12,800 s/r) with 1.8 motor. Pure sine
waveform.
CE Mark Complies with EN55011A and EN50082-1(1992).
Idle Current Reduction
Your drive is equipped with a feature that automatically reduces the motor
current by 50% anytime the motor is not moving. . Idle current reduction is
enabled by sliding switch #4 toward the 50% IDLE label,as shown in the
sketch below. Sliding the switch away from the 50% IDLE label disables the
reduction feature
50% IDLE
4
4
50% IDLE
Idle Current Reduction
Selected
No Current Reduction
Microstepping
The 3540 MO divides each full step into 64 microsteps, providing 12,800 steps
per revolution for precise positioning and smooth motion.
Connecting the Motor
STEP motors have 4, 6 or 8 leads , these are
wired to 4 connections on the drive in various
combinations.
Motors will perform differently according the
way it is connected, to nd out more about the
differnet way of connecting your motor , see the
technotes or FAQs on our website.
Warning: When connecting
the motor to the driver, be
sure that the motor power
supply is off. Secure any
unused motor leads so that
they can’t short to anything.
Never disconnect the motor
while the drive. Never con-
nect motor leads to ground
or to a power supply!
A+
A–
B+ B–
4
lead
motor
Red
Blue
Yellow White
4 Leads
A+
A–
NC
B+
B– NC
6
lead
motor
Red Black
Red/
Wht
Green
Grn/Wht
White
6 Leads
Series
Connected
A+
A–
NC
B+B– NC
6
lead
motor
Grn/Wht
White
Green
Red
Red/
Wht
Black
6 Leads
Center Tap
Connected
A+
A–
B+ B–
8
lead
motor
8 Leads
Series
Connected
Orange
Org/Wht
Blk/Wht
Black
Red Red/
Wht Yel/
Wht
Yellow
A+
A–
B+ B–
8
lead
motor
Orange
Org/
Wht
Blk/Wht
Black
Red
Red/Wht
Yel/
Wht
Yel
low
8 Leads Parallel Connected
A+
A–
B+ B–
8
lead
motor
Orange
Org/
Wht
Blk/Wht
Black
Red
Red/Wht
Yel/
Wht
Yel
low
8 Leads
Parallel
Connected
Tach Output
The Tach Out signal is provided for measuring the motor speed. It generates
100 pulses per revolution, so if you connect a frequency counter, the speed
reads out in revs/second with two decimal places. The schematic diagram of
the Tach Out optoisolation circuit is shown below.
Do not connect the Tach output to more than 24VDC.
The current into the Tach+ terminal must not exceed 20 mA.
Internal Tach Circuit
330W
internal
tach
signal
+5V
TACH–
TACH+
Optoisolator
NEC PS2501 or equiv.
inside 3540 MO
Connecting Tach Output
to a Frequency Counter
4700W
5 - 24V
DC
Power
Supply
TACH–
TACH+
–
+
Freq
Counter
3540 MO
GND
IN
Connecting Digital Inputs and Limit Switches
You must supply 5-24 volts DC to supply current to the LEDs on the input side
of the opto-isolators.Your controlling logic must be capable of sinking or sourc-
ing at least 3 mA at 5 volts and 10 mA at 24 volts to control each drive input.
Sinking Circuits (NPN) - If your output devices prefer to sink current, then
connect the COM terminal to your positive power supply. If you are using a
TTL circuit to drive the 3540 MO, connect the COM terminal to your 5 volt bus.
No ground connection is needed. If you are using a PLC or proximity sensor,
you’ll need a power supply.
Sourcing circuits (PNP) - If your output devices can only source current (some
PLC outputs are this way), connect the COM terminal to the ground of the DC
power supply that powers your output circuits Note: We refer to an input as
being ON when current is owing through the input. A signal is OFF when no
current is owing. An input is OFF when COM and the input terminal are at the
same voltage, or when the input is left unconnected (open).
The ENABLE input allows the user to turn off the current to the motor by
setting this signal on. The logic circuitry continues to operate, so the drive
“remembers” the step position even when the ampliers are disabled. If you
have no need to disable the ampliers, you don’t need to connect anything to
the ENABLE input.
Sold By:
Servo Systems Co. • 53 Green Pond Road, Suite #2 •
Rockaway, NJ 07866
NJ, 07045-0097
(973)
335-1007 • Toll Free: (800) 922-1103
Fax: (973) 335-1661 • www.servosystems.com
Sold By: Servo Systems Co. • 115 Main Road • P.O. Box 97
Montville, NJ, 07045-0097
(973) 335-1007 • Toll Free: (800) 922-1103
Fax: (973) 335-1661 • www.servosystems.com
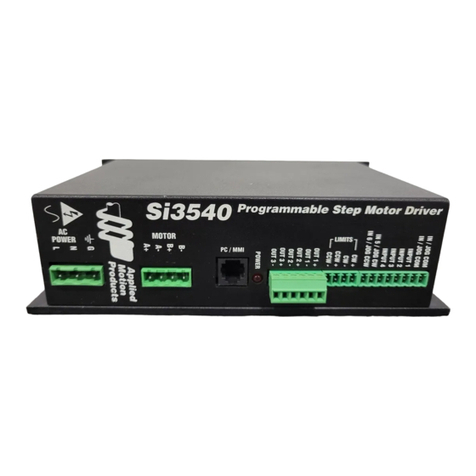
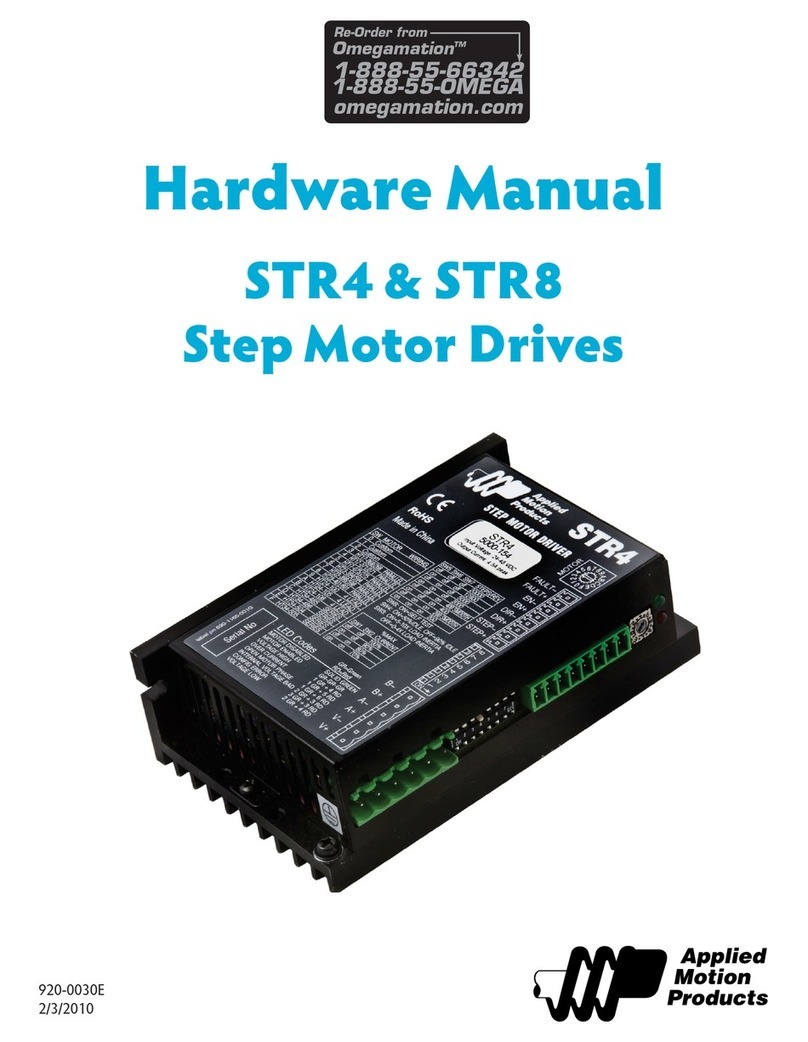
Other Applied Motion Products DC Drive manuals

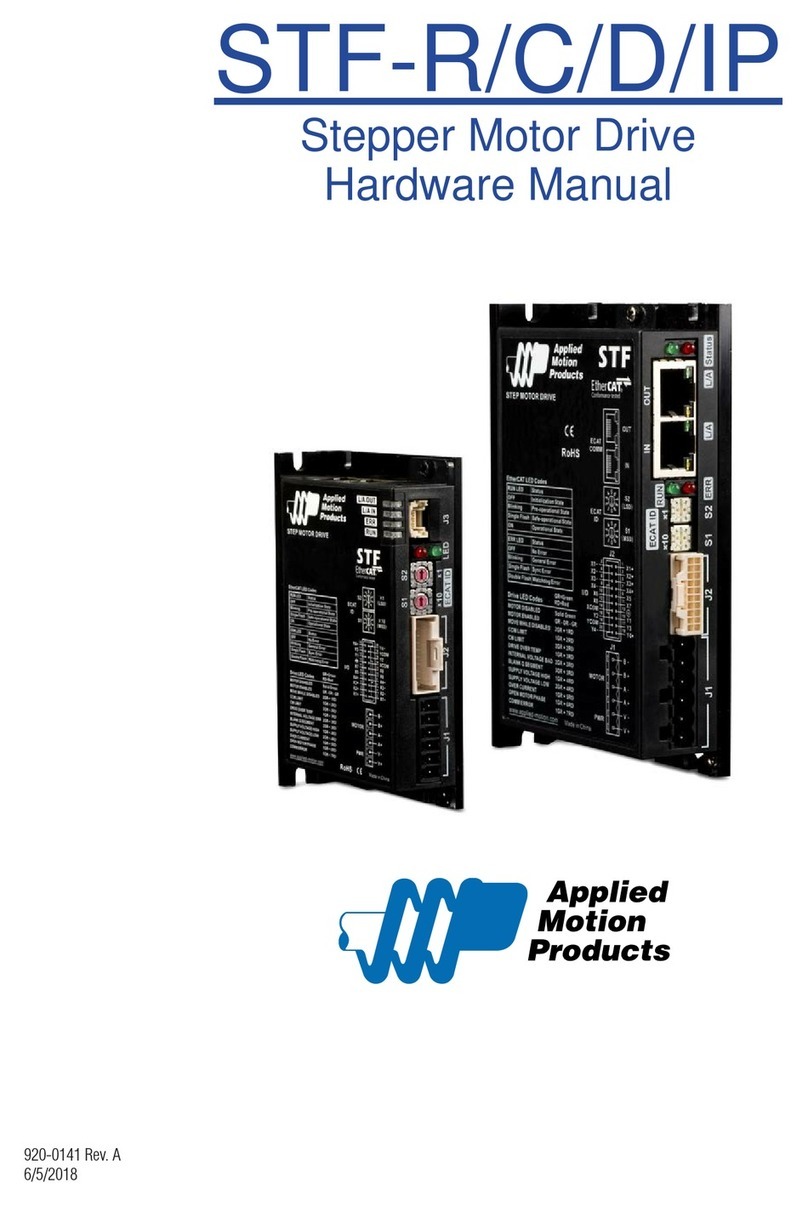
Applied Motion Products STF-R Series User manual

Applied Motion Products

Applied Motion Products STF-R Series User manual

Applied Motion Products STAC6-Q-H User manual

Applied Motion Products

Applied Motion Products STAC6-Q-H User manual

Applied Motion Products PDO 2035 User manual

Applied Motion Products

Applied Motion Products PDO 2035 User manual

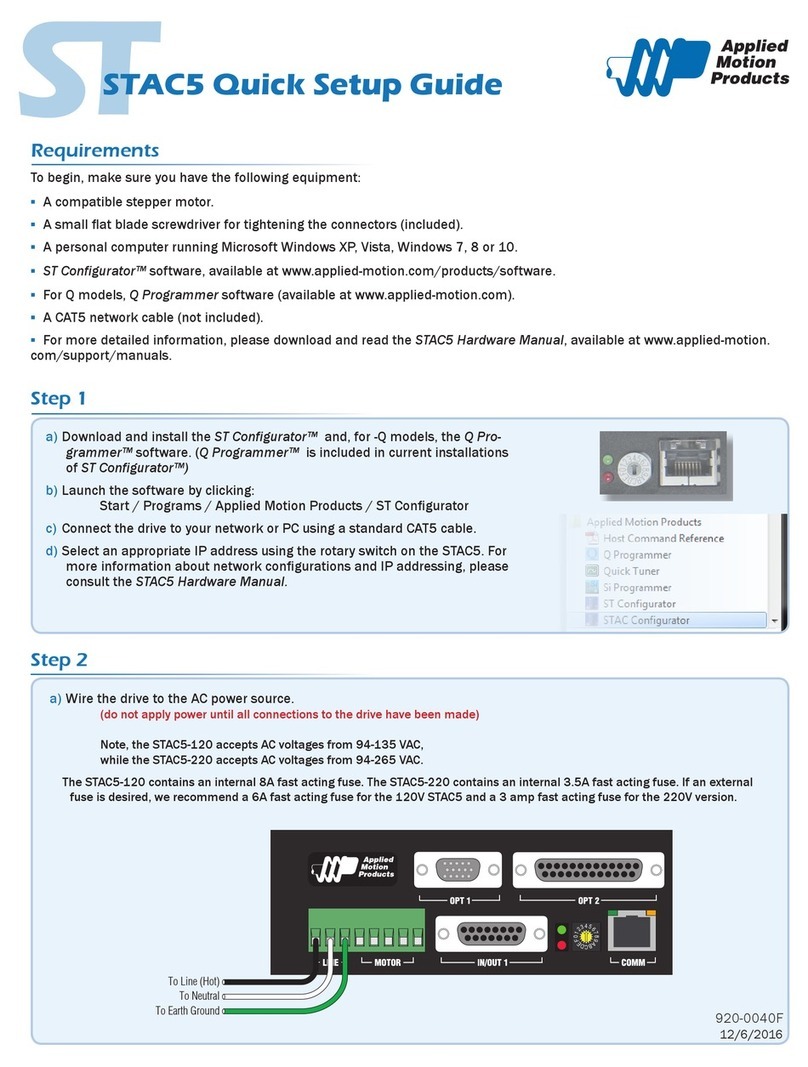
Applied Motion Products STAC5 Series User manual

Applied Motion Products

Applied Motion Products STAC5 Series User manual

Applied Motion Products STR2M User manual

Applied Motion Products

Applied Motion Products STR2M User manual

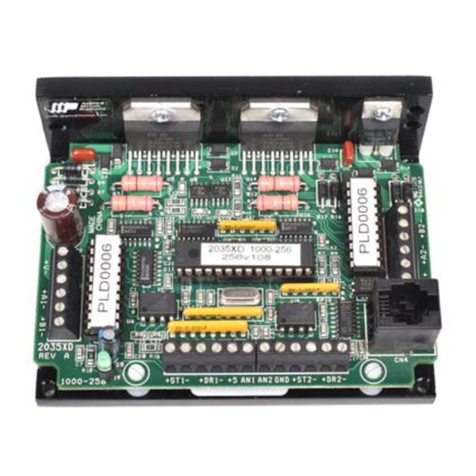
Applied Motion Products 2035XD User manual

Applied Motion Products

Applied Motion Products 2035XD User manual

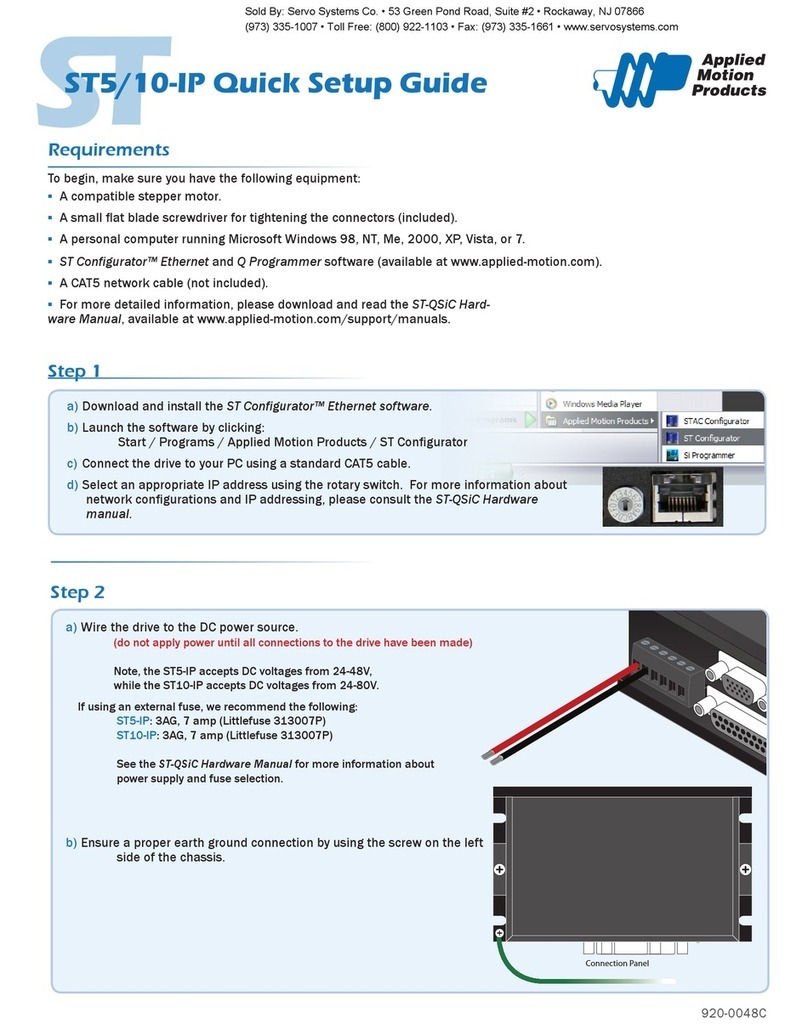
Applied Motion Products ST5-IP User manual

Applied Motion Products

Applied Motion Products ST5-IP User manual

Applied Motion Products Si3540 User manual

Applied Motion Products

Applied Motion Products Si3540 User manual

Applied Motion Products STR4 User manual

Applied Motion Products

Applied Motion Products STR4 User manual

Applied Motion Products Si5580 User manual

Applied Motion Products

Applied Motion Products Si5580 User manual

Applied Motion Products BLuAC5 User manual

Applied Motion Products

Applied Motion Products BLuAC5 User manual

Applied Motion Products STR2 User manual

Applied Motion Products

Applied Motion Products STR2 User manual

Applied Motion Products PDO 3540 User manual

Applied Motion Products

Applied Motion Products PDO 3540 User manual

Popular DC Drive manuals by other brands

Power Electronics SD 500 Series manual

Power Electronics

Power Electronics SD 500 Series manual

OPSWAT MetaDefender manual

OPSWAT

OPSWAT MetaDefender manual

BINZEL-ABICOR MFS-V3 operating instructions

BINZEL-ABICOR

BINZEL-ABICOR MFS-V3 operating instructions

ITOH DENKI CBM-105 FN user manual

ITOH DENKI

ITOH DENKI CBM-105 FN user manual

Delta Tau Geo MACRO User manual and reference guide

Delta Tau

Delta Tau Geo MACRO User manual and reference guide

GE Fuji Electric FVR-C9S-2UX Series instruction manual

GE

GE Fuji Electric FVR-C9S-2UX Series instruction manual

Moog DM2020 Series Installation and startup

Moog

Moog DM2020 Series Installation and startup

Dietz DSV 5444 / ML 2 Commissioning instructions

Dietz

Dietz DSV 5444 / ML 2 Commissioning instructions

Danfoss VLT OneGearDrive instruction manual

Danfoss

Danfoss VLT OneGearDrive instruction manual

Allen-Bradley PowerFlex 4 Quick start manual

Allen-Bradley

Allen-Bradley PowerFlex 4 Quick start manual

Inovance MD330H user manual

Inovance

Inovance MD330H user manual

BFT PHEBE BT A U Installation and user manual

BFT

BFT PHEBE BT A U Installation and user manual

Becker VariAir VAU4/3 quick start guide

Becker

Becker VariAir VAU4/3 quick start guide

YASKAWA CIPR-CR70A Series Technical manual

YASKAWA

YASKAWA CIPR-CR70A Series Technical manual

Allen-Bradley 1395 troubleshooting guide

Allen-Bradley

Allen-Bradley 1395 troubleshooting guide

Pro-dig T5K7C instruction manual

Pro-dig

Pro-dig T5K7C instruction manual

GU ELTRAL K60-300N 24V Assembly and operating instructions

GU

GU ELTRAL K60-300N 24V Assembly and operating instructions

Eurotherm Drives 584S/620 Addendum

Eurotherm Drives

Eurotherm Drives 584S/620 Addendum

manuals.online logo
manuals.online logoBrands
  • About & Mission
  • Contact us
  • Privacy Policy
  • Terms and Conditions

Copyright 2025 Manuals.Online. All Rights Reserved.