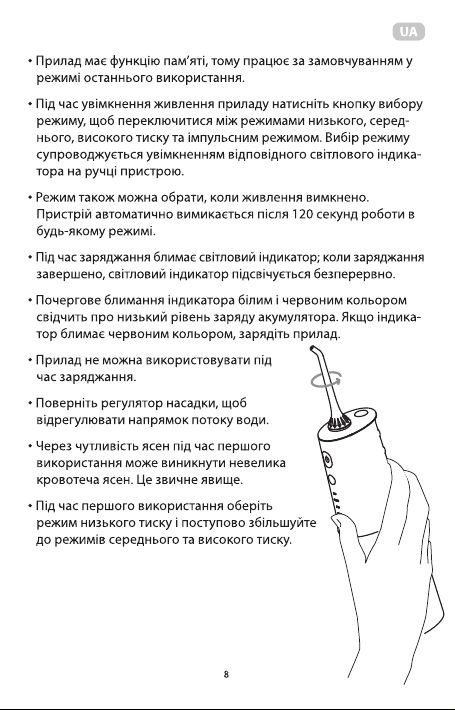
08This product has memory function, so default work as the mode of last using.Press the mode button in the power-on state to switch between the low, mid, high and pulse modes; the working gear position and the power display are always on, and the other non-working gears are off.Mode selection can also be made when power off, and you can choose your favorite mode and then turn it on. Running in any mode for more than 120 seconds,the product will shut down automatically.When the product is charging, the power indicator light flashes; when the power indicator light is on, the product is fully charged.During use, when the power indicator light changes from white to red, the product is low battery; when the red light is flashing, the product needs charging.This product cannot be used while charging.Rotate the nozzle knob to adjust the direction of the water flow.Because gingiva bearing capacity differs from people to people, the first use of the Water Flosser may be accompanied with bleeding gingiva. This is normal. Please feel free to use it!In the first use of the portable water flosser, please start from the lowest mode and gradually shift to the higher with oral adaptation.