5 Maintenance Manual
Vacuum Breakers require no lubrication.
MAINTENANCE: consists of keeping the outlet free from debris on an annual basis.
INSPECTION: Periodic inspection for leakage can be performed by inspecting the top of the valve for
accumulation of uid. If leakage is heard, close the isolation valve, follow instructions for disassembly,
and inspect the sealing surface for wear or mineral deposits. Clean, or repair as needed.
NOTE: The valve does not need to be removed from the pipeline to do maintenance and inspection.
Remove only if leak is detected at the ange connection.
Troubleshooting
Several problems and solutions are presented below to assist you in troubleshooting the valve assembly.
• Valve Leakage: Check gaskets and ange bolts for tightness. Disassemble and inspect sealing surfaces
for debris or damage. If Disc Seal (17) is damaged, then a new seal should be installed.
• Valve Does Not Allow Intake of Air: Verify that seal end drops away from the valve body. Verify that
pipeline is at a vacuum condition greater than minus 0.25 psig. Verify that isolation valve is open and
there is no line blockage downstream. Verify that the Spring (4) is intact. Disassemble and inspect as
necessary.
• All work on the valve should be performed by a skilled mechanic with proper tools.
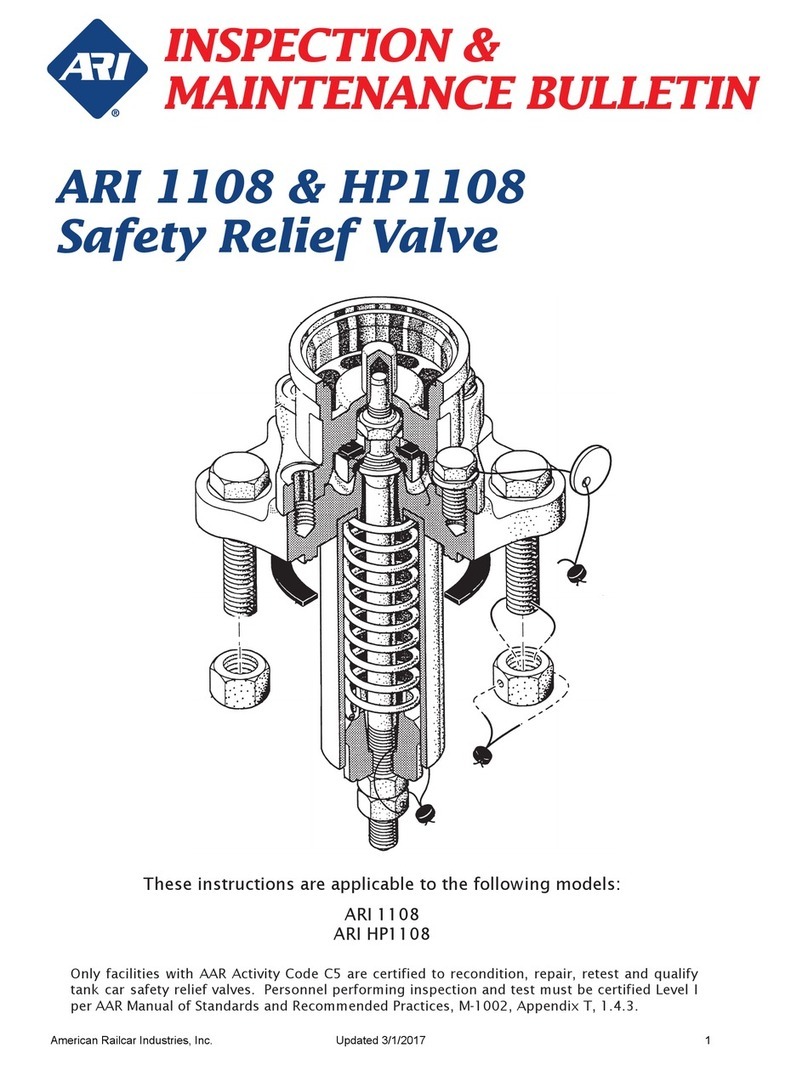
Disassembly - Refer to Figure 1.
WARNING: The pipeline must be drained and the valve relieved of pressure before commencing
disassembly.
1. Completely unscrew and remove all the cover Bolts, Washers and Nuts (13)
– place them in a secure area.
2. Attach a metal cable through the 2 Lifting Rings and lift the entire Cover Assembly (1-15, 17-18) out
from the valve Body (16).
3. Place the Cover Assembly on a clean at working area.
4. Unscrew the Domed Nuts and Washers (10) and Lifting Rings, lift up and remove the Screen Cover (1)
and Screen (12).
5. Measure and write down (for Reassembly) the distance from the top of the Guide Pin (5) to the top
part of the upper Nut (2).
6. Unscrew the two Nuts from the threaded end of the Guide Pin. Remove the Spring Lock (3) and
Spring (4). Check for wear or cracks on the Spring. Replace the Spring, if necessary.
7. Lift up the remaining Cover Assembly from the Guide Pin(5) and Disc Assembly (7,8 – 17,18) and
place it to the side.
8. Place the Disc and connected Guide Pin on its side. Examine the Disc Seal (17) for wear and tear.
Heavy mineral deposits should be removed using ne sand paper. For replacing the Disc Seal,
continue to Step
9. Unscrew the Disc Bolts (18) and remove the Seal Retainer (7).
10. Replace the Disc Seal, return the Seal Retainer to its place and tighten by screwing the Retainer Bolts
into the Disc.
