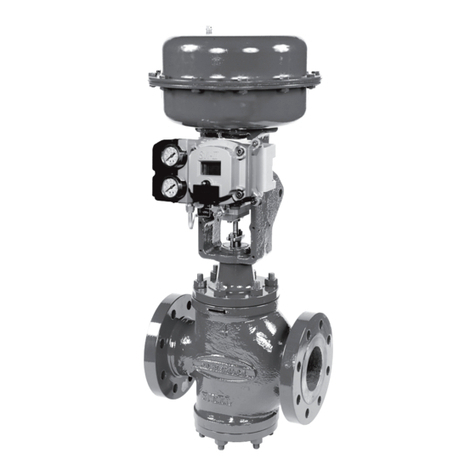
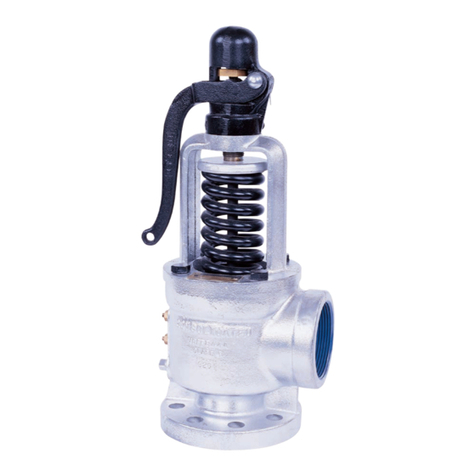
Baker Hughes Masoneilan 71000 Series User manual
Other Baker Hughes Control Unit manuals
Baker Hughes
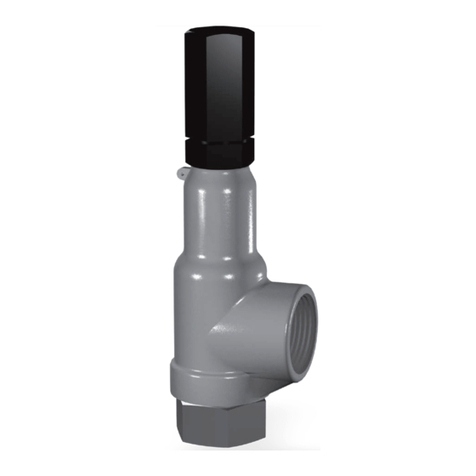
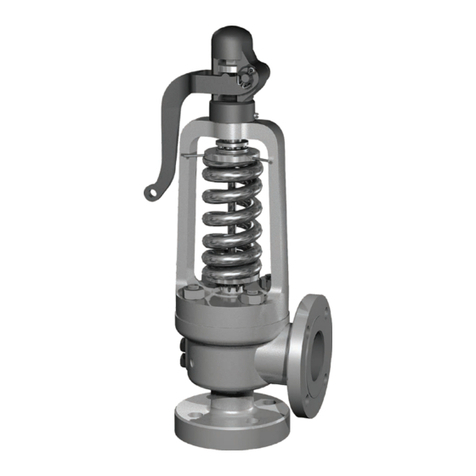
Baker Hughes Consolidated 1511 Series User manual
Baker Hughes
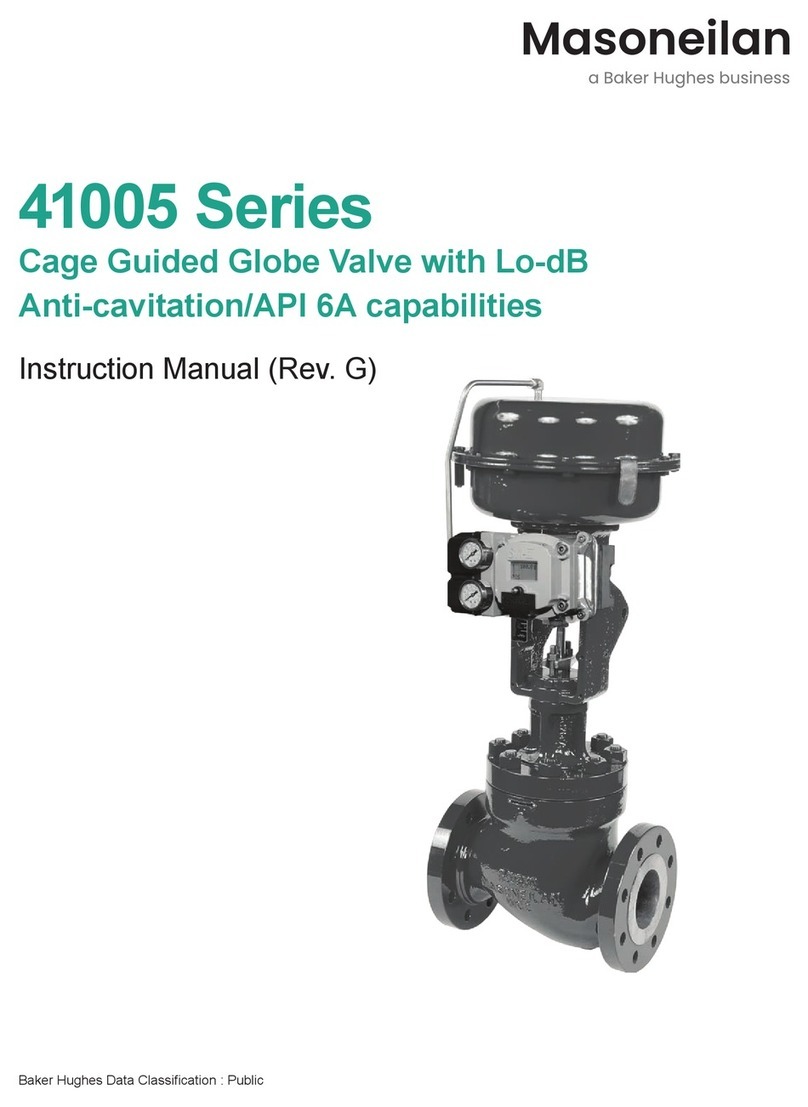
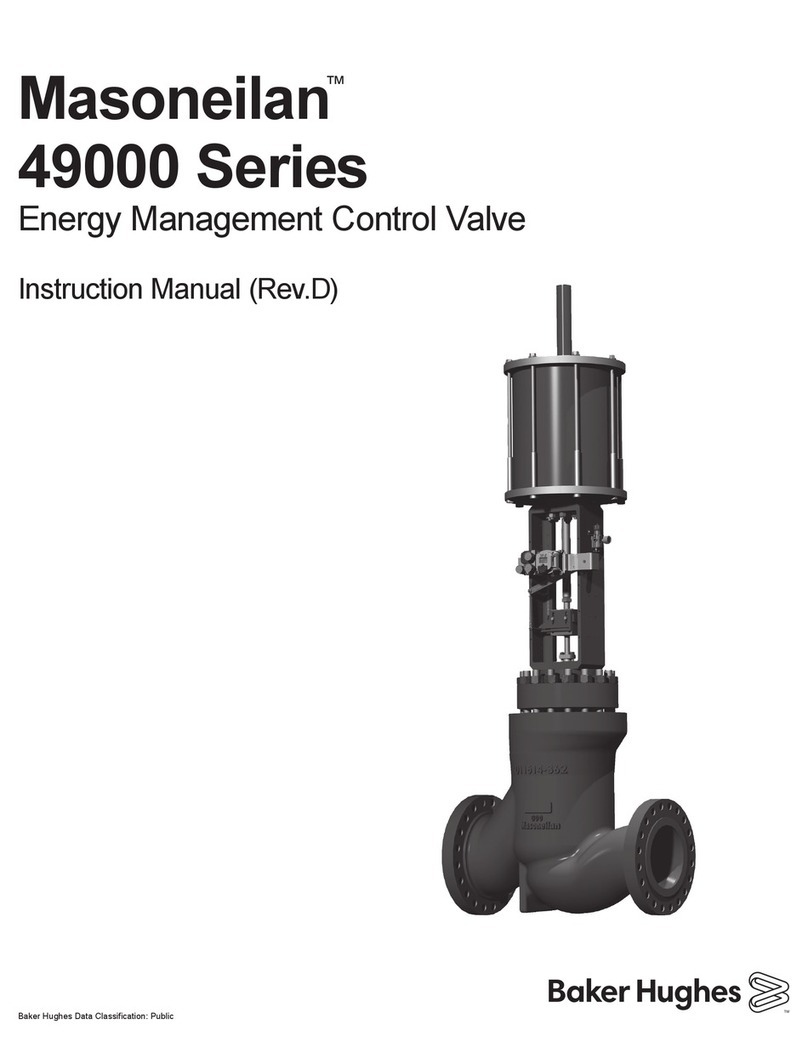
Baker Hughes Masoneilan 49000 Series User manual
Baker Hughes
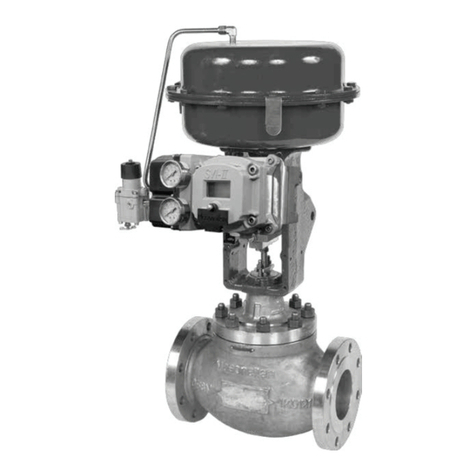
Baker Hughes Masoneilan 21009 Series User manual
Baker Hughes
Baker Hughes Consolidated 2700 Series User manual
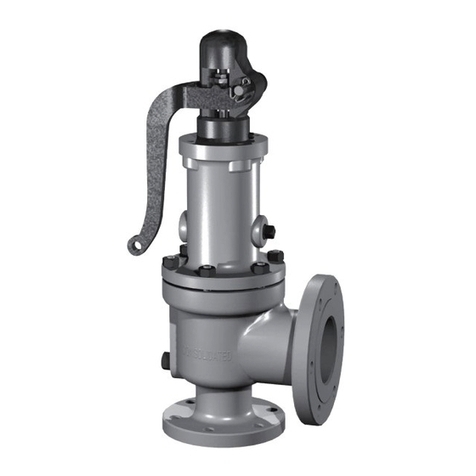
Baker Hughes
Baker Hughes Consolidated 1900/P Series User manual
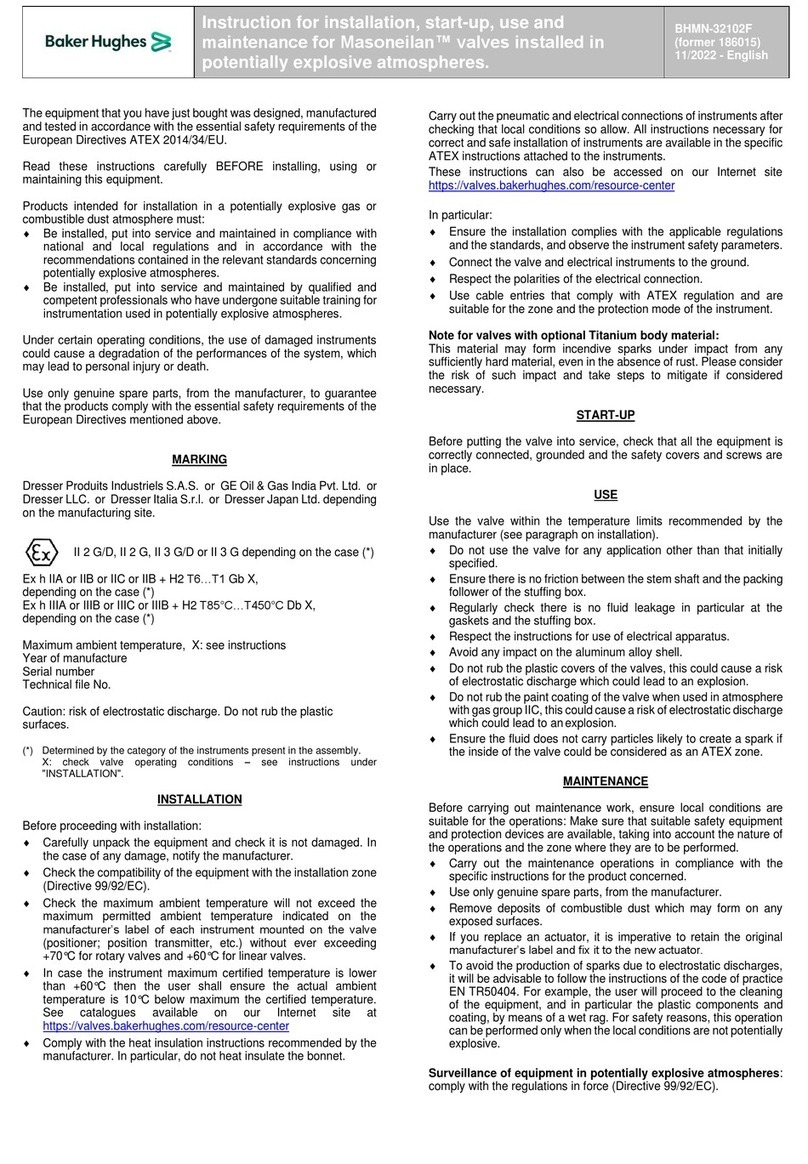
Baker Hughes
Baker Hughes Masoneilan Guide
Baker Hughes
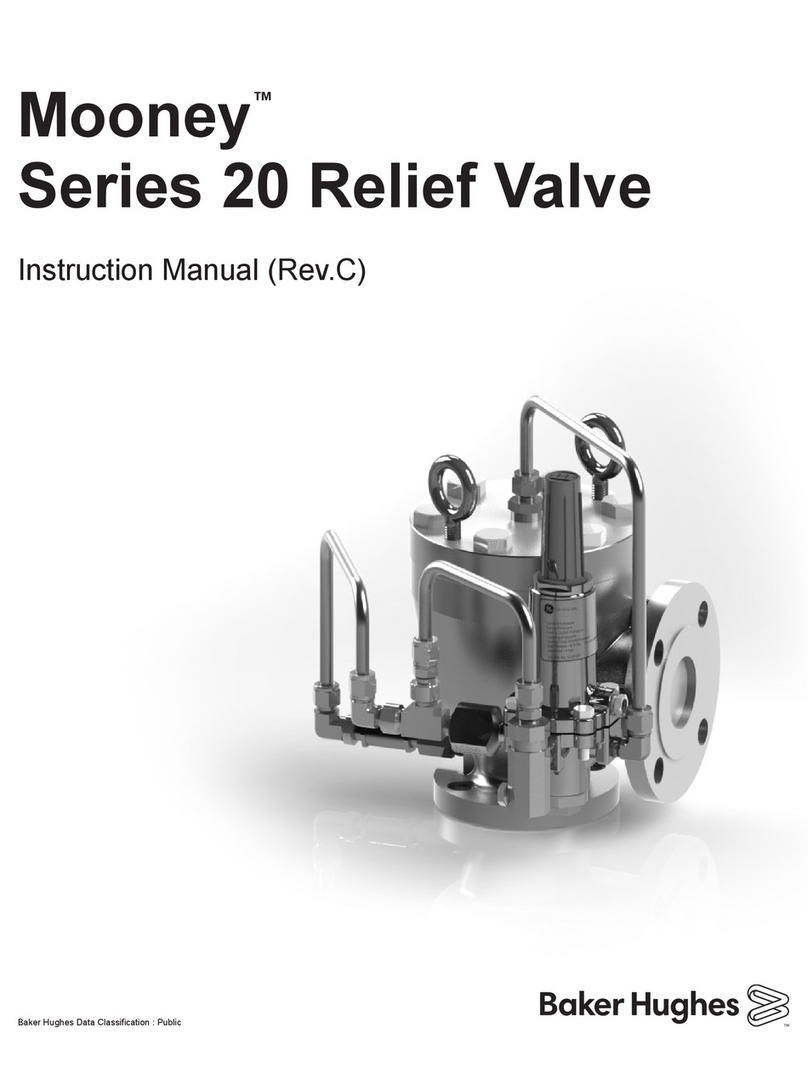
Baker Hughes Mooney 20 Series User manual
Baker Hughes
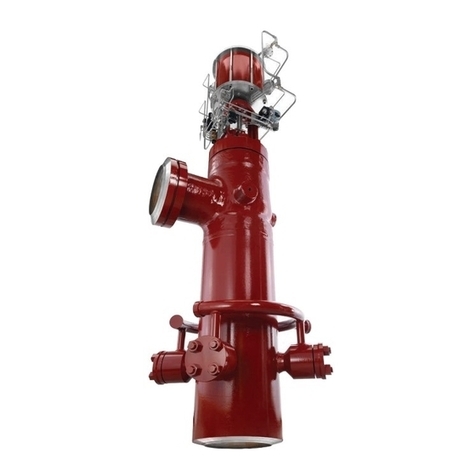
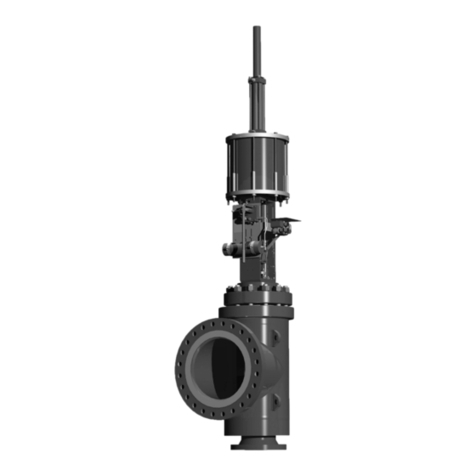
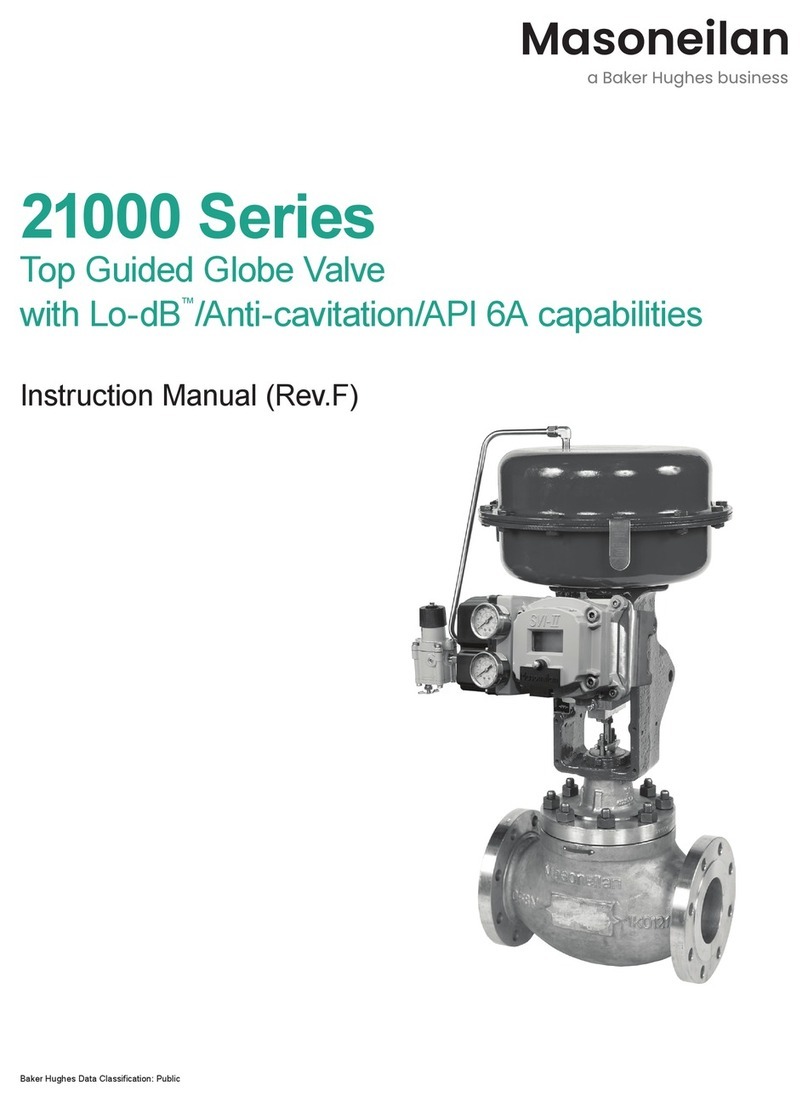
Baker Hughes Masoneilan 72000 Series User manual
Baker Hughes
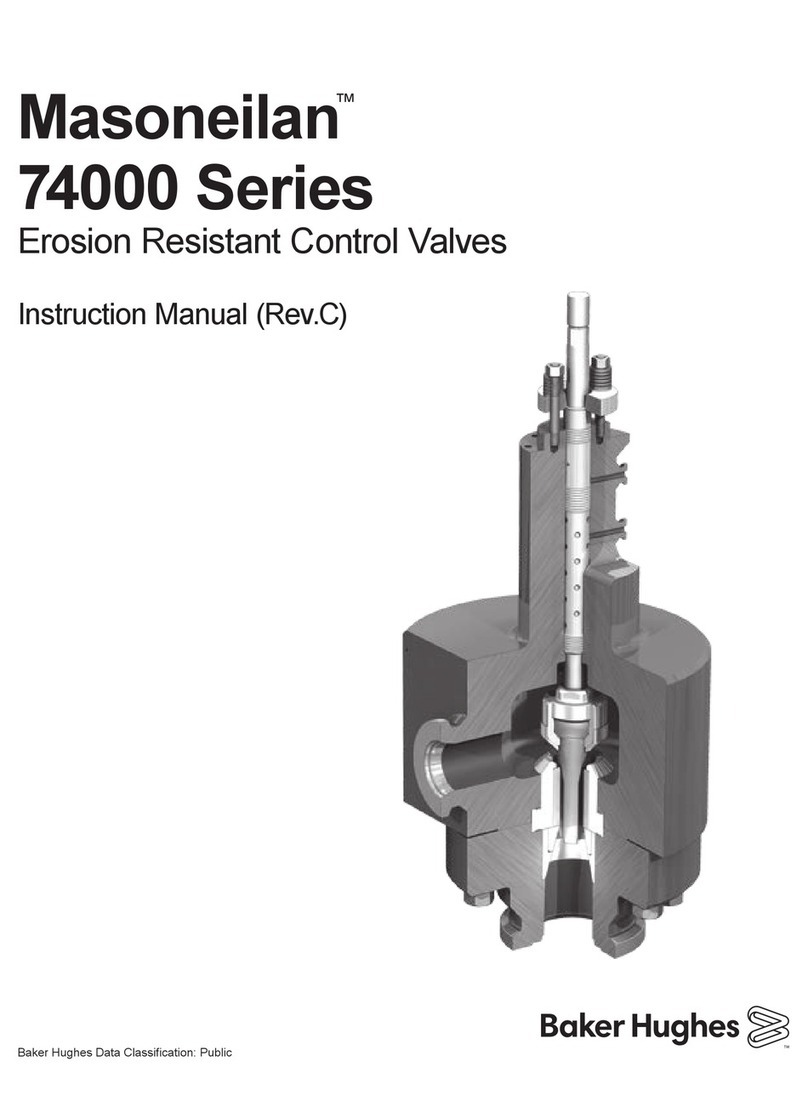
Baker Hughes Masoneilan 21000 Series User manual
Baker Hughes
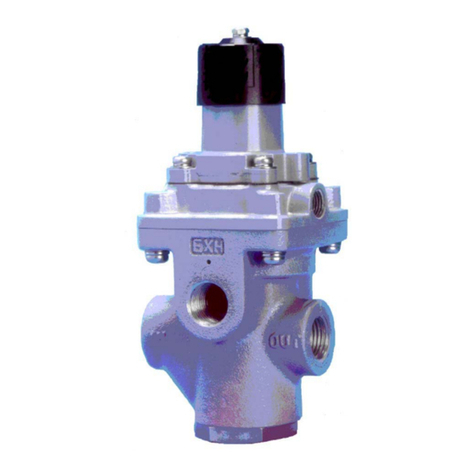
Baker Hughes Masoneilan 74000 Series User manual
Baker Hughes
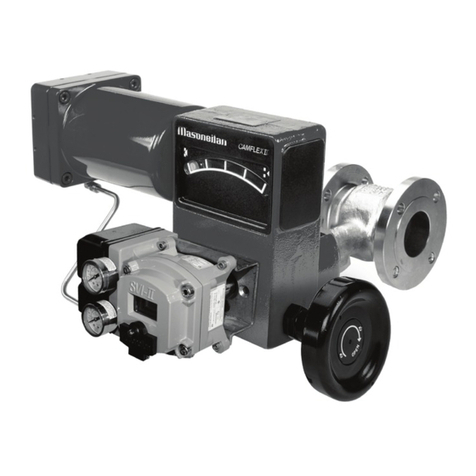
Baker Hughes Masoneilan 78-80H User manual
Baker Hughes
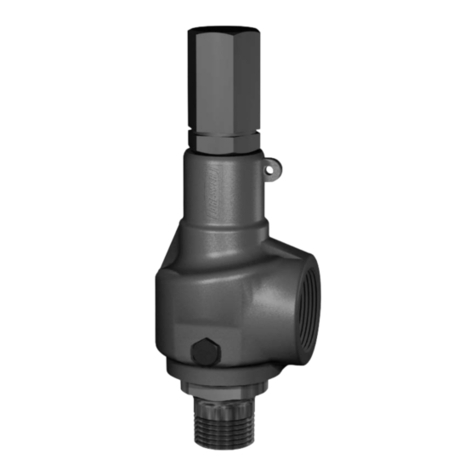
Baker Hughes Masoneilan 35002 Series Camflex II User manual
Baker Hughes
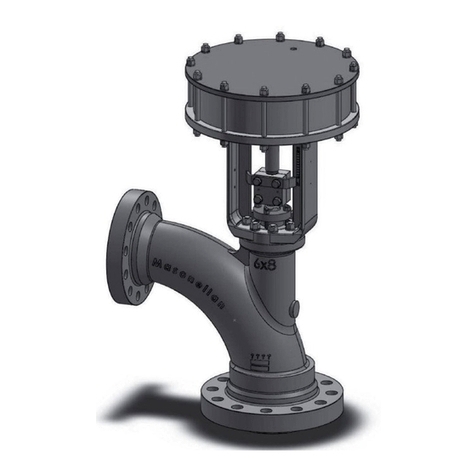
Baker Hughes Consolidated 1982 Series User manual
Baker Hughes
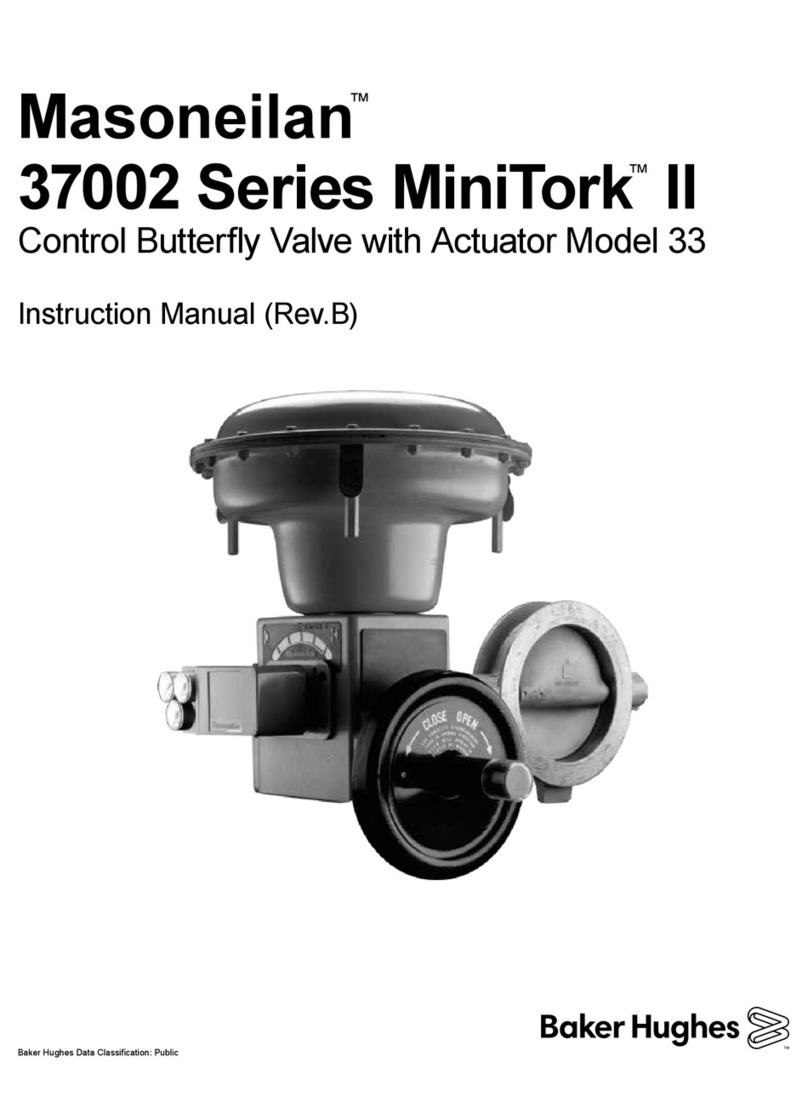
Baker Hughes Masoneilan 73000 Series User manual
Baker Hughes
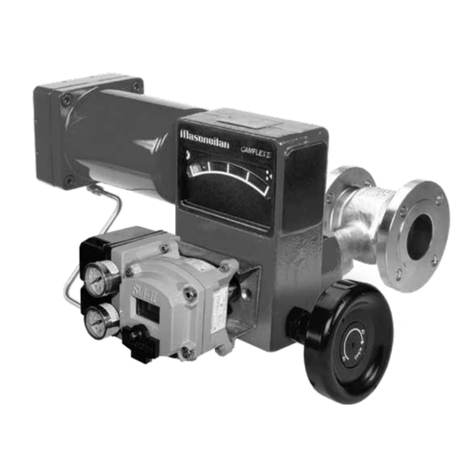
Baker Hughes Masoneilan MiniTork II 37002 Series User manual
Baker Hughes
Baker Hughes Masoneilan Camflex II 35002 Series User manual
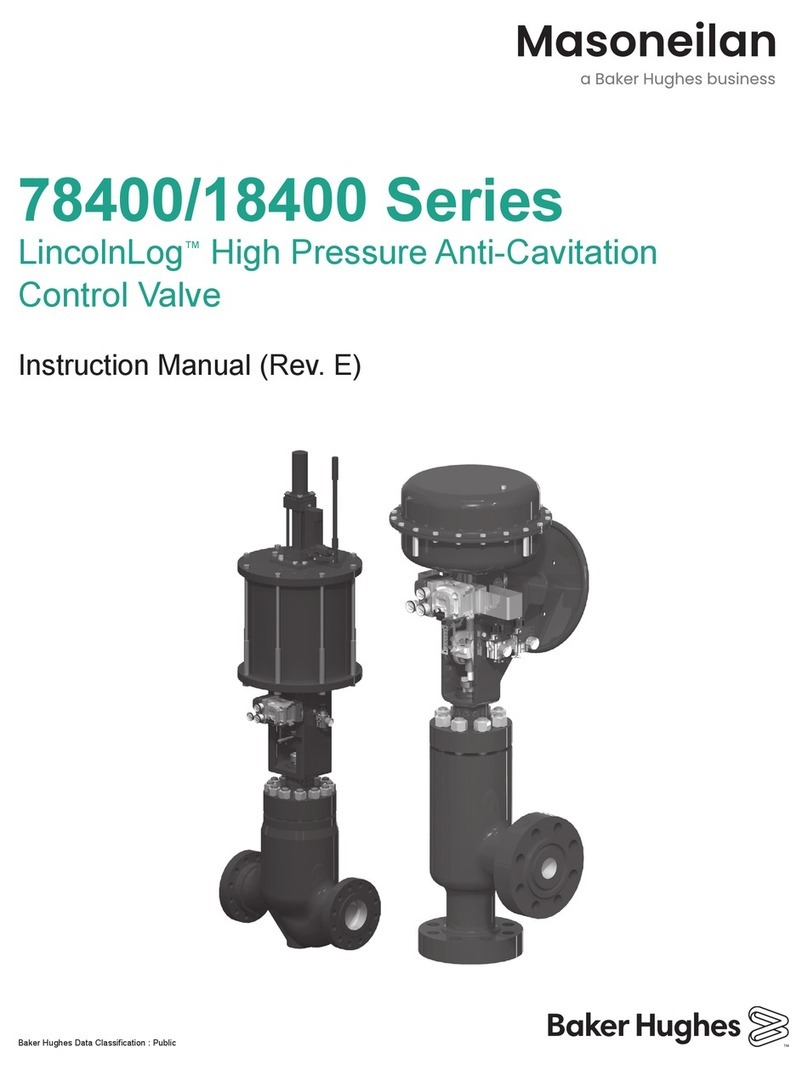
Baker Hughes
Baker Hughes Masoneilan LincolnLog 78400/18400 Series User manual
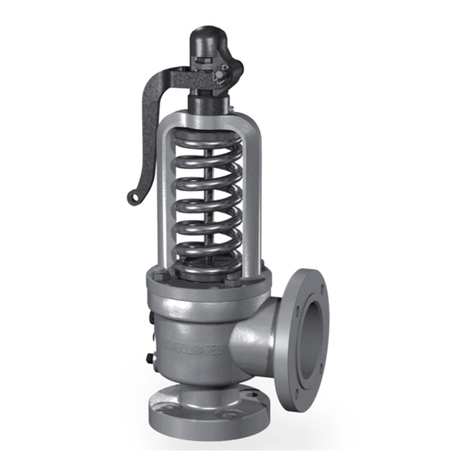
Baker Hughes
Baker Hughes Consolidated 1811 Series User manual
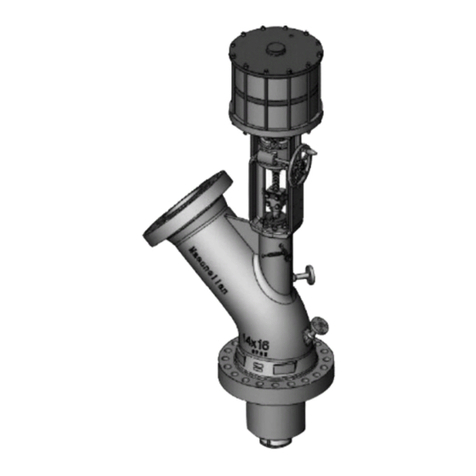
Baker Hughes
Baker Hughes Masoneilan 75000 Series User manual
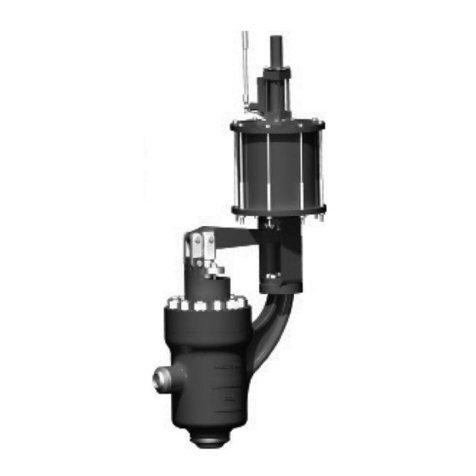
Baker Hughes
Baker Hughes Masoneilan 77000 Series User manual
Popular Control Unit manuals by other brands

Festo
Festo Compact Performance CP-FB6-E Brief description

Elo TouchSystems
Elo TouchSystems DMS-SA19P-EXTME Quick installation guide

JS Automation
JS Automation MPC3034A user manual

JAUDT
JAUDT SW GII 6406 Series Translation of the original operating instructions

Spektrum
Spektrum Air Module System manual

BOC Edwards
BOC Edwards Q Series instruction manual

KHADAS
KHADAS BT Magic quick start

Etherma
Etherma eNEXHO-IL Assembly and operating instructions

PMFoundations
PMFoundations Attenuverter Assembly guide

GEA
GEA VARIVENT Operating instruction

Walther Systemtechnik
Walther Systemtechnik VMS-05 Assembly instructions

Altronix
Altronix LINQ8PD Installation and programming manual
