installation &
operating instructions
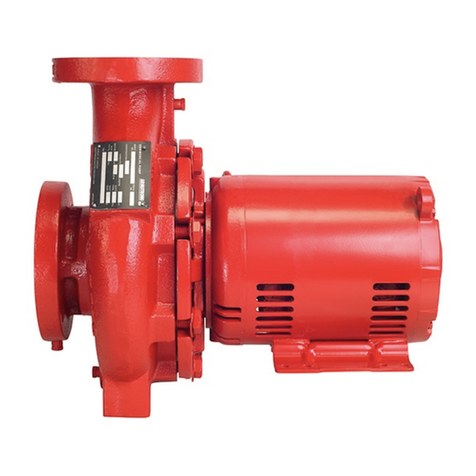
Design Envelope 4200h & 4280
End Suction Horizontal Pumping Units
9
Suction and discharge pipes may be increased or decreased at
pump nozzle to suit pump capacity and particular conditions of
installation. Use eccentric reducers on suction connection with
flat side uppermost.
Layout the suction line with a continual rise towards the pump
without high points, thus eliminating possibility of air pockets
that may prevent the pump from operating eectively.
A strainer of three or four times the area of the suction pipe,
installed in the suction line, will prevent the entrance of foreign
materials into the pump. V" (3mm) diameter perforations in
the strainer is typical.
in open systems, test suction line for air leaks before starting;
this becomes essential with long suction line or static lift.
Install, at the pump suction, a straight pipe of a length
equivalent to four or six times its diameter; this becomes
essential when handling liquids above 120°f (49°c). Armstrong
suction guides may be used in place of the straight pipe run and
in-line strainer.
Install an isolation valve in both suction and discharge lines on
flooded suction application; these valves are used primarily to
isolate the pump for inspection or repair.
Install a non-slam non-return check valve in discharge line
between pump and isolation valve to protect pump from
excessive back pressure and to prevent water running back
through the pump in case of driver failure on open systems.
Armstrong Flo-Trex valves may be used in place of isolation
valves and non-return check valves. Flo-Trex valves use plug
& disk design which may also be used for throttling excessive
system flow for constant speed pumps and, if necessary, for
variable speed pumps. Do not throttle variable speed pumps
unless absolutely necessary.
note:
Design Envelope 4200h units are accurately aligned at the
factory prior to being shipped and do not need re-aligning
when installed.
Alignment on a Design Envelope 4200h unit may be verified
by assuring an equal and parallel gap between coupling halves
on both sides of the coupling.
2.0 electrical setup
2.1 precautions
All electrical connections should be carried out by a
qualified and authorized electrician in accordance with
local site regulations and the latest issue of the
iee regulations.
safety, risk of death
Before removing the inverter cover, the system must
be disconnected from the mains supply. After switch-
ing o, wait for at least 15 minutes for the capacitors
to discharge before opening the cover.
caution
High voltage testing (Megging) of the motor/inverter
may cause damage to the electronic components and
therefore should not be carried out.
2.1.1 ground leakage current
Ground leakage current is primarily caused by the
capacitance between motor phases and the motor
frame. The rfi filter contributes additional leakage
current, as the filter circuit is connected to ground
through capacitors.
The size of the leakage current to the ground depends on the
following factors, in order of priority:
1 Switching frequency
2 Motor grounded on site or not
The leakage current is of importance to safety during handling/
operation of the pump if (by mistake) the on-board inverter has
not been grounded.
Since the leakage current is >3.5ma(approx 4-20ma), rein-
forced Grounding must be established which is required if en
50178 is to be complied with. Never use elcb relays that are not
suitable for dc fault currents (type a).
If elcb relays are used, they must be:
• Suitable for protecting equipment with a direct current con-
tent (dc) in the fault current (three-phase bridge rectifier)
• Suitable for power-up with short charging current to Ground
• Suitable for a high leakage current
