manuals.online logo
Brands
  1. Home
  2. •
  3. Brands
  4. •
  5. Asus
  6. •
  7. Wireless Router
  8. •
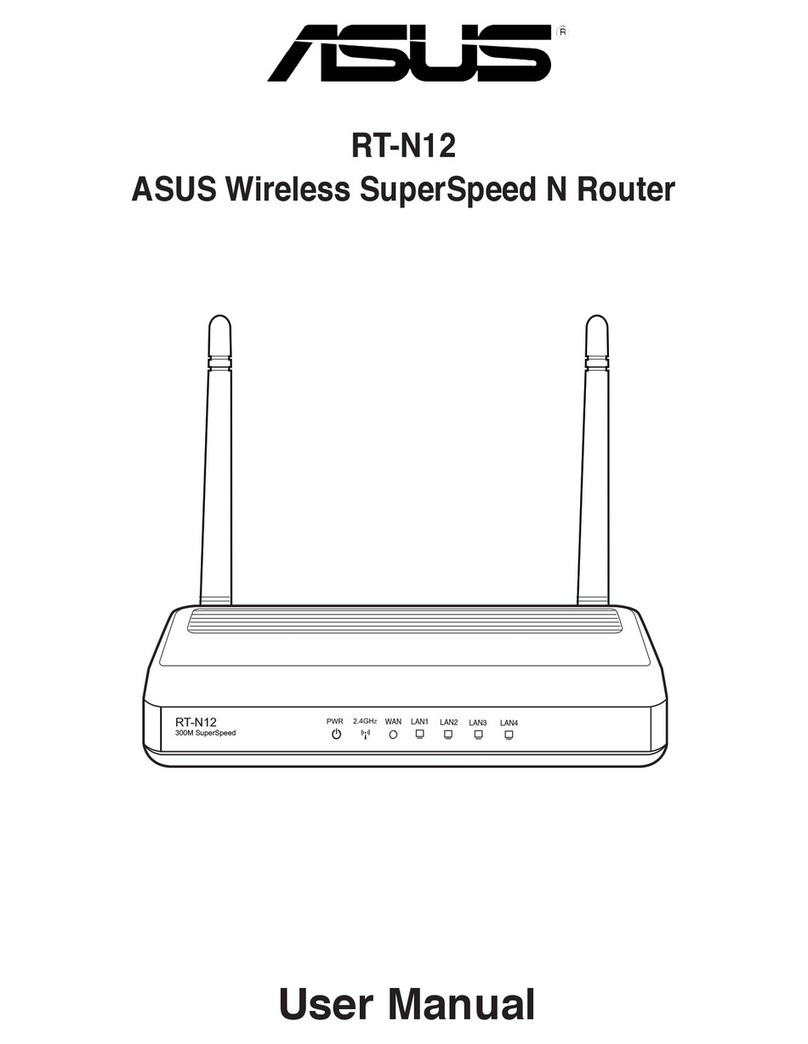
  9. Asus RT-N10 - Wireless Router - 802.11b/g/n User manual

Asus RT-N10 - Wireless Router - 802.11b/g/n User manual

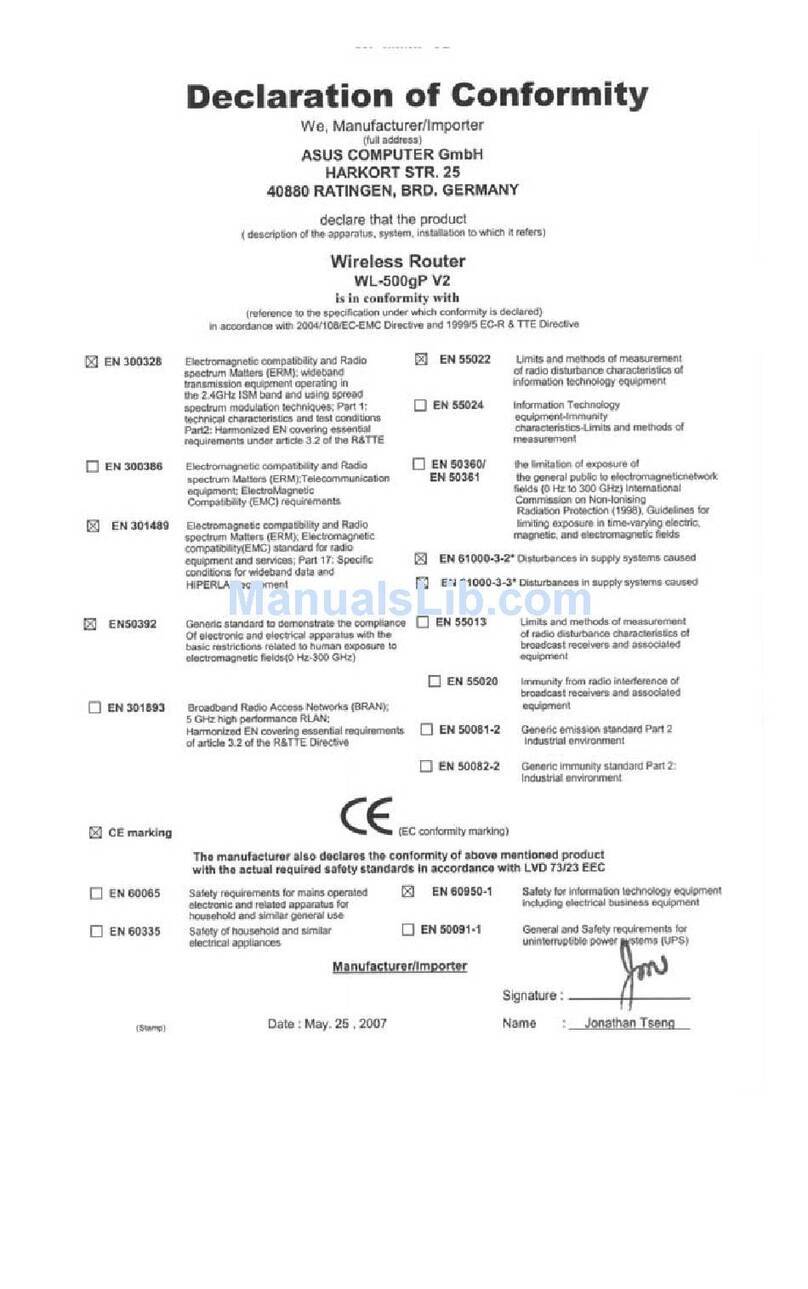
EC Declaration of Conformity
We, the undersigned,
Manufacturer: ASUSTek COMPUTER INC.
Address, City: No. 150, LI-TE RD., PEITOU, TAIPEI 112, TAIWAN R.O.C.
Country: TAIWAN
Authorized representative in Europe: ASUS COMPUTER GmbH
Address, City: HARKORT STR. 21-23, 40880 RATINGEN
Country: GERMANY
declare the following apparatus:
Product name : EZ N wireless router
Model name : RT-N10
conform with the essential requirements of the following directives:
2004/108/EC-EMC Directive
EN 55022:2006+A1:2007
EN 61000-3-2:2006
EN 55013:2001+A1:2003+A2:2006
EN 55024:1998+A1:2001+A2:2003
EN 61000-3-3:1995+A1:2001+A2:2005
EN 55020:2007
1999/5/EC-R &TTE Directive
EN 300 328 V1.7.1(2006-10)
EN 300 440-1 V1.4.1(2008-05)
EN 300 440-2 V1.2.1(2008-03)
EN 301 511 V9.0.2(2003-03)
EN 301 908-1 V3.2.1(2007-05)
EN 301 908-2 V3.2.1(2007-05)
EN 301 893 V1.4.1(2005-03)
EN 50360:2001
EN 50371:2002
EN 62311:2008
EN 50385:2002
EN 301 489-1 V1.8.1(2008-04)
EN 301 489-3 V1.4.1(2002-08)
EN 301 489-4 V1.3.1(2002-08)
EN 301 489-7 V1.3.1(2005-11)
EN 301 489-9 V1.4.1(2007-11)
EN 301 489-17 V1.3.2(2008-04)
EN 301 489-24 V1.4.1(2007-09)
EN 302 326-2 V1.2.2(2007-06)
EN 302 326-3 V1.3.1(2007-09)
EN 301 357-2 V1.3.1(2006-05)
2006/95/EC-LVD Directive
EN 60950-1:2001+A11:2004 EN60065:2002+A1:2006
CE marking
Declaration Date: Jul. 21, 2009
Year to begin affixing CE marking:2009
Position : CEO
Name : Jerry Shen
Signature : __________
(EC conformity marking)
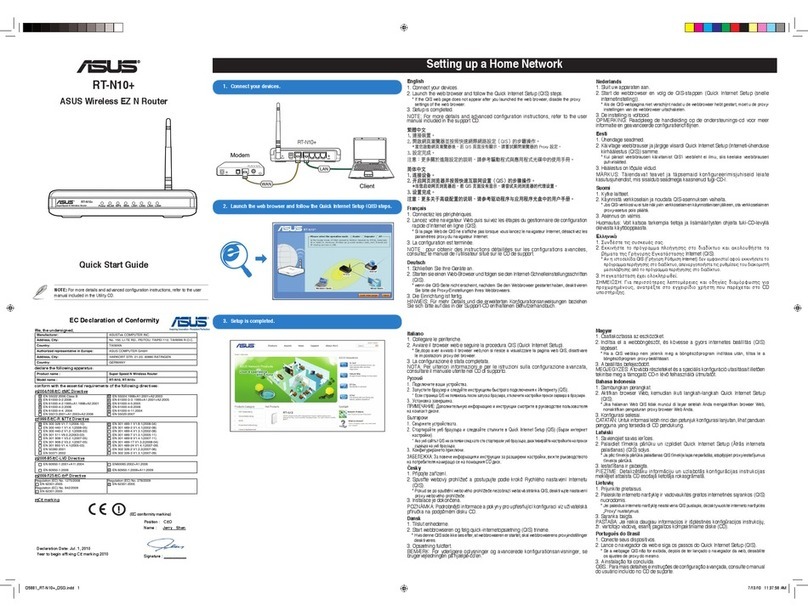
Quick Start Guide
RT-N10 EZ N Router
NOTE: For more details and advanced conguration instructions, refer to the user
manual included in the Utility CD.
®
!
Setting up a Home Network
English
1. Connect your devices.
2. Launch the web browser and follow the Quick Internet Setup (QIS) steps.
* If the QIS web page does not appear after you launched the web browser, disable the proxy
settings of the web browser.
3. Setup is completed.
NOTE: For more details and advanced configuration instructions, refer to the user
manual included in the support CD.
繁體中文
1.連接裝置。
2.開啟網頁瀏覽器並按照快速網際網路設定(QIS)的步驟操作。
 *當您啟動網頁瀏覽器後,若QIS頁面沒有顯示,請嘗試關閉瀏覽器的Proxy設定。
3.設定完成。
注意:更多關於進階設定的說明,請參考驅動程式與應用程式光碟中的使用手冊。
簡体中文
1.連接設備。
2.開啟網頁瀏覽器並按照快速互聯網設置(QIS)的步驟操作。
 *當您啟動網頁瀏覽器後,若QIS頁面沒有顯示,請嘗試關閉瀏覽器的代理設置。
3.設置完成。
注意:更多關於高級配置的說明,請參考驅動程序與應用程序光盤中的用戶手冊。
Français
1. Connectez les périphériques.
2. Lancez votre navigateur Web puis suivez les étapes du gestionnaire de conguration
rapide d’Internet en ligne (QIS).
* Si la page Web de QIS ne s’afche pas lorsque vous lancez le navigateur Internet, désactivez les
paramètres proxy du navigateur Internet.
3. La conguration est terminée.
NOTE : pour obtenir des instructions détaillées sur les configurations avancées,
consultez le manuel de l’utilisateur situé sur le CD de support.
Deutsch
1. Schließen Sie Ihre Geräte an.
2. Starten sie einen Web-Browser und folgen sie den Internet-Schnelleinstellungsschritten
(QIS).
* wenn die QIS-Seite nicht erscheint, nachdem Sie den Webbrowser gestartet haben, deaktivieren
Sie bitte die Proxy-Einstellungen Ihres Webbrowsers.
3. Die Einrichtung ist fertig.
HINWEIS: Für mehr Details und die erweiterten Kongurationsanweisungen beziehen
Sie sich bitte auf das in der Support-CD enthaltenen Benutzerhandbuch.
Italiano
1. Collegare le periferiche.
2. Avviare il browser web e seguire la procedura QIS (Quick Internet Setup).
* Se,dopo aver avviato il browser web,non si riesce a visualizzare la pagina web QIS, disattivare
le impostazioni proxy del browser.
3. La congurazione è stata completata.
NOTA: Per ulteriori informazioni e per le istruzioni sulla configurazione avanzata,
consultare il manuale utente nel CD di supporto.
Pусский
1. Подключитевашиустройства.
2. ЗапуститебраузериследуйтеинструкциямбыстрогоподключениякИнтернету(QIS).
 *ЕслистраницаQISнепоявиласьпослезапускабраузера,отключитенастройкипрокси-серверавбраузере.
3. Установказавершена.
ПРИМЕЧАНИЕ:Дополнительнуюинформациюиинструкциисмотритевруководствепользователя
накомпакт-диске.
Български
1. Свържетеустройствата.
2. Стартирайте уеббраузъраиследвайтестъпкитевQuickInternetSetup (QIS) (Бързи интернет
настройки).
 *АкоуебсайтътQISнесепоявиследкатостестартиралиуеббраузъра,деактивирайтенастройкитенапрокси
сървъранауеббраузъра.
3. Конфигуриранетоприключи.
ЗАБЕЛЕЖКА:Заповечеинформацияиинструкциизаразширенинастройки,вижтеръководството
напотребителянамиращосенапомощнияCDдиск.
Česky
1. Připojte zařízení.
2. Spusťte webový prohlížeč a postupujte podle kroků Rychlého nastavení Internetu
(QIS).
* Pokud se po spuštění webového prohlížeče nezobrazí webová stránka QIS, deaktivujte nastavení
proxy webového prohlížeče.
3. Instalace je dokončena.
POZNÁMKA: Podrobnější informace a pokyny pro upřesňující konguraci viz uživatelská
příručka na podpůrném disku CD.
Dansk
1. Tilslut enhederne.
2. Start webbrowseren og følg quick-internetopsætning (QIS) trinene.
* Hvis denne QIS side ikke ses efter, at webbrowseren er startet, skal webbrowserens proxyindstillinger
deaktiveres.
3. Opsætning fuldført.
BEMÆRK: For yderligere oplysninger og avancerede konfigurationsanvisninger, se
brugervejledningen på hjælpe-cd’en.
3. Setup is completed.
1. Connectyourdevices.
2. Launch the web browser and follow the Quick Internet Setup (QIS) steps.
RT-N10
EZ N Router
AIR WAN LAN1 LAN2 LAN3 LAN4
RT-N10
WPS
Modem
Client
Magyar
1. Csatlakoztassa az eszközöket.
2. Indítsa el a webböngészőt, és kövesse a gyors internetes beállítás (QIS)
lépéseit.
* Ha a QIS weblap nem jelenik meg a böngészőprogram indítása után, tiltsa le a
böngészőprogram proxy-beállításait.
3. A beállítás befejeződött.
MEGJEGYZÉS: A további részleteket és a speciális konguráció utasításait illetően
tekintse meg a támogató CD-n lévő felhasználói útmutatót.
Bahasa Indonesia
1. Sambungkan perangkat.
2. Aktifkan browser Web, kemudian ikuti langkah-langkah Quick Internet Setup
(QIS).
* Jika halaman Web QIS tidak muncul di layar setelah Anda mengaktifkan browser Web,
nonaktifkan pengaturan proxy browser Web Anda.
3. Kongurasi selesai.
CATATAN: Untuk informasi lebih rinci dan petunjuk kongurasi lanjutan, lihat panduan
pengguna yang tersedia di CD pendukung.
Latviski
1. Savienojiet savas ierīces.
2. Palaidiet tīmekļa pārlūku un izpildiet Quick Internet Setup (Ātrās interneta
palaišanas) (QIS) soļus.
* Ja pēc tīmekļa pārlūka palaišanas QIS tīmekļa lapa neparādās, atspējojiet proxy iestatījumus
tīmekļa pārlūkā.
3. Iestatīšana ir pabeigta.
PIEZĪME: Detalizētāku informāciju un uzlabotās konfigurācijas instrukcijas
meklējiet atbalsta CD esošajā lietotāja rokasgrāmatā.
Lietuvių
1. Prijunkite prietaisus.
2. Paleiskite interneto naršyklę ir vadovaukitės greitos internetinės sąrankos (QIS)
nuorodomis.
* Jei paleidus interneto naršyklę neatsiveria QIS puslapis, dezaktyvuokite interneto naršyklės
„Proxy“ nustatymus.
3. Sąranka baigta.
PASTABA: Jei reikia daugiau informacijos ir išplėstinės kongūracijos instrukcijų,
žr. vartotojo vadovą, esantį pagalbos kompaktiniame diske (CD).
Nederlands
1. Sluit uw apparaten aan.
2. Start de webbrowser en volg de QIS-stappen (Quick Internet Setup (snelle
internetinstelling)).
* Als de QIS-webpagina niet verschijnt nadat u de webbrowser hebt gestart, moet u de proxy-
instellingen van de webbrowser uitschakelen.
3. De instelling is voltooid.
OPMERKING: Raadpleeg de handleiding op de ondersteunings-cd voor meer
informatie en geavanceerde conguratierichtlijnen.
Eesti
1. Ühendage seadmed.
2. Käivitage veebibrauser ja järgige viisardi Quick Internet Setup (Interneti-ühenduse
kiirhäälestus (QIS)) samme.
* Kui pärast veebibrauseri käivitamist QIS’i veebileht ei ilmu, siis keelake veebibrauseri
puhvrisätted.
3. Häälestus on lõpule viidud.
MÄRKUS: Täiendavat teavet ja täpsemaid konfigureerimisjuhiseid leiate
kasutusjuhendist, mis sisaldub seadmega kaasnenud tugi-CD-l.
Suomi
1. Kytke laitteet.
2. Käynnistä verkkoselain ja noudata QIS-asennuksen vaiheita.
* Jos QIS-verkkosivu ei tule näkyviin verkkoselaimen käynnistämisen jälkeen, ota verkkoselaimen
proxy-asetus pois päältä.
3. Asennus on valmis.
Huomautus: Voit katsoa tarkempia tietoja ja lisämääritysten ohjeita tuki-CD-levyllä
olevasta käyttöoppaasta.
Ελληνικά
1. Συνδέστε τις συσκευές σας.
2. Εκκινήστε το πρόγραμμα πλοήγησης στο διαδίκτυο και ακολουθήστε τα
βήματα της Γρήγορης Εγκατάστασης Internet (QIS).
* Αν η ιστοσελίδα QIS (Γρήγορη Ρύθμιση Internet) δεν εμφανιστεί αφού εκκινήσετε το
πρόγραμμα περιήγησης στο διαδίκτυο, απενεργοποιήστε τις ρυθμίσεις του διακομιστή
μεσολάβησης από το πρόγραμμα περιήγησης στο διαδίκτυο.
3. Η εγκατάσταση έχει ολοκληρωθεί.
ΣΗΜΕΙΩΣΗ: Για περισσότερες λεπτομέρειες και οδηγίες διαμόρφωσης για
προχωρημένους, ανατρέξτε στο εγχειρίδιο χρήστη που παρέχεται στο CD
υποστήριξης.
Q4792_RT-N10 QSG_V2.indd 1 5/5/10 3:48:40 PM
Hot Products
RT-N13
ASUS unique bandwidth management engine makes gaming and
Internet surng work smoothly at the same time. No more Internet
'trafc jams'!
RT-G32
Allows sharing of les and Internet connection among computers
without using network cables.
GX-D1081
With its Green Network technology, the new GX-D1081 Switch allows
you to conserve energy and enjoy a lag-free network.
DSL-N13
• ASUS AiDisk FTP server applications
• Quick setup - smart auto-detection of local ADSL settings
• 11n technology for more throughput and higher data transmission
rate. Fast & Guaranteed multimedia content streaming.
PL-X32
• Use existing electrical wiring. No new wires required.
• 1-Step Setup—No PC required. Getting online is as easy as plugging
into a power outlet.
• Reliable and Secure with AES 128-bit encryption. Up to 200Mbps
data transmission rate for faster le transfers.
WiFi Networking Client - n series
USB-N11
• IEEE 802.11n Draft 2.0 compliant
• High speed networking for fast download, le transfer and media
streaming
• EZLink: Easy wireless setup with the WPS push button.
WL-130N
• IEEE 802.11n Draft 2.0 compliant and backward-compatible with
802.11b/g WLAN devices
• Suitable for seamless multimedia streaming
• Desktop / magnetic antenna included
• Support WEP, WPA, and WPA2 for enhanced security
• Windows® Vista Support
WL-160N
• World´s smallest 802.11n USB 2.0 Wireless Card
• WiFi Alliance 802.11 b/g/n Draft 2.0 Certied
• Mac OS Support and Windows® Vista Support
WiFi Networking Client - g series
WL-138g V2
Allows desktop PC users to optimize wireless LAN connectivity.
The ASUS WL-138g V2, an IEEE802.11b/g PCI card, runs in any
PCI-equipped desktop PC. With WL-138g V2 Wireless LAN PCI
card, you may easily turn your desktop PC into WLAN client
station.
WL-138gE
Provides higher receiver sensitivity, increasing signal coverage
range by 300%.
WL-167g
• IEEE802.11g compliant
• Up to 54Mbps data transmission rate
WL-169gE
Simply plug it into your computer's USB port to experience the
freedom of wireless connection.
Norsk
1. Koble til enhetene dine.
2. Start nettleseren og følg trinnene til Quick Internet Setup (QIS) (Rask oppsett av
Internett).
* Hvis QIS-websiden ikke vises etter at du starter nettleseren, deaktiverer du proxy-innstillingene
til nettleseren.
3. Oppsettet er ferdig.
MERK: For mer detaljert informasjon og avanserte instrukser om kongurasjon, se
brukerveiledningen som fulgte med på støtte CD-en.
Polski
1. Podłącz swoje urządzenia.
2. Uruchom przeglądarkę internetową i postępuj zgodnie z poleceniami Szybkiej
konguracji Internetu (QIS).
* Jeżeli strona sieciowa QIS nie jest wyświetlana po uruchomieniu przeglądarki sieciowej, należy
wyłączyć ustawienia proxy przeglądarki sieciowej.
3. Konguracja została zakończona.
UWAGA: Szczegółowe informacje oraz instrukcje dotyczące zaawansowanej
konguracji znajdują się w podręczniku użytkownika umieszczonym na płycie CD z
oprogramowaniem.
Português
1. Ligue os dispositivos.
2. Abra o browser da web e siga as instruções para conguração rápida da Internet.
* Se a página Web da função QIS não for exibida ao iniciar o navegador Web, desactive as
denições de proxy do navegador Web.
3. A conguração ca assim concluída.
NOTA: Para obter mais detalhes e instruções de conguração avançada, consulte o
manual do utilizador incluído no CD de suporte.
Română
1. Conectaţi dispozitivele dvs.
2. Lansaţi browser-ul web şi urmaţi paşii de Conectare Rapidă la Internet (QIS).
* Dacă pagina web QIS nu apare după ce aţi lansat browserul web, dezactivaţi setările proxy
ale browserului web.
3. Conectarea este nalizată.
NOTĂ: Pentru mai multe detalii şi instrucţiuni de congurare complexă, consultaţi
manualul inclus pe CD-ul de asistenţă.
Slovensky
1. Pripojte svoje zariadenia.
2. Spustite internetový prehliadač a postupujte podľa krokov Stručného návodu pre
nastavenie internetu (QIS).
* Pokiaľ sa webová stránka QIS nezobrazí po spustení internetového prehliadača, deaktivujte
proxy nastavenia internetového prehliadača.
3. Nastavenie je dokončené.
POZNÁMKA: Viac podrobností a pokyny pre rozšírenú konguráciu nájde v návode
na obsluhu na CD s podporou.
Español
1. Conecte sus dispositivos.
2. Abra su explorador web y siga los pasos indicados por la función Quick Internet
Setup rápida de Internet.
* Si la página web de QIS no aparece tras abrir el explorador web, deshabilite la conguración
proxy del explorador web.
3. Ha nalizado la conguración.
NOTA: Si desea obtener más información o instrucciones de conguración avanzada,
consulte el manual del usuario que incluye el CD de soporte.
Svenska
1. Anslut dina enheter.
2. Öppna webbläsaren och följ stegen i QIS (snabb Internet-inställning).
* Om QIS-webbsidan inte visas när du har öppnat webbläsaren, inaktivera webbläsarens
proxy-inställningar.
3. Inställningen slutförd.
OBS: För mer information och avancerade konfigurationsinstruktioner, se
bruksanvisningen på support-CD-skivan.
ไทย
1. เชื่อมต่ออุปกรณ์ของคุณ
2. เปิดเว็บเบราเซอร์ และทำตามขั้นตอน การตั้งค่าอินเตอร์เน็ตด่วน (QIS)
* ถ้าเว็บเพจ QIS ไม่ปรากฏขึ้นหลังจากที่คุณเปิดเว็บเบราเซอร์
ให้ปิดการทำงานการตั้งค่า proxy ของเว็บเบราเซอร์์
3. การตั้งค่าเสร็จสมบูรณ์
Türkçe
1. Aygıtlarınızı bağlayın.
2. Web tarayıcınızı açın ve Quick Internet Setup (Hızlı İnternet Kurulumu) (QIS)
adımlarını izleyin.
* QIS web sayfası, web tarayıcınız başlatıldıktan sonra ekrana gelmiyorsa, web tarayıcınızın
proxy ayarlarını devre dışı bırakın.
3. Kurulum tamamlanır.
Українська
1. Підключітьпристрої.
2. Запустіть браузерідотримуйтесьінструкційдля Швидкого з’єднанняз мережеюІнтернет
(QIS).
 *Якщо веб-сторінкаQISне з’являєтьсяпіслятого,якВи запустиливеб-браузер,вимкнітьналаштування
proxyвеб-браузера.
3. Налаштуваннязавершено.
 ПРИМІТКА:БільшеподробицьтавказівкищодовисокотехнологічнихконфігураційВизнайдете
вкерівництвікористувачанакомпакт-дискупідтримки.
REACH
Complying with the REACH (Registration, Evaluation, Authorisation, and Restriction of
Chemicals) regulatory framework, we published the chemical substances in our products at
ASUS REACH website at http://green.asus.com/english/REACH.htm.
電子信息產品污染控制標示:圖中之數字為產品之環保使用期限。僅指電子
信息產品中含有的有毒有害物質或元素不致發生外洩或突變從而對環境造成
污染或對人身、財產造成嚴重損害的期限。
部件名稱
有害物質或元素
鉛(Pb) 汞(Hg) 鎘(Cd) 六價鉻
(Cr(VI))
多溴聯苯
(PBB)
多溴二苯醚
(PBDE)
印刷電路板及其電子組件 × ○ ○ ○ ○ ○
外殼 × ○ ○ ○ ○ ○
電源適配器 × ○ ○ ○ ○ ○
外部信號連接頭及線材 × ○ ○ ○ ○ ○
中央處理器與內存 × ○ ○ ○ ○ ○
○:表示該有毒有害物質在該部件所有均質材料中的含量均在SJ/T11363-2006標准規定
的限量要求以下。
×:表示該有毒有害物質至少在該部件的某一均質材料中的含量超出SJ/T11363-2006標
准規定的限量要求,然該部件仍符合歐盟指令2002/95/EC的規范。
備註:此產品所標示之環保使用期限,係指在一般正常使用狀況下。
Federal Communications Commission Statement
This device complies with Part 15 of the FCC Rules. Operation is subject to the following
two conditions:
• This device may not cause harmful interference.
• This device must accept any interference received, including interference that may
cause undesired operation.
This equipment has been tested and found to comply with the limits for a class B digital
device, pursuant to part 15 of the FCC Rules. These limits are designed to provide
reasonable protection against harmful interference in a residential installation.
This equipment generates, uses and can radiate radio frequency energy and, if not
installed and used in accordance with the instructions, may cause harmful interference
to radio communications. However, there is no guarantee that interference will not occur
in a particular installation. If this equipment does cause harmful interference to radio or
television reception, which can be determined by turning the equipment off and on, the user
is encouraged to try to correct the interference by one or more of the following measures:
• Reorient or relocate the receiving antenna.
• Increase the separation between the equipment and receiver.
• Connect the equipment into an outlet on a circuit different from that to which the receiver
is connected.
• Consult the dealer or an experienced radio/TV technician for help.
CAUTION: Any changes or modications not expressly approved by the party responsible for
compliance could void the user’s authority to operate the equipment.
Prohibition of Co-location
This device and its antenna(s) must not be co-located or operating in conjunction with any
other antenna or transmitter.
SafetyInformation
To maintain compliance with FCC’s RF exposure guidelines, this equipment should be
installed and operated with minimum distance 20cm between the radiator and your body.
Use on the supplied antenna.
DeclarationofConformityforR&TTEdirective1999/5/EC
Essential requirements – Article 3
Protection requirements for health and safety – Article 3.1a
Testing for electric safety according to EN 60950-1 has been conducted. These are
considered relevant and sufcient.
Protection requirements for electromagnetic compatibility – Article 3.1b
Testing for electromagnetic compatibility according to EN 301 489-1 and
EN 301 489-17 has been conducted. These are considered relevant and sufcient.
Effective use of the radio spectrum – Article 3.2
Testing for radio test suites according to EN 300 328- 2 has been conducted. These are
considered relevant and sufcient.
CE Mark Warning
This is a Class B product, in a domestic environment, this product may cause radio
interference, in which case the user may be required to take adequate measures.
Operation Channels: Ch1~11 for N. America, Ch1~14 Japan, Ch1~13 Europe (ETSI)
IC Warning
The Class B digital apparatus meets all requirements of the Canadian Interference-Causing
Equipment Regulation.
Cet appareil numerique de la class B respecte toutes les exigences du Reglement
sur le materiel brouilleur du Canada.
DGT Warning
!
Q4792_RT-N10 QSG_V2.indd 2 5/5/10 3:48:42 PM

Other manuals for RT-N10 - Wireless Router - 802.11b/g/n

2

Other Asus Wireless Router manuals

Asus AX1800 User manual

Asus

Asus AX1800 User manual

Asus ROG Rapture GT-AC2900 User manual

Asus

Asus ROG Rapture GT-AC2900 User manual

Asus RT-AC3200 User manual

Asus

Asus RT-AC3200 User manual

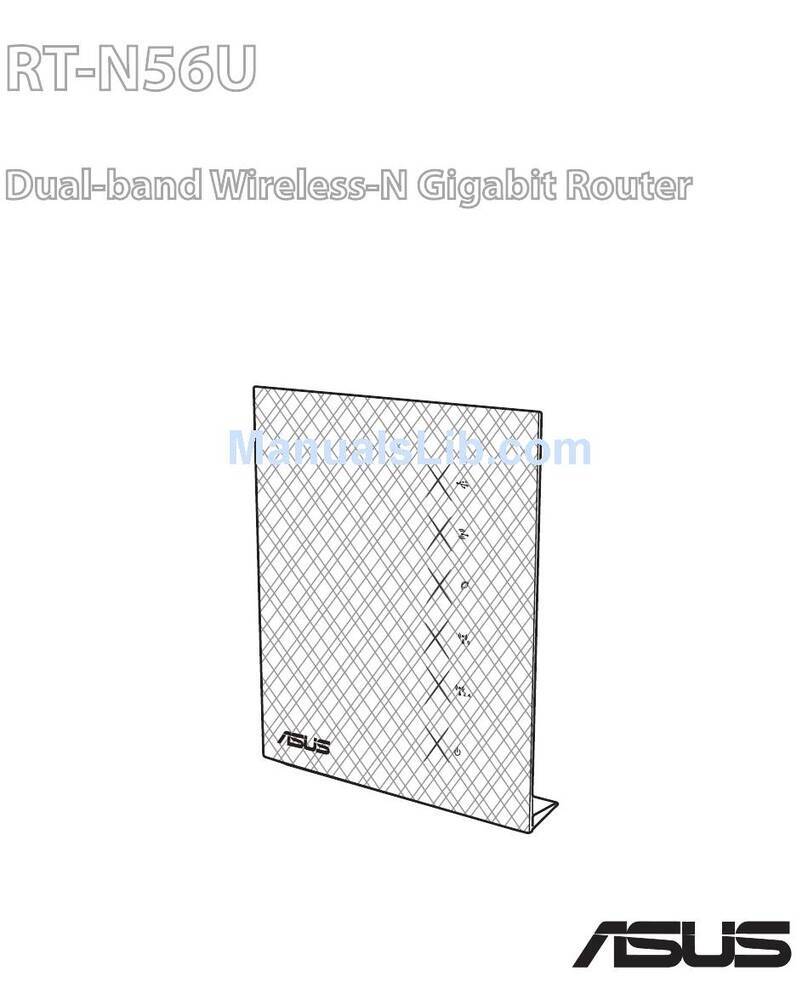
Asus RT-N10U User manual

Asus

Asus RT-N10U User manual

Asus RT-AX53U User manual

Asus

Asus RT-AX53U User manual

Asus DSL-N14U B1 User manual

Asus

Asus DSL-N14U B1 User manual

Asus 4G-AC55U User manual

Asus

Asus 4G-AC55U User manual

Asus RT-AC1200 User manual

Asus

Asus RT-AC1200 User manual

Asus RT-N56U User manual

Asus

Asus RT-N56U User manual

Asus DSL-N12U_D1 User manual

Asus

Asus DSL-N12U_D1 User manual

Asus DSL-N66U User manual

Asus

Asus DSL-N66U User manual

Asus ROG Rapture GT-AXE16000 User manual

Asus

Asus ROG Rapture GT-AXE16000 User manual

Asus ZenWiFi ET8 User manual

Asus

Asus ZenWiFi ET8 User manual

Asus ZenWiFi AX XT8 User manual

Asus

Asus ZenWiFi AX XT8 User manual

Asus TUF-AX5400 User manual

Asus

Asus TUF-AX5400 User manual

Asus DSL-N14U User manual

Asus

Asus DSL-N14U User manual

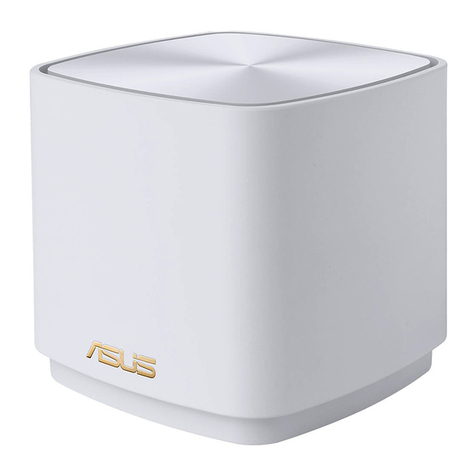
Asus ZenWiFi XD6 User manual

Asus

Asus ZenWiFi XD6 User manual

Asus RT-N13U - Wireless Router User manual

Asus

Asus RT-N13U - Wireless Router User manual

Asus HS-W1 User manual

Asus

Asus HS-W1 User manual

Asus 4G-N12 User manual

Asus

Asus 4G-N12 User manual

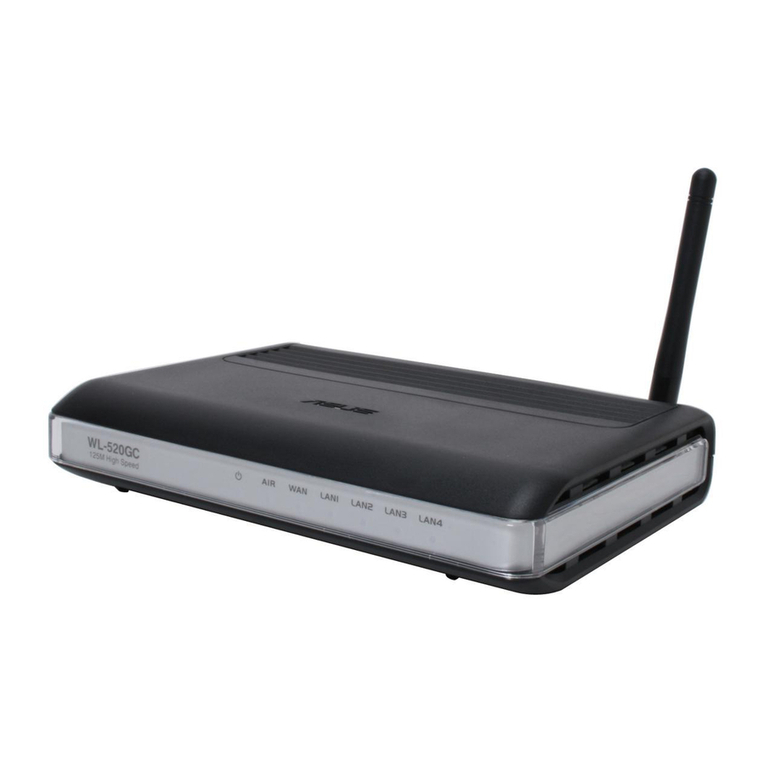
Asus WL-520G User manual

Asus

Asus WL-520G User manual

Asus WL 520GU - Wireless Router User manual

Asus

Asus WL 520GU - Wireless Router User manual

Asus RT-N10U User manual

Asus

Asus RT-N10U User manual

Asus 4G-AX56 User manual

Asus

Asus 4G-AX56 User manual

Popular Wireless Router manuals by other brands

ZyXEL Communications LTE3301-M209 user guide

ZyXEL Communications

ZyXEL Communications LTE3301-M209 user guide

4IPNET HSG260 user manual

4IPNET

4IPNET HSG260 user manual

NetComm NF12 Configuration guide

NetComm

NetComm NF12 Configuration guide

Wetelecom WMR-100 Quick setup guide

Wetelecom

Wetelecom WMR-100 Quick setup guide

NETGEAR RangeMax WPN824 Reference manual

NETGEAR

NETGEAR RangeMax WPN824 Reference manual

TP-Link M7000 user guide

TP-Link

TP-Link M7000 user guide

LEDWORKS Twinkly Pro Instruction guide

LEDWORKS

LEDWORKS Twinkly Pro Instruction guide

Billion 7800VDP(O)X user manual

Billion

Billion 7800VDP(O)X user manual

Sitecom X3 N300 installation guide

Sitecom

Sitecom X3 N300 installation guide

D-Link DSL-2600U user manual

D-Link

D-Link DSL-2600U user manual

ZyXEL Communications NBG334W user guide

ZyXEL Communications

ZyXEL Communications NBG334W user guide

LG FM300 Service manual

LG

LG FM300 Service manual

Encore EN2HWI-N3 user manual

Encore

Encore EN2HWI-N3 user manual

Novatel MiFi 2 quick start guide

Novatel

Novatel MiFi 2 quick start guide

Huawei E587u quick start guide

Huawei

Huawei E587u quick start guide

Xunison Hub Q50 Home quick start guide

Xunison

Xunison Hub Q50 Home quick start guide

NETGEAR WGR614v1 - 54 Mbps Wireless Router installation guide

NETGEAR

NETGEAR WGR614v1 - 54 Mbps Wireless Router installation guide

RORYCO Crowdbeamer Device manual

RORYCO

RORYCO Crowdbeamer Device manual

manuals.online logo
manuals.online logoBrands
  • About & Mission
  • Contact us
  • Privacy Policy
  • Terms and Conditions

Copyright 2025 Manuals.Online. All Rights Reserved.