Getting started
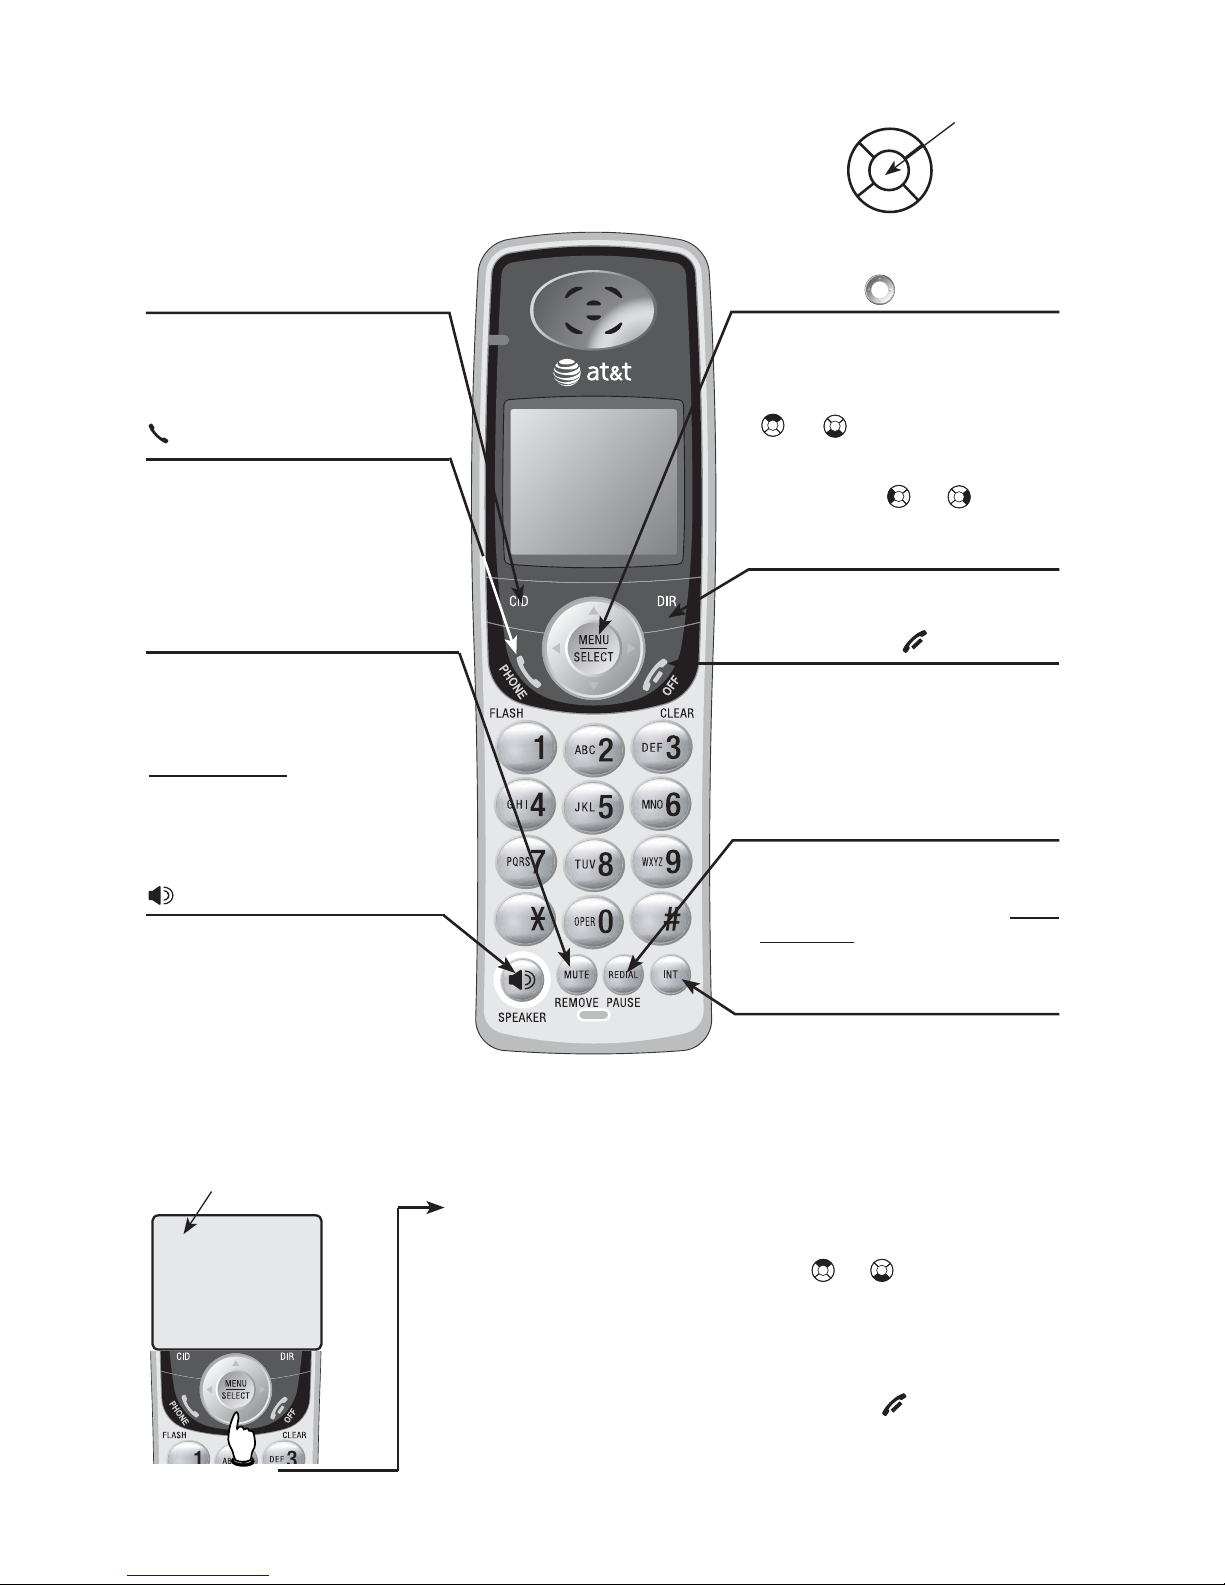
Quick reference guide......................2
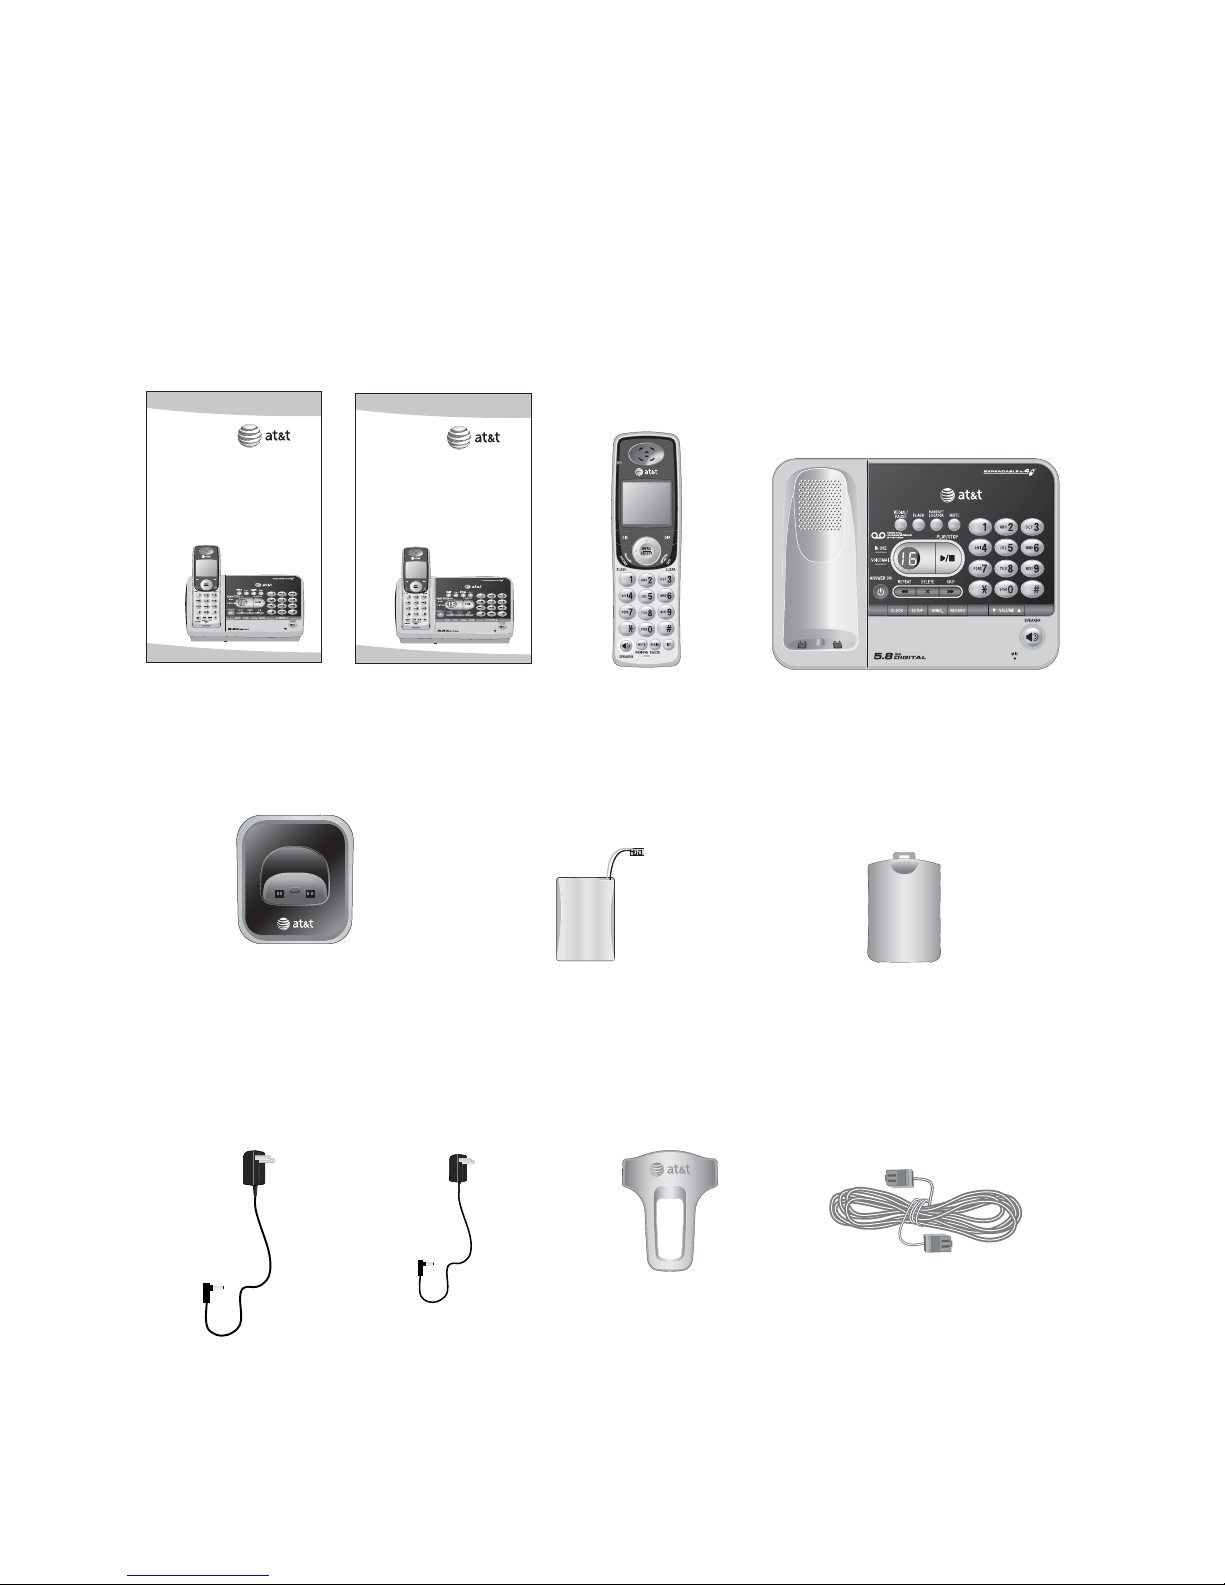
Parts checklist......................................4
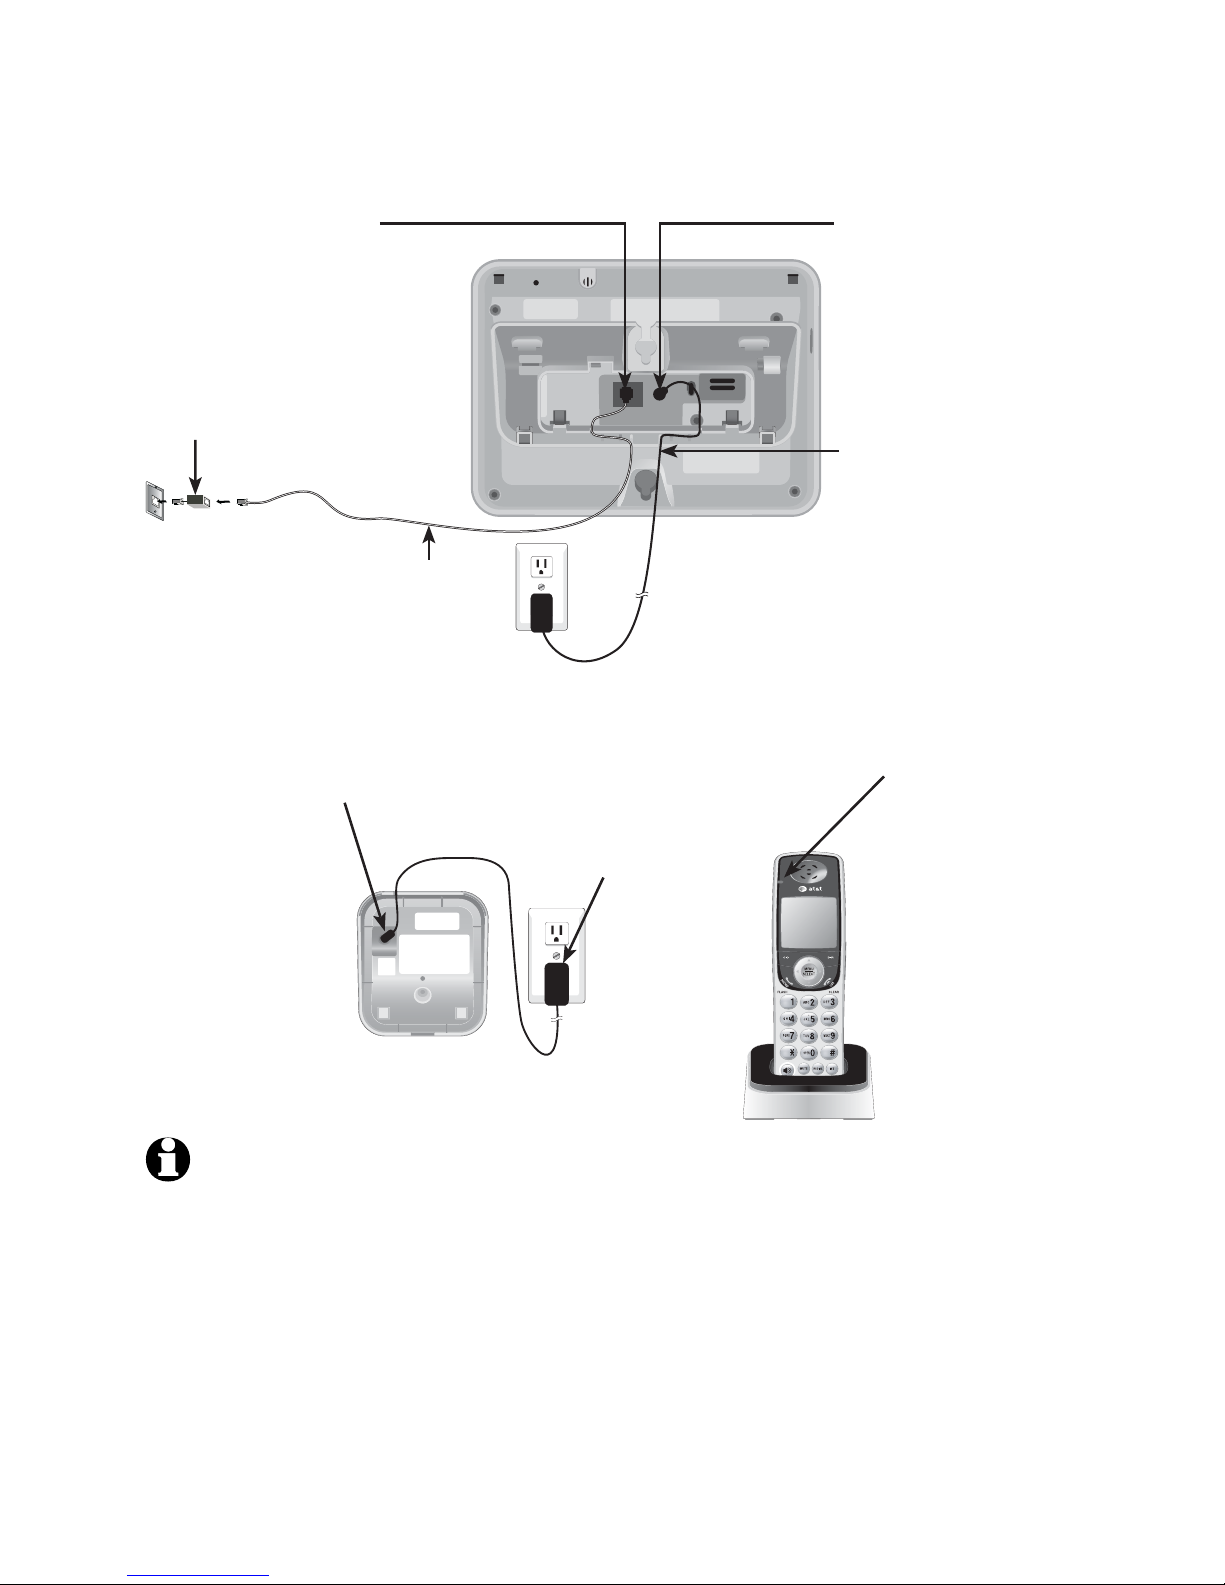
Telephone base installation...........5
Telephone base and charger
installation .......................................6
Battery installation & charging........7
Installation options...............................8
Belt clip & optional headset............10
Telephone operation
Basic handset operation .............. 11
Basic telephone base operation
..... 12
Options while on calls................... 13
Intercom calls.................................... 16
Intercom call transfer .................... 17
Handset settings .............................. 19
Base settings...................................... 25
Directory
Directory............................................... 26
New directory entries .................... 27
Directory search ............................... 29
To dial, delete or change entries ... 31
Caller ID operation
Caller ID operation .......................... 33
To review the call log.................... 36
Answering system operation
Answering system operation.........37
Day & time announcements..........38
Outgoing announcement................39
Changing feature options...............40
Message playback...............................41
Recording & playing memos .........42
Message counter displays ..............43
Answering system mode.................44
Remote access .....................................45
Appendix
Screen icons, indicator
lights & tones...................................46
Handset display screen messages
....47
Adding and replacing handsets...49
Replacing a handset...........................50
Troubleshooting................................ 51
Important safety instructions..... 58
FCC Part 68 and ACTA .................. 61
FCC Part 15......................................... 62
Limited warranty .............................. 63
Technical specifications................ 66
Index....................................................... 67
1
Table of contents
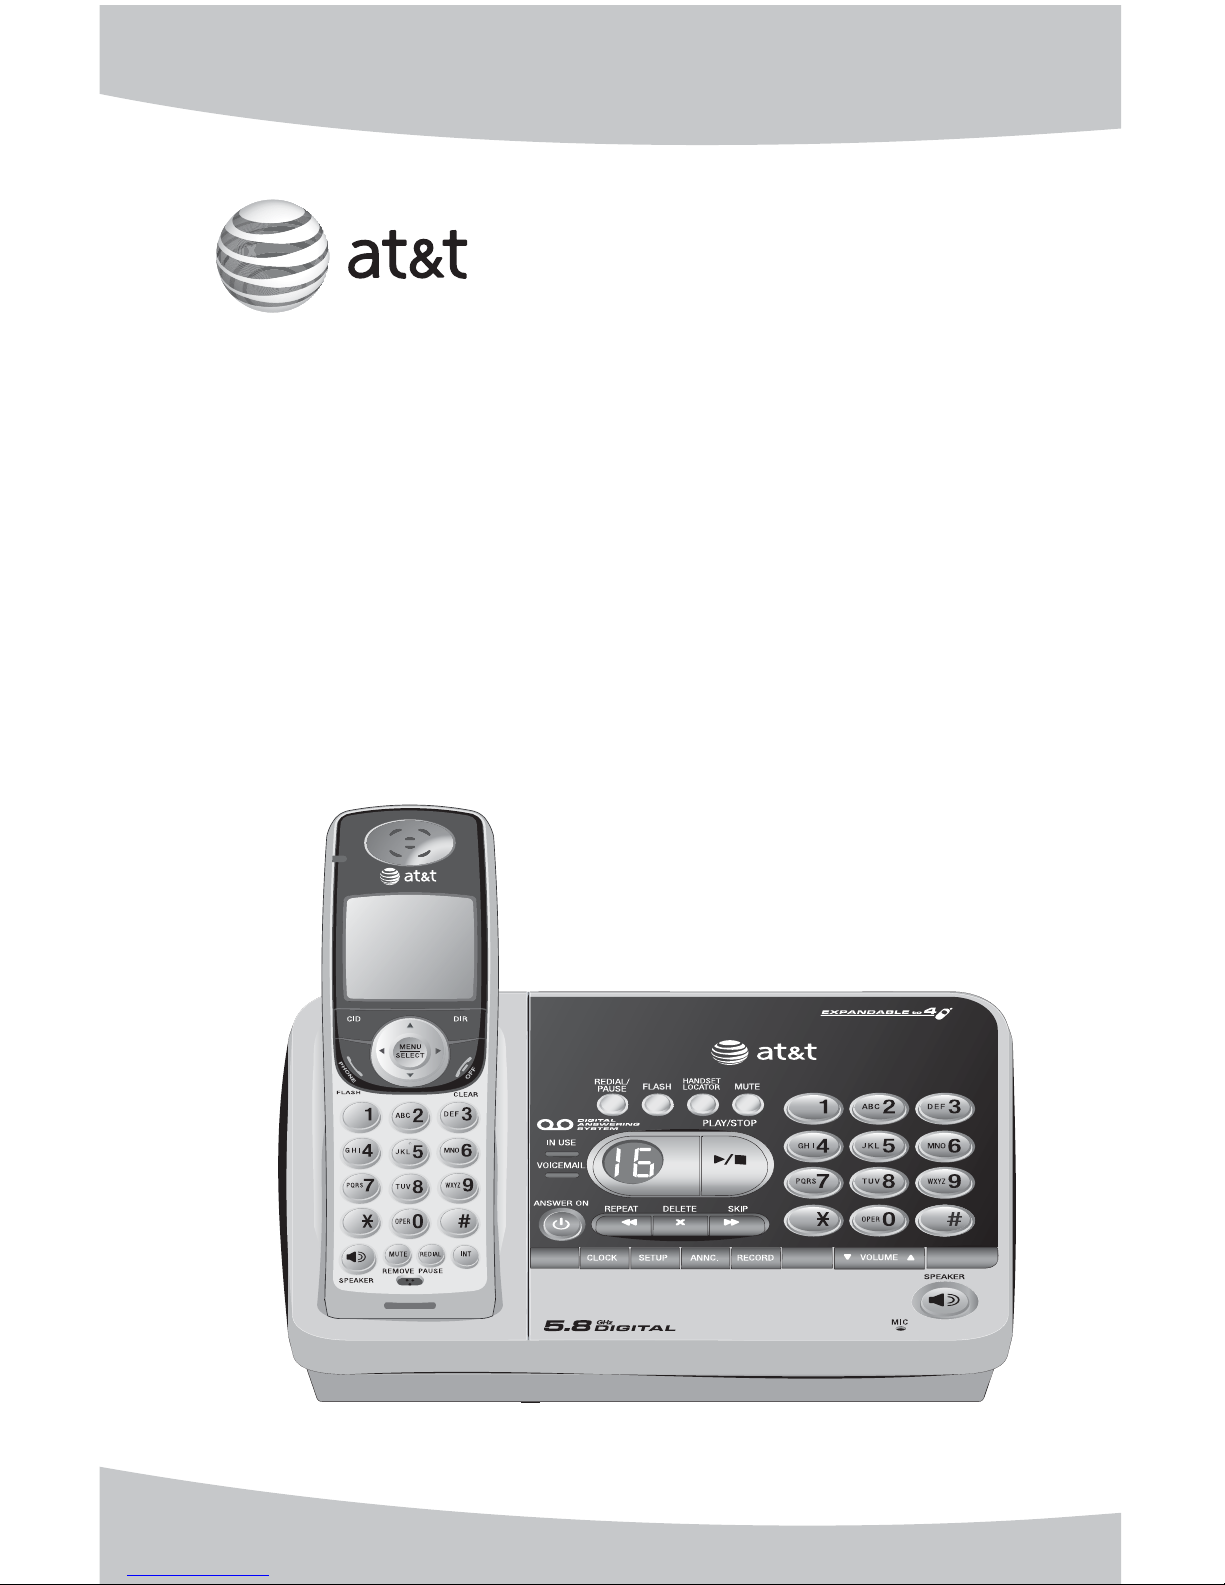
User’s manual
TL78108/TL78208/TL78308/
TL78408 5.8 GHz cordless
telephone/answering system
with caller ID/call waiting