CALLER ID
7
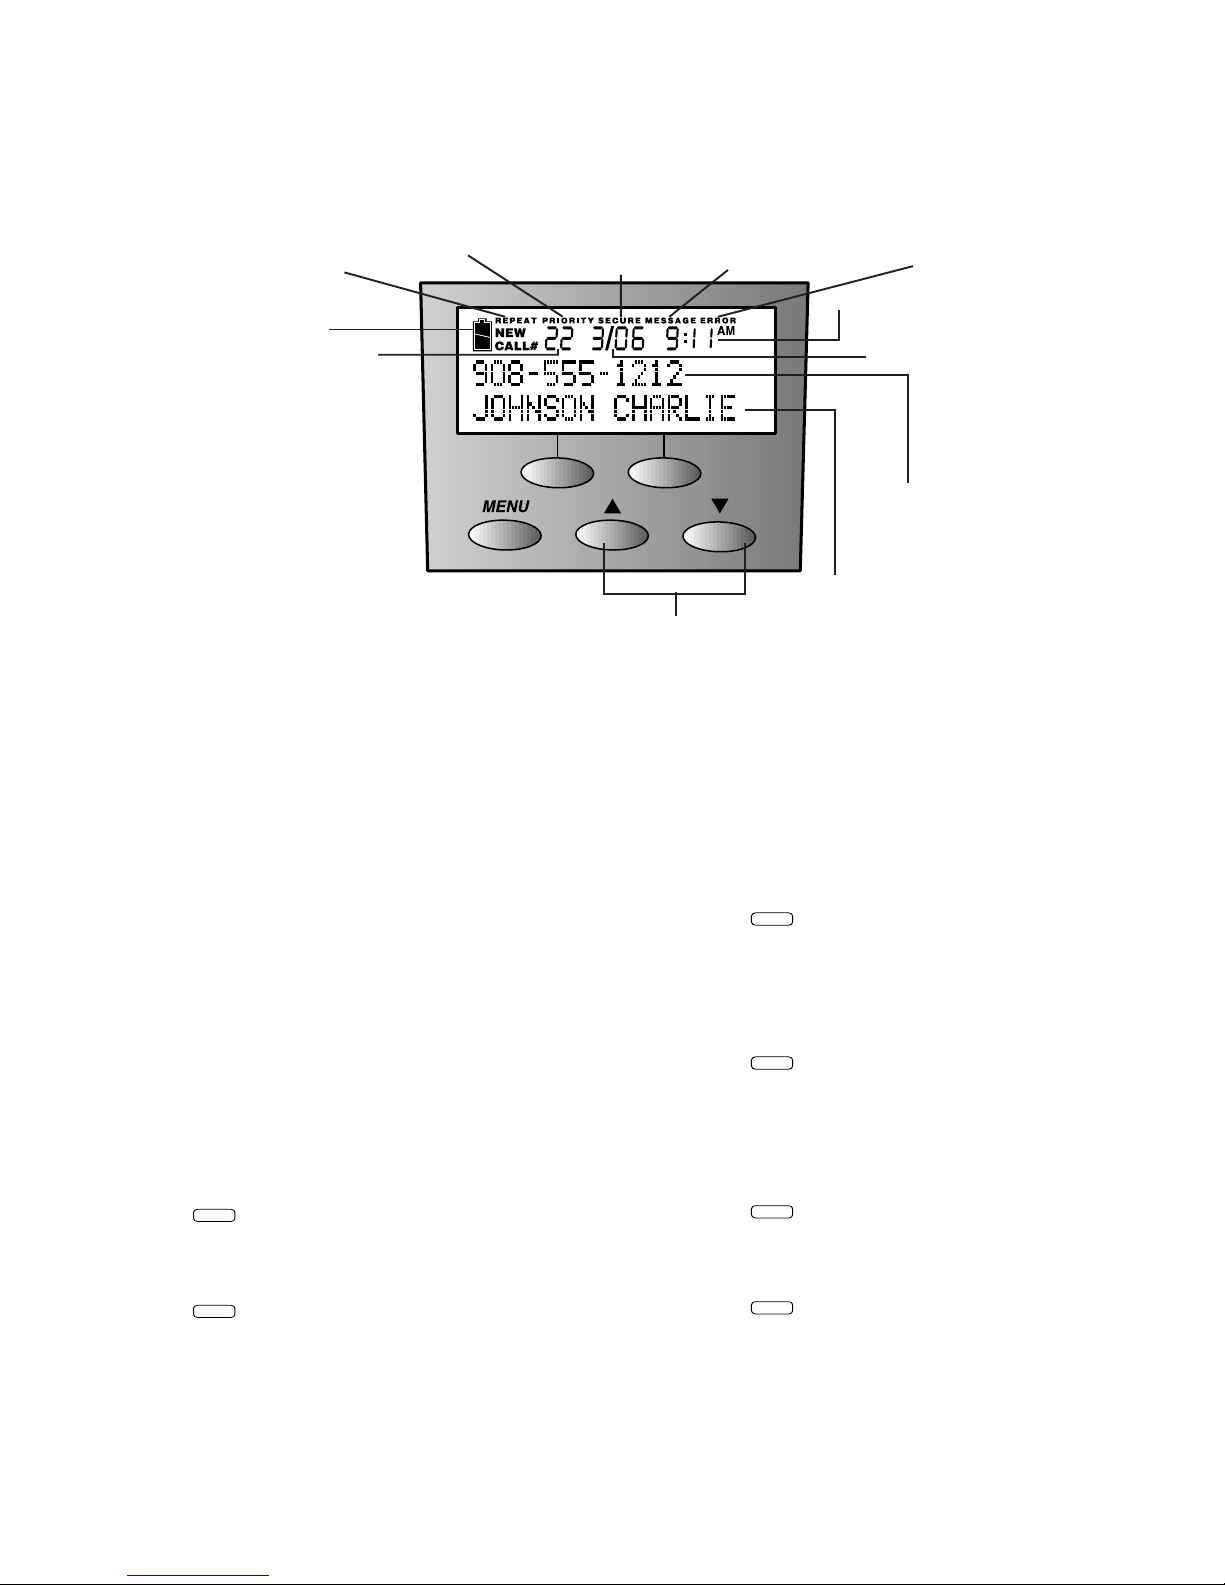
Caller ID Display Messages
PRIVATE The name or phone number is “blocked” at the caller’s request.
UNKNOWN Appears for some long-distance calls or calls originating in an area not
offering Caller ID service.
REPEAT Indicates that a call has been received more than once from
this name/number since the last time you reviewed call history.
ERROR Some information may be missing or incorrect because of
interference on the line.
Call List Options
You can customize how the phone stores call information. Select
whether the system stores information about ALL CALLS received,
or for NO CALLS. The system comes set to ALL CALLS.
1Press
MENU
.
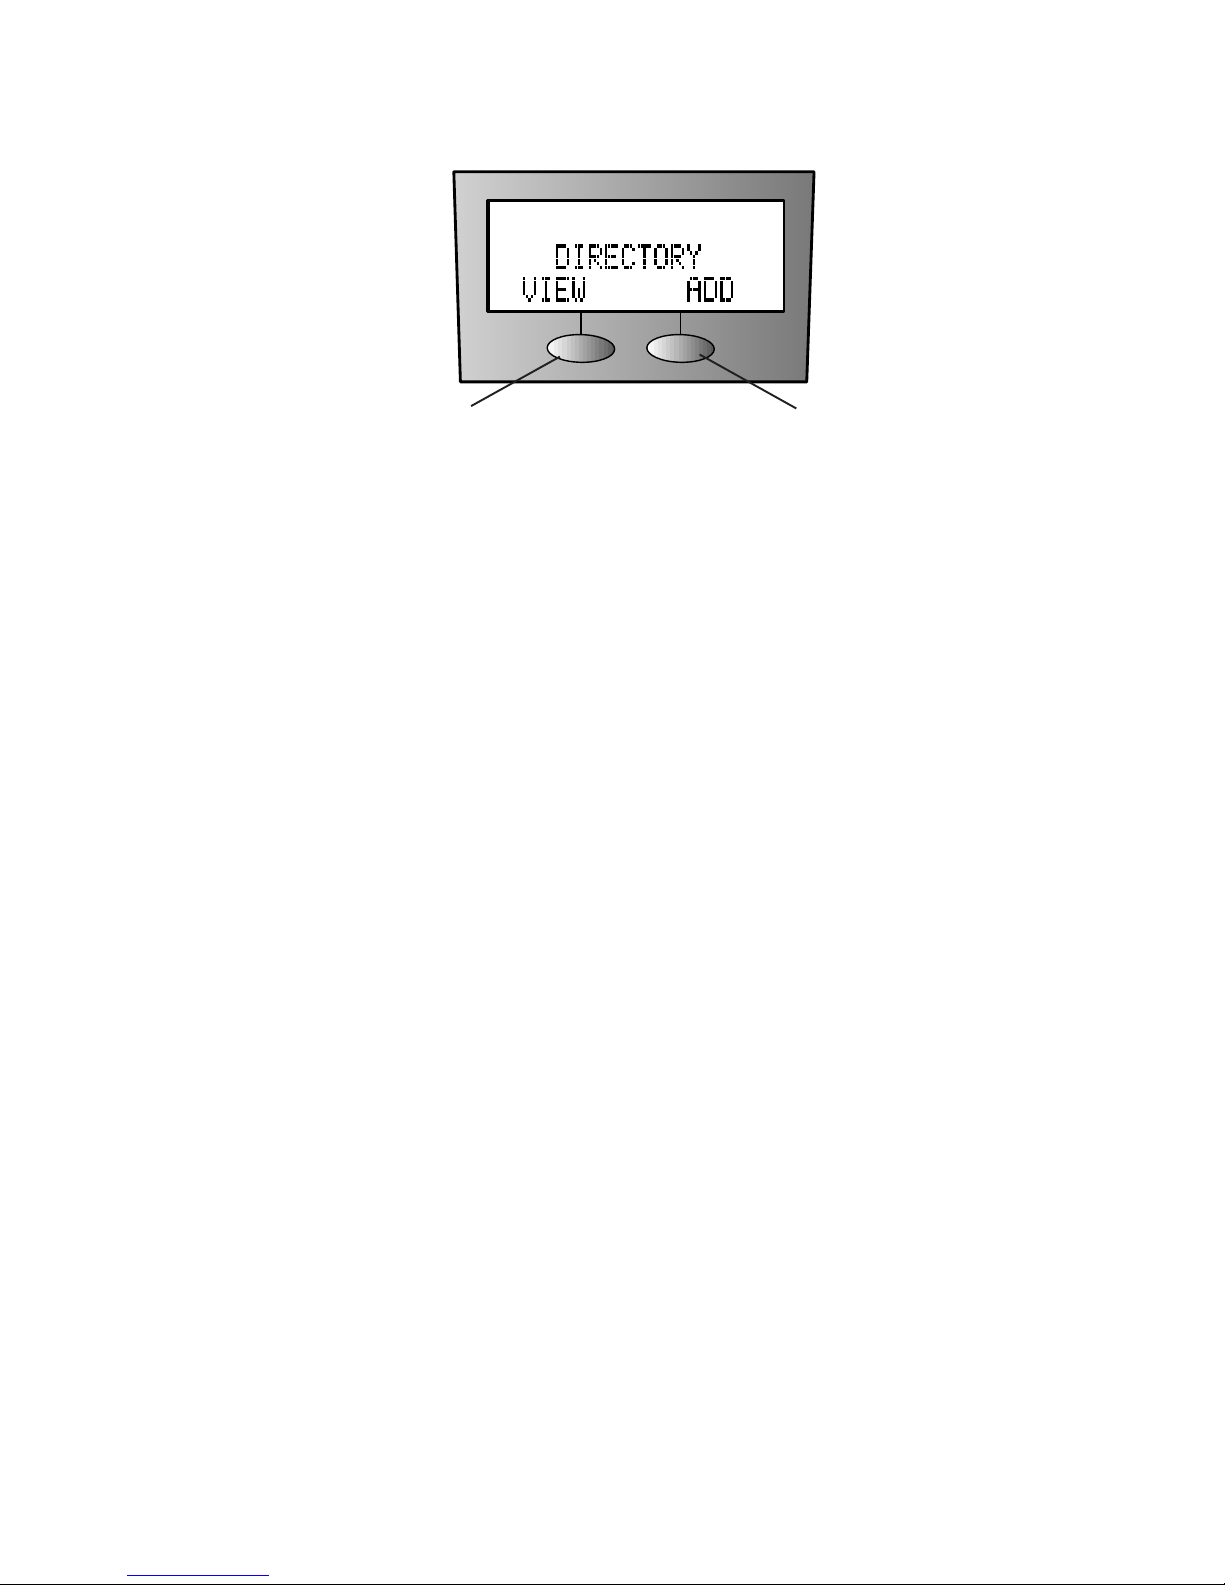
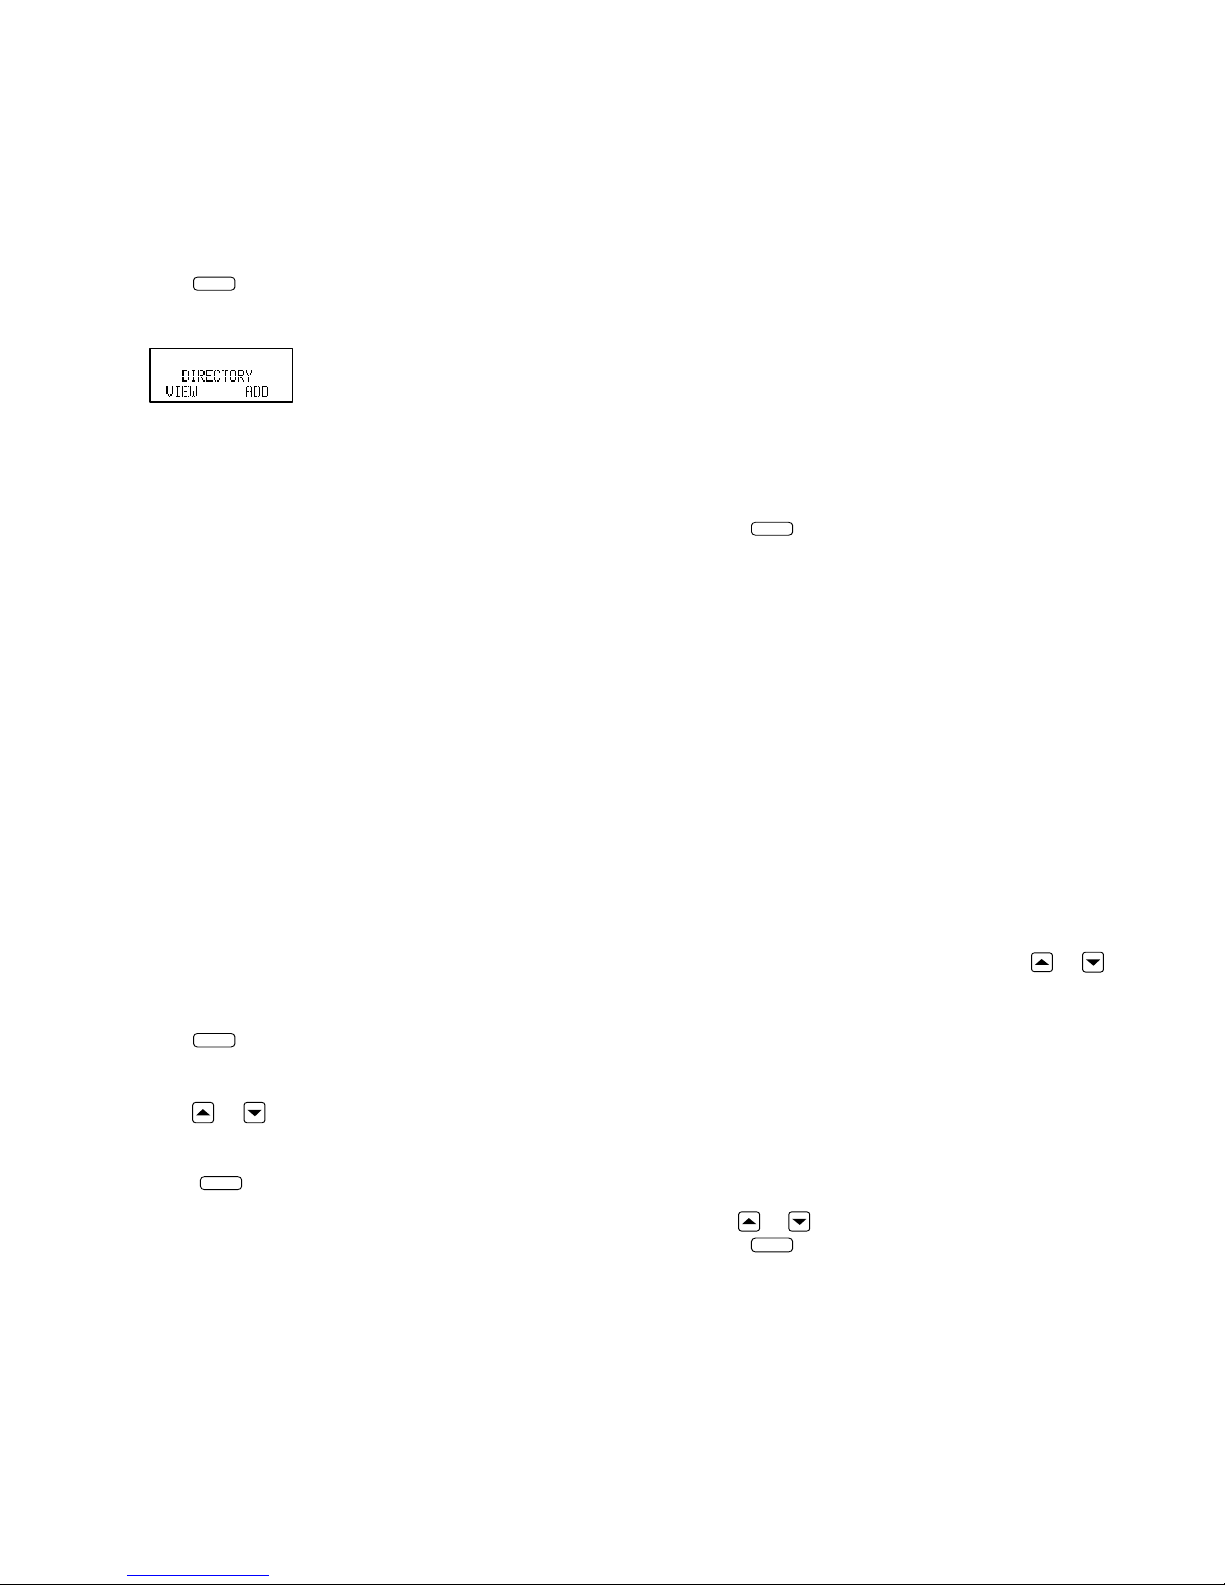
2Use the softkey to select SETUP.
3Select NEXT until the screen displays LIST:ALL CALLS.
4Continue to select CHANGE to display ALL CALLS or
NO CALLS.
5Press
MENU
to exit.
Incoming Call History
This product assigns each incoming call a number from 1 to 99.
The most recent call will have the highest number (for example,
if 10 calls have been received, call number 10 is the most recent,
and call number 1 is the oldest). When the call history is full, the
oldest call information is deleted to make room for the new
incoming call information.
Reviewing Call History
You can review information in the call history at any time by press-
ing either or . The screen displays the number of calls in
the call history and how many, if any, are new. You can continue
to use or to scroll through the call history. The screen
displays the name (if your service provides this), number, date,
and time of call simultaneously.
When you reach the end of the call history, the screen displays END
OF LIST. Press or to continue reviewing the call history.
To exit the review, you can press either soft key or wait 30 seconds.
Display Dial
As you review calls in history, you can dial a displayed phone num-
ber, by pressing
DISPLAY DIAL
. The screen displays the number being
called. If the screen displays CAN’T DIAL, hang up and try again.
If the call came from your home area code, then the screen displays
only the seven digits of the number you’re calling (without an area
code). When you press
DISPLAY DIAL
, the phone dials the seven
displayeddigits. Youmust program yourarea codefor this towork.
However, you can also program in up to two other local area codes.
These are area codes that do not require dialing a “1” before them.
After storing these area codes, if you receive a call from one of
these area codes, the screen displays the ten digits (3 digits of area
code plus 7 digits of phone number). When you press
DISPLAY DIAL
,
the phone dials ten digits, without inserting a “1” before the area
code.
Ifyou receivea callfrom anarea codenot programmedin thephone,
you will see ten digits on the screen (the area code and the phone
number). The phone will automatically dial “1” before the number
when you press
DISPLAY DIAL
.
NOTE: If you try to use the Display Dial feature, but your call
cannot be completed unless you dial "1" before the number,
follow the steps below:
1Press +or -to locate the number you want to call.
2Press
MENU
.
3Use the softkey to select OPTIONS.
4Select DIAL 1+.
Programming Local Area Codes
NOTE: You must program your home area code in order for the
Display Dial feature to work correctly. Additionally, see Steps 4
and 5 in "Display Dial" for area codes that don't require dialing a
"1" before them.
1Press
MENU
.
2Use the softkey to select SETUP.
3Continue to select NEXT until the screen displays AREA
CODE 1. Use the keypad to enter your home area code.
4Select CODE 2 to reach AREA CODE 2 (the screen
displays any current local area code —those that do not
require dialing a "1" before them— stored here).
5Select CODE 3 to reach AREA CODE 3 (the screen
displays any current local area code —those that do not
require dialing a "1" before them— stored here).
6Use the keypad to enter the three-digit local area code.
7Press
MENU
to exit.
Removing Call Records from History
Removing a Specific Call Record
1Press or to scroll to the record you want to remove.
2Press
MENU
.
3Use the softkey to select REMOVE. The handset beeps
and deletes the call record, and the screen displays
CALL REMOVED.
4Press <or >to continue scrolling, or use the softkey to exit.
Removing All Call Records
1Press or to display the number of calls in the
call history.
2Press
MENU
.
3The screen displays REMOVE ALL?. Select YES to
remove all calls.
4The screen displays ARE YOU SURE?. Select YES to
remove all calls.
5Press the softkey to exit.