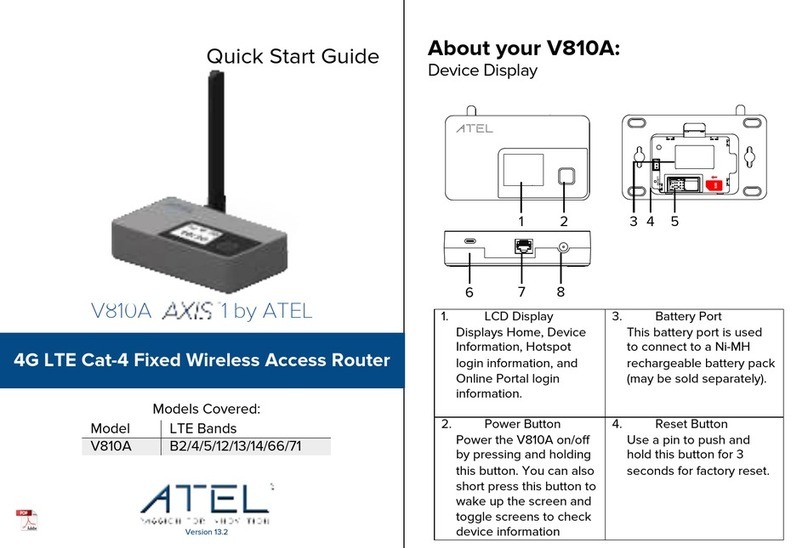
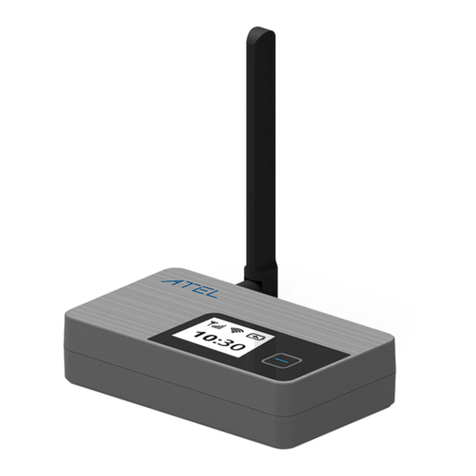
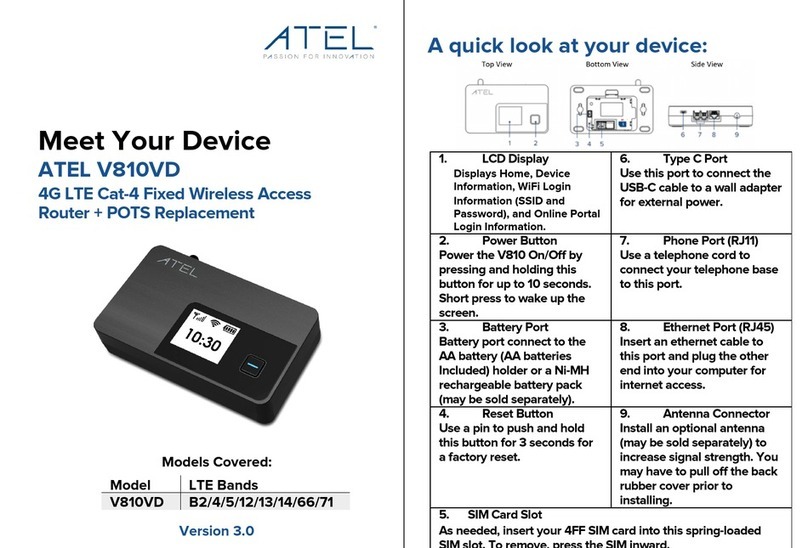
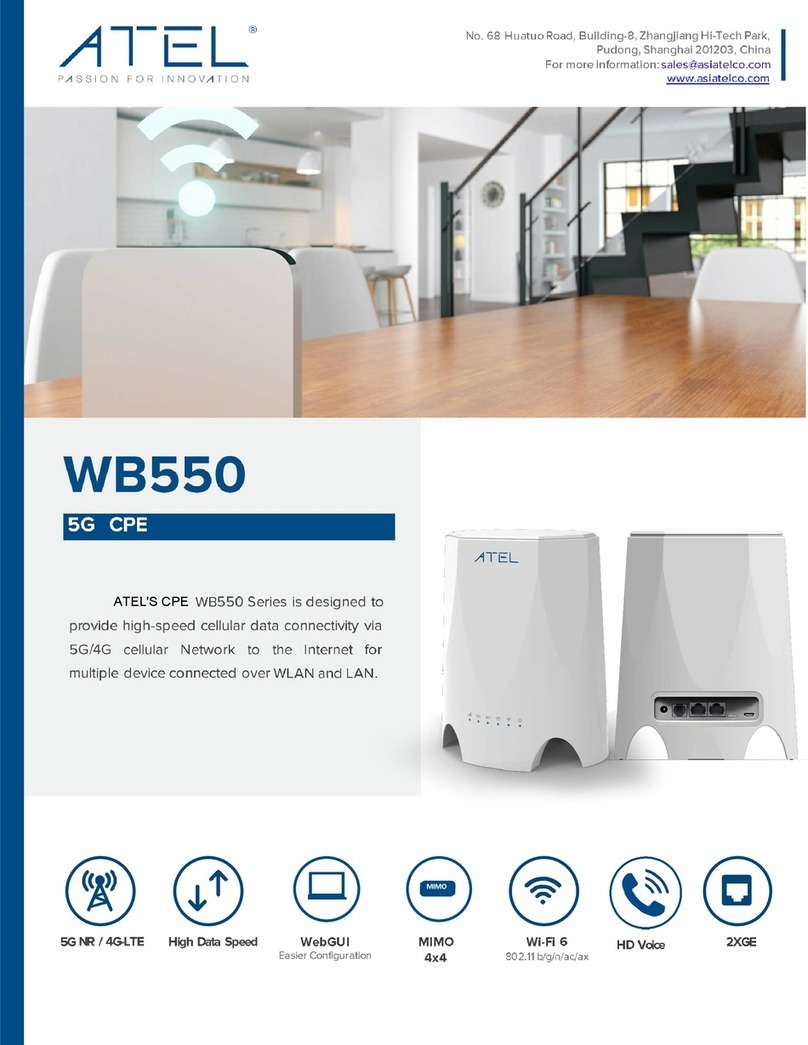
Atel V810VD User manual

ATEL V810 Series Voice + Data User Manual
V6.2, July 19, 2023
1
V810VD by ATEL User Guide
4G LTE Cat-4 Fixed Wireless Access
Router + POTS Replacement
Model
LTE Bands
V810VD
B2/4/5/12/13/14/66/71
User Guide in Spanish available on the ATEL product page at www.ATEL-USA.com.
Guía del usario en español disponible en la página del producto ATEL en www.ATEL-USA.com.
Models Covered:

ATEL V810 Series Voice + Data User Manual
V6.2, July 19, 2023
2
Contents
1.
Overview
...............................................................................................................................................4
LTE Network B ands per Mod el ......................................................................................................4
System Requirements.......................................................................................................................4
Components and Indicators............................................................................................................4
Power Management..........................................................................................................................5
2.
Getting Started
.....................................................................................................................................6
Install SIM Card ..................................................................................................................................6
Install the Batteries............................................................................................................................6
Backup Battery Tips..........................................................................................................................7
Installing the Optional Antennas (May be Sold Separately) ...................................................8
Turning your V810 On/Off ................................................................................................................8
Connect your Telephone to the V810 ..........................................................................................9
Connect your Computer to the V810 ...........................................................................................9
3.
Using Your V810 for Voice Functions
............................................................................................. 10
Making Calls......................................................................................................................................10
Receiving Calls ................................................................................................................................. 10
Call Waiting......................................................................................................................................... 11
Missed Calls ....................................................................................................................................... 11
Using Voice Mail ............................................................................................................................... 11
Using a Text Telephone.................................................................................................................. 12
Connecting to your V810 Hotspot Wi-Fi .................................................................................... 13
4.
Accessing Your V810 Direct Connect (WebGUI) Device Management Portal
........................ 14
Direct Connect Portal Home Page.............................................................................................. 15
Connected Devices......................................................................................................................... 16
Data Usage........................................................................................................................................ 17
Messages........................................................................................................................................... 17
Settings............................................................................................................................................... 18
Wi-Fi Settings ........................................................................................................................... 18
LAN Settings............................................................................................................................. 19
Device Settings........................................................................................................................ 21
Advanced..........................................................................................................................................22
Mobile Network ...................................................................................................................... 23
Firewall Settings ..................................................................................................................... 24
VPN............................................................................................................................................ 30
Content Control............................................................................................................................... 30
About .................................................................................................................................................30
Logs ............................................................................................................................................ 31
Backup and Restore............................................................................................................... 31
Remote Update ...................................................................................................................... 33
5.
ATRACS Cloud Remote Management
.......................................................................................... 33
6.
Troubleshooting
................................................................................................................................ 34
Common Problems, FAQ’s and Solutions ................................................................................ 34

ATEL V810 Series Voice + Data User Manual
V6.2, July 19, 2023
3
7.
Regulatory Statements
.................................................................................................................... 39
8. Safety Hazards ................................................................................................................................40
Limited Warranty:...................................................................................................................................... 41

ATEL V810 Series Voice + Data User Manual
V6.2, July 19, 2023
4
1.
Overview
LTE Network Bands per Model
Model
LTE Bands
V810VD
B2/4/5/12/13/14/66/71
Note: Your device model number can be found on the device label.
System Requirements
The V810 provides voice and data service. You can connect your V810 to a telephone
(corded or cordless) for voice services and connect to the internet using the V810 Hotspot
Wi-Fi function or Ethernet port connection. You must subscribe to an eligible service plan
with a wireless operator to use the V810 voice and data functions.
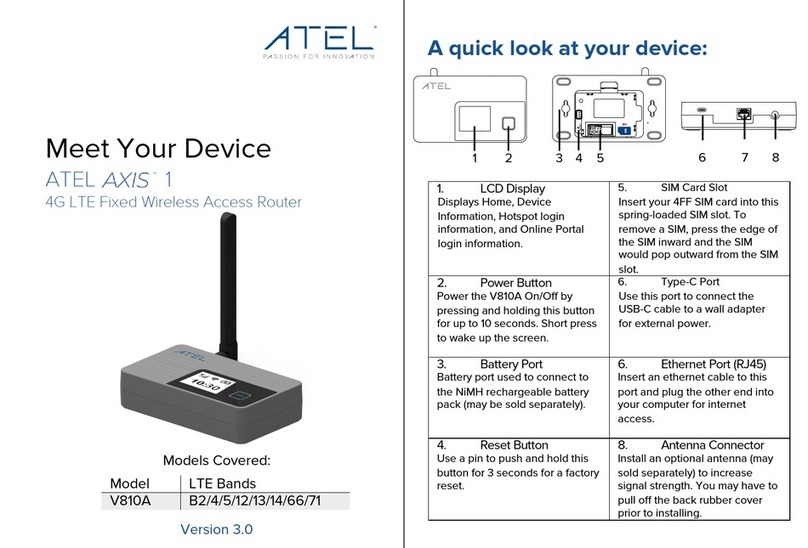
Components and Indicators
!
1. LCD Display
Displays different menus of V810 information, such as, Home, IMEI, Hotspot login
information, and Online Portal login information.

ATEL V810 Series Voice + Data User Manual
V6.2, July 19, 2023
5
2. Power Button
Power the V810 on/off by pressing and holding this button (note that a long press is required
to boot up the device). You can also short press this button to wake up the screen and check
device information.
3. Battery Port
This battery port is used to connect to the battery holder (3x AA batteries) or a Ni-MH
rechargeable battery pack (may be sold separately).
4. Reset Button
Use a pin to press and hold this button for factory reset.
5. SIM Card Slot
Insert your 4FF SIM card into this spring-loaded SIM card slot. To rem o ve a SIM, press the
edge of the SIM inward and the SIM will pop outward from the SIM slot.
6. Type C Port
Insert your USB cable to this USB-C port and plug the other end into a wall adapter for
external power.
7. Phone Port (RJ11)
Yo u r V 8 1 0 h a s 2 p h o n e p o r t s . Insert a telephone cord into one of these ports and plug the
other end into your telephone base for voice usage.
8. Ethernet Port (RJ45)
Insert an ethernet cable to this port and plug the other end to your computer for internet
access.
9. Antenna Connector
Install an optional antenna (may be sold separately) to increase signal strength.
Power Management
Yo u r V8 1 0 c o m e s w i t h b o t h a n AC w a l l a d a p t e r a n d t h r e e A A b a t t e r i e s . An optional NiMH
rechargeable battery pack can be purchased separately through ATEL USA. For more
information, visit www.ATEL-USA.com.
During a power outage, or if the wall charger is unplugged, the V810 continues to run off
the batteries to support Voice and Ethernet functions. Note that the Hotspot Wi-Fi function
will not be available in AA battery-only mode.
During a power outage, only corded phones that do not require electric power can be
used to make or receive calls (including calls to 911).

ATEL V810 Series Voice + Data User Manual
V6.2, July 19, 2023
6
Refer to the table below for the V810 functions supported in different power modes.
2.
Getting Started
Install SIM Card
1. Remove the V810 back cover.
2. Carefully lift the battery holder from the side.
3. Install the SIM card into the spring-loaded SIM slot as the image shows. To remove
a SIM, press the edge of the SIM inward and the SIM will pop outward from the
SIM slot.
Install the Batteries
1. Remove the battery cover.
2. Properly align and install 3 AA batteries into the battery holder.

ATEL V810 Series Voice + Data User Manual
V6.2, July 19, 2023
7
3. Insert the battery connection cable into the battery port then align the battery holder
to the correct position.
4. Put the battery cover back in place as shown in the image.
Note: A NiMH rechargeable battery pack (may be sold separately) can be installed in place
of AA batteries). You will need to disconnect the AA battery holder from the battery port
and insert the NiMH battery pack back into the battery port.
Note: Wi-Fi Hotspot function is only supported when your V810 is connected and plugged
to a wall adapter.
Backup Battery Tips
Battery usage and standby time depends on the network, signal strength, temperature,
features, battery age and accessories you use. Generally, talk usage time (without data) on
backup AA batteries is approximately 2 hours, and standby time is up to 27 hours (varies by
conditions). Talk and data usage time on backup Ni-MH batteries is approximately 2.5 hours
and standby time is up to 6 hours. If the power save mode is on, talk without data usage
time on backup Ni-MH batteries is approximately 3.5 hours and standby time is up to 27
hours.
In battery-only mode, you can check the battery level by pressing the Power Key. The battery
level will be in the upper right corner of the screen.
Do not use sharp objects or excessive force or remove the battery, as this may damage the
V810 and the batteries and will void any warranties.
Never expose batteries to temperatures below -20°C (4°F) or above 60°C (140°F).

ATEL V810 Series Voice + Data User Manual
V6.2, July 19, 2023
8
Installing the Optional Antennas (May be Sold Separately)
To inc r e a se si g n al str e n g th, y o u c an ins t a l l an op t i o nal a n t e nna .
1. Align the antenna with the antenna port and screw securely into place in a
clockwise direction.
2. Before continuing use, restart the V810 after the antenna has been installed or
removed.
Using optional accessories (antenna and battery pack) by ATEL is recommended,
more information available at ATEL website, https://www.atel-usa.com/.
Turning your V810 On/Off
1. Connect your V810 to a wall adapter with a USB-C cable and plug the wall adapter to
the wall outlet. The V810 will power on automatically.
2. When the V810 is on battery only, turn your V810 on by pressing and holding the
Power Button.
3. When the V810 is on battery only, turn it off by pressing and holding the Power Button
until you see the display screen turn off.
4. When the V810 is powered by the wall adapter, press and hold the Power Button to
reboot the device.
WARNING! Please only use an approved USB adapter for the V810. The use of other
incompatible adapters may cause damage to your device and void the warranty.

ATEL V810 Series Voice + Data User Manual
V6.2, July 19, 2023
9
V810 LCD Display
On your V810 LCD Display, you may see one or more of the following icons:
Connect your Telephone to the V810
The V810 provides two telephone ports (RJ11). The ports use the same telephone number.
Plug the telephone cord into one of the telephone ports on the back of the V810. The other
end of the cord must remain plugged into the back of your home telephone base unit.
Note: The telephone and telephone cord are not included.
Connect your Computer to the V810
The V810 provides 1 Ethernet port (RJ45). For internet access, plug an ethernet cable to the
Ethernet port of your V810 and connect it to the Ethernet port of your computer. Yo u c a n
connect your PC to the V810 using Wi-Fi for wireless connection.

ATEL V810 Series Voice + Data User Manual
V6.2, July 19, 2023
10
3.
Using Your V810 for Voice Functions
Making Calls
Before making a call, make sure the signal strength on the LCD is good enough. If no
signal bars are lit, move the V810 to a location that can receive a signal.
Place a call by entering the desired phone number. In most areas, you will need to include
the three-digit area code, even when dialing a local number. When your call is complete,
simply hang up the phone.
Note: You must have an active voice plan with your service provider to utilize the calling
functions of the V810.
Receiving Calls
When an incoming call is received, the screen will light up and the incoming call’s phone
number will display on the display screen (if available).
Simply answer the connected telephone as you normally would.

ATEL V810 Series Voice + Data User Manual
V6.2, July 19, 2023
11
Call Waiting
If a call comes in while you are on the phone, you’ll hear a click, and the 2nd incoming
phone number appears on the device screen (if available). Press the “Flash” button on the
phone to put the first call on hold and answer the second call. When you hang up or press
“Flash” again, you are reconnected with the first call.
Missed Calls
If you do not pick up an incoming call, the V810 screen displays a “Missed Call”. Short
press the Power Key to switch to the “Missed Calls” submenu and check the missed call
number(s).
Note: The “Missed Calls” menu shows up to the 3 most recent missed calls and will be
dismissed once read.
Using Voice Mail
For voicemail setup and services, check with your wireless service provider for more
details. When you have unheard messages in your voicemail system, the voicemail icon is
displayed on V810 display screen (image below).

ATEL V810 Series Voice + Data User Manual
V6.2, July 19, 2023
12
1. Check your wireless service provider for voicemail access instructions.
2. Follow the system prompts to listen to and manage your voice mails.
NOTE: Refer to the Troubleshooting section for additional instruction on accessing
voicemail or using a telephone answering machine as your preferred method to manage
your voice messages.
Using a Text Telephone
A Text Telephone (TTY) is used by those who are hearing, or speech impaired to translate
typed text to voice and vice versa. To use the V810 with TTY, you must first change the
TTY mode from the default (None) to one of the following modes:
· Full TTY translates both text to voice and voice to text. The person using the TTY can
type outgoing messages (which are translated to voice on the other end) as well as
read messages that have been translated from the connected caller’s voice.
· Voice Carry Over (VCO) translates incoming voice to text, allowing the person using
the TTY to speak directly to the other caller and read translated text on the TTY
screen.
· Hearing Carry Over (HCO) translates text typed to voice, allowing the person using
the TTY to type instead of speaking yet hear the connected caller’s voice.
From the connected telephone dial pad, dial “##56*n#” where "n” indicates the TTY mode
to use as follows:
0 - None (TTY is disabled)
1 - Full TTY mode
2 - VCO mode
3 - HCO mode
Yo u w i l l s e e “ T T Y ” o n t h e V 8 1 0 H o m e S creen when TTY mode is enabled.
Note: TTY capabilities may vary based on your service provider and plan.

ATEL V810 Series Voice + Data User Manual
V6.2, July 19, 2023
13
Connecting to your V810 Hotspot Wi-Fi
Yo u r V 8 1 0 H o t s p o t Wi-Fi function supports up to 15 Wi-Fi connected devices. To con n e ct to
the Hotspot Wi-Fi:
1. Locate your Wi-Fi Network Name (SSID) / Password from your V810 LCD Display or
from the device label under the battery holder.
2. Open the WiFi settings of your Wi-Fi capable devices.
3. Select the SSID of your V810 from the available Wi-Fi network list.
4. When prompted, enter the password unique to your V810 (from the device label).
5. Once the connection is established, you are connected to the Internet.

ATEL V810 Series Voice + Data User Manual
V6.2, July 19, 2023
14
4.
Accessing Your V810 Direct Connect
(WebGUI) Device Management Portal
The Direct Connect Device Management Portal is a web-based interface that interacts
directly with your V810. Yo u can login to the Portal to view device status, change device
settings, or perform a manual software upgrade.
To acc e s s t he Direct Connect Portal:
1. First connect your computer to the V810 Hotspot Wi-Fi and then enter
http://192.168.0.1 in the browser URL address bar. Note that you can also
connect your V810 to a computer with a USB-C or ethernet (RJ45) cable to
access the Direct Connect Portal.
2. The Direct Connect Portal login username is “admin”. The unique password
can be found in the LCD Display menu or the device label (under the battery
holder).
This table shows the device label and LCD screen display for your V810. Pictures are for
illustration purposes. Information varies based on your model.

ATEL V810 Series Voice + Data User Manual
V6.2, July 19, 2023
15
Direct Connect Portal Home Page
After successfully logging in, you will find the Home Page displaying information about your
V810, (e.g. device IMEI and network status) along with a list of menu options on the left
column.
• HOME
• CONNECTED DEVICES
• DATA USAGE
• MESSAGES
• SETTINGS
• ADVANCED
• CONTENT CONTROLS
• ABOUT
Changing your Direct Connect Portal Password:
Yo u c a n c r e a t e y o u r o w n Direct Connect Portal password in the Settings page. Once created,
you will be required to use the new password to sign in.
To Change your Direct Connect Portal Password:
1. Connect your device using the instructions for logging into the Direct Connect Portal,
in the beginning of this Section 4.
2. Open a web browser and enter http://192.168.0.1 into the URL address bar.
3. Go to Settings > Device Settings > Admin Password. Input your current admin
password and setup your new password by following the prompts, then save the
changes.

ATEL V810 Series Voice + Data User Manual
V6.2, July 19, 2023
16
Connected Devices
On this page, you can view Connected Devices, Blocked Devices, and the Change Max
Wi-Fi Connections.
• Connected Devices: This field lists the clients that are connected to your V810.
• Change Max Connections: The default max connection is 15. Click this button and it
will take you to the Wi-Fi Settings where you can change the Max Wi-Fi Connections.
To blo c k a d evic e , select the desired device and click the Block button. The Wi-Fi
connection to the blocked device will be disconnected and the blocked device will
appear in the “Blocked Devices” list.
• Blocked Devices:Displays the devices that are blocked. Choose a blocked device
and click the Unblock button; the selected device will disappear from the “Blocked
Devices” list. It will show in the “Connected Devices” list again after it connects to your
V810.

ATEL V810 Series Voice + Data User Manual
V6.2, July 19, 2023
17
Data Usage
This page shows the estimated data usage (which may not match your bill). Check with your
service provider for billable usage. If desired, choose Day of Month, Usage Limit and click
Save Changes to save your settings.
Messages
The messages page displays SMS messages sent to you by your wireless carrier.
The number of unread messages displays to the right of the message icon.
When a new message arrives, the message icon appears. A maximum of 30 messages
can be stored.

ATEL V810 Series Voice + Data User Manual
V6.2, July 19, 2023
18
To view a m e ssag e , sele c t a m essa g e f rom th e M e ssa g e s menu . To d e lete a message,
select the message and click the trash bin icon to the right of the message date and time.
To del e t e a ll messages, click the Delete All Messages button.
Settings
The Settings page has the following menu options:
• Wi-Fi Settings
• LAN Settings
• Device Settings
Wi-Fi Settings
These settings apply whenever the Wi-Fi is turned on. Changes made to these Wi-Fi
settings may require you to reconnect your Wi-Fi devices for the new settings to take
effect.
! Wi-Fi On/Off:
Turn on to allow Wi-Fi devices to connect to this device. Wi-Fi devices will not connect to
this device if it is turned off.

ATEL V810 Series Voice + Data User Manual
V6.2, July 19, 2023
19
! Wi-Fi Name (SSID):
To ide n t i fy yo u r w irel e s s netw o r k, the S S I D (Se r v i ce Se t I d ent i f i e r) is u s e d. You c a n set a
name with a max of 32 characters. Make sure that your SSID is unique if there are other
wireless networks operating in your area.
! Security:
Yo u c a n s e t w i r e l e s s s e c u r i t y a n d e n c r y p t i o n t o p r e v e n t t h e r o u t e r f r o m u n a u t h o r i z e d
access and monitoring. The default security is WPA Personal/PSK. You can also set
Security as “None”, “WPA Personal/PSK”, “WPA2 Personal/PSK(AES)”, or “WPA/WPA2
Mixed Mode”.
! 802.11 Mode
The default is 802.11a/ac (5GHz).
You can also set it as 802.11/b/g/n (2.4GHz).
Note: Some old Wi-Fi devices (TVs, gaming machines or other devices) may only have
2.4G Wi-Fi. Changing the 802.11 Mode to 2.4G can help those devices find the Wi-Fi.
! Channel:
The default “Channel” is “Automatic”. You can set it from channel 1 to channel 11.
! Wi-Fi Options:
Wi-Fi Options include Broadcast Wi-Fi name (SSID), Wi-Fi Privacy Separation, and Max Wi-
Fi Connections.
! Broadcast Wi-Fi Name (SSID):
The wireless device can search and connect to the SSID after turning on “Broadcast Wi-Fi
Name (SSID)”. The wireless client must input the SSID manually to connect to the SSID
after turning off “Broadcast Wi-Fi Name (SSID)”.
! Wi-Fi Privacy Separation:
If turned on, connected devices cannot communicate with each other.
! Maximum Wi-Fi Connections:
The default maximum number of Wi-Fi connections is 15. You can set it to any number
between 1 and 15.
LAN Settings
From the Direct Connect Portal, click Settings > LAN Settings to display the information
shown in the following figure.

ATEL V810 Series Voice + Data User Manual
V6.2, July 19, 2023
20
! IP Address:
Enter the IP address of your V810 online management portal (factory default: 192.168.0.1).
! Subnet Mask:
An address code that determines the size of the network. Generally, use 255.255.255.0
as the subnet mask.
! MAC Address:
It is written to the device at the time of manufacture.
! DHCP Lease Time:
The Lease Time is the amount of time a network user will be allowed connection to the
router with their current dynamic IP address. Enter the amount of time in minutes and the
user will be "leased" this dynamic IP address. After the time is up, the user will be assigned
a new dynamic IP address automatically.
! Start DHCP Address Range at:
Specify an IP address for the DHCP server to start with when assigning IP addresses. The
default start address is 192.168.0.2.
! Reserve IP Address:
Yo u c a n reserve an IP address so that it is always assigned to the same connected device.
Every reserved IP address must be within the range of IP addresses used by DHCP.
Other manuals for V810VD
2
This manual suits for next models
1
Table of contents
Other Atel Network Router manuals

Atel
Atel AXIS V810A Installation guide

Atel
Atel AXIS V810A User manual

Atel
Atel W02 Arch+ Dimensions

Atel
Atel V810VD User manual

Atel
Atel Apex WB550 User manual

Atel
Atel AXIS V810A User manual

Atel
Atel Apex WB550 User manual

Atel
Atel WB550 Series User manual

Atel
Atel V810VD User manual

Atel
Atel AXIS V810A User manual
Popular Network Router manuals by other brands

LevelOne
LevelOne GTL-2660 user manual

AVCOMM
AVCOMM AP224 Quick installation guide

Linksys
Linksys BEFSX41 - Instant Broadband EtherFast Cable/DSL Firewall... Specifications

AT&T
AT&T RM 5400 manual

Intellinet
Intellinet 530347 user manual

US Robotics
US Robotics Wireless 54Mbps ADSL Router Quick installation guide