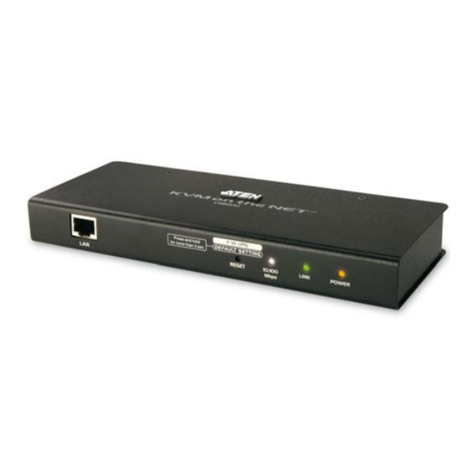
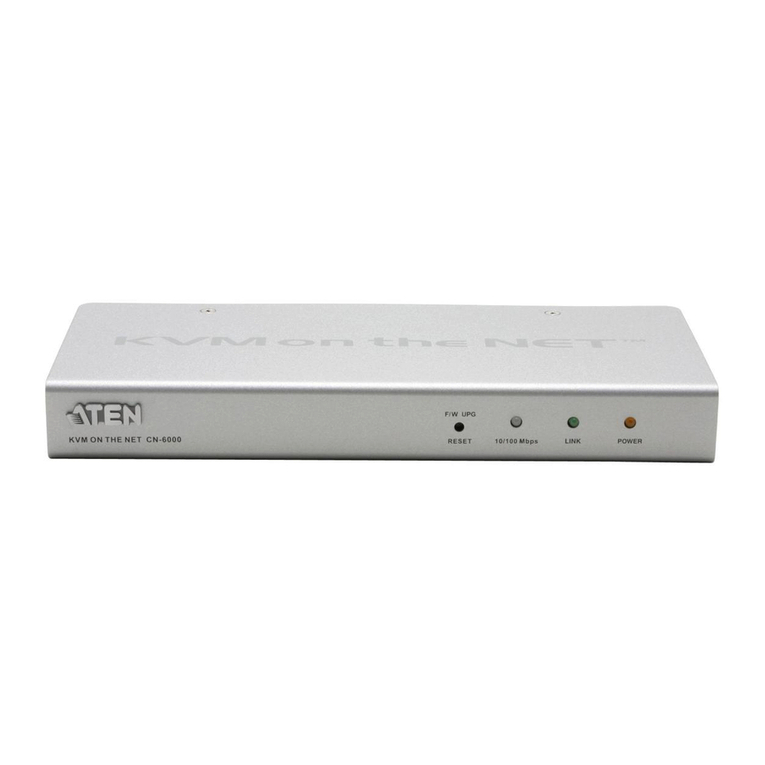
ATEN Altusen KN9000 User manual

1

2

3
FCC Information
This is a FCC Class A product. In a domestic environment, this product may
cause radio interference in which case the user may be required to take ad-
equate measures.
This equipment has been tested and found to comply with the limits for a
Class A digital device, pursuant to Part 15 of the FCC rules. These limits are
designed to provide reasonable protection against harmful interference when
the equipment is operated in a commercial environment. This equipment gen-
erates, uses and can radiate radio frequency energy and, if not installed and
used in accordance with the instruction manual, may cause harmful interfer-
ence to radio communications. Operation of this equipment in a residential
area is likely to cause harmful interference in which case the user will be
required to correct the interference at his own expense.
© Copyright 2002 ALTUSEN®
All brand names and trademarks are the registered property of their respective owners.

4

5
Table of Contents
About this Manual
Howthismanualisorganized.....................................................................
Documentconventions...............................................................................
Specialmessageconventions.....................................................................
Additionalhelp.............................................................................................
Chapter1
Introduction
Features..........................................................................................................
Packagecontents.........................................................................................
Systemrequirements..................................................................................
Chapter2
Hardware Setup
Components..................................................................................................
Hardwareinstallation...................................................................................
Chapter3
The Administrator Utility
InstallingtheAdministratorTool...............................................................
Uninstall.........................................................................................................
Gettingstarted...............................................................................................
Loggingin.....................................................................................................
TheSettingswindow...................................................................................
General.....................................................................................................
Network....................................................................................................
Security....................................................................................................
UserManagement..................................................................................
Customization.........................................................................................
UploadfirmwareandJavaprogram...............................................
Timeoutcontrol................................................................................
Loginfailure......................................................................................
Workingmode...................................................................................
08
09
09
10
25
26
26
28
29
30
31
37
43
47
49
51
52
52
14
15
15
17
21

6
Chapter4
The Windows Client
InstallingWindowsclient...........................................................................
Uninstall........................................................................................................
Gettingstarted..............................................................................................
TheConnectionscreen...............................................................................
ConnectingtoKN9000................................................................................
OperatingtheKN9000remotewindow.....................................................
Keyboardoperation..............................................................................
Mousesynchronization........................................................................
Videoadjustment...................................................................................
HotKeyssetuputility.................................................................................
Chapter5
The Java Client
InstallingtheJavaclient.............................................................................
Gettingstarted..............................................................................................
OperatingtheKN9000remotewindow.....................................................
Theuserpanel.......................................................................................
Videoadjustment...................................................................................
Keypad...................................................................................................
Mousesynchronization.......................................................................
Screennavigation..................................................................................
Exit...........................................................................................................
RemotekeyboardLEDs........................................................................
Chapter6
The Log Server
Installingthelogserver..............................................................................
Uninstall........................................................................................................
Gettingstarted..............................................................................................
Themenubar................................................................................................
Configure................................................................................................
Events.....................................................................................................
Options...................................................................................................
TheKN9000List...........................................................................................
TheEventList...............................................................................................
53
54
55
56
58
60
60
63
66
67
79
80
81
82
82
86
89
90
92
69
70
72
73
74
74
76
76
77
77

7
Appendix A
Specifications...........................................................................................
Appendix B
StackingandMounting.....................................................................
Appendix C
LimitedWarranty....................................................................................
93
95
97

8
About this Manual
Welcome to the KVM ON THE NET (KN9000) User Manual, which provides
information for understanding and using ALTUSEN’s KN9000 control unit.
How This Manual is Organized
The overall organization of this manual is described in the following table:
Chapter 1 Introduction provides an overview of the KN9000 control units
features and functionality.
Chapter 2 Hardware Setup details the KN9000 hardware components.
Chapter 3 The Administrator Tool describes the installation and use of the
administrator tools that conifigure and manage your system.
Chapter 4 The Windows Client details the operations performed by the
Windows based client software.
Chapter 5 The Java Client details the operations performed by the Java
based client software.
Chapter 6 The Log Server provides information on managing activity logs and
recording events taht take place on selected KN9000 units.
Appendix A Specifications provide technical and operational information about
the use of the KN9000.
Appendix B Stacking and Mounting provides instructions for stacking
and mounting KN9000 units.
Appendix C Limited Warranty provides warranty information.

9
Document Conventions
This manual uses a variety of formats to identify different types of information,
courier Indicates typed information such as syntax statements, on-screen computer
text, path, file and drive directory.
> Indicates separation between a menu and an option.
Start > Run: select the Start menu, then Run in the Start menu.
ALL CAPS Indicates acronyms and abbreviations.
italics Indicates document or chapter titles, special words or phrases used for the first
time and emphasized words.
[ ] Indicates a key to press on your keyboard.
[Alt]: press the Alt key.
[Alt + Ctrl]: press the Alt and Control keys at the same time.
[Alt + Ctrl], [Del]: press the Alt and Control keys at the same
time and then press the Delete key.
Type text [ ] Indicates information you must type and then press a [key] on your keyboard.
Install [Enter]: type install and then press the Enter key.
• Bullet lists indicates an informational list.
1. Numbered lists indicate procedure steps.
Special Message Conventions
This manual uses the following message conventions:
Indicate information that helps prevent system failure or data loss.
NOTE: Indicates information of special interest or importance.

10
Additional Help
ALTUSEN provides the following support options for addition help, advice
and information:
ALTUSEN Technical Support
North America Technical As a registered ALTUSEN product owner, you are entitled to
Phone Support free telephone technical support. To contact the ALTUSEN
Technical support Center, call: 949-453-8885
International Technical Contact your local dealer or the ALTUSEN Technical
Phone Support Support Center: 886-2-8692-6959
Online Documentation The User Manual is available electronically. To access online
documentation, visit the ALTUSEN support website:
http://www.altusen.com/support
Troubleshooting Online troubleshotting describes some of the most commonly
encountered problems and provides possible solutions. Visit
the ALTUSEN support website:
http://www.altusen.com/support
Software Updates To download the lastest computer drivers and firmware
upgrades, visit the ALTUSEN support website:
http://www.altusen.com/support
ALTUSEN Webiste
Product Information Need more information about how ALTUSEN products can
help you connect without limits? Visit ALTUSEN on the web:
http://www.altusen.com
ALTUSEN Authorized Reseller
Find an authorized ALTUSEN provides three easy methods to find an authorized
reseller in your area reseller:
- United States: contact 886-ALTUSEN
- International: contact 886-2-8692-6959
- Visit the ALTUSEN website for locations and telephone
numbers

11
Please have the following information ready before contacting ALTUSEN
technical support:
• Product model number, serial number and date of purchase.
• Your current computer configuration, including operating system, revision
level, add-on boards and software.
• Error messages displayed at the time the error occurred.
• The sequence of computer operations that cause the error.
• Any other helpful information.

12

13
Chapter11
11
1
Introduction
The Altusen™ KN9000 is an IP implemented control unit that allows
network administrators to access computers from any station connected to
the network, whether it is LAN, WAN, or even the World Wide Web (see
figure below).
Since the KN9000 uses TCP/IP as its communication protocol, network
administrators can remotely access attached KVM switches, allowing
remote control of the attached servers to perform many tasks with ease and
speed, such as installing and running GUI applications, routine monitoring,
system maintenance, system administration, and rebooting. It supports
10Base-T, 100Base-T, TCP/IP, and HTTP. The server can be accessed
whether it is down the hall, on the other side of town, or half way around
the world.

14
The Administrator and Client utility software provided with the
KN9000 package makes the KN9000 easy to install, maintain, and
operate.
The Administrator Tool is used to configure the system; limit access
from remote computers; manage users; and maintain the system with
firmware and software module updates and other features.
On the client side, both Windows GUI Client and Java Client are
providedforIP connectionand logintotheKN9000unit fromanywhere
on the Net. The client software allows the user to view and control the
servers connected to the KN9000. The Java client ensures that the
KN9000 is platform independent, and is able to work with all operating
systems.
The Log Server records all the events that take place on selected
KN9000 units for the administrator to analyze.
Once an operator successfully connects and logs in, a screen appears
displaying events running on the remote unit attached to the KN9000.
These events are a KVM OSD display, a server’s display, or a running
program. A local console controls each of these, just as if the user
were at the remote location.
Features
The main features of the KN9000 unit are as follows:
• Remote access via TCP/IP from any computer on the Net connecting
from down the hall, down the street, or halfway around the world.
• Supports 10BaseT Ethernet, 100BaseTX Fast Ethernet, TCP/IP and
HTTP.
• Advanced security features - User and administrator filters,
sophisticated user management, advanced encryption, stealth mode,
automatic logout, etc.
• High-resolution video - up to 1280 x 1024.

15
• Windows GUI and Java based client software –(Java client works with all
operating platforms).
Package Contents
The KN9000 package consists of the following items:
• 1 KN9000 KVM On the Net Control Unit
• 1 Custom KVM Cable Set
• 1 Rack Mounting Kit
• 1 Software Disk
• 1 Power Cord
• 1 User Manual
• 1 Quick Start Guide
• 1 Warranty Registration Card
Check to make sure that each item in the above list is included in your package.
If an item is missing or damaged in shipment, please contact your dealer.
System Requirements
To use and access the KN9000 unit successfully, your computer requires the
following:
• At least a P III 1 GHz processor.
• For the Windows Client, you must have DirectDraw 7.0 or higher installed.
• The Windows Administrator Tool software, the Windows Client software,
the Log Server, and the Java Client software all support Windows 9x, ME,
2000, and XP.

16
For the computers to be accessed by the KN9000:
• Set the screen resolution to 1024x768.
• Mouse settings for various operating systems are as follows:
-Windows XP – set the mouse speed to the middle position and disable
Enhance Pointer Precision.
-Windows 2000 – set the mouse speed to the middle position, and select
None for mouse acceleration.
-Windows NT/98 – set the mouse speed to the slowest position.
-Windows ME/95 – set the mouse to the middle position, and disable mouse
acceleration.
-Redhat Linux – set the mouse threshold to the middle position, and mouse
acceleration to the middle position.

17
Chapter22
22
2
Hardware Setup
This chapter provides you with information to setup and install the KN9000
hardware.
Front Panel
The front panel of the KN9000 contains four components as shown in the
figure below. Each number in the figure corresponds to a number in the list
that follows.
The front panel of the KN9000 contains the following components:
1. Reset Switch
Press this switch to the in position to perform a system reset.
NOTE: This switch is recessed and must be pushed with a thin object, such as the
end of a paper clip or a ballpoint pen.
2.10/100MbpsDataLED
• The LED ON indicates 100 Mbps data transmission speed.
• The LED OFF indicates 10Mbps data transmission.
1234

18
3.LinkLED
A flashing LED indicates that a Client program is accessing the device.
4.PowerLED
The Power LED lights when the KN9000 is powered up and ready to
operate.
Rear Panel
The rear panel of the KN9000 contains six features as shown in the figure
below. Each number in the figure corresponds to a number in the list that
follows.
The rear panel of the unit contains the following components:
1. Power Socket
Plug the AC source power cord into the power socket.
2.PowerSwitch
Turn on the KN9000 with the power switch.
3. DIP Switch (Refer to Dip Switch Settings)
1. 2. 3. 4. 5. 6.

19
4. RJ-45 Jack
Plug the cable that connects the KN9000 to the network into the RJ-45
jack.
You must use a Category 5 or higher grade cable which meets
TIA/EIA 568B or 568A pin configuration.
5. Local Console Port
The local administrator’s keyboard, monitor, and mouse plug into the
local console port. An appropriate icon indicates each port. The
administrator uses this console to access the server (or KVM switch)
connected to the KN9000.
6.KVM Port Section
The KVM cable that links the KN9000 to the server or KVM switch plugs
into the KVM port section.
Dip Switch Settings
Dip switches enable you to configure certain settings for a particular type of
computer application. Dip switches have two possible positions—on or off.
The following list and figure shows you the default setting for the KN9000
dip switches, followed by a description of each dip switch function.

20
Dip Switch Default Settings
1 - OFF
2 - ON
3 - OFF
4 - OFF.
Dip Switch Description
Switch 1 is used for firmware selection. Switch 1 is set to the ON position to
load the factory default firmware. If you set this switch to the OFF position
with no user firmware loaded, the boot program loads the factory firmware.
Switch 1 is set to OFF by default.
Switch 2 is used to accept the new IP address from the administrator utility
software. Switch 2 is set to the ON position by default.
Switch 3 is used to either: limit KN9000 access to software with a matching
serial number (software provided in the same package) or provide access to
software regardless of a matching serial number (software distributed with
another KN9000 unit). Switch 3 is set to the OFF position by default, to allow
KN9000 access to software regardless of the software serial number. If you
set this switch to the ON position, the KN9000 limits access to the software
with the matching serial number (software provided in the same package as
the KN9000 unit).
Switch 4 is reserved for future applications.
Table of contents
Other ATEN Control Unit manuals
Popular Control Unit manuals by other brands

Click Lighthouse
Click Lighthouse ClickSmart user manual

MKS
MKS Granville-Phillips 203 Series instruction manual

Stahl
Stahl SLE22 Translation of original operating instructions

Talis
Talis ERHARD INFINITY 0140160 Series Installation, operation and maintenance manual

Makita
Makita ADP12 instruction manual

thomann
thomann Harley Benton PA-250 user manual