18 19EN
I. DISPOSAL
Pursuant to art. 26 of Legislative Decree no. 49
of 14 March 2014, “Implementation of Directive
2012/19/EU on waste electrical and electronic
equipment (WEEE)”.
The crossed-out wheelie bin symbol displayed on a product or its
packaging indicates that when the equipment reaches the end of
its life cycle it must be disposed of separately from other waste
for purposes of treatment and recycling. Once such products
reach the end of their life cycle, users may dispose of them
free of charge at special municipal centres for the collection of
waste electrical and electronic equipment, or return them to the
distributor under one of the following arrangements:
- very small products, i.e. equipment with no external dimension
exceeding 25 cm, may be returned with no obligation to buy
to distributors whose sales areas dedicated to electrical and
electronic equipment exceed 400 m2. Distributors with smaller
sales areas are not obliged to participate in this scheme.
- products of dimensions greater than 25 cm may be returned
to distributors under a “one for one” arrangement, i.e. the
distributor is only obliged to receive the product in return
for the purchase of a new, equivalent product, with one new
product being purchased for every waste product returned.
The separate collection and subsequent processing of products
for purposes of recycling, treatment and environmentally
sound disposal helps avoid potentially harmful effects on the
environment and human health, and facilitates the reuse/
recycling of the materials contained in the products. Users
abusively disposing of products are subject to the penalties
applicable under the respective legislation.
EN
L. “RACE USE ONLY” DISCLAIMER
Due to the particular operative and environmental conditions
under which the “Race Use Only” Products operate during
competitions, such Products may be subject to use under
extreme conditions, which may exceed the project limits and
control as set by ATHENA. ATHENA shall not have any liability
whatsoever in connection with the use of the “Race Use Only”
Products under extreme conditions during the competitions, nor
shall any “Product liability” apply in such case.
Therefore “Race Use Only” Products are excluded from any
form of guarantee.
The “Race Use Only” Products are designed and manufactured
for competitive-sporting use. Therefore, the “Race Use Only”
Products shall not be used on public roads. ATHENA shall not
have any liability whatsoever in connection with the use of
the “Race Use Only” Products in violation of such limits. Any
alteration of or tampering with the “Race Use Only” Products
may endanger their safety.
ATHENA shall not have any liability whatsoever in connection
with Client’s failure to comply with the instructions given by
ATHENA and/or in connection with their inappropriate and/
or incorrect installation on vehicles and/or with the lack of or
incorrect maintenance of such Products, nor shall any “Product
liability” apply in such cases.
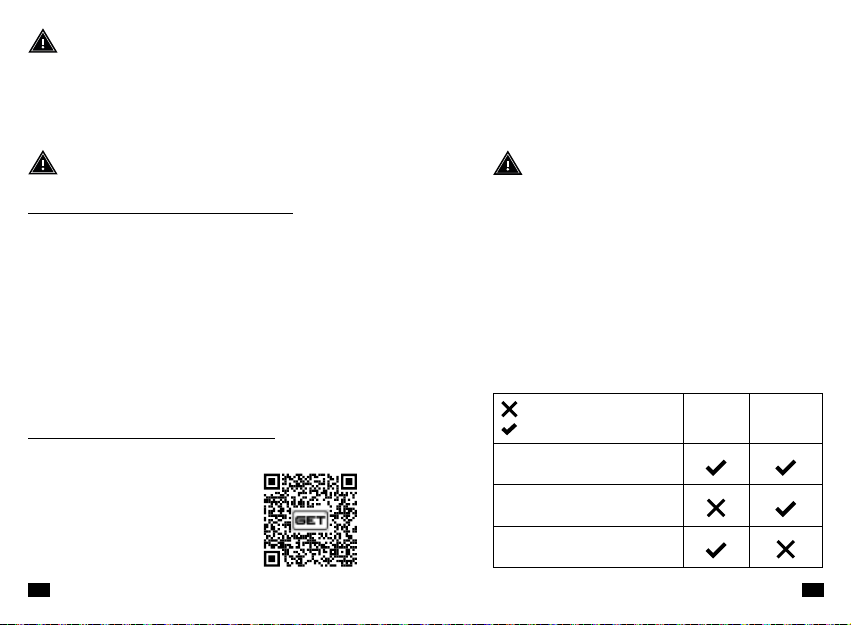
H. SYMBOLS
We declare that this product supplied is compliant with
RoHS Directive 2011/65/EU amended by the Directive
2015/863/EU (RoHS3) relative on the Restriction of
the Use of Certain Hazardous Substances.