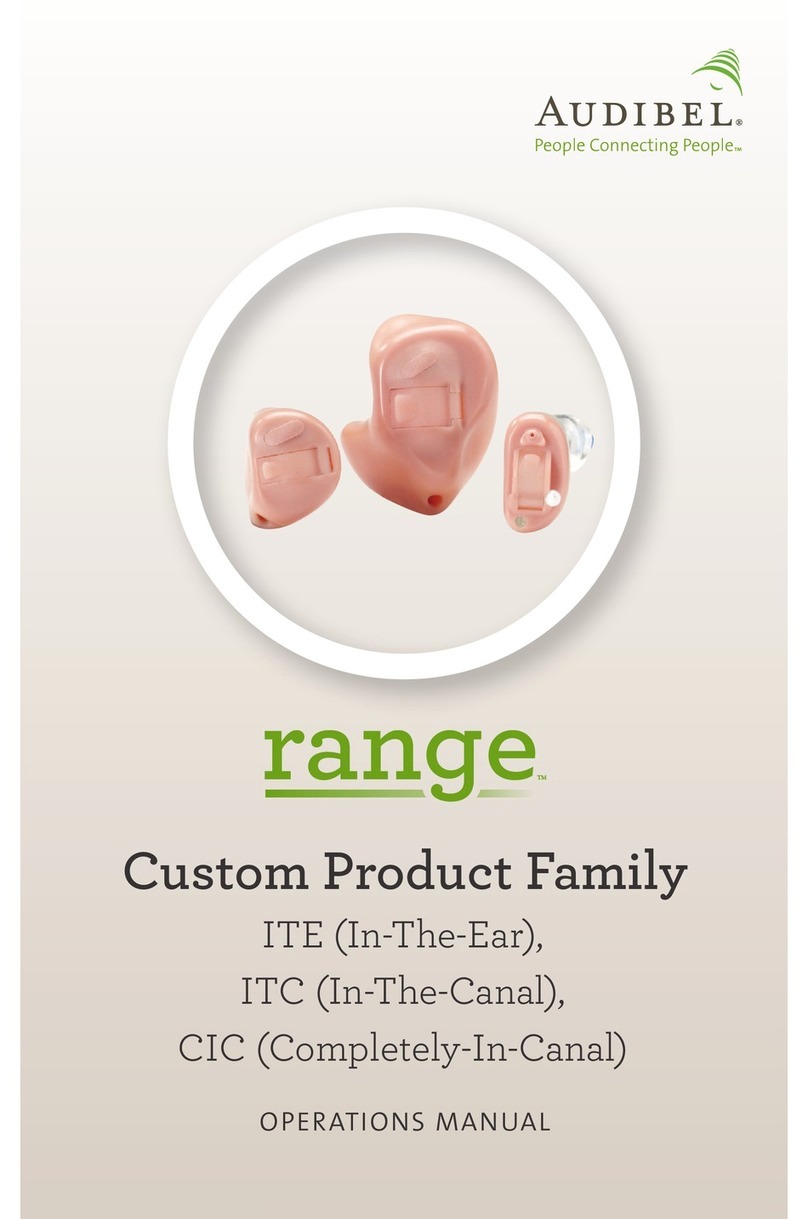
Audibel Anthem User manual

In-The-Ear, In-The-Canal, Completely-In-Canal
Operations Manual
Custom Hearing Aids

Table of Contents
Overview
Features, Controls and Identification............. 1
Preparation
Batteries................................... 4
Battery Indicators............................ 6
Insertion and Removal ........................ 7
Operation
On & Off .................................. 9
Volume Control ............................. 10
Multimemory Settings ........................ 11
Directional Settings .......................... 13
Telephone Use .............................. 14
T2(touch-tone) Function ...................... 18
Self Check ................................. 20
Reminder .................................. 21
Summary of Settings ......................... 22
Hearing System Care
Instrument Care ............................. 24
Service and Repair ........................... 25
Troubleshooting Guide ....................... 25
Tips for Better Communication
For You.................................... 26
For Your Family and Friends ................... 27
FDA Information
Required Information......................... 28
My hearing instrument is a/an:
ITE (In-The-Ear) see page 1
ITC (In-The-Canal) see page 2
CIC (Completely-In-Canal) see page 3

1
ITE Overview
Features, Controls and Identification
Your hearing system controls include:
1. Microphone opening(s)
2. Battery compartment (on/off control)
3. Vent (optional)
4. Sound outlet (receiver) and wax
protection system
Your hearing system can be identified by:
5. Location of serial number:
RED Right
BLUE Left
1
2
3
Multimemory
Button (Optional)
Volume Control
(Optional)
ITE Battery Size: 13
4
0
0
-
0
0
0
0
0
0
0
0
5

2
ITC Overview
Features, Controls and Identification
Your hearing system controls include:
1. Microphone opening(s)
2. Battery compartment (on/off control)
3. Vent (optional)
4. Sound outlet (receiver) and wax
protection system
Your hearing system can be identified by:
5. Location of serial number: RED Right
BLUE Left
1
2
3
4
0
0
-
0
0
0
0
0
0
0
0
5
Multimemory
Button (Optional)
Volume Control
(Optional)
ITC Battery Size: 312

3
Features, Controls and Identification
Your hearing system controls include:
1. Multimemory button (optional)
2. Microphone opening
3. Sound outlet (receiver) and wax
protection system
4. Battery compartment (on/off control)
5. Removal handle
6. Vent (optional)
Your hearing system can be identified by the color
of the instrument case (red is for the right ear and
blue is for the left ear) and the serial number:
7. Location of serial number
CIC Overview
3
2
4
6
5
1
00-00000000
7
CIC Battery Size: 10

4
Preparation
Batteries
Your hearing system uses a battery as its power
source. This battery size can be identified by the
orange (13), brown (312), or yellow (10) color code
on the packaging.
To insert or replace
the battery:
1. Use the nail grip on the battery door.
2. Open the battery door gently and remove
the old battery.
3. Remove the tab from the new battery.
4. Line up the battery’s “+” sign (flat side of the
battery) with the “+” on the battery door.
5. Close the battery door.
My hearing instrument uses a:
13 battery (ITE) – Orange
312 battery (ITC) – Brown
10 battery (CIC) – Yellow

5
Preparation
1 2
3 4
5

6
Preparation
Battery Indicator Tones
An indicator will sound when the battery voltage is
low. You have approximately 5 minutes* to replace
the battery. An indicator will sound just before the
battery stops working.
* Actual time between low battery indicator and shut
down will vary depending on environmental noise
levels and brand of battery used.
Helpful Hints
t /&7&3'03$&5)&#"55&3:%0034)65
UIJTDPVMESFTVMUJOTFSJPVTEBNBHFJGUIFEPPS
will not close securely, check that the battery is
inserted correctly.
t %POPUPQFOUIFCBUUFSZEPPSUPPGBSPSEBNBHF
is likely to occur.
t #FDBVTFPGUIFJSTJ[FJUTBHPPEJEFBUP
change and replace batteries above a table
or desk to reduce the risk of dropping the
instrument or battery.
t %JTQPTFPGVTFECBUUFSJFTJNNFEJBUFMZJOUIF
proper waste or recycling container.
t #FDBVTFCBUUFSJFTDBOWBSZJOTJ[FBOE
performance, your hearing care professional
is your best source for lifespan estimates and
verification that you are using the proper size
and type.

7
Preparation
Insertion and Removal
To insert the hearing instrument:
)PMEUIFJOTUSVNFOUXJUIZPVSUIVNCBOE
forefinger on the outer edges of the case.
2. Tilt your hand slightly forward and gently
insert the canal tip of the instrument into your
ear canal and rotate the instrument backward.
Softly press the instrument into place with
your fingertip.
To remove the hearing instrument:
Grasp the instrument with your thumb and
GPSFmOHFSHFOUMZSPUBUFJUBTZPVQVMMPVUXBSE
Devices with removal handle: grasp removal handle
and gently remove from ear.
1 2

8
Preparation
Helpful Hints
t .JOPSJSSJUBUJPOBOEJOnBNNBUJPONBZPDDVS
as your ear becomes accustomed to having an
PCKFDUJOJUJGTPQMFBTFDPOUBDUZPVSIFBSJOH
care professional
t *GBOBDUVBMBMMFSHJDSFBDUJPOPDDVSTBMUFSOBUJWF
NBUFSJBMTBSFBWBJMBCMFDPOUBDUZPVSIFBSJOH
care professional
t 4FWFSFTXFMMJOHEJTDIBSHFGSPNUIFFBS
excessive wax, or other unusual conditions
warrant immediate consultation with a physician
Warnings
Batteries are dangerous if swallowed. To help
prevent the accidental ingestion of batteries:
Keep out of reach of children and pets
Check your medications before taking them –
batteries have been mistaken for pills
/FWFSQVUCBUUFSJFTJOZPVSNPVUIBTUIFZDBO
easily be swallowed
National Button Battery Ingestion Hotline:
202-625-3333

9
Operation
Insert a battery and
completely close the
battery door.
Devices with volume control: Rotate forward
to turn device on.
To turn OFF:
Open the battery door until the battery is no
longer touching the battery contacts.
Some hearing instruments are programmed to
have a Power-On delay. Your hearing professional
will place a check in the box below if your hearing
instruments have this feature.
The Power-On delay means that your instruments
will take several seconds to power up once they
have been turned on. This feature allows you to
get the hearing instruments in your ear before they
start to amplify sound. You may hear a tone series
indicating that your device is fully powered on.
On & Off
To turn ON:
My volume control is also an on/off switch.
My hearing instrument has a Power-On delay.

10
Operation
Volume Control
To turn the instrument
“on,” use your fingertip to
rotate the volume control
forward, toward your face.
1. To make sounds louder,
continue to rotate the
control forward, toward
your face.
2. To make sounds softer,
use your fingertip to
rotate the control toward
the back of your head.
3. Your hearing instruments
may be programmed to
beep when you reach
the correct setting.
ON OR VOLUME
INCREASE
DECREASE VOLUME
OR OFF
My hearing instrument has a volume control.
Please read the section below.
My hearing instrument volume is
set automatically. See page 11.
My hearing instrument uses T2for volume control.
See page 18.

11
Operation
Your hearing system has been set to a specific
volume level by your hearing care professional.
If sounds are generally too loud or too soft, please
contact your hearing care professional for advice
and adjustment.
Multimemory Settings
Your hearing care professional
can set up to four hearing
programs for you. These
additional programs are
accessed by pressing the
Multimemory button inward.
My hearing instrument has Multimemory.
Please read the section below.
My hearing instrument does not have Multimemory.
See page 13.
My hearing system has:
Optimal volume control indicator
Minimum volume control indicator
Maximum volume control indicator

12
Operation
When you press the Multimemory button, you
may hear an indicator or a tone series indicating
the device has changed to the next program.
Your hearing instrument has been set up with the
following environments.
Program Tone Speech Environment
5POF i0OFw /PSNBM
2 2 Tones “Two”
3 3 Tones “Three”
4 4 Tones “Four”

13
Operation
Directional Settings
Directional microphones help improve speech
understanding in noisy situations.
Your hearing system has been set up with the
following directional settings:
Program Directional Setting
1 Automatic Manual Off
2 Automatic Manual Off
3 Automatic Manual Off
4 Automatic Manual Off
My hearing system uses directional microphones.
Please read the information below.
My hearing system uses omnidirectional microphones.
See Telephone Use section on page 14.

14
Operation
When the directional microphones are activated
automatically (automatic), the hearing instrument will
continually monitor the environment and gradually adjust
to the appropriate mode to optimize speech intelligibility.
When the directional microphones are activated by
pushing the Multimemory button (manual), the hearing
instrument optimizes speech when you select the
directional memory.
Ask your hearing care professional about your particular
directional settings.
Telephone Use
Your hearing instruments are equipped with tools
to help you effectively communicate on the telephone.
Your hearing professional will check the box/boxes that
represent the telephone settings in your instruments.
My hearing instruments have the following telephone
setting(s):
Automatic Telephone Response. See page 15.
Automatic Telecoil. See Page 15.
Telecoil. See page 16. The telecoil is located
in Program _____________________________.
A beep or indicator tone is enabled on my
instruments to signal when the device
switches to the telephone setting.

15
Operation
Automatic Telephone Response and
Automatic Telecoil
These options activate the telephone response
automatically when used with a hearing aid
compatible telephone. To use, place the
telephone receiver on your ear as you normally
would and the hearing instrument will select the
telephone setting. It might be necessary to move
the telephone receiver slightly to find the best
reception. Once the telephone is removed from the
ear, the hearing instrument will switch back to the
normal listening mode.
Note: If you have a hearing aid compatible
phone, but your Automatic Telephone Response
or Automatic Telecoil does not switch to the
telephone setting automatically, your hearing
professional can provide you with a small magnet
to place on your telephone receiver. This magnet
will help activate your automatic telephone option.

16
Operation
Telecoil and Manual Switching
)FBSJOHJOTUSVNFOUTXJUIBNBOVBMUFMFDPJMBMMPX
you to switch the devices to telephone mode
when needed.
Manually switched telecoils
are activated by choosing
the telecoil setting using the
Multimemory button.
General Telephone Use
Some hearing instruments
work best by holding the
phone close to, but not fully
covering your ear. In some
instances, if you encounter
whistling (feedback), tilt the
receiver at an angle until the
whistling stops. Your hearing
professional can provide
instructions and techniques
for your specific needs.

17
Operation
DISCLAIMER – Some hearing aid users have reported a
buzzing sound in their hearing aids when they are using
cell phones, indicating that the cell phone and hearing
aid may not be compatible. According to the ANSI
C63.19 standard (ANSI C63.19-2006 American National
Standard Methods of Measurement of Compatibility
Between Wireless Communications Devices and Hearing
Aids), the compatibility of a particular hearing aid and
cell phone can be predicted by adding the rating for
the hearing aid immunity to the rating for the cell phone
emissions. For example, the sum of a hearing aid rating
of 2 (M2/T2) and a telephone rating of 3 (M3/T3) would
result in a combined rating of 5. Any combined rating
that equals at least 5 would provide “normal use”; a
combined rating of 6 or greater would indicate “excellent
performance.”
The immunity of this hearing aid is at least M2/T2. The
equipment performance measurements, categories
and system classifications are based upon the best
information available but cannot guarantee that all users
will be satisfied.
NOTE: The performance of individual hearing aids may
vary with individual cell phones. Therefore, please try this
hearing aid with your cell phone or, if you are purchasing
a new phone, be sure to try it with your hearing aid prior
to purchase. For additional guidance, please ask your
cell phone provider for the booklet entitled “Hearing Aid
Compatibility with Digital Wireless Cell Phones.”

18
Operation
T2(touch-tone) Function
You may use a cell phone, cordless telephone, or
corded telephone to adjust your hearing system. The
telephone MUST “beep” when the keys are pressed
for this function to work. If your telephone does not
“beep” when the keys are pressed, consult your
telephone operator’s manual or contact your
telephone service provider.
t
)PMEUIFQIPOFBQQSPYJNBUFMZJODIFTGSPNUIFFBS
t
Press ** to “wake” T²(a tone series indicates that it
is ready for a command)
t
Press the telephone key that corresponds to the
desired function
t
T²will “sleep” after 20 seconds
Use the following keypad buttons to
remotely adjust your hearing aid settings.
My hearing instrument has T2capability.
Please read the section below.
My hearing instrument does not have
T2capability. See page 20.
Volume
Memory Memory
Press 2 times
to wake
Mute
Volume
Other manuals for Anthem
2
Table of contents
Other Audibel Hearing Aid manuals
Audibel
Audibel Virtue User manual
Audibel
Audibel A4 iQ R User manual
Audibel
Audibel BTE User manual
Audibel
Audibel Arc AI User manual

Audibel
Audibel Anthem User manual

Audibel
Audibel Anthem Plus User manual
Audibel
Audibel Via Rechargeable User manual

Audibel
Audibel SurfLink Mini Mobil User manual

Audibel
Audibel START User manual

Audibel
Audibel A4 iQ R User manual
Popular Hearing Aid manuals by other brands

Widex
Widex SUPER 440 SERIES User instructions

Hansaton
Hansaton EXCITE sound XC R312 Guide

TruHearing
TruHearing TH Premium user guide

Conversor
Conversor Listenor Pro user manual
Empower
Empower BOOST installation guide

Starkey Hearing Technologies
Starkey Hearing Technologies Rocker Switch BTE 313 Operation manual
