AudioBahn AVDVD1P User manual

UNIVERSAL M OUNT
DVD PLAYER
AVDVD1P


Table of Contents
2
Table of Contents
.................................................2-3
Introduction
............................................. ..........4
Important Information
.............................................5
Safety Information
.................................................6-8
Information About Discs
..........................................9
FrontPanel........................................................11
VFDDisplay .......................................................12
RearPanel ........................................................13
Important Safety Instruction When Using DC IN Jacks . . . . . . . . . . . . . . . . . . . . .14
Accessory.........................................................14
RemoteControlLayout ..............................................15-16
InstallingBatteriesintheRemoteControl................................17
UsingtheRemoteControl............................................17
BatteryHandlingPrecaution ..........................................17
RemoteControlHandlingPrecaution ..................................17
Connections
........................................................17-21
ConnectingtoaTV .................................................18
ConnectingtoaTV/AUDIOSystem ...................................19
ConnectingtoaDolbyDigitalAmp.....................................20
Enjoying 2-Channel Digital Stereo Sound . . . . . . . . . . . . . . . . . . . . . . . . . . . . . . .21
Before playing Your DVD Disc
........... ..........................22
Playing a DVD
.....................................................23
Caring for Your Discs
.............................................10
Controls and Functions
...........................................11-17

Table of Contents
3
Playing an MP3 file ...............................................24
Disc Menu .........................................................25
DVD Setup .........................................................26-33
Setting up Language ................................................27-28
Setting up Video Item ...............................................29-30
Setting up Audio ....................................................31-32
Setting up the Parental Control ........................................33
Selecting Audio Languages .......................................34-36
Select the Audio Language ...........................................35
Selecting Subtitle Languages .........................................36
Confirming Screen Display .......................................37-38
Scanning .........................................................39
Slow Motion Play ..................................................40
Repeat Playback ..................................................41-42
Zoom ...............................................................43
Searching ..........................................................45-46
Playing JPEG Files ................................................47
Specifications......................................................48
Troubleshooting ..................................................49-50
Changing Camera Angles .........................................44
Warning / Disclaimer ..............................................51
Warranty ..........................................................52-53


Important Information
5
TO REDUCE THE RISK OF ELECTRIC SHOCK, DO
NOT REMOVE THE COVER (OR BACK).
NO USER-SERVICEABLE PARTS ARE INSIDE.
REFER SERVICING TO QUALIFIED SERVICE
PERSONNEL.
This symbol indicates “dangerous voltage”
inside the product that presents a risk of
electric shock or personal injury.
This symbol indicates important
instructions accompanying the
product.
CAUTION: DVD PLAYERS USE AN INVISIBLE LASER BEAM WHICH CAN CAUSE
HAZARDOUS RADIATION EXPOSURE IF DIRECTED.
BE SURE TO OPERATE PLAYER CORRECTLY AS INSTRUCTED.
CAUTIONS
Caution : To prevent electric shock, match wide blade of plug to wide slot, fully insert.
Attention : Pour éviter les chocs électriques, introduíre la lame la plus large de la fiche dans la borne
correspondante de la prise et pousser jusqu au fond.
This product satisfies FCC regulations when shielded cables and connectors are used to connect
the unit to other equipment. To prevent electromagnetic interference with electric appliances,
such as radios and televisions, use shielded cables and connectors for connections.
FCC NOTE (for U.S.A):
This equipment has been tested and found to comply with the limits for a Class B digital device,
pursuant to Part 15 of the FCC rules. These limits are designed to provide reasonable protection against
harmful interference in a residential installation. This equipment generates, uses and can radiate radio
frequency energy and, if not installed and used in accordance with the instructions, may cause harmful
interference to radio or television reception, which can be determined by turning the equipment off and on, the
user is encouraged to try to correct the interference by one or more of the following measures.
Reorient or relocate the receiving antenna.
Increase the separation between the equipment and receiver.
Connect this equipment into an outlet on a circuit different from that to which the receiver is connected.
Consult the dealer or an experienced radio/TV technician for help.
This class B digital apparatus meets all requirements of the Canadian Interference -- Causing Equipment
Regulations.
CLASS 1 LASER PRODUCT
LUOKAN 1 LASER LAITE
KLASS 1 LASER APPARAT

Safety Information
6
1. Read owner’s manual
After unpacking this product, read the owner’s manual carefully, and follow all the operating and other
instructions.
2. Power Sources
This product should be operated only from the type of power source indicated on the marking label.
If you are not sure of the type of power supply in your home, consult your product dealer or local power
company. For products intended to operate from battery power, or other sources, refer to the operating
instructions.
3. Grounding or Polarization
This product is equipped with a polarized alternating current line plug (a plug having one blade wider
than the other). This plug will fit into the power outlet only one way. This is a safety feature. If you are
unable to insert the plug fully into the outlet, try reversing the plug. If the plug should still fail to fit,
contact your electrician to replace your obsolete outlet. Do not defeat the safety purpose of the
polarized plug.
4. Ventilation
Slots and openings in the cabinet are provided for ventilation and to ensure reliable operation of the
product and to protect it from overheating. These openings must not be blocked or covered. The
openings should never be blocked by placing the product on a bed, sofa, rug or other similar surface.
This product should not be placed in a built-in installation such as a bookcase or rack unless proper
ventilation is provided or the manufacturer’s instructions have been adhered to.
In summer, ventilate for 10 minutes before playing Disc.
In winter, play Disc after igniting the car.
5. Heat
The product should be situated away from heat sources such as radiators, heat registers, stoves, or
other products (including amplifiers) that produce heat.
6. Water and Moisture
Do not use this product near water-for example, near a bath tub, wash bowl, kitchen sink. or laundry
tub; in a wet basement; or near a swimming pool and the like.
7. Cleaning
Unplug this product from the wall outlet before cleaning. Do not use liquid cleaners or aerosol cleaners.
Use a damp cloth for cleaning.
CAUTION: PLEASE READ AND OBSERVE ALL WARNINGS AND INSTRUCTIONS IN THIS OWNER’S
MANUAL AND THOSE MARKED ON THE UNIT. RETAIN THIS BOOKLET FOR FUTURE
REFERENCE.
This set has been designed and manufactured to assure personal safety. Improper use can result in
electric shock or fire hazard. The safeguards incorporated in this unit will protect you if you observe
the following procedures for installation, use and servicing.
This unit is fully transistorized and does not contain any parts that can be repaired by the user.
DO NOT REMOVE THE CABINET COVER, OR YOU MAY BE EXPOSED TO DANGEROUS VOLTAGE.
REFER SERVICING TO QUALIFIED SERVICE PERSONNEL ONLY.

Safety Information
7
8. Power-Cord Protection
Power-supply cords should be routed so that they are not likely to be walked on or pinched by items
placed upon or against them, playing particular attention to cords at plugs, convenience receptacles,
and the point where they exit from the product.
9. Overloading
Do not overload wall outlets, extension cords, or integral convenience receptacles as this can result in
a risk of fire or electric shock.
10. Lightning
For added protection of this product during storms, or when it is left unattended and unused for long
periods of time, unplug it from the wall outlet. This will prevent damage to the product due to lightning
and power-line surges.
11. Object and Liquid Entry
Never push objects of any kind into this product through openings as they may touch dangerous
voltage points or short-out parts that could result in a fire or electric shock. Never spill liquid of any
kind on the product.
12. Attachments
Do not use attachments not recommended by the product manufacturer as they may cause hazards.
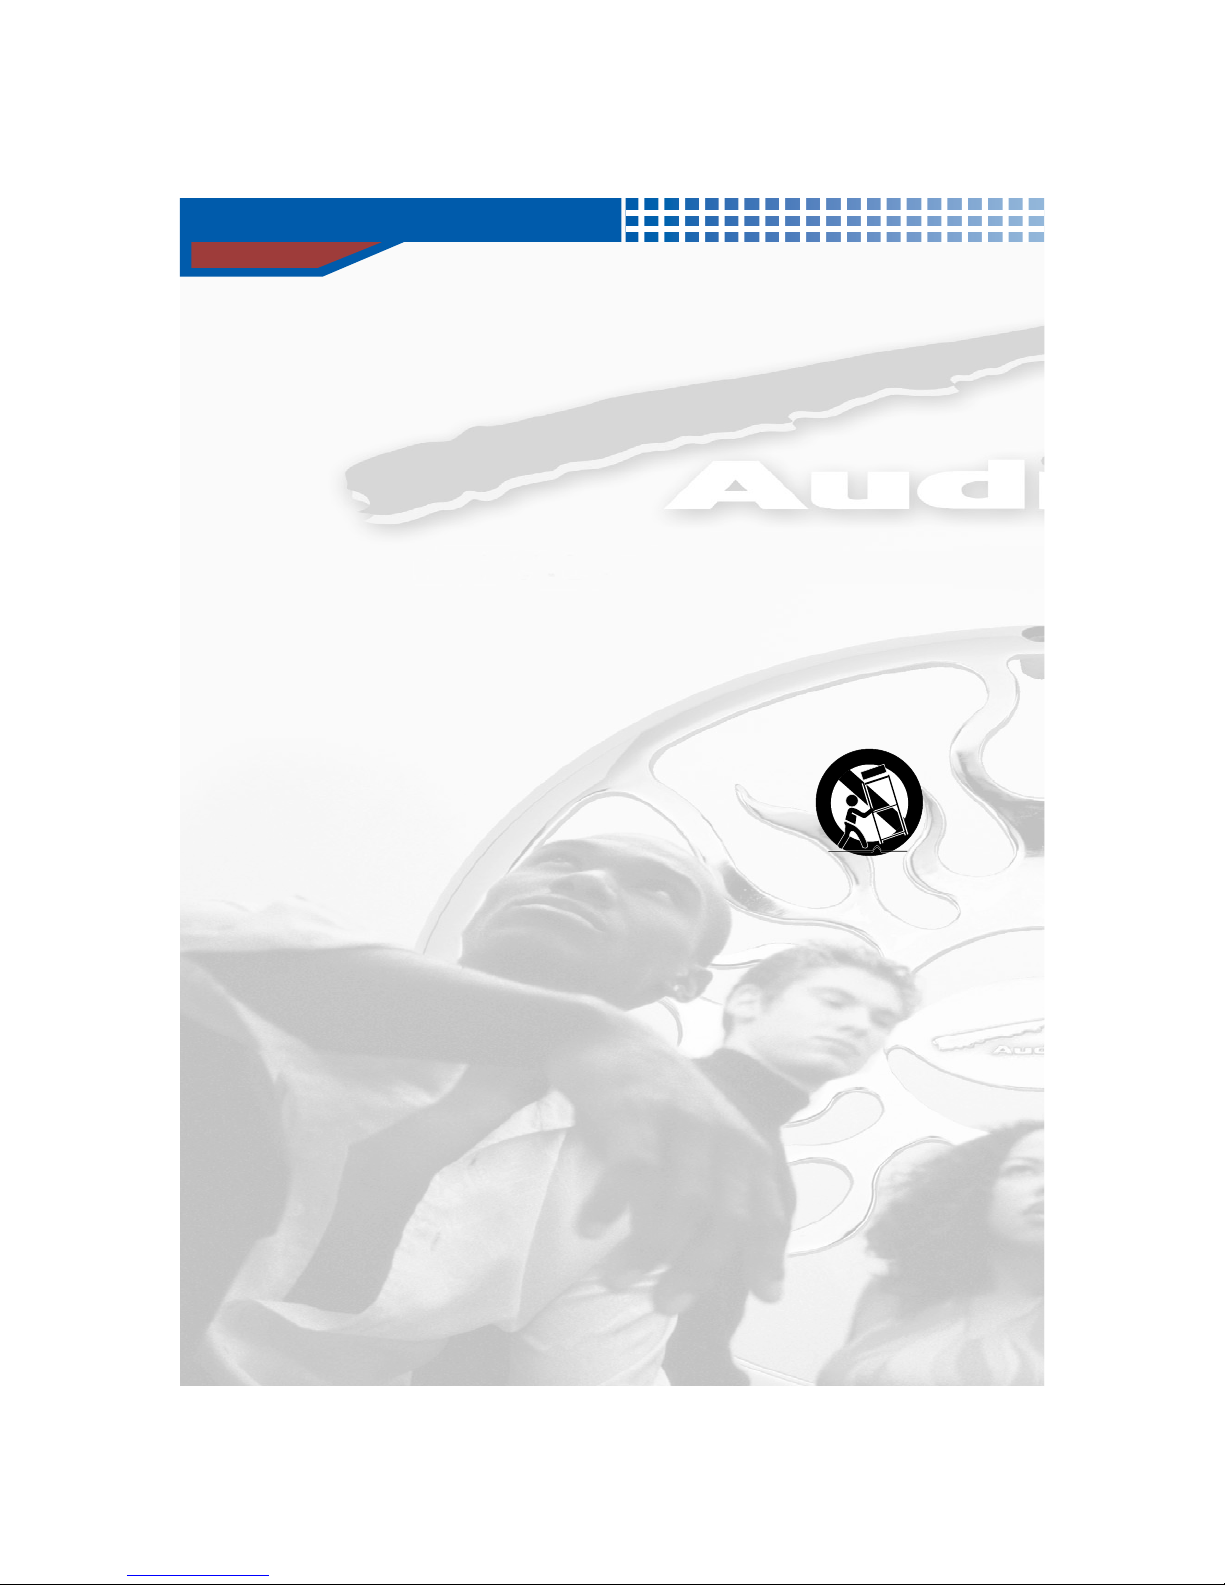
13. Accessories, Carts, and Stands
Do not place this product on an unstable cart, stand, tripod, bracket, or table.
The product may fall, causing serious injury to a child or adult, and serious
damage to the product. Use only with a cart, stand, tripod, bracket,
or table recommended by the manufacturer, or sold with the product.
Any mounting of the product should follow the manufacturer’s instructions,
and should use a mounting accessory recommended by the manufacturer.
A product and cart combination should be moved with care. Quick stops, excessive force, and uneven
surfaces may cause the product and cart combination to overturn.
14.DiscSlot
Keep your fingers well clear of the disc slot as it is closing. It may cause serious personal injury.
15. Burden
Do not place a heavy object on or step on the product. The object may fall, causing serious personal
injury and serious damage to the product.
16. Connecting
When you connect the product to other equipment, turn off the power and unplug all of the equipment
from the wall outlet. Failure to do so may cause an electric shock and serious personal injury. Read
the owner’s manual of the other equipment carefully and follow the instructions when making any
connections.
17. Sound Volume
Reduce the volume to the minimum level before you turn on the product. Otherwise, sudden high
volume sound may cause hearing or speaker damage.

Safety Information
8
18. Sound Distortion
Do not allow the product to output distorted sound for a longtime. It may cause speaker overheating
and fire.
19. Laser Beam
Do not look into the opening of the disc tray or ventilation opening of the product to see the source of
the laser beam. It may cause sight damage.
20. Disc
Do not use a cracked, deformed, or repaired disc. These discs are easily broken and may cause
serious personal injury and product malfunction.
21. Damage Requiring Service
Unplug this product from the wall outlet and refer servicing to qualified service personnel under the
following conditions:
a) When the power-supply cord or plug is damaged.
b) If liquid has been spilled, or objects have fallen into the product.
c) If the product has been exposed to rain or water.
d) If the product does not operate normally by following the operating instructions.
Adjust only those controls that are covered by the operating instructions as an improper
adjustment of other controls may result in damage and will often require extensive
work by a qualified technician to restore the product to its normal operation.
e) If the product has been dropped or damaged in any way.
f) When the product exhibits a distinct change in performance-this indicates a need for service.
22. Servicing
Do not attempt to service this product yourself as opening or removing covers may expose you to
dangerous voltage or other hazards. Refer all servicing to qualified service personnel.
23. Replacement parts
When replacement parts are required, be sure the service technician has used replacement parts
specified by the manufacturer or have the same characteristics as the original part. Unauthorized
substitutions may result in fire, electric shock, or other hazards.
24. Safety Check
Upon completion of any service or repairs to this
product, ask the service technician to perform safety checks to determine that the product is in proper
operating condition.
25. Installation
Do not stand the player in the left and right direction on above of the angle +10 ~ -10 when
playing in a car or at home.
(It may not operate.)

Information About Discs
9
DVD(Digital Versatile Disc) can record 135 minutes’ picture, 8 languages
sound and maximum 32 languages sub-titles. You can enjoy cinema-like
live picture and crystal clear sound with MPEG-2 compression technology
and dolby digital surround.
Both the DVD player and the discs are coded by region. These regional codes must
be matched in order for the disc to be played. If the codes are not matched, the disc
will not be played.
DVD PLAYER can not play LD, CD-G, CD-I, CD-ROM, DVD-ROM.
DVD PLAYER might not play commercial disc or disc obtained outside the residence.
( When appears on screen, it indicates an invalid button press.)
Dolby Digital Digital
Audio Disc
Stereo Disc Broadcasting Method MP3 Disc
Discs you can play
Discs that cannot be played
Most DVD discs are encoded in crytptogram to prevent disc copy.
This product incorporates copyright protection technology that is protected by the methods of
claims of certain U.S. patents and other intellectual property rights owned by Macrovision
Corporation, and is intended for home and other limited viewing uses only unless authorized
by Macrovision Corporation. Reverse engineering or disassembly is prohibited.
This product is manufactured by technical co-operation with Dolby Laboratories
this symbol and trademark are reserved for Dolby Laboratories.
Dolby Laboratories Inc. All rights Reserved.
Copy Protection

Caring for Your Discs
10
How to handle disc
Disc Storage
How to clean the disc
Be careful in handling the disc, because the slight flaw in disc might affect picture on the screen.
You can pick up disc without difficulty if you press the center of
supporting part when extracting disc from the case.
Please refer to the left illustration, and do not touch the surface of
disc when moving the disc.
Do not paste paper or adhesive tape on the disc.
It might bend a disc.
Be careful not to leave a fingerprint or stain on the disc.
Wash your hands before handling the disc.
Wipe the disc with dry cloth after cleaning with soft colth dampend
with neutral detergent in cleaning the stained disc.
Clean the disc from inside to outside.
C
Ca
au
ut
ti
io
on
nBe careful not to leave a dirt or other substance on the disc.
Do not play a cracked or scratchy disc.
R
Re
ef
fe
er
re
en
nc
ce
eSudden shift of the product from cold place to warm place might make a dewdrop on the
playing part or lenses causing malfuncion. In this case, use after 1~2 hours pluging the product.
Do not keep under direct
sunlight.
Keep in a cool ventilated area. Store vertically.
Keep in a clean protection jacket.
R
Re
ef
fe
er
re
en
nc
ce
eDo not use thinner, benzen, commercial detergernt, alcohol, elctrostatic-preventing spray
which might cause damage the disc.

Controls and Functions
11
Front Panel
POWER Turns the power on/off.
Disc In A Disc is inserted here.
EJECT A Disc is ejected by this button.
STOP Stop disc play
PLAY Begin disc play
SKIP Use to skip a scene or music
Remote Sensor Receives a light signal from the remote controller.
Display Window Displays information about the current state of the
player and the disc.
1)
1
2)
2
3)
3
4)
4
5)
5
6)
6
7)
79
9)
8)
8
Aux Audio / Video inputsAux inputs
AVDVD1P

Controls and Functions
12
VFD Display
DVD/SVCD/VCD/CD/PBC/MP3 Illuminates the type of the disc loaded on the disc tray
Rotation Rotates when the disc is spinning.
Play/Pause Indicates the current operation mode.
Repeat/All Indicates the current repeat play mode.
Chapter/Track Illuminates the chapter or track information of the DVD
disc under play.
Angle Indicates that the current disc being played is viewed as multi
angle.
Time Indicates time information and displays information about
operation.
Dolby Digital Indicates that the audio type of the disc under play in Dolby
Digital.
2 4 53
1 68 11
7
1)
2)
3)
4)
5)
6)
7)
8)

Controls and Functions
13
Rear Panel
EXTERNAL REMOTE CONNECTOR
Connect an external remote cable(provided) to this jack.
DC IN/OUT Connect DC 12V power cable.
DC IN/OUT Input from DC 12V power source from cigar jack.
VIDEO INPUT Connect a video cable to video output of auxiliary devices.
AUDIO INPUT Connect a audio cable to audio output of auxiliary devices.
VIDEO OUT Connect a video cable to this jack and to the Video Input jack on
your TV.
AUDIO OUT Connect the audio cables(left and right) from these jacks on your DVD
player to the corresponding Audio Input jacks on your TV or Receiver.
DIGITAL AUDIO OUT (Coaxial)
Use a coaxial cable(not provided) to connect your DVD player to a
compatible Dolby Digital.
S-VIDEO Use the S-Video cable to connect this jack to the S-Video jack on your
television for a higher quality picture.
3 9 62 1 87
4 5
1)
2)
3)
4)
5)
6)
7)
8)
9)

Controls and Functions
14
Important Safety Instruction When Using DC IN Jacks
Accessory
W
Wa
ar
rn
ni
in
ng
g: Use AC/DC Adapter (DC 12V, 2A) when playing the DVD player at home using an
external power source.
1. When using this DVD player at home
W
Wa
ar
rn
ni
in
ng
g:1.
Unplug the DVD player when you are not using to prevent electric discharge.
2.
Do not connect the DC power cable to the car battery directly.
3. When connecting the DC power cable to the Acc power.
Connect a cigar jack to DC input (3).
2. When using this DVD player in the car
Remote
controller
Batteries x 2ea
Video /Audio
cable
Owner's
manual
DC power cable
Owner's
manual
IR/Senser
L.bracket ı2ea Cigarette Jack

Controls and Functions
15
Remote Control Layout
1
3
7
8
11
12
14
15
18
22
23
24
27
28
17
2
4
5
6
9
10
13
16
19
20
21
25
26
29

Controls and Functions
16
1. POWER
UsetoturnonorofftheDVDplayer.
2. EJECT
Use to insert or eject disc.
3. S-TITLE
Use this button to choose subtitle.
(only when the disc supports various language
subtitles).
4. LANGUAGE
Use this button to choose language
(only when the disc supports various language
sounds).
5. ANGLE
Use to access various camera angles on a
disc (only when the disc supports multiple
camera angles).
6. TITLE
Displays the titles on the disc under play.
7. MENU
Shows the menus of the disc under play.
8. MODE
Use this button to choose playmode or
repeat mode.
9. VOLUME
Increases and decreases the volume.
10. ZOOM
Zooms in on picture.
11.A-B
Repeats the selected segment.
12. GOTO
Use to go to the track or chapter of the
DVD disc you want.
13. MUTE
Cuts off the sound.
14. STOP
Stops disc play.
15. PAUSE
Usethisbuttontostopforawhile.
16. PLAY
Begin disc play.
17. BACK
Moves previous chapter(DVD) or
track(VCD, CDDA, MP3).
18. FR
Reverses through the disc form 2X to 20X
faster.
19. NEXT
Use to move to the next chapter(DVD) or
track(VCD,CDDA, MP3).
20. FF
Forwards through the disc from 2X to 20X
faster.
21. ARROW
Use to move to the desired menu.
22. ENTER
Use this button to choose menu you want.
23. SETUP
Use to set various functions according to
individual preference.
24. SLOW BACK
Reverses through the disc from 1/2X to 1/7X
faster.
25. DISPLAY
Shows the information about title, chapter
of the disc under play.
26. SLOW FORWARD
Forwards through the disc from 1/2X to
1/7X faster.
27. NUMERIC BUTTONS
Use when making a selection on menu
screens.
28. AUX
Playbacks picture/sound from outside
video/audio data.
29.NTSC/PAL
Use to choose broadcasting methods(only
when DVD player is not operating).

Controls and Functions
17
Installing Batteries in the Remote Control
Using the Remote Control
1. Slide and open the battery cover.
The effective operating range of the remote controller is
7m, and 30
°
left and right degrees from the DVD
receiver.
Battery Handling Precaution
Incorrect use of the battery cause leakage or corrosion.
Ensure that polarities are correct when inserting batteries.
Do not impose heat or fire to the batteries. Do not disassemble or short-circuit the batteries
Ensure that exhausted batteries are not inserted into the remote controller.
Do not use different types of batteries together. Do not use old batteries together with new ones.
If you don't use the remote controller for a long time, remove the batteries to avoid possible damage
from battery corrosion.
Replace the batteries with new ones if the remote controller does not operate smoothly
or the operating distance comes to be short.
If battery leakage occurs, clean the liquid completely from the remote control and insert new batteries.
Remote Control Handling Precaution
Do not give a shock to remote controller.
Do not leave a remote controller in a hot or damp place.
Do not drop water or place a heavy object on the product on a remote controller.
Do not disassemble a remote controller.
2. Insert new batteries and ensure
that the polarities are correct
when inserting.
3. Slide and close the battery cover.

Connections
18
Connecting to a TV
1. Connect the audio cables between the AUDIO OUT (L/R) jacks on the back of your DVD player and the
corresponding Audio Input jacks on your TV. (If you have one Audio input jack on your TV, connect the
audio cables on the left jack of your DVD player)
2. Connect the video cable between the VIDEO OUT jack on the back of your DVD player and the
corresponding Video Input jack on your TV. (If you have S-video jack on you TV, connect this jack.
You will watch a better picture.)
C
Ca
au
ut
ti
io
on
nWhen you connect the DVD player to your TV, be sure to turn off the power and unplug both
units from the wall outlet before making any connection.
Connet the DVD player to your TV directly.
If you connect the DVD player to a VCR, the playback picture will be distorted because DVD
video discs are copy protected.
W
Wa
ar
rn
ni
in
ng
gDo not set the Digital Audio Output of this DVD player to "PCM"unless you are connecting the
Digital Audio jack of this DVD player to an AV decoder that has Dolby Digital decoding function.
High volume sound may damage your hearing as well as speakers.
Audio Cable
Video
Cable
S-Video
Cable
R
Re
ef
fe
er
re
en
nc
ce
eYou can connect auxiliary devices
in this port, such as VCR.

Connections
19
Connecting to a TV / AUDIO System
1. Connect the audio cables between the Audio Out L and R jacks on the back of your DVD player and the
corresponding Audio Input jacks on your audio system. You can listen more loudly to the sound of audio
CDs and DVD video discs in stereo when you are using a FM modulator.
2. Connect the video cables between the Video Out jacks on the back of your DVD player and the
corresponding Video Input jacks on your TV.
C
Ca
au
ut
ti
io
on
nWhen you connect the DVD player to other equipment, be sure to turn off the
power and unplug all of the equipment from the power source before making any
connections.
Be sure to adjust the receiver's volume to a moderate listening level. Otherwise,
the speakers may be damaged by a sudden high volume level.
Turn off the receiver before you connect or disconnect the DVD player's power
cord. If you leave the receiver power on, the speakers may be damaged.
W
Wa
ar
rn
ni
in
ng
gDo not set the Digital Audio Output of this DVD player to "PCM"unless you are
connecting the Digital Audio jack of this DVD player to an AV decoder that has
Dolby Digital decoding function.
High volume sound may damage your hearing as well as speakers.
Rear Panel
TV or Monitor with
Audio/Video Inputs
Car FM Tuner
FM Antenna
Audio Cable
or
Video Cable
C ig a re tte
Jack
Other manuals for AVDVD1P
1
Table of contents
Other AudioBahn Car Video System manuals