manuals.online logo
Brands
  1. Home
  2. •
  3. Brands
  4. •
  5. Audipack
  6. •
  7. Lifting System
  8. •
  9. Audipack FFCL-8590 User manual

Audipack FFCL-8590 User manual

© Audipack
FFCL-8590
Installation manual
Montage handleiding
Flatpanel Folddown Ceiling Lift
EN.
Read before act!
This type of lift is big and heavy.
Install the lift only in a plane situation, when 4 corners of the lift are installed in
plane; this will be visible in the fimnishing of the ceiling parts.
The metal (aluminium plates) are installed with magnets. Peel gently with a plastic
part or screwdriver to loosen the panels.
The internal motor drive is very silent and strong; be aware of movent of
the lift.
NL.
Lees alvorens uit te voeren!
Dit type is lift is zeer groot en zwaar.
Installeer de lift strikt waterpas en alle 4 de hoeken van de lift op hetzelfde hoogte
niveau. Een “onkant” geinstalleerde lift zal afwerkproblemen geven met het
plafond.
De aluminium decorpanelen zijn gemonteerd met magneten; deze zijn los te halen
d.m.v. een kunststof riem of schroevendraaier.
De interne motor is zeer stil maar ook zeer sterk; pas om bij bewegingen
van de lift tijdens werkzaamheden!
EN.
Necessary tools (not included)
NL.
Onmisbare benodigde gereedschappen (niet inbegrepen)
EN.
Electrical preparations:
2 x power socket 230VAC
External control cable 3 x 0,75mm2 for control by contact relay
NL.
Electrische voorzieningen:
2 x WCD 230 VAC
Externe bedieningsdraad 3 x 0,75 mm2 voor bediening via relais
EN.
Cover plates are hold in place with magnets. To gain access, remove plates as
shown. Assemble in reverse order.
NL.
Cover platen zijn met magneten bevestigd. Om toegang te krijgen, deze platen
wegnemen. Terugplaatsen in omgekeerde volgorde.
EN.
Cover plates are hold in place with magnets. To gain access, remove plates as
shown. Assemble in reverse order.
NL.
Cover platen zijn met magneten bevestigd. Om toegang te krijgen, deze platen
wegnemen. Terugplaatsen in omgekeerde volgorde.
EN.
Cover plates are hold in place with magnets. To gain access, remove plates as
shown. Assemble in reverse order.
NL.
Cover platen zijn met magneten bevestigd. Om toegang te krijgen, deze platen
wegnemen. Terugplaatsen in omgekeerde volgorde.
EN.
Open the lift to install the screen and cables.
BE aware that when the vertical movement is at the lowest point, the screen must
be installed with the top measured to the bottom of the lift with a distance af
about 275 mm. When not; the screen may hit / touch a decor panel inside the lift.
NL.
Open de lift tot de uiterste slag om beeldscherm installatie mogelijk te maken.
Let op dat als de verticale beweging van de lift op het laagste punt is, dat het
scherm bij installatie 275 mm vanaf de onderkant lift MOET
+/-275 mm
Laagste punt 2ebeweging/
lowest point 2nd stage
EN.
Install the screen using Audipack mounting cams or regular M8 bolts with
washers.
NL.
Installeer het scherm gebruikmakend van Audipack montagenokken of standaard
M8 bouten met onderlegring.
+/-275 mm
EN.
At this moment the screen cables can be attached and guided through the cable
guidance.
After this the screen can be lifted and tilted gently.
This moment must be observed closely to check if the screen does not have
collosions with the nternal lift and cables are free from moving parts.
Do this test without finishing panel!
NL.
Op dit moment kan de bekabeling worden aangebracht en worden geleid in de
kabelgeleiding.
Bij gereed is dit ook het moment het scherm naar boven te bewegen en
voorzichting de lift te laten sluiten.
Dit moment moet goed beoordeelt worden op dat bekabeling vrij is van
bewegende delen en het beeldscherm geen interne botsingen heeft met de lift.
Doe deze test zonder decorpanelen!
EN.
This part of the manual is for repair and mainatance only!
Adjusting settings of the lift influences the function of the lift!
NL.
Dit gedeelte van de handleiding is alleen voor reparatie en onderhoud!
Het verstellen van items heeft invloed op de werking van de lift!
EN.
To gain access to right compartment, remove acces panel. Assemble in reverse
order.
NL.
Om toegang te krijgen tot rechter compartiment, verwijder toegangspaneel.
Monteer in omgekeerde volgorde.
EN.
ONLY FOR MAINTANACE PURPOSES:
To gain access to left compartment, remove acces panel. Assemble in reverse
order.
NL.
ALLEEN VOOR ONDERHOUDSDOELEINDEN:
Om toegang te krijgen tot linker compartiment, verwijder toegangspaneel.
Monteer in omgekeerde volgorde.
EN.
Actuator can be accessed.
NL.
Actuator kan nu worden bereikt.
EN.
To gain access to actuator in the middle compartment, remove access panel.
Assemble in reverse order.
NL.
Om toegang te krijgen tot middelste compartiment, verwijder toegangspaneel.
Monteer in omgekeerde volgorde.
EN.
Loosen side bolts first, then adjust indicated bolt. After adjusting re-fasten side
bolts.
NL.
Draai bouten aan zijkanten los, verstel met aangegeven bout en draai bouten aan
zijkanten vast.
EN. Side bolts. NL. Bouten aan.
EN. Adjustment bolt. NL. Verstellings bout.
© Audipack
Audipack's general conditions of sales and delivery apply to all of
Audipack's deliveries. These conditions can be downloaded from Audipack's
website, www.audipack.com, or will be sent by post on request.
Audipack liefert ausschließlich unter die allgemeine Verkauf- und
Lieferungsbedingungen von Audipack. Diese Bedingungen sind zum
downloaden verfügbar auf die Webseite von Audipack, www.audipack.com,
oder werden Ihnen auf Anfrage per Post gesendet.
Alle leveringen geschieden uitsluitend volgens de Algemene Verkoop- en
Leveringsvoorwaarden van Audipack. Een afschrift hiervan kunt u
downloaden van de website van Audipack, www.audipack.com, of wordt u
op aanvraag gestuurd per post.
Les conditions de vente et de livraison de Audipack s'appliquent à tous les
livraisons de Audipack. Cette conditions sont disponible sur le site internet
de Audipack, www.audipack.com, où seront envoyé par poste sur demande.
Audipack reserves the right to make changes in specifications and other information contained in this document without prior written notice.
The information provided herein is subject to change without notice. In no event shall Audipack be liable for any incidental, special, indirect, or
consequential damages whatsoever, including but not limited to lost profits, arising out of or related to this manual or the information
contained herein, even if Audipack has been advised of, known, or should have known, the possibility of such damages.
AUDIPACK
Industriestraat 2-4
2751 GT Moerkapelle
The Netherlands
Tel: +31(0)795931671
Fax: +31(0)795933115
Email: audipack@audipack.com
www.audipack.com

Other Audipack Lifting System manuals

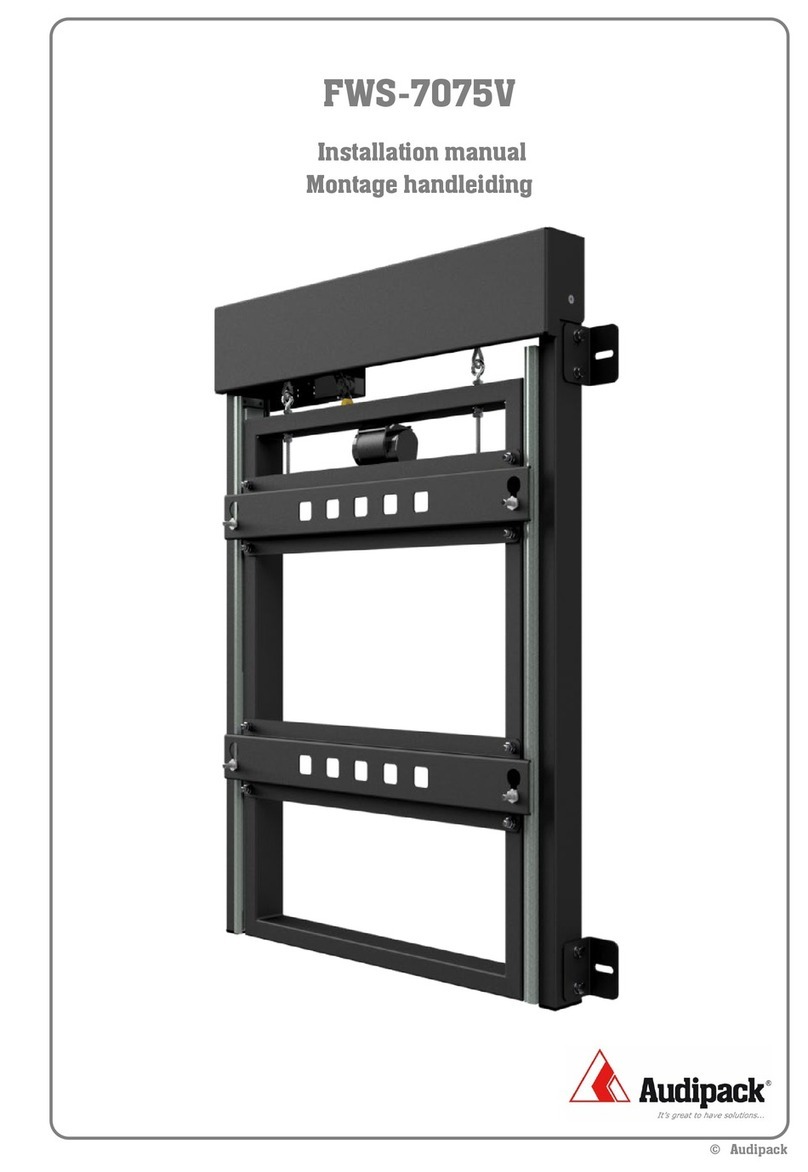
Audipack FWS-7075V User manual

Audipack

Audipack FWS-7075V User manual
Audipack DWS-120 E User manual

Audipack

Audipack DWS-120 E User manual
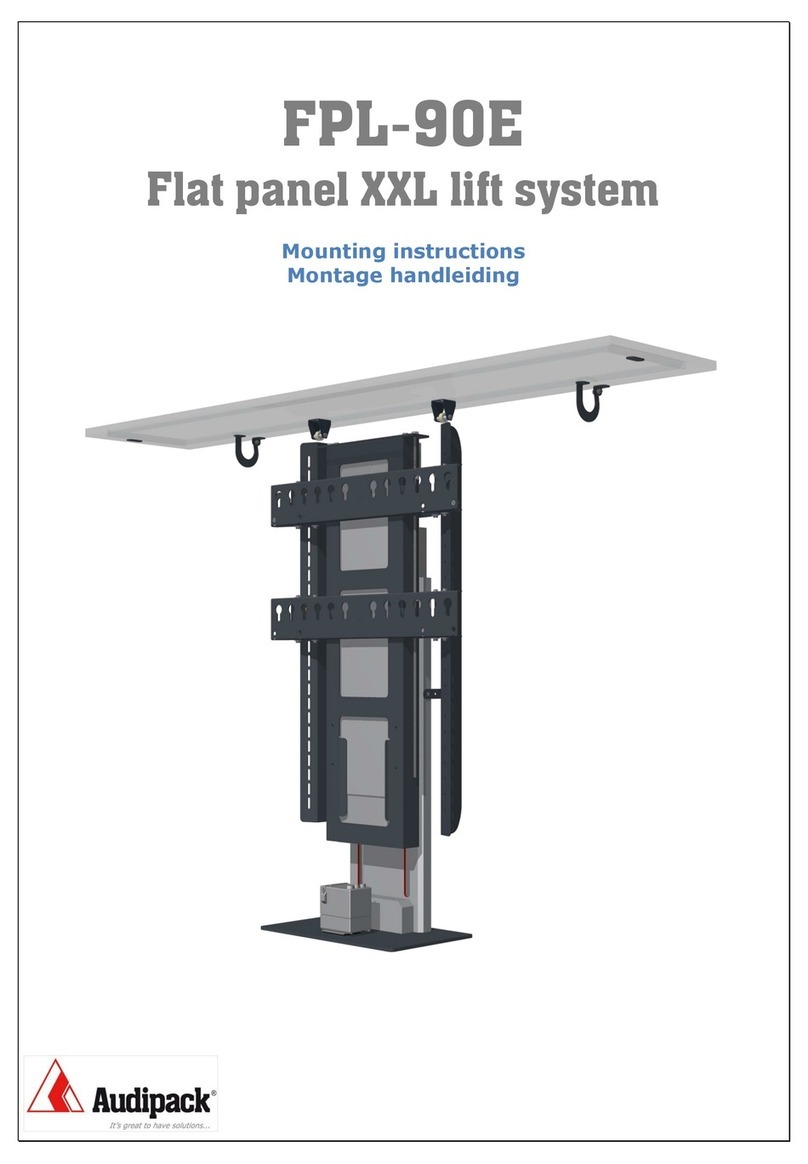
Audipack FPL-90E User manual

Audipack

Audipack FPL-90E User manual
Audipack PCL-M350 User manual

Audipack

Audipack PCL-M350 User manual
Audipack VCCL Series User manual

Audipack

Audipack VCCL Series User manual
Audipack PCL-5050-10 User manual

Audipack

Audipack PCL-5050-10 User manual
Audipack PCL-X355 User manual

Audipack

Audipack PCL-X355 User manual
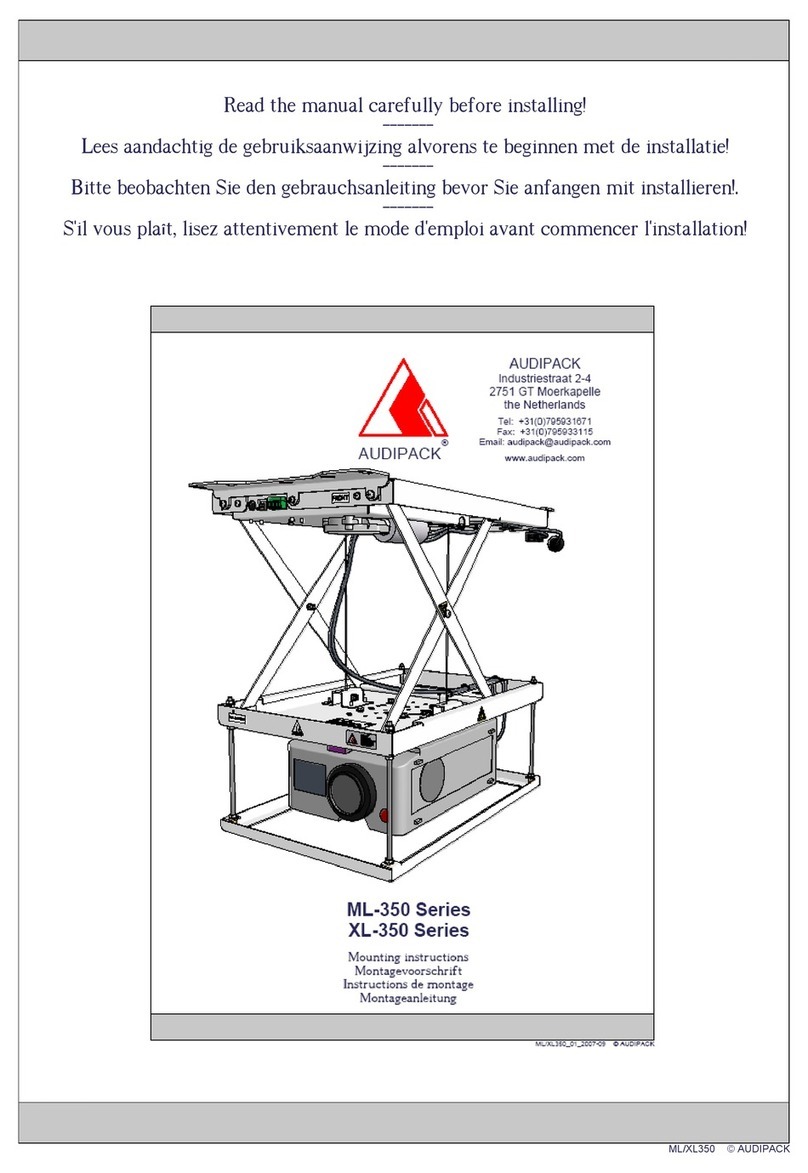
Audipack ML-350 Series User manual

Audipack

Audipack ML-350 Series User manual
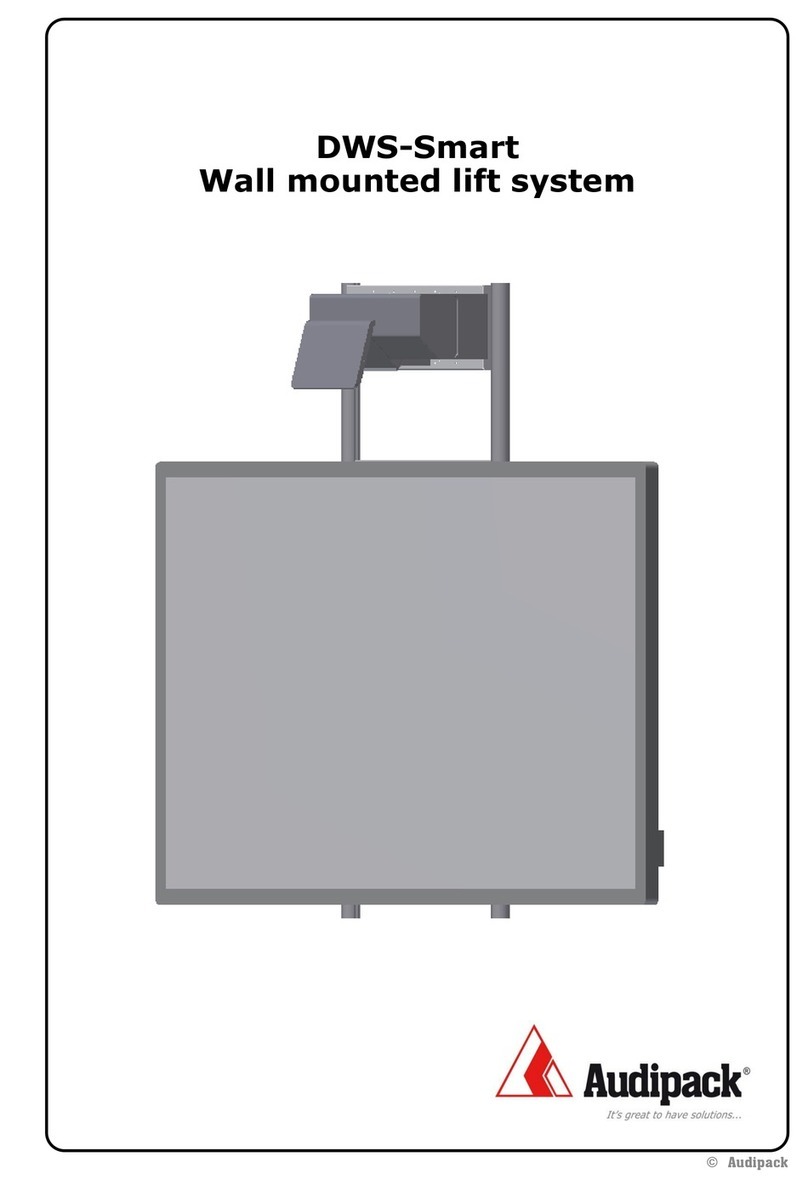
Audipack DWS-Smart User manual

Audipack

Audipack DWS-Smart User manual
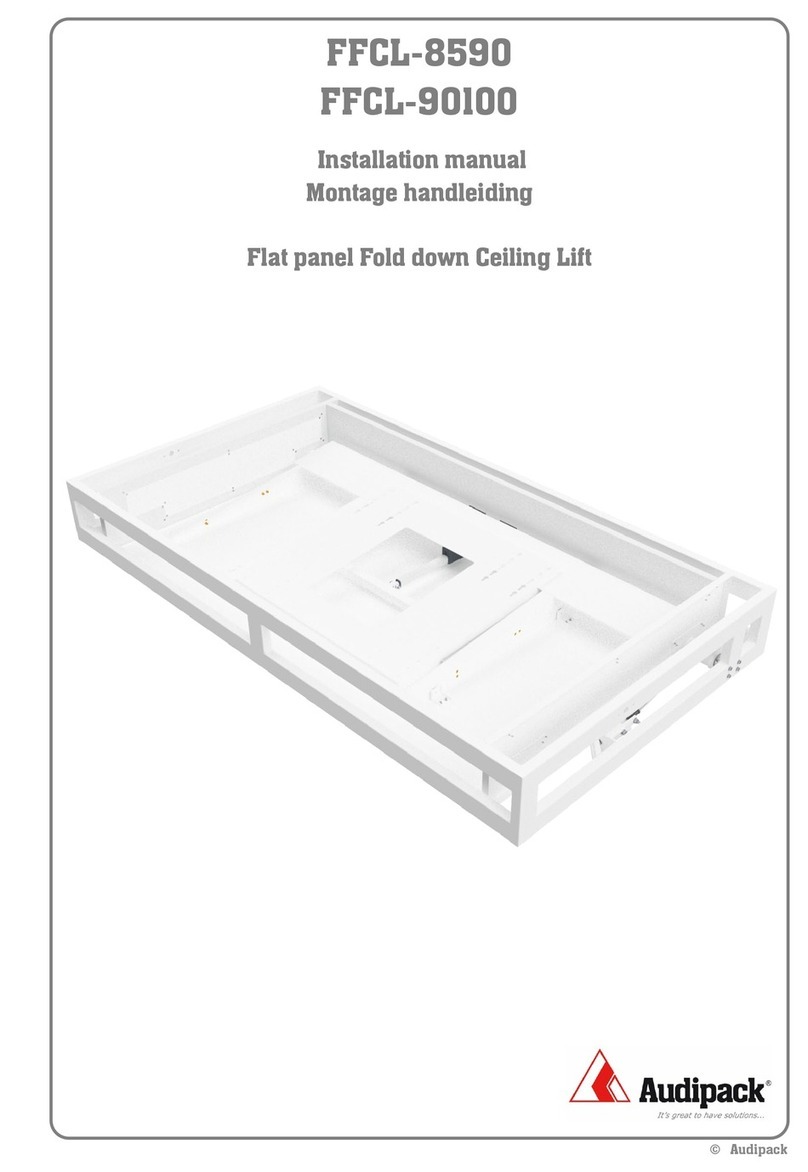
Audipack FFCL-90100 User manual

Audipack

Audipack FFCL-90100 User manual

Popular Lifting System manuals by other brands
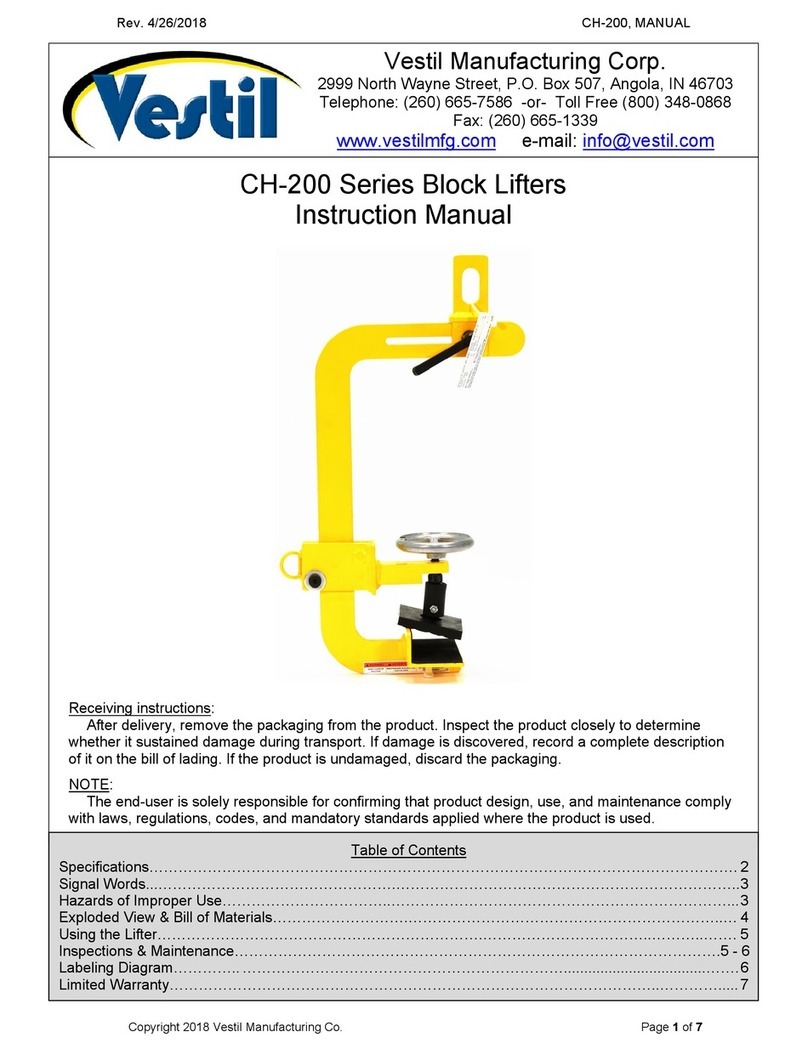
Vestil CH-200 Series instruction manual
Vestil

Vestil CH-200 Series instruction manual

AmeriGlide STRATOS owner's manual

AmeriGlide

AmeriGlide STRATOS owner's manual

Euroscreen SI-H 200 Installation and maintenance manual

Euroscreen

Euroscreen SI-H 200 Installation and maintenance manual

Work Li LW 142D operating instructions
Work Li

Work Li LW 142D operating instructions

liftup EasyLift V3 PLUS user manual

liftup

liftup EasyLift V3 PLUS user manual
Draper AeroLift 50 Installation & operating instructions
Draper

Draper AeroLift 50 Installation & operating instructions

Denios LD manual

Denios

Denios LD manual

Presto Lifts XBP68-05 owner's manual

Presto Lifts

Presto Lifts XBP68-05 owner's manual

BraunAbility Century 2 CLXT owner's manual

BraunAbility

BraunAbility Century 2 CLXT owner's manual

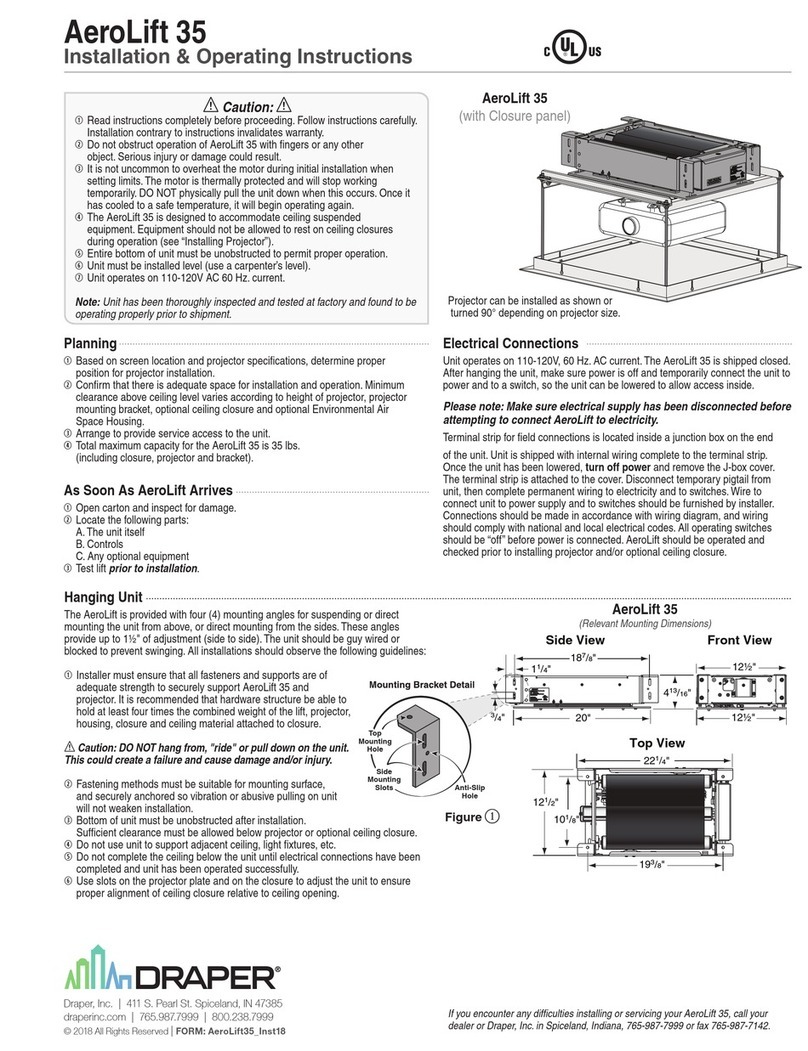
Draper AeroLift 35 Installation & operating instructions

Draper

Draper AeroLift 35 Installation & operating instructions

Astra HD8Ec manual

Astra

Astra HD8Ec manual

Fanbao QJY3.0-E Instructions and Maintenance Original Manual

Fanbao

Fanbao QJY3.0-E Instructions and Maintenance Original Manual

HIRD GLASS KAPPEL DSKZL2 Operator's manual
HIRD GLASS

HIRD GLASS KAPPEL DSKZL2 Operator's manual

Garage Smart Universal XL HD Lifter user guide

Garage Smart

Garage Smart Universal XL HD Lifter user guide

WERTHER INTERNATIONAL SATURNUS 45 manual
WERTHER INTERNATIONAL

WERTHER INTERNATIONAL SATURNUS 45 manual

GKS U6 manual

GKS

GKS U6 manual

PFlow Industries Cartveyor CV Series owner's manual
PFlow Industries

PFlow Industries Cartveyor CV Series owner's manual

CM LODESTAR Operating, Maintenance & Parts Manual

CM

CM LODESTAR Operating, Maintenance & Parts Manual

manuals.online logo
manuals.online logoBrands
  • About & Mission
  • Contact us
  • Privacy Policy
  • Terms and Conditions

Copyright 2025 Manuals.Online. All Rights Reserved.