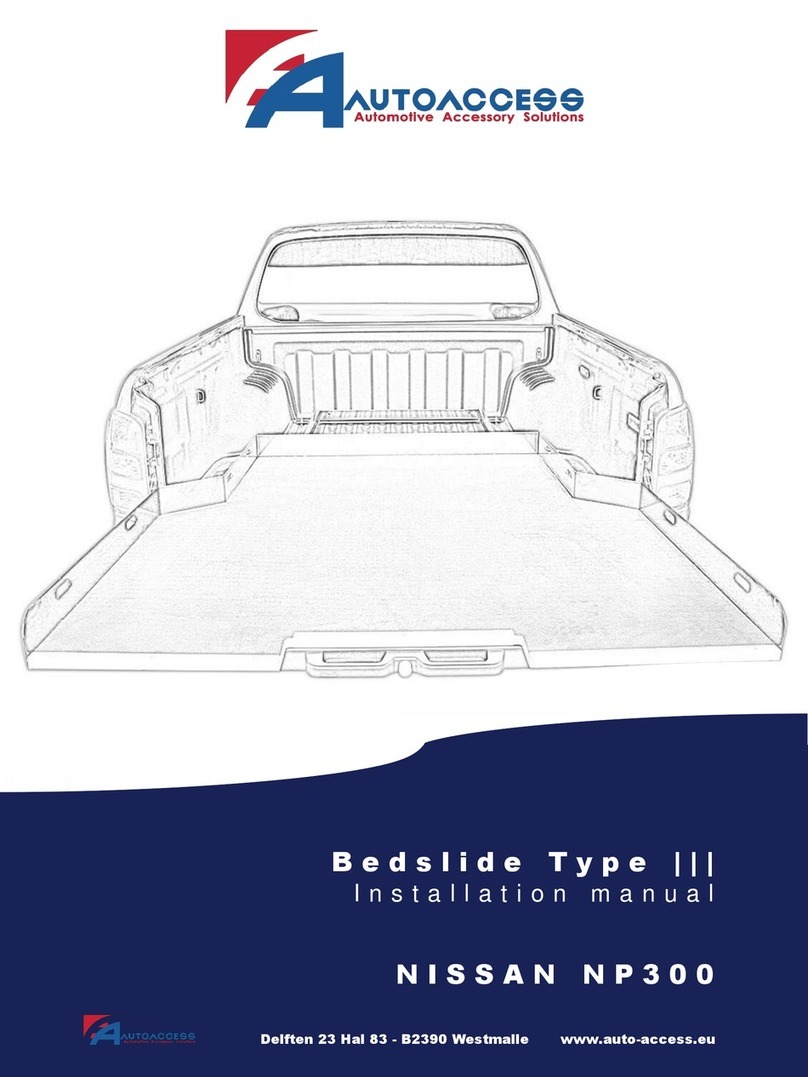
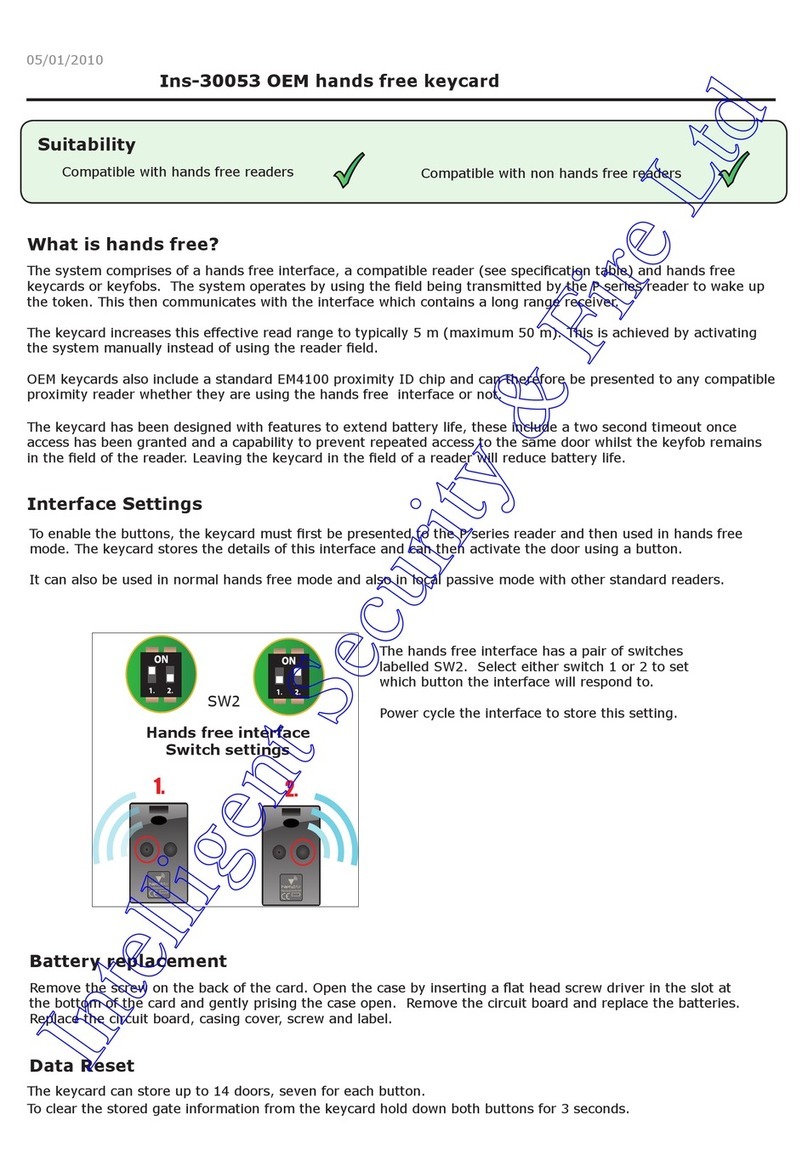
AUTOACCESS 3 User manual

Delften 23 Hal 83 - B2390 Westmalle www.auto-access.eu
M I T S U B I S H I L 2 0 0 2 0 1 5
F I A T F U L L B A C K 2 0 1 6
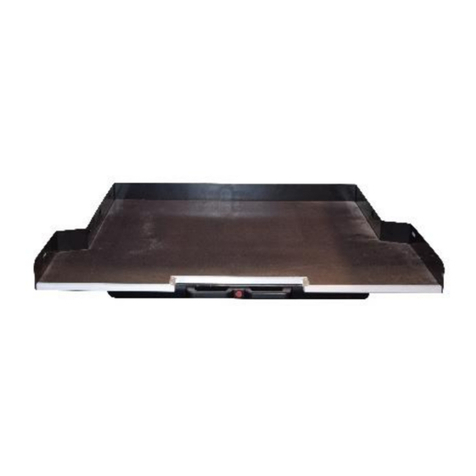
B E D S L I D E T Y P E 3
Installation manual

4x
2x
2x
2x
2x
4x
10x
6x
2x
8x
1x
1x
Delften 23 Hal 83 - B2390 Westmalle www.auto-access.eu 2
I N S T A L L A T I O N K I T
Belangrijk: installatie in combinatie met de Sportguard liner
Important: installation in combination with the Sportguard liner
Important: installation en combinaison avec le Sportguard liner
AB C D
EF G H
J K
I K L

Delften 23 Hal 83 - B2390 Westmalle www.auto-access.eu
NL: Verwijder de rubberen afdekkingen op de aangegeven
plaatsen
GB: Remove the rubber covers at the indicated locations
FR: Retirez les caches en caoutchouc aux endroits indiqués
NL: Verwijder de originele bouten
GB: Remove the original bolts
FR: Retirez les boulons d'origine
NL: Herhaal dit aan de rechterkant
GB: Repeat this on the right
FR: Répétez au côté droite
NL: Plaats onderdeel Bin het originele gat
GB: Place part Bin the original hole
FR: Placez la partie Bdans le trou d'origine
3
1
2
3
4

Delften 23 Hal 83 - B2390 Westmalle www.auto-access.eu
NL: Herhaal dit aan de rechterkant
GB: Repeat this on the right
FR: Répétez au côté droite
NL: Plaats de metalen steun Dboven het gat en bevestig
met onderdelen I en E
GB: Place the metal support Dabove the hole and secure
with parts Iand E
FR: Placez le support métallique Dau-dessus du trou et
fixez-le avec les pièces Iet E
NL: Herhaal dit aan de rechterkant
GB: Repeat this on the right
FR: Répétez au côté droite
NL: Zorg ervoor dat de afstand tussen beide schroefdraden
930mm bedraagt
GB: Make sure that the distance between both threads is
930mm
FR: Assurez-vous que la distance entre les deux fils est de
930 mm
4
5
6
7
8

Delften 23 Hal 83 - B2390 Westmalle www.auto-access.eu
NL: Begin voor het boren van de gaten te meten vanaf het
aangegeven punt
GB: Start to measure at the indicated point before drilling the
holes
FR: Lors du perçage des trous, commencez à mesurer à
partir du point indiqué
NL: Meet 395mm vanaf de aangegeven positie en maak een
markering. Meet vanaf die eindpositie 100mm en maak een
tweede markering
GB:
Measure 395mm from the indicated position and make a
mark. Measure 100mm from that end position and make a
second mark
FR: Mesurez 395mm à partir de la position indiquée et faites
une marque. Mesurez 100mm de cette position finale et
faites une deuxième marque
NL: Boor twee gaten van 12mm op de gemarkeerde posities
op een afstand van 20mm van de eerste verhoging in de
laadbak
GB: Drill two 12mm holes on the marked positions at a
distance of 20mm from the first elevation in the car bed
FR: Percez deux trous de 12 mm sur les positions marquées
à une distance de 20 mm de la première élévation du coffre
NL: Herhaal dit proces aan de andere zijde van de laadbak
GB: Repeat this process on the other side of the car bed
FR: Répétez ce processus de l'autre côté du coffre
5
9
10
11
12
TAILGATE
395mm
100mm

Delften 23 Hal 83 - B2390 Westmalle www.auto-access.eu
NL: Bereid het aangeduide deel van de Sportguard voor aan
de hand van volgende stappen
GB: Prepare the indicated part of the Sportguard using the
following steps
FR: Préparez la partie indiquée du Sportguard en suivant les
étapes suivantes
NL: Boor gaten op punten A en B (zie stap 15 en 16)
GB: Drill holes at points A and B (see steps 15 and 16)
FR: Percer des trous aux points A et B (voir les étapes 15 et
16)
NL: Meet 80mm vanaf de achterzijde van de Sportguard en
boor een gat van 12mm op punt X
GB: Measure 80mm from the back of the Sportguard
and drill
a 12mm hole at point X
FR: Mesurez 80 mm à l’arrière du Sportguard et percer un
trou de 12 mm au point X
NL: Herhaal dit aan de rechterkant
GB: Repeat this on the right
FR: Répétez au côté droite
6
13
14
15
16
80mm
A B
X
80mm
X
A
B

Delften 23 Hal 83 - B2390 Westmalle www.auto-access.eu
NL: Meet 1070mm vanaf de achterkant van de Sportguard
en plaats onderdeel Kover de breedte van de Sportguard
GB: Measure 1070mm from the rear of the Sportguard and
place part Kover the width of the Sportguard
FR: Mesurer 1070 mm à l’arrière du Sportguard et placer la
partie Lsur la largeur du Sportguard
NL:
Zorg ervoor dat de afstand tussen de schroefdraad en de
achterzijde van de Sportguard 1070mm bedraagt en dit aan
beide zijden
GB: Make sure that the distance between the thread and the
back of the Sportguard is 1070mm and this on both sides
FR: Assurez-vous que la distance entre le filetage et le dos
du Sportguard est de 1070 mm et ce des deux côtés
NL: Maak links en rechts door de gaten van onderdeel K
een
markering met potlood
GB: Make left and right a marking with a pencil through the
holes of part K
FR: Faites une marque à gauche et droite avec un crayon à
travers les trous de la pièce K
NL: Boor links en rechts op de gemarkeerde plaatsen een
gat van 12mm
GB: Drill a 12mm hole at the indicated places left and right
FR: Percez un trou de 12 mm aux endroits marqués à
gauche et droite
7
17
18
19
20
1070mm
1070mm

Delften 23 Hal 83 - B2390 Westmalle www.auto-access.eu
NL: Installeer de Sportguard in de wagen
GB: Install the Sportguard in the car bed
FR: Installez le Sportguard dans le coffre
NL: Plaats onderdeel Cover de schroefdraad tegen de
cabine
GB: Place part Cover the thread against the cab
FR: Placez la partie Csur le filetage contre la cabine
NL: Herhaal dit aan de rechterkant
GB: Repeat this on the right
FR: Répétez au côté droite
NL: Plaats onderdeel Aover de gaten geboord in stap 20
GB: Place part Aover the holes drilled in step 20
FR: Placez la partie Asur les trous percés à l'étape 20
8
21
22
23
24

Delften 23 Hal 83 - B2390 Westmalle www.auto-access.eu
NL: Plaats onderdeel Kop blokjes A
GB: Place part Konto the small blocks A
FR: Placez la partie K sur les petits blocs A
NL: Bevestig onderdeel K links en rechts met rondellen Jen
schroeven F
GB: Attach part Kleft and right with washers Jand screws F
FR: Fixez la pièce Kà gauche et à droite avec des rondelles
Jet des vis F
NL: Bevestig blokje Aonderaan en rondellen Jen moer G
ter hoogte van dwarsbalk K
GB: Attach block A
at the bottom of the car bed with washers
Jand nut Gat the height of the lateral support K
FR: Fixez le bloc Aen bas avec les rondelles J et ecrous G
à
la hauteur du support traverse K
NL: Plaats de bedslide Lin de wagen met twee personen
GB: Place the bedside Lin the car with two people
FR: Placez le plancher mobile Ldans la voiture avec deux
personnes
9
25
26
27
28

Delften 23 Hal 83 - B2390 Westmalle www.auto-access.eu
NL: Bevestig de bedslide tegen de cabine met rondel Hen
moer G
GB: Attach the bedside to the cabin with washer Hand nut G
FR: Fixez le plancher mobile presque la cabine avec la
rondelle Het l’écrou G
NL: Bevestig de zijkant van de bedslide aan onderdeel K
door middel van rondellen Hen moeren G
GB: Attach the side of the bedslide to part Kby use of
washers Hand nuts G
FR: Fixez le côté du plancher mobile à la pièce K
à l’aide des
rondelles Het des écrous G
NL: Herhaal dit aan de rechterkant
GB: Repeat this on the right
FR: Répétez au côté droite
10
29
30
27
Other manuals for 3
1
Table of contents
Other AUTOACCESS Automobile Accessories manuals

