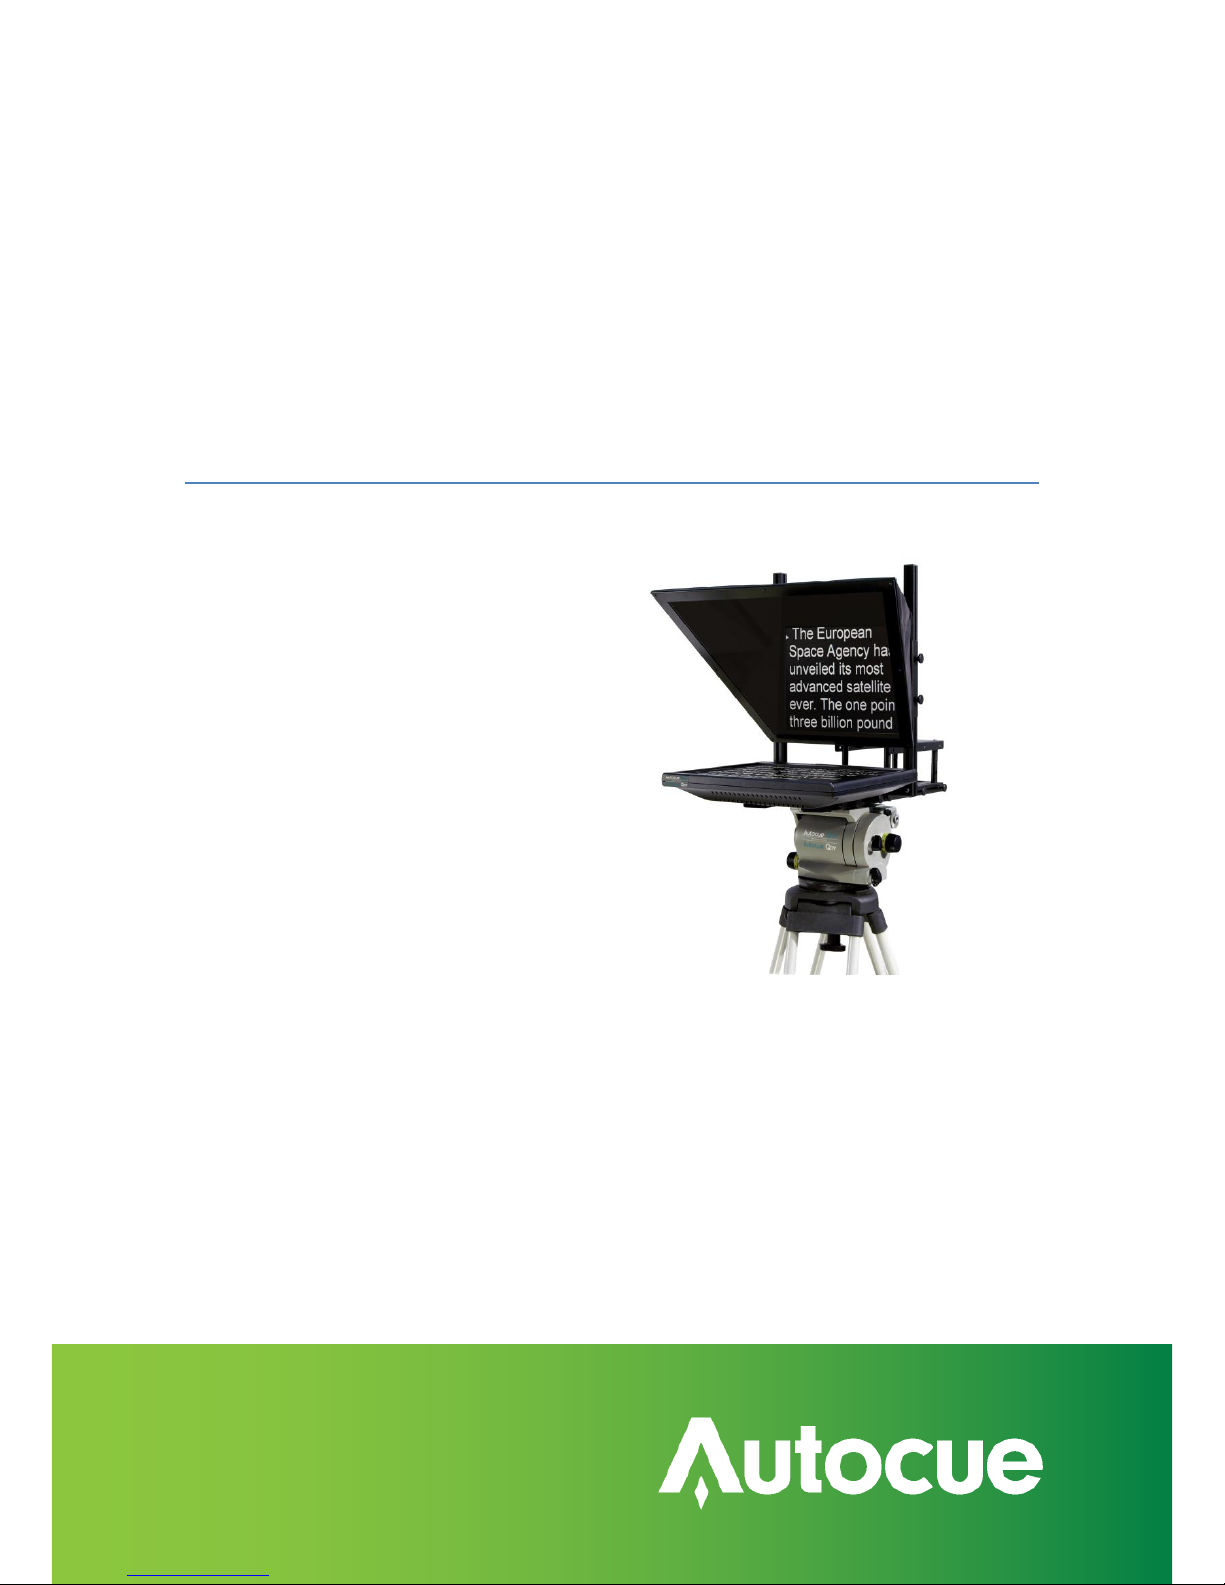
Installation and Operation Guide
SSP-QStartUserManual.docx 2011-06-15 2© 2003-2011 Autocue Group Ltd.
Contents
Latest additions ...................................................................................................................................................................3
Getting started.....................................................................................................................................................................4
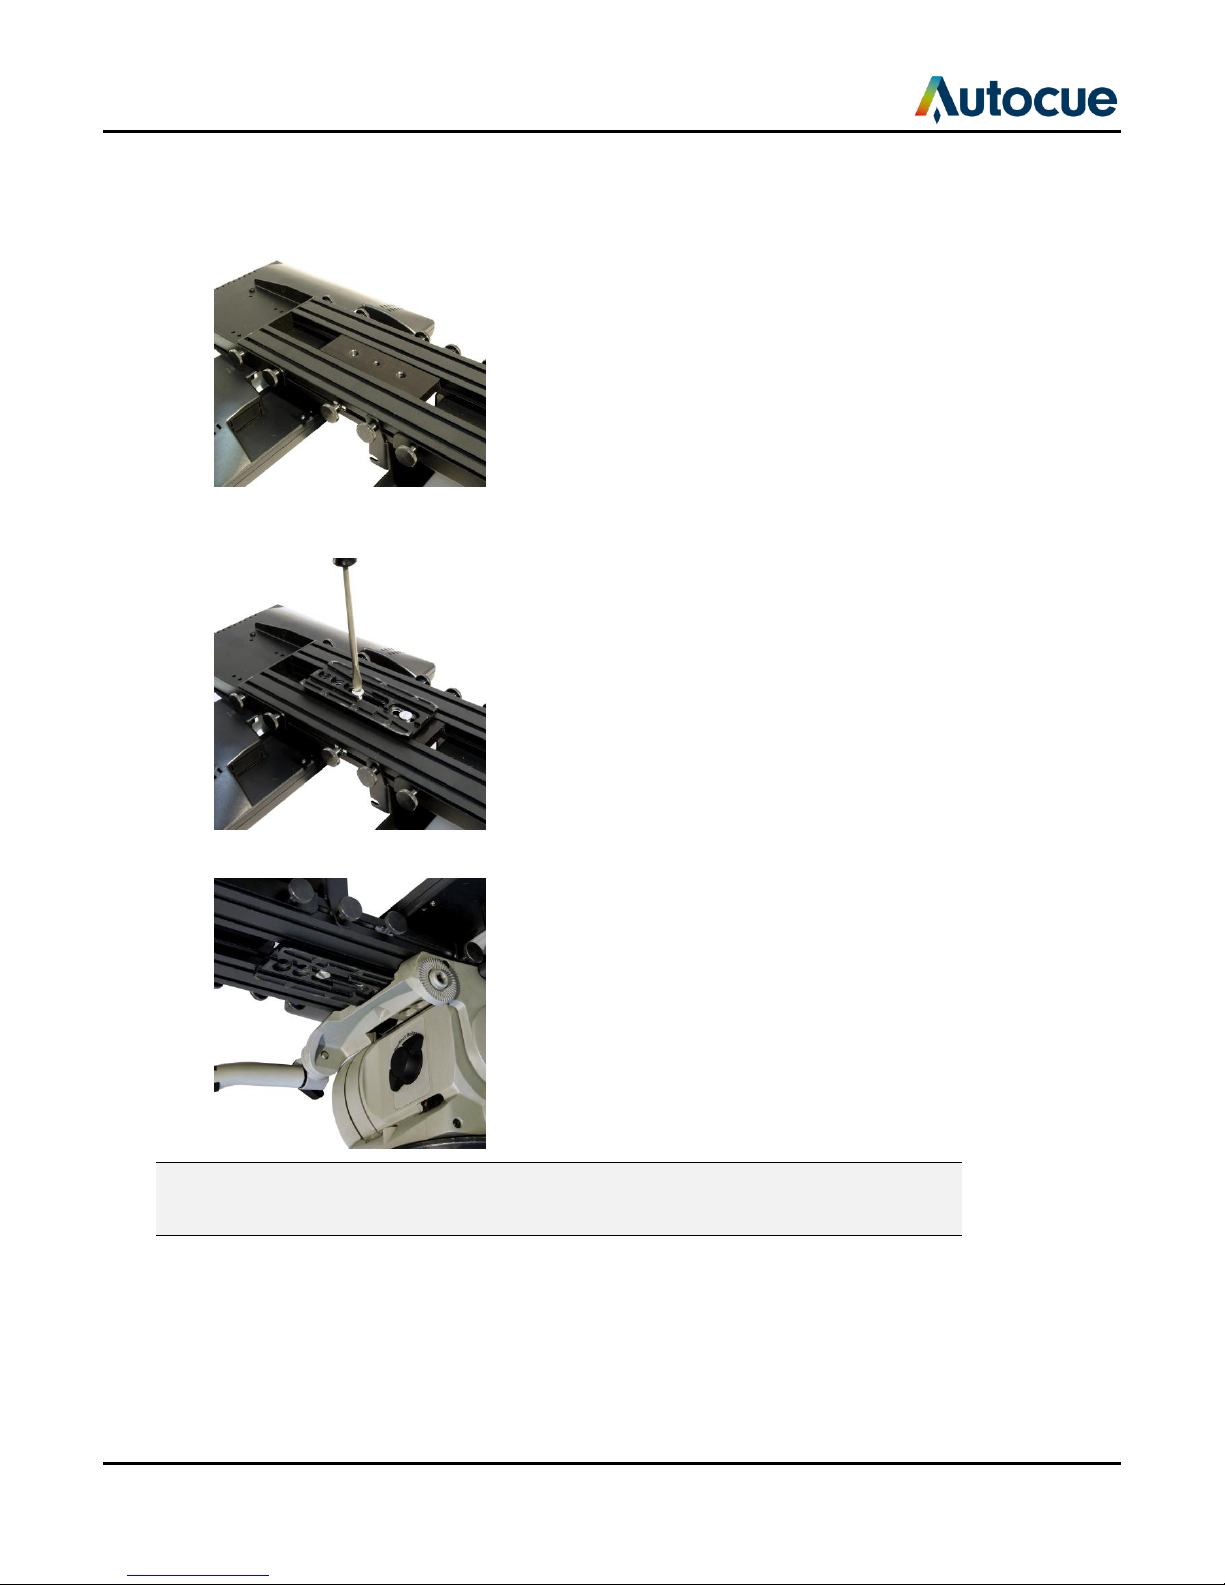
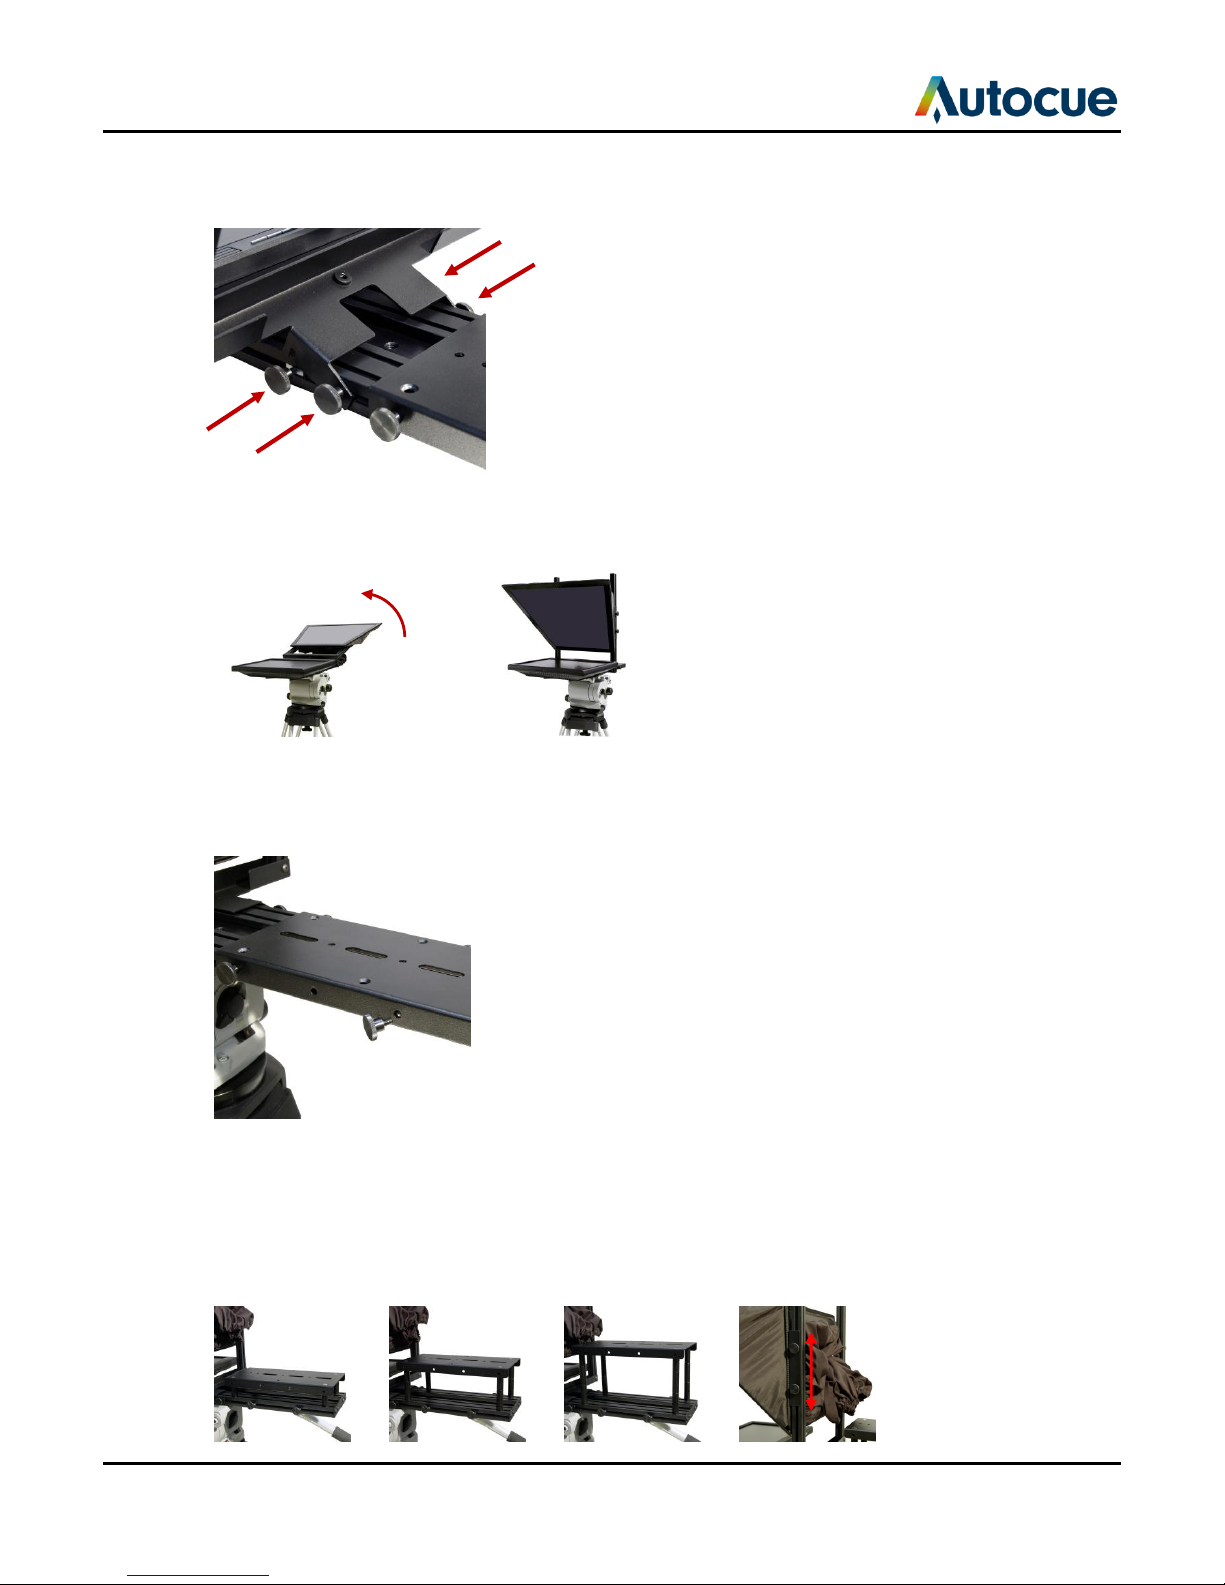
Prepare and connect the prompting hardware .......................................................................................................4
Install the QStart software.............................................................................................................................................8
Using your Starter Series Prompter .............................................................................................................................9
Make the most of your prompter.................................................................................................................................. 13
Import, edit and prompt scripts ................................................................................................................................ 13
Format your scripts....................................................................................................................................................... 15
Dividing long scripts or using multiple presenters ................................................................................................ 16
Different ways to control scrolling ............................................................................................................................ 19
Improve the performance of your prompter .......................................................................................................... 21
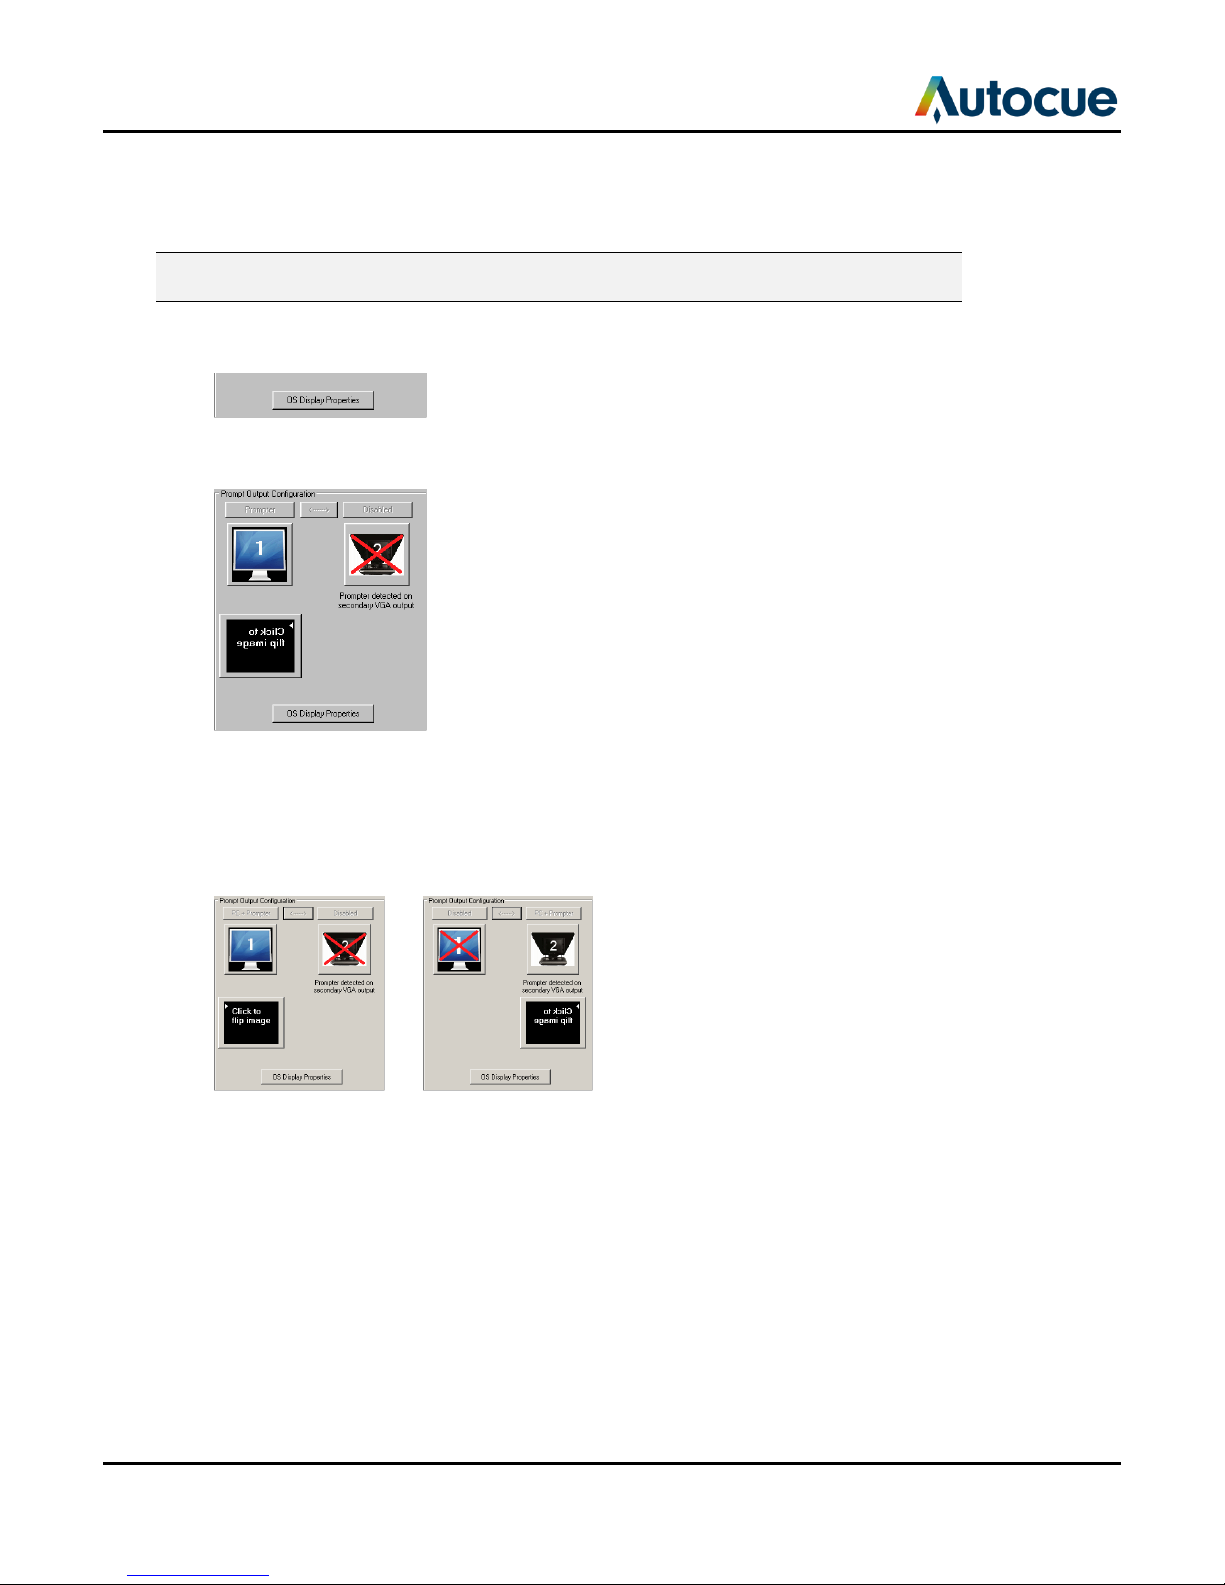
Using a single monitor................................................................................................................................................ 21
Alternative operating systems you may use........................................................................................................... 23
Use your prompter in different situations.................................................................................................................... 24
Upgrading Starter Series Prompter components ...................................................................................................... 33
If you need to contact Autocue or QTV ....................................................................................................................... 34