manuals.online logo
Brands
  1. Home
  2. •
  3. Brands
  4. •
  5. Autonics
  6. •
  7. Timer
  8. •
  9. Autonics LA8N-BF User manual

Autonics LA8N-BF User manual

K-8
LE8N Series
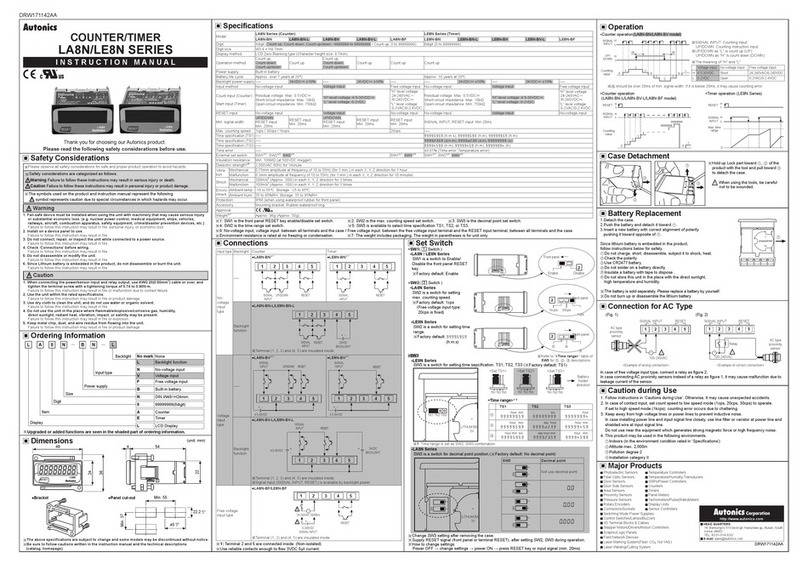
Specications
Ordering information
Features
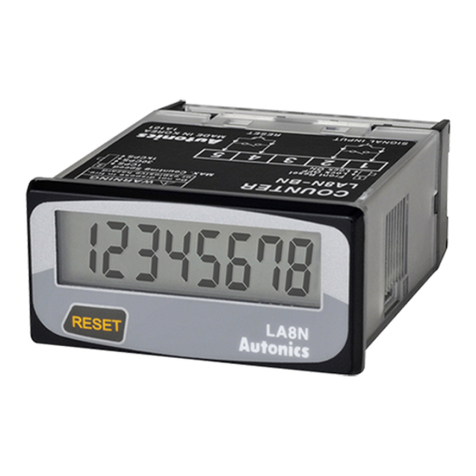
DIN W48×H24mm, Indication only, LCD timer(hour meter)
Input type
Backlight
Power supply
Size
Digit
Item
N No-voltage(Small signal) input
V Voltage input
F Free voltage input
No mark None
L Backlight function
B Internal lithium battery
N DIN W48×H24mm
8 99999999(8 digit)
LE LCD Timer
Model LE8N-BN LE8N-BN-L LE8N-BV LE8N-BV-L LA8N-BF
Digit 8 digit(0 to 99999999)
Digit size W3.4 × H8.7mm
Display method LCD Zero Blanking type(character height size: 8.7mm)
Operation method Count up
Power supply
Built-in battery
Battery life cycle Approx. over 10 years at 20℃
Backlight power supply
-
24VDC±10%
-
24VDC±10%
-
Input method No-voltage input Voltage input Free voltage input
Count input(Counter)
Residual voltage: Max. 0.5VDC
Short-circuit impedance: Max. 10kΩ
Open-circuit impedance: Min. 750kΩ
"H" level voltage: 4.5-30VDC
"L" level voltage: 0-2VDC
"H" level voltage:
24-240VAC/6-240VDC
"L" level voltage: 0-2VAC/0-2.4VDC
RESET input No-voltage input Voltage input No-voltage input
Min. signal width SIGNAL INPUT, RESET input: Min. 20ms
Time specication(TS1) 999(5(59(h.m.s), 9999(5(9(h.m), 99999(59(h.m)
Time specication(TS2) 999(2#59(d.h.m), 9999D2#9(d.h), 99999999(s)
Time specication(TS3) 9999;5(9(h.m), 99999;59(h.m), 99999(9;(h)
Time error ±0.01%(time error, temperature error)
External set switch SW1※1, SW2※2, SW3※3
Insulation resistance Min. 100MΩ(at 500VDC megger)
Dielectric strength
※4
2,000VAC 60Hz for 1minute
Vibration Mechanical 0.75mm amplitude at frequency of 10 to 55Hz(for 1 min.) in each of X, Y, Z directions for 1 hour
Malfunction 0.3mm amplitude at frequency of 10 to 55Hz(for 1 min.) in each of X, Y, Z directions for 10 minutes
Shock Mechanical 300m/s2(approx. 30G) in each of X, Y, Z directions for 3 times
Malfunction 100m/s2(approx. 10G) in each of X, Y, Z directions for 3 times
Environment
Ambient
temperature -10 to 55℃, storage: -25 to 65℃
Ambient
humidity 35 to 85%RH, storage: 35 to 85%RH
Protection IP66(using waterproof rubber for front panel)
Accessory Mounting bracket, Rubber waterproof ring
Approval
Weight
※5
Approx. 96g(approx. 50g)
※1: SW1 is the front panel RESET key enable/disable set switch. ※2: SW2 is the time range set switch.
※3: SW3 is available to select time specification TS1, TS2, or TS3.
※4: No-voltage input, voltage input: between terminals and the case / Free voltage input: between the free voltage input
terminal and the RESET input terminal, between terminals and the case
※5: This weight is with packaging and the weight in parentheses is only unit weight.
※Environment resistance is rated at no freezing or condensation.
● Upgraded features
Voltage input and backlight model, time specications
● No additional power due to internal battery
● Signal input method: No-voltage input, voltage input, free voltage input
● Screw terminal type(attaching terminal cover)
● LCD display
● IP66 protection structure
※Shaded ( ) parts are upgraded or added function.
LE B N8 N - - L
Please read “Caution for your safety” in operation
manual before using.
K-9
(A)
Photo
electric
sensor
(B)
Fiber
optic
sensor
(C)
Door/Area
sensor
(D)
Proximity
sensor
(E)
Pressure
sensor
(F)
Rotary
encoder
(G)
Connector/
Socket
(H)
Temp.
controller
(I)
SSR/
Power
controller
(J)
Counter
(K)
Timer
(L)
Panel
meter
(M)
Tacho/
Speed/ Pulse
meter
(N)
Display
unit
(O)
Sensor
controller
(P)
Switching
mode power
supply
(Q)
Stepper
motor&
Driver&Controller
(R)
Graphic/
Logic
panel
(S)
Field
network
device
(T)
Software
(U)
Other
LCD Timer
※1: Terminal 2 and 5 are connected inside. (Non-isolated) ※2: Terminal (1, 2, 3) and (4, 5) are insulated inside.
※Use reliable contacts enough to flow 5㎂ current.
Input type No-backlight Backlight function
No-voltage
input
type
123 4 5
SIGNAL
INPUT
RESET
123 4 5
RESET
+ -
24VDC
BACKLIGHT
SIGNAL
INPUT
Voltage
input
type
+ -
123 4 5
4.5-30VDC
SIGNAL
INPUT RESET
UP/DOWN
+
-
+
-
123 4 5
SIGNAL
INPUT RESET
4.5-
30VDC 24VDC
BACKLIGHT
Free voltage
input type
123 4 5
6-240VDC
SIGNAL INPUT
RESET
24-240VAC 50/60Hz
+ -
~
!
!
-
Connections
● Bracket ● Panel cut-out
Min. 37
Min. 55
45 +0.6
0
22.2 +0.3
0
22
544
Dimensions (unit: mm)
●LE8N-BN※1●LE8N-BN-L※2
●LE8N-BV※1●LE8N-BV-L※2
※Terminal (1, 2) and (4, 5) are insulated inside.
●LE8N-BF
※Backlight power is available as signal input
(SIGNAL INPUT, RESET).
Time operation
RESET
Max. time
range
0
H
L
H
L
SIGNAL
INPUT
48
24
36
K-10
LE8N Series
● Solid-state input ● Contact input
※Please use reliable contacts enough to ow 3VDC 5㎂ of
current.
※For backlight function model, the input terminals are no. , and the GND terminal is no. .
※AC type proximity sensor cannot be used as the source
of count input signals.
※Input terminal( , )and reset terminal ( , ) are
insulated inside.
※It is not possible to reset with AC power or DC power.
※When relay contact is used as the source of RESET
signal, please use reliable contacts enough to ow
3VDC 5㎂ of current.
Voltage input (standard sensor: PNP open collector output type)
Free voltage input
[SIG. INPUT]
[RESET]
3V
3V
1.2㏀1.2㏀
1㏀
560㏀
560㏀
[Counter]
6-240VDC 24/240VAC
Main circuit
SIG.
INPUT
RESET
+V
12-24VDC +
-
OUT
0V
[Sensor]
20㏀4.7㏀
[Counter]
Main circuit
3V
560㏀SIG. INPUT
RESET
20㏀4.7㏀
[Counter]
Main circuit
3V
560㏀
4.5-30VDC
+ -
1
SIGNAL INPUT
(Fig. 1)
RESET
AC type
proximity
234 5
~!
100-240VAC
<Example of wrong connection> <Example of correct connection>
SIGNAL INPUT RESET
1234 5
~
!
100-240VAC
(Fig. 2)
Relay
AC type proximity
Input from AC type proximity sensor
In case of free voltage input type, do not connect AC proximity sensors instead of a switch as shown in the gure 1.
It may cause malfunction due to sensor's leakage current. Connect a relay as shown in the gure 2.
● Solid-state input ● Contact input
※When power is applied to terminal No and , input
terminal circuit can be broken and a malfunction can
occur. (NPN output, PNP output, PNP open collector
output type sensor cannot be used.)
※ and are connected inside.
※Please use reliable contacts enough to ow 3VDC
5㎂ of current.
Input connections
No-voltage input (standard sensor: NPN open collector output type)
SIG. INPUT
RESET
3V
1.2㏀1.2㏀
560㏀
0V
[Timer]
Main circuit
SIG.
INPUT
RESET
+V
12-24VDC +
-
3V
1.2㏀1.2㏀
560㏀
OUT
0V
[Timer][Sensor]
Main circuit
※For backlight function model, the input terminals are no. , and the GND terminal is no. .
K-11
(A)
Photo
electric
sensor
(B)
Fiber
optic
sensor
(C)
Door/Area
sensor
(D)
Proximity
sensor
(E)
Pressure
sensor
(F)
Rotary
encoder
(G)
Connector/
Socket
(H)
Temp.
controller
(I)
SSR/
Power
controller
(J)
Counter
(K)
Timer
(L)
Panel
meter
(M)
Tacho/
Speed/ Pulse
meter
(N)
Display
unit
(O)
Sensor
controller
(P)
Switching
mode power
supply
(Q)
Stepper
motor&
Driver&Controller
(R)
Graphic/
Logic
panel
(S)
Field
network
device
(T)
Software
(U)
Other
LCD Timer
SW3 setting
SW3 is a switch for setting time sepcification. TS1, TS2, TS3(※Factory default: TS1)
Battery
holder
direction
TS1 TS2 TS3
+
LITHUM BA
3V
<Set TS1>
TS1 TS2 TS3
<Set TS2>
TS1 TS2 TS3
<Set TS3>
TS1 TS2 TS3
<Time range>
※1
TS1 TS2 TS3
①hour min.
99999(59
sec.
99999999
hour
99999(9;
②hour min.
9999(5(9
day hour
9999D2#9
hour min.
99999;59
③hour min. sec.
999(5(59
day hour min.
999(2#59
hour min.
9999;5(9
※1: Time range is set as SW2, SW3 combination.
Set switch
1
Front panel
Enable Disable
2
Front panel
SW1(
1
switch )
SW1 is a switch to Enable/Disable the
front panel RESET key.
※Factory default: Enable
SW2(
2
switch )
SW2 is a switch for setting time range.
※Factory default: 999(5(59(h.m.s)
1
2
※Refer to "<Time range>" table of
SW3 for ①, ②, ③ descriptions.
① ② ③
Case detachment and battery replacement
①
● Case detachment ● Battery replacement
※Hold up Lock part toward ①, ② of the product with the
tool and pull toward ③ to detach the case.
When using the tools, be careful not to be wounded.
①
③
③
②
1. Detach the case.
2. Push the battery and detach it toward ①.
3. Insert a new battery with correct alignment of polarity
pushing it toward opposite of ①.
※The battery is sold separately. Please replace a battery
by yourself.
※Do not burn up or disassemble the lithium battery.

This manual suits for next models

5

Other Autonics Timer manuals

Autonics LA8N-BN User manual

Autonics

Autonics LA8N-BN User manual

Autonics CT Series User manual

Autonics

Autonics CT Series User manual

Autonics FX Series User manual

Autonics

Autonics FX Series User manual

Autonics CX Series User manual

Autonics

Autonics CX Series User manual

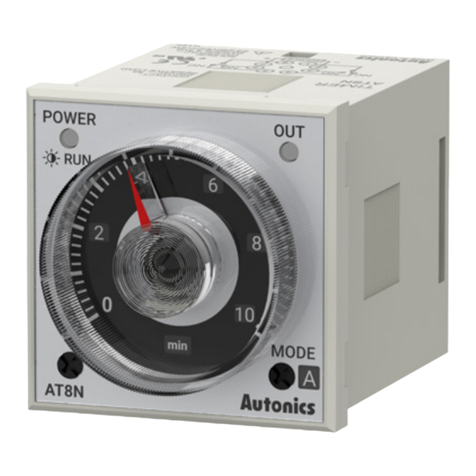
Autonics AT8N User manual

Autonics

Autonics AT8N User manual

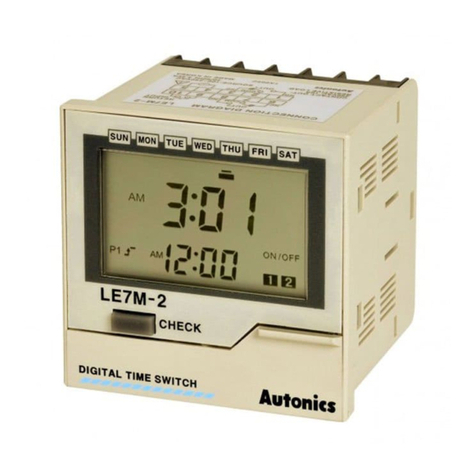
Autonics LE7M-2 User manual

Autonics

Autonics LE7M-2 User manual

Autonics LE7M-2 User manual

Autonics

Autonics LE7M-2 User manual

Autonics FXY Series User manual

Autonics

Autonics FXY Series User manual

Autonics ATN Series User manual

Autonics

Autonics ATN Series User manual

Autonics CT Series User manual

Autonics

Autonics CT Series User manual

Autonics FXH Series User manual

Autonics

Autonics FXH Series User manual

Autonics LE8N-BN User manual

Autonics

Autonics LE8N-BN User manual

Autonics AT11DN Series User manual

Autonics

Autonics AT11DN Series User manual

Autonics LE7M-2 User manual

Autonics

Autonics LE7M-2 User manual

Autonics CT6S-2P4 User manual

Autonics

Autonics CT6S-2P4 User manual

Autonics LE365S-41 User manual

Autonics

Autonics LE365S-41 User manual

Autonics LE4S Series User manual

Autonics

Autonics LE4S Series User manual

Autonics CX Series User manual

Autonics

Autonics CX Series User manual

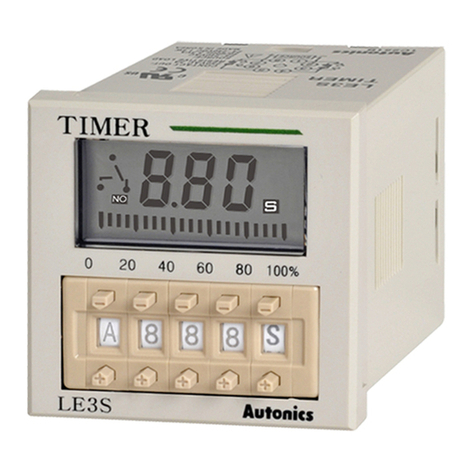
Autonics LE3S Series User manual

Autonics

Autonics LE3S Series User manual

Autonics FXS Series User manual

Autonics

Autonics FXS Series User manual

Autonics LE3S Series User manual

Autonics

Autonics LE3S Series User manual

Autonics LE7M-2 User manual

Autonics

Autonics LE7M-2 User manual

Autonics CT4S-1P series User manual

Autonics

Autonics CT4S-1P series User manual

Autonics LE3S User manual

Autonics

Autonics LE3S User manual

Popular Timer manuals by other brands

Rain Bird ESP-4TM Installation, programming, operating

Rain Bird

Rain Bird ESP-4TM Installation, programming, operating

Panasonic CZ-ESWC2 instruction manual

Panasonic

Panasonic CZ-ESWC2 instruction manual

Kasco C20 user manual

Kasco

Kasco C20 user manual

Eaton TSQW1CO quick start guide

Eaton

Eaton TSQW1CO quick start guide

Suevia DigiPro operating instructions

Suevia

Suevia DigiPro operating instructions

Orbit 27894 Abridged user manual

Orbit

Orbit 27894 Abridged user manual

Racelogic VBOX LapTimer user manual

Racelogic

Racelogic VBOX LapTimer user manual

brennenstuhl BDZ 44 DE 3655 operating manual

brennenstuhl

brennenstuhl BDZ 44 DE 3655 operating manual

Alfano 6 manual

Alfano

Alfano 6 manual

Webasto Thermo Series installation instructions

Webasto

Webasto Thermo Series installation instructions

Melnor 93015 User instructions

Melnor

Melnor 93015 User instructions

Caen N1145 Technical information manual

Caen

Caen N1145 Technical information manual

Perel E305WG quick start guide

Perel

Perel E305WG quick start guide

Hama 00047669 Using instruction

Hama

Hama 00047669 Using instruction

Velleman K2579 Assembly manual

Velleman

Velleman K2579 Assembly manual

Tork EW101B instruction manual

Tork

Tork EW101B instruction manual

Spice & Soul 4-KL6182-1-4 Usage and safety instructions

Spice & Soul

Spice & Soul 4-KL6182-1-4 Usage and safety instructions

TFA 38.2025 instruction manual

TFA

TFA 38.2025 instruction manual

manuals.online logo
manuals.online logoBrands
  • About & Mission
  • Contact us
  • Privacy Policy
  • Terms and Conditions

Copyright 2025 Manuals.Online. All Rights Reserved.