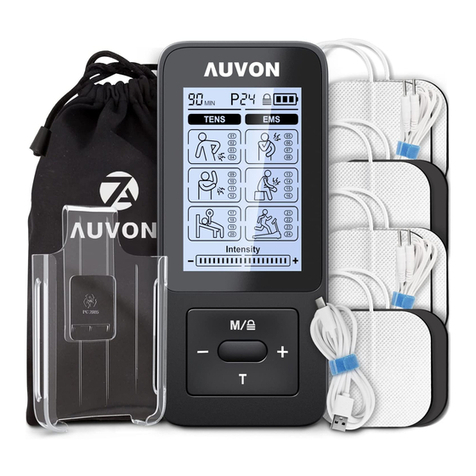
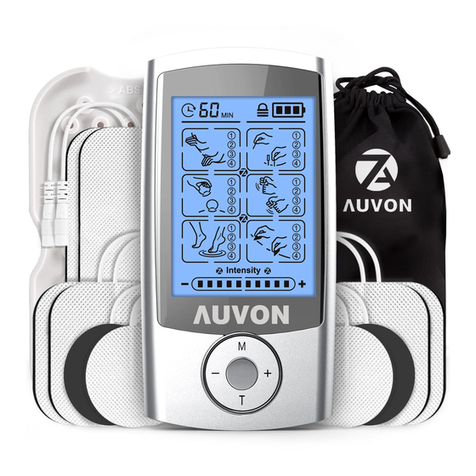
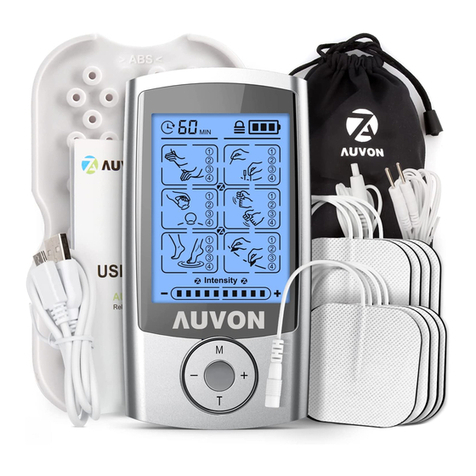
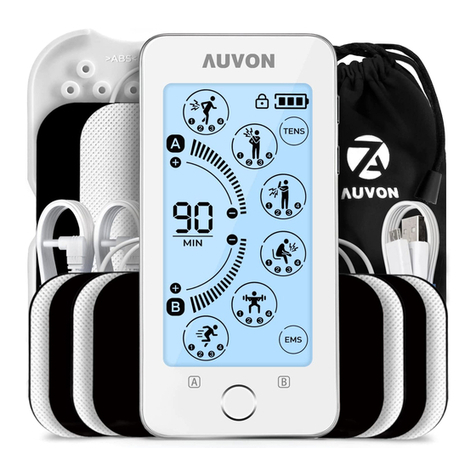
Auvon TU2224-A User manual

Attention
The purpose of this Quick Guide is to help you
understand the operation of the TENS unit
much more quickly, and the contents of the
quick guide are not a substitute for the user
manual. Please read the user manual careful-
ly before use to understand the contraindica-
tions and warnings. Please consult your doctor
before use if you’re not sure whether you can
use this device.
Operation
Note: Do not use it while charging.
1. Clean and dry the
application areas.
2. Connect the lead
wire to a pair of
pads and the device.
Quick Guide

3. Attach a pair of
pads.
4. Long press the
button to turn on
the device.
5. Choose the con-
nected channel. 6. Choose a mode.

7. Adjust intensity. 8. Set time.
9. Long press to turn
off the device.
10. Remove the
pads. Do not pull
the wire.

Pad Placement Suggestion
CalfThigh Ankle
AbdomenSciatica Knee
Shoulder Elbow
Upper Back Lower Back/Waist Buttock
Neck
Square Electrodes

Small Round Electrodes
Calf
Ankle Toe Foot
Thigh
Abdomen
Upper Back
Knee
Shoulder Elbow
Wrist Finger
Buttock
Neck
Lower Back/Waist

CalfThigh Ankle
AbdomenSciatica Knee
Shoulder Elbow
Upper Back Lower Back/Waist Buttock
Neck
Rectangular Electrodes

USER MANUAL
Model TU2224-A
TENS and Powered Muscle
Stimulator
Relaxation, Anywhere, Anytime
Device Name: TENS and Powered Muscle Stimulator

1. Explanation of TENS & EMS ......................... 9
2. Standard Package ........................................... 9
3. Illustrations of the Device .............................. 10
4. Operating Instructions ................................... 12
4.1 Note Before Use ................................... 12
4.2 How to Use ........................................... 12
4.3 After Use ............................................... 18
4.4 Charge the Battery................................ 19
5. Mode Instruction ........................................... 19
5.1 Mode Description .................................. 19
5.2 Pad Placement Suggestion................... 21
6. TENS Electrode Pads & Pads Holder ........... 24
6.1 Features................................................ 24
6.2 Instruction ............................................ 25
6.3 Electrode Pads Care and Storage ........ 26
6.4 Electrode Pads Precautions.................. 27
7. Safety Precautions & Warnings..................... 28
7.1 Prohibited Conditions........................... 28
7.2 Prohibited Individuals........................... 29
7.3 Prohibited Areas................................... 29
7.4 Prohibited Activities............................. 29
8. Trouble Shooting ......................................... 30
9. Symbols......................................................... 34
10. Certification ................................................ 35
11. Customer Service ....................................... 35
TABLE OF CONTENTS

Email: [email protected]
9
1. Explanation of TENS & EMS
Transcutaneous Electrical Nerve Stimulation (TENS)
is a non-invasive, drug-free method of controlling
pain. TENS uses tiny electrical impulses sent
through the skin to nerves to modify your pain per-
ception. TENS does not cure any physiological prob-
lem, and it only helps control pain. TENS does not
work for everyone, but for most patients it is effective
in reducing or eliminating pain, allowing them to re-
turn to normal activities.
Electrical Muscle Stimulation (EMS) stimulates the
muscles rather than the nerve cells. EMS stimulates
your motor nerves, which induces muscle contrac-
tions, and mimics the way they contract during a
workout. It will force the muscles to rapidly contract
and relax.
2. Standard Package
● AUVON®TENS and Powered Muscle Stimulator
● Pin Pads
● Pads Holder
● Pouch
● Set of Lead Wires
● USB Cable
● Clip
● User Manual

11
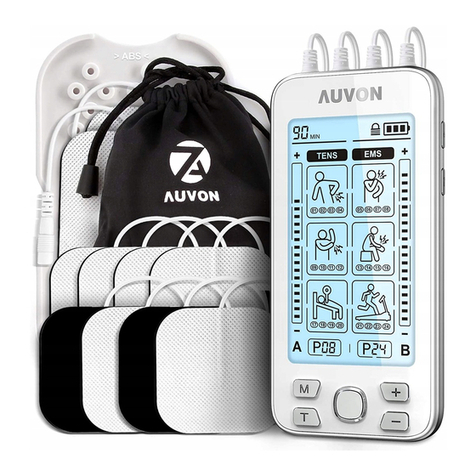
①Lock indicator
②Time indicator
③TENS modes (P1-P16)
④Intensity Increase button (Channel A)
⑤Intensity decrease button (Channel A)
⑥Intensity indicator (Channel A)
⑦EMS modes (P17-P24)
⑧Channel A choose button
⑨Lock button
⑩Mode - button
⑪Time button
⑫Mode number
⑬Battery indicator
⑭Intensity Increase button (Channel B)
⑮Intensity decrease button (Channel B)
⑯Intensity indicator (Channel B)
⑰Channel B choose button
⑱Mode + button
⑲On / Off switch button
⑳USB port
㉑Two output connectors

Email: [email protected]
12
4. Operating Instructions
4.1 Note Before Use
● Do not use this device during charging. (Fully
charged in 2-3 hours.)
● The backlight of the screen will automatically come
off after 20 seconds of no operation; when the device
has no output, it will automatically shut down if there
is no further operation within 5 minutes.
4.2 How to Use
1. Clean and dry your skin before use and
choose the unbroken, no-hair and flat areas with
no sweat and no oil.

13
2. Connect a pair of electrode pads to one lead
wire and plug the other end to the device.
3. Attach at least one pair of electrode pads to
the massage area and press the edge of the
pads firmly on your skin to make sure full contact.
(Make sure the unit is off when you attach the
pads.)
Note: Make sure both pads on the skin are not
overlapping. The electrode pads should be at
least one inch apart from each other. Each lead
wire needs to be connected to a pair of pads
(2 pads), or it won’t work.

Email: [email protected]
14
4. Press the button for
2-3 seconds to turn on
the unit.
NOTE: Do not move
the electrode pads or
remove the lead wires
during the use, or you
may be shocked.
5. Channel Option:
Choose channel A/B by
pressing the “A”/ “B” but-
ton or the corresponding
intensity buttons on the
side, and the selected
channel will ash.

15
6. Mode Option: Press the “M-”/“M+” button to
choose the mode. If “A” is ashing, it means the
mode of channel A is selected. (If “B” is ashing,
it means the mode of channel B is selected).
NOTE: The intensity of the channel will revert to
the lowest setting with each mode selection.

Email: [email protected]
16
7. Intensity Option: Press the “+”/”-” button on the
left/right side of the machine to adjust the intensi-
ty for the channel on which the icon is ashing.
NOTE 1: The intensity of the channel will revert to
the lowest setting with each mode selection.
NOTE 2: For initial use, the intensity should be
set between 1-3. If you feel the intensity is weak
in 1-2 minutes, gradually increase it and select
the most comfortable setting.

Email: [email protected]
17
8. Time Option: Increase time by pressing the T
button, and the time will increase by 10 minutes
for each tap from 10 to 90 minutes and the C
mode (innite time). The device will automatically
turn o when time is reached.
NOTE 1: When the device is set in C mode and
the channel has output, the massage will go on
until the battery is exhausted unless it is manually
turned off. If the channel has no output and no
operation, the machine will automatically shut
down within 5 minutes.
NOTE 2: It is recommended that each area
should not use this device for more than 30 min-
utes at a time. Stop using it if the pain is relieved.

Email: [email protected]
18
9. Lock Function: Press
the button lock/unlock
the screen. And the in-
tensity, mode and time
option can be adjusted
only when the screen is
unlocked.
4.3 After Use
4.3.1 Turn off the device by pressing the button for
2-3 seconds.
4.3.2 Grab a corner of the electrode pad and slowly
peel it away from the skin, do not pull the wire, and
avoid touching the gel as much as possible.
4.3.3 Place the sticky side of the pad on the trans-
parent film or pad holder and remove the lead wire
connector from the electrode pads gently.
4.3.4 Store the electrode pads in the storage bag
and reseal tightly to prevent them from dry-out. Store
them at room or cool temperature (between 5 °C-35
°C/41°F-95°F) and keep out of direct sunlight.
4.3.5 Organize the wires with the cable tie and store
all of them in the pouch for the store.

Email: [email protected]
19
4.4 Charge the Battery
4.4.1 When the battery icon shows “ ” or the mas-
sage strength decreases, it indicates that the battery
needs to charge. Turn off the unit.
4.4.2 Connect the device and the charger with a
USB extension cord.
It is suggested to use the AC adaptor with
ANSI/AAMI/ES60601-1 certified (the de-
vice does not come with a power adaptor).
USB cable and please use an AC adaptor with ANSI/
AAMI/ES60601-1 certified (the device does not
come with a power adaptor)
Plug the charger into any power outlet, the power
box appears and blinks, and the time display value
will update to the percentage of charge. All other
icons are removed and not displayed.
Charging
Parameters
Input Voltage
Range 100Vac-240Vac
Input Frequency
Range 50Hz/60Hz
Output Voltage
Range 5 Vdc
Output Current
Range 1000mA
4.4.3 The machine does not work while charging.
Normal charging will last approximately 2-3 hours.
TIP: Charge the unit at least every 3 months if it is
not used regularly.
5. Mode Instruction
5.1 Mode Description

Email: [email protected]
20
The modes 1 to 16 are TENS and modes 17 to 24
are EMS.
Main Mode Number of
Mode Mode Type
1 TENS
2 TENS
3 TENS
4 TENS
5 TENS
6 TENS
7 TENS
8 TENS
9 TENS
10 TENS
11 TENS
12 TENS
13 TENS
14 TENS
15 TENS
16 TENS
17 EMS
18 EMS
19 EMS
20 EMS
21 EMS
22 EMS
23 EMS
24 EMS
Table of contents
Other Auvon Fitness Equipment manuals