- 8 -
User Manual
Startup
- Dial temperature controls set at the no. 4 position gives refrigerators an approximate temperature
of 35°F. Digital temperature controls are programmed to operate between 33°F and 40°F with no
adjustments. Allow unit to function several hours, completely cooling the cabinet before changing
the control settings.
- Excessive tampering with the control could lead to service difficulties. Should it ever become
necessary to replace temperature control, be sure it is ordered from your Avantco dealer or
recommended service agent.
- Good air flow in your unit is critical. Be careful to load product so that it neither presses against
the back wall, nor comes within four inches of the evaporator housing. Refrigerated air off the coil
must circulate down the back wall.
Recommendation:
Before loading product, we recommend you run your Avantco unit empty for 2-3 days. This allows
you to be sure the electrical wiring and installation are correct and no shipping damage has
occurred. Remember, the Avantco factory warranty does not cover product loss!
set
mute
Dial Controls
Digital Controls
Adjusting the Temperature
Dial Controls (UDD1 & UDD1S ONLY)
Temperature range from (7) Coldest to (1) Warmest
Digital Controls (All Other Models)
Your new refrigerator or freezer is already factory-set to run at optimum
temperatures for food safety and should require no adjustments.
Refrigerators are set to cycle between a minimum temperature of 33 degrees
Fahrenheit and a maximum temperature of 40 degrees Fahrenheit.
Freezers are set to cycle between a minimum temperature of -5
degrees Fahrenheit and a maximum temperature of 2 degrees
Fahrenheit.
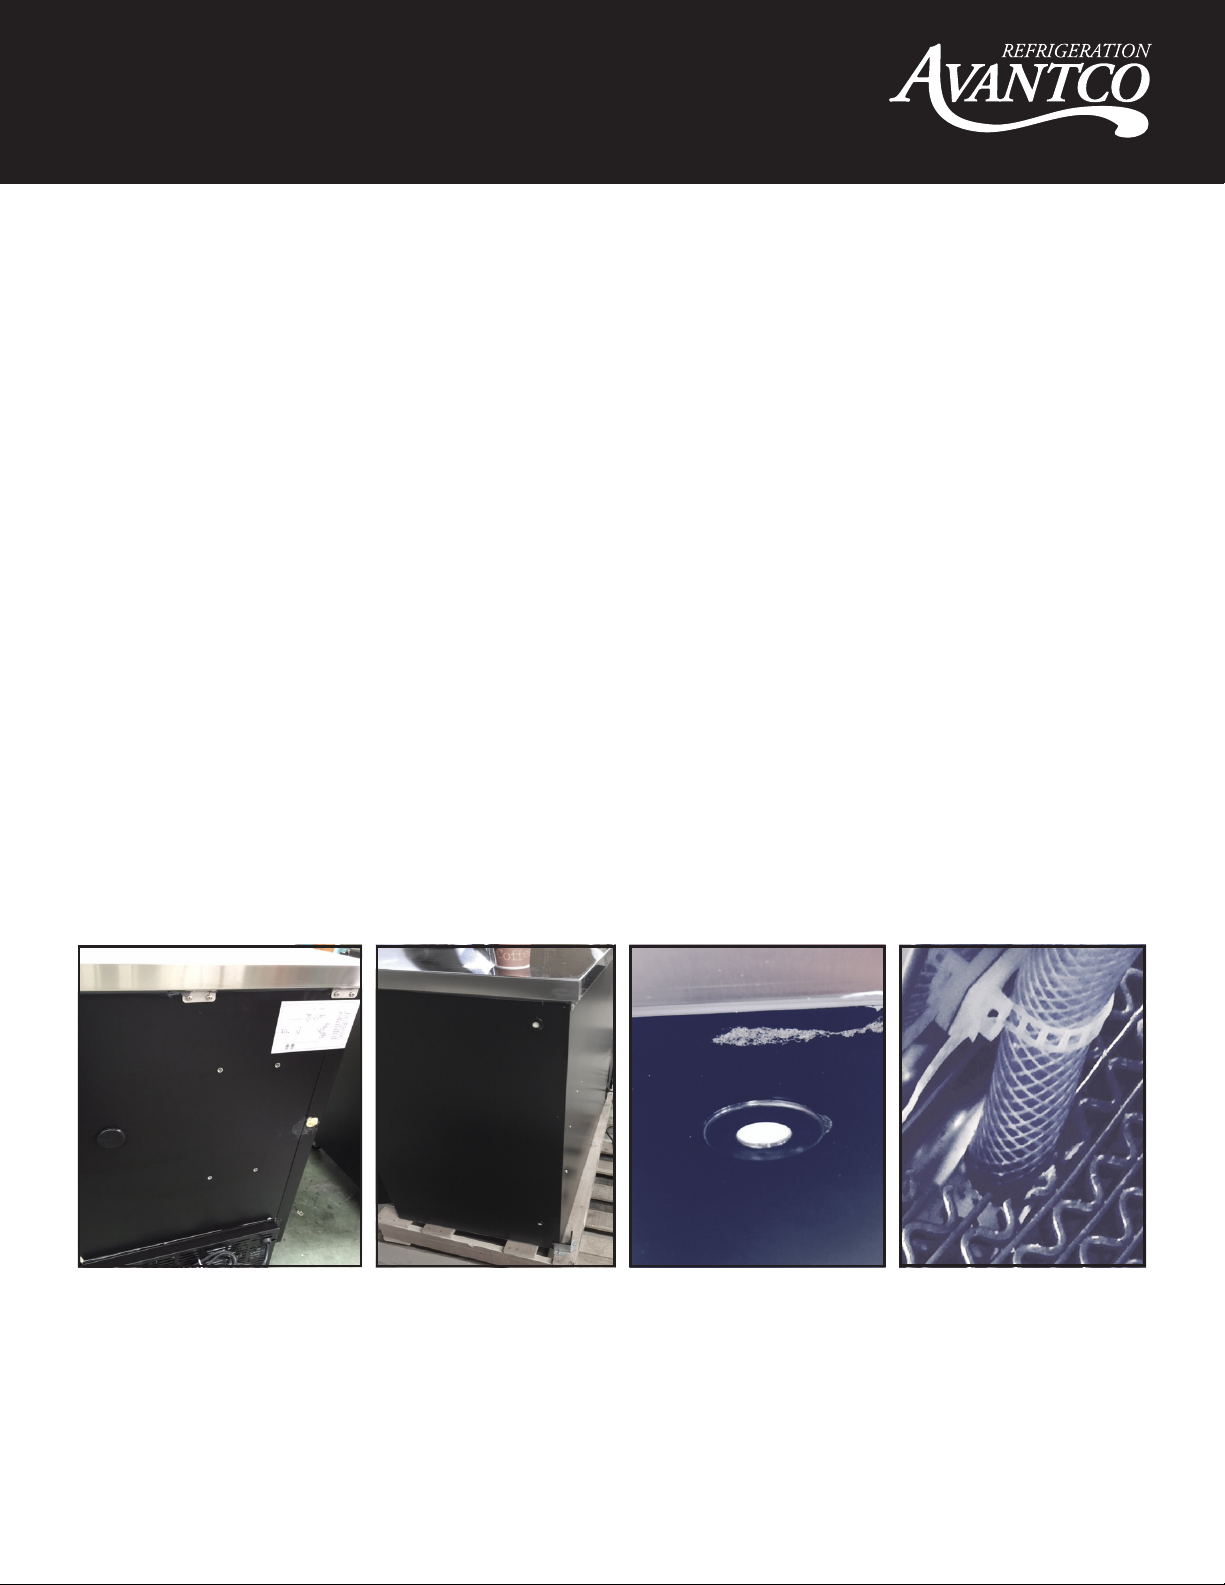
Drain Instructions
On direct draws, the drain is located at the front of the cabinet.
(UDD1 & UDD1S drain into a bottle located inside the unit)
To plumb in the drain, connect ½” PVC pipe to the barbed fitting supplied with the unit.
If you would prefer to drain the beer inside the unit (for mobility or where a drain can’t be found):
- Use a screwdriver to remove the drain bracket.
- Pull the drain hose so that it is inside the unit.
- Attach a bottle to the drain hose inside the unit.
- Plug the created hole at the bottom of the unit