1. INTRODUCTION
This equipment is intended for use in domesc applicaons
and similar, such as:
- Areas of personal kitchen in shops, offices and others work
environments;
- Farm houses;
- By customers in hotels, motels and other types of
environments housing.
1.1 Safety
Read the following instrucons in order to avoid accidents:
1.1.1 Never operate this equipment with: wet clothes or
shoes, resng on wet surfaces, nor plunge it in water or
any other liquid, and do not throw water directly on the
equipment.
1.1.2 If your equipment is failing or has been dropped or
damaged any way, take it to Technical Assistance to repair,
or for electric or mechanical adjustment.
1.1.3 Using accessories not recommended by the
manufacturer, may cause personal injuries.
1.1.4 When the equipment is turned on, keep hands and
any tools away from its moving parts. This will prevent from
physical injuries and damages to the machine.
1.1.5 During operaon, never use clothes with wide sleeves,
specially at the wrist.
1.1.6 Be sure the equipment voltage is the same as the
network electric voltage. Provide a correct grounding in
accordance to your local safety standarts.
1.1.7 Do not operate any equipment having a damaged
cord or plug. The cord shall not rest on hot surfaces nor on
table edges.
1.1.8 Before to switch ON the extractor check if the Crown
# 09 or 10 and the Juice Chamber #02 are well fied on
their posions.
This equipment must not be used by individuals
with reduced physical, sensorial or mental capabilies
nor children. Individuals without propper training and
experience must not operate this equipment unless they
receive propper training and instrucons or are operang
it under the supervision of a person who is responsible for
their safety.
Unplug the equipment from electric source when: it
is not being used, before cleaning or before to insert or
remove accessories, and when any maintenance or service
is to be done.
If any emergency shall arise the plug must be
disconnected from the electrical grid.
This equipment can be used connuously as long
as the limits of the machine are respected, that is, the
extracon of the orange juice must be done in a gentle
way, compressing the orange against the crown without
forcing the motor to stop.
2. INSTALLATION AND PRE-OPERATION
2.1 Placing
The equipment must be placed on to a levelled stable
surface approximately 850 mm high.
2.2 Electrical Installaon
This equipment was designed to work in 110 Volts (60Hz).
When you receive the equipment check the voltage
indicated on the cord label.
The power plug has 3 pins, the central one is the grounding.
All the 3 (three) pins must be properly connected.
3. COMPONENTS AND TECHNICAL CHARACTERISTICS
SUMMARY
1. INTRODUCTION ..........................................................................................................................................................2
1.1 Safety .......................................................................................................................................................................2
2 INSTALLATION AND PRE OPERATION ............................................................................................................................2
2.1 Placement of the equipment.....................................................................................................................................2
2.2 Electrical Installaon .................................................................................................................................................2
3. COMPONENTS AND TECHNICAL FEATURES ..................................................................................................................3
4. OPERATIONAL PROCEDURES .......................................................................................................................................3
5. CLEANING ...................................................................................................................................................................3
6. MAINTENANCE ...........................................................................................................................................................3
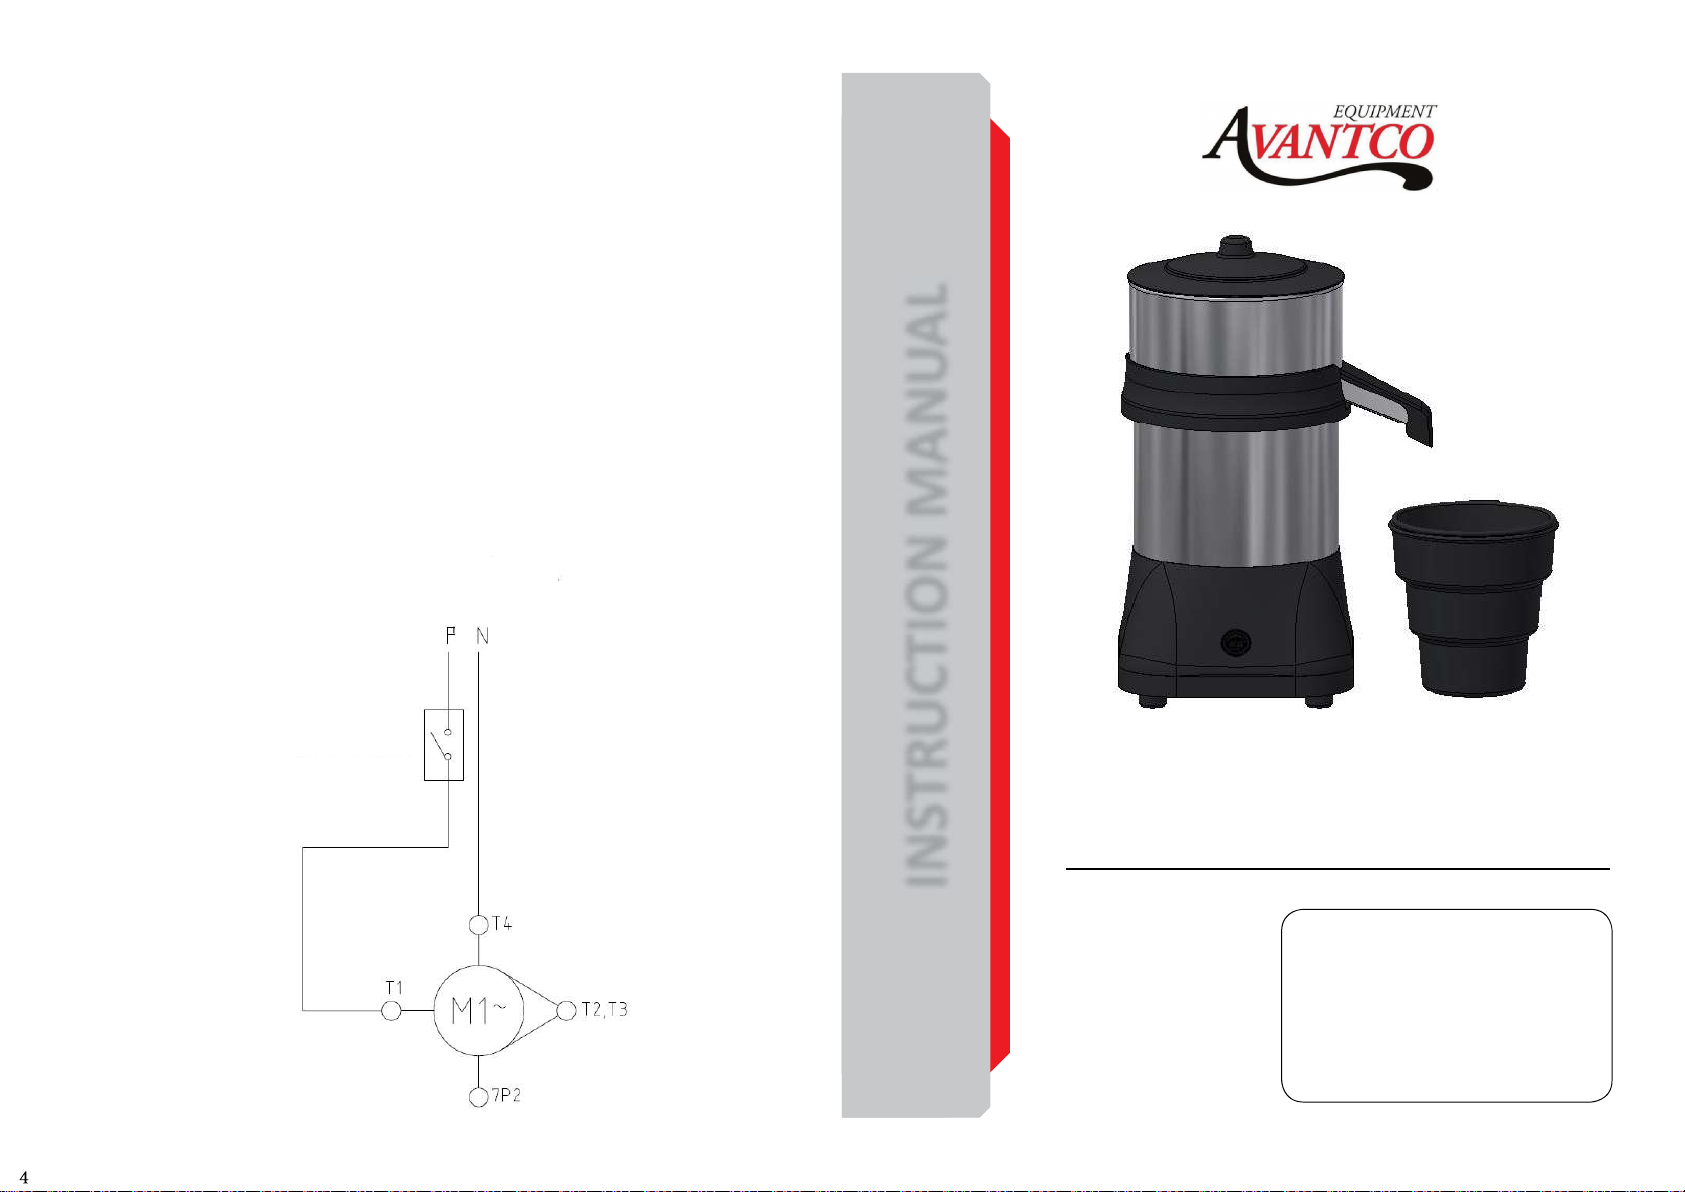
7. ELECTRIC DIAGRAM ....................................................................................................................................................4
01
02
06
03
04
05
07
08
09 10
CHARACTERISTICS UNIT EX SUPER
Average Producon Oranges/minute 15
Voltage V 110
Frequency Hz 60
Power Consumpon W 400
Power Rang HP 1/2
Heigth inches 16 3/4
Length inches 9 2/3
Depth inches 8 1/4
Net Weight kg 6
Shipping Weight kg 6,5
01 – Lid
02 – Juice Chamber
03 – Motor Support Flange
04 – Motor Housing
05 – ON/OFF Switch
06 – Base
07 – Sieve
08 – Cup
09 – Large Crown
10 – Small Crown
4. Operaon Procedures
Always wait unl the motor complete stop before
changing the crown.
• Make sure the equipment is stable on the working
surface and the Crown is properly fied.
• Before to use the equipment all the parts to be in
contact with the product shall be washed with water
and neutral soap.
• To start the operaon, turn on the ON/OFF Switch # 05
(Pic.01), located on the Base # 06 (Pic.01).
• Juice Extractors work with high speed.
• First, cut the oranges or the lemons in two halves.
• Turn the machine on, hold half of the fruit and press
it down firmly against the Crown # 09 or # 10 (Pic.01)
and the juice will run into the Cup # 08 (Pic.01) going
first through the Sieve # 07 (Pic.01).
5. CLEANING
The equipment shall be totally cleaned and sanized:
- Before to be used first me
- Aer every day’s operaon
- When it has not been used during a long me
- Before to operate it aer a long period unused
Some parts of the equipment may be removed for cleaning,
such as:
- Lid
- Juice Chamber
- Crowns
Remove the Lid # 01 (Pic. 01), the Large Crown # 09 or the
Small Crown # 10 (Pic. 01) and aer the Juice Chamber # 02
(Pic. 01).
Wash all the parts with water and neutral soap.
To assemble follow the inverse path.
5.1 Cauons with Stainless Steels
The Stainless Steel may present rust signs, which ARE
ALWAYS CAUSED BY EXTERNAL AGENTS, especially when the
cleaning or sanizaon is not constant and appropriate.
The Stainless Steel resistance towards corrosion is mainly
due to the presence of chrome, which in contact with
oxygen allows the formaon of a very thin protecve coat.
This protecve coat is formed through the whole surface of
the steel, blocking the acon of external corrosive agents.
When the protecve coat is broken, the corrosion process
begins, being possible to avoid it by means of constant and
adequate cleaning.
Cleaning must always be done immediately aer using
the equipment. For purpose, use water, neutral soap or
detergent, and clean the equipment with a so cloth or a
nylon sponge. Then rinse it with plain running water, and dry
immediately with a so cloth, this way avoiding humidity on
surfaces and especially on gaps.
The rinsing and drying processes are extremely important to
prevent stains and corrosion from arising
Acid soluons, salty soluons, disinfectants and some
sterilizing soluons (hypochlorites, tetravalent ammonia
salts, iodine compounds, nitric acid and others), must be
AVOIDED, once it cannot remain for long in contact with
the stainless steel.
These substances aack the stainless steel due to the
CHLORINE on its composion, causing corrosion spots
(ping).
Even detergents used in domesc cleaning must not remain
in contact with the stainless steel longer than the necessary,
being mandatory to remove it with plain water and then dry
the surface completely.
Use of abrasives:
Sponges or steel wools and carbon steel brushes, besides
scratching the surface and compromising the stainless steel
protecon, leave parcles that rust and react contaminang
the stainless steel. That is why such products must not be
used for cleaning and sanizaon. Scrapings made with
sharp instruments or similar must also be avoided.
Main substances that cause stainless steel corrosion:
Dust, grease, acid soluons such as vinegar, fruit juices, etc.,
saltern soluons (brine), blood, detergents (except for the
neutral ones), common steel parcles, residue of sponges or
common steel wool, and also other abrasives.
6. MAINTENANCE
Maintenance must be considered a set of procedures