manuals.online logo
Brands
  1. Home
  2. •
  3. Brands
  4. •
  5. Aventura
  6. •
  7. Security Camera
  8. •
  9. Aventura CAM-IPR-2BS-3F-IR User manual

Aventura CAM-IPR-2BS-3F-IR User manual

WWW.AVENTURACCTV.COM
DOCUMENT V1.2
Quick Start Guide
Related Series Models:
CAM-IPR-2B-3F-IR, CAM-IPR-2B-6F-IR
CAM-IPR-2BS-3F-IR, CAM-IPR-3B-3F-IR
CAM-IPR-4B-3F-IR, CAM-IPR-4B-6F-IR
CAM-IPR-5B-3F-IR, CAM-IPR-8B-4F-IR
The product comes with the following components:
1. Camera Device.
2. L-Key for device adjustment.
3. 3pcs attachment screws and anchor pack.
4. Software CD.
5. Quick Start Guide.
Be sure no parts are missing from the product before
installation.
Information in this document is subject to change without notice. As our
products are subject to continuous improvement, Aventura
Technologies reserves the right to modify product design, specifications
without notice and without incurring any obligation. E&OE
©2018 Aventura Technologies, Inc. All rights reserved.
AVENTURA TECHNOLOGIES, INC.
HEADQUARTERS
48 Mall Drive, Commack, New York 11725 U.S.A.
Tel: +1.631.300.4000 Fax: +1.631.434.7000
INSTALLATION
1. Below is an overview of the parts of the
camera, showing how the completed
product would look.
Bracket Angle
Attachment Location
Bracket twist adjustment
2. Use the bracket base for locating drill positions
and attach the camera as shown in the rear
bracket diagram below.
Bracket has a cable exit at the bottom. The rear is a soft
sponge material to create a better degree of water seal
design around bracket – surface.
3. All positions and angle adjustments are done
via the locking hex nuts located on the rear of
the camera bracket. Use the l-key to turn anti-
clockwise to loosen.
Angle Adjustment Nut
Rotation Nut
NOTE: Caution not to remove the locking screws, they use a
set of locking teeth which will lock camera angle and
position to prevent any long term drifting of the position.
4. CAD Dimensions Inch (mm)
CONNECTION
The camera has the following cables.
1. RJ45 Network Interface: Connect to a router or
switch on your network using RJ45 Ethernet cable
(Cat5e or better). 100MHz connection. PoE
supported (class 3 PoE switch or injector as
required).
NOTE: PoE Class 3 for this device, ensure that your device can
meet the power requirements when one or more units are
connected to a single PoE powered device. (PoE Switch )
NOTE: Use only high-quality
RJ45 connectors to connect to
the camera. When inserting into
camera be sure to hear a solid
click locking sound to ensure
error free operation.
2. DC12V (600mA): 12V DC power input terminal.
Make sure to follow correct polarity (+/-) as
marked on the power connector. Use DC power if
no PoE is being used.
PoE Power is Class 3 for the device.
Alarm connections and Audio are supported. If required,
connect audio using standard RCA style mono
connections. Alarm connection block can be removed for
convenient attachment of alarm input and output.
NOTE: Audio input and output is 1v line level. Additional
amplification is required to drive speakers. Audio input would not
work directly with a simple microphone. Typically microphones
need a pre-amp to bring the voltage levels to line level.
DEVICE SEARCH & SETTINGS TOOL
The camera has a factory default IP address (listed below)
Change the value via the web interface. However, when
configuring multiple cameras, it may be convenient to use
the AV Device Tool. Available on Aventura support website
Note: This application will only run on Windows PC platform.
1. Click Search icon as shown above
2. Results of discovered devices will be reported in
the area as shown above.
Double-clicking the IP address will open your Internet
Explorer and bring up the login to this device IP.
Note: Your default explorer may not be IE browser, the device
video streaming is only available for IE browser.
Upgrade and Config will allow devices to be factory set.
Note: The device may require a restart after any modifications.
5.5 Inch ( 140 mm )
2.79Inch ( 71mm )
1
2
3
○
1
○
2
○
3
○
1
○
2
WWW.AVENTURACCTV.COM
DOCUMENT V1.2
BROWSER INTERFACE: GETTING STARTED
The factory default IP address is: http://192.168.1.88
NOTE: If you are using multiple IP cameras you must change the
IP for each camera. Two cameras cannot use the same IP
address.
The first time you log in to the camera, it will let you set the
device password. Do not lose this, or a factory reset of the
device may become necessary. Default settings are admin
(username), admin (password).
To fully use the web interface, you will need to use Internet
Explorer and install the ActiveX control when prompted.
With Safari requires plugin available from Aventura
Support.
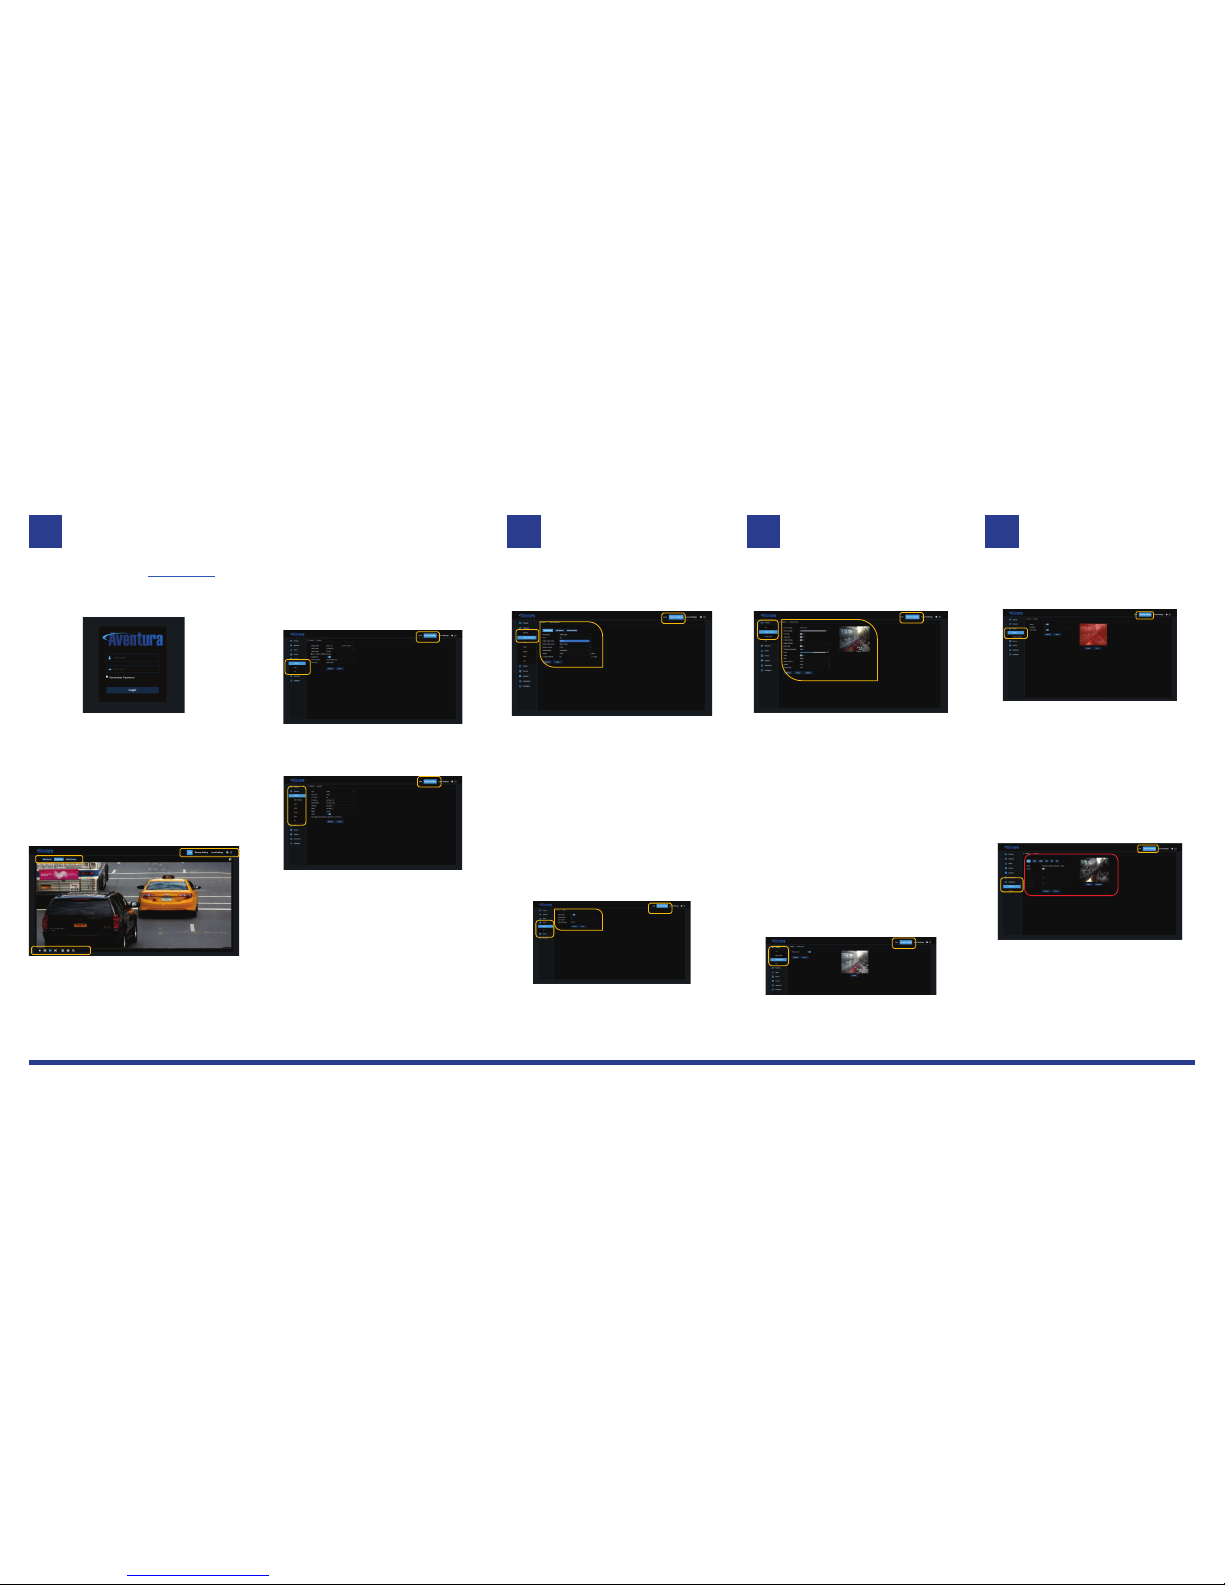
Once logged in successfully, you will see a screen as
below image, showing a live picture of the device.
All camera parameters are available from the Settings
menu along the top-right of the browser window. Click the
desired button to make a selection. The default view is a
Live view from the cameras, as shown above.
Display size layout and stream are icons at top and bottom
of the display.
NOTE: Browser menu options and settings cover all models if a
feature is not available the setting may still show, but may not be
selectable.
It is highly recommended to set the time on the camera as
soon as possible, so video and files can accurately time-
stamp. Time can be set manually (currently time + time
zone, with optional daylight savings feature), or by syncing
with an NTP server.
1. Time. {Remote Setting– System + General}
NOTE: If using an NTP server on the internet, be sure the camera
DNS values are correct, or the device may be unable to connect.
2. Network. {Remote Setting – Network - Network}
•Network. TCP/IP settings or DHCP setting.
oClient Port, HTTP Port, and DNS
•Video Streaming Device video stream output.
oDetails in section 5
•Email alerts and notification account settings
oSSL, TLS and Auto connections.
•DDNS internet name resolution credentials.
oDynamic IP Server registration. NO-IP
•IPFilter Security to restrict access to device.
oCan all be set to allow or disallowing
for IP Address
•RTSP streaming video port and enable/disable
oDefault port 554
oRtsp://IP:Port/ch01/A
oA is 0 Main, 1 Sub, 2 Mobile streams
•FTP server login to transfer of images.
oFTP should not be used as a
streaming service due to speed.
BROWSER INTERFACE: DEVICE STREAMING
After configuring the device time and network settings, the
next step is to configure the device streaming video setup.
3. Encoding {Remote Setting –Network –Video Streaming}
The camera supports three independent video streams, a “Main
Stream,” “Sub Stream” and “Mobile Stream.” The Main Stream
is typically configured for the camera’s maximum resolution and
frame rate by default.
The Sub Stream is typically used for applications requiring
reduced bandwidth, such as remote monitoring, and the last
stream is designed for low bandwidth such as mobile
applications. Non-experts should be cautious when experimenting
with new settings, as they may dramatically affect the camera’s
video quality and use of network bandwidth.
The device supports H.265 and H.265 with full user control
of bit-rate limits.
NOTE: Remember to click the SAVE to commit any changes.
Some changes may require a device reboot, which will occur
automatically after saving.
4. Audio {Config – Audio Setting + Audio Parameters}
If audio streaming is required, it must be enabled in the
audio settings, and an audio-enabled format must be
selected. Input and Output can be adjusted to suit the
levels required.
NOTE: Audio is only supported on some models, and the Audio
option would not be available in the browser settings.
BROWSER INTERFACE: Image Adjustments
Control of device image to obtain the correct picture can be
set from the Display settings.
5. Image {Remote Setting – Display + Image Control}
•IR-CUT Mode. Setting for image day/night
operation.
•IR-Cut Delay Seconds time between switching
of day/night operation. From 1-36 seconds.
•Lens/Angle Flip. Horizontal and vertical image,
•Corridor Mode. 90Degree image rotation.
•Back Light Compensation Level Low/Mid/High.
•3D Noise Reduction. Temporal and Spatial
noise reduction of the picture image.
oNote high levels will soften the image.
•WDR. Wide Dynamic Range with level
adjustment. From 1-255
•AGC Auto Gain Control, Off, Low, Med, High
•White Balance. Auto, Manual, Indoor
oManual will allow R, G, B of image to
be user controlled from 1-255
•Shutter. Shutter speed can be Auto or Manual
oManual range from 1/5 – 1/20,000
oHigher shutters speed will reduce light.
•Defog Mode Disable, Auto, Manual.
oManual has user adjustable range.
•
6. Privacy {Remote Setting – Display + Privacy Zone}
Privacy will let the user define up to four square adjustable
boxes on the preview window area.
NOTE: Recordings in privacy will mask the area to black. Will be
recorded. Only block the live view.
BROWSER INTERFACE: Events for ALARMS
The device may have I/O is used to trigger alarm events.
Additional linkages may be configured to trigger an alarm event.
7. Motion Alarm {Remote Setting – Alarm + Motion }
Motion detection alarms are triggered by Enabling the Motion,
and setting the appropriate grid display area on / off
(enable/disable)
Motion sensitivity from 1-8 can allow user preference at which
level the events will be triggered. An email or IO events can be
triggered when a positive motion is active.
Note: I/O will only be available on models with the I/O on a device
fitted.
8. Intelligent & Analytics
The device has a full complement of on the edge
video analytics. With on-device Analysis reporting.
The device covers the following edge analytics*
•PID - Perimeter Intrusion Detection)
•LCD - Line Crossing Detection
•SOD - Stationary Object Detection
•PD - Pedestrian Detection
•FD - Face Detection
•CC - Cross Counting
Note: Some models do not feature all the available analytics due
to a hardware limitation on the SoC device used. Check Aventura
support website for full product guide for further features.
4
5
6
7

This manual suits for next models

11

Other Aventura Security Camera manuals

Aventura CAM-IPM-1Z-18X-DN User manual

Aventura

Aventura CAM-IPM-1Z-18X-DN User manual

Aventura CAM-IPR Series User manual

Aventura

Aventura CAM-IPR Series User manual

Aventura CAM-HS-605HB User manual

Aventura

Aventura CAM-HS-605HB User manual

Aventura CAM-HS-605HB User manual

Aventura

Aventura CAM-HS-605HB User manual

Aventura Guardian II User manual

Aventura

Aventura Guardian II User manual

Aventura CAM-7D-21IR-WDR User manual

Aventura

Aventura CAM-7D-21IR-WDR User manual

Aventura CAM-AHY-2B-212V-IR Operating and maintenance instructions

Aventura

Aventura CAM-AHY-2B-212V-IR Operating and maintenance instructions

Aventura CAM-IPM-5D-41P-VP User guide

Aventura

Aventura CAM-IPM-5D-41P-VP User guide

Aventura CAM-IPD-x-DN Series Guide

Aventura

Aventura CAM-IPD-x-DN Series Guide

Aventura CAM-IPM-13X-DNPC User manual

Aventura

Aventura CAM-IPM-13X-DNPC User manual

Aventura CAM-AHY-2D-3F-IRVP User manual

Aventura

Aventura CAM-AHY-2D-3F-IRVP User manual

Aventura CAM-7X-WDR User manual

Aventura

Aventura CAM-7X-WDR User manual

Aventura CAM-IPM-13X-DNPC User manual

Aventura

Aventura CAM-IPM-13X-DNPC User manual

Aventura CAM-5Z-27X Instruction Manual

Aventura

Aventura CAM-5Z-27X Instruction Manual

Aventura CAM-7D-21VP-WDR User manual

Aventura

Aventura CAM-7D-21VP-WDR User manual

Popular Security Camera manuals by other brands

Vivotek FD816CA-HF2 user manual

Vivotek

Vivotek FD816CA-HF2 user manual

Defender GUARD IP4MCB1 quick start guide

Defender

Defender GUARD IP4MCB1 quick start guide

Hanwha Techwin WISENET XND-6011F quick guide

Hanwha Techwin

Hanwha Techwin WISENET XND-6011F quick guide

Speco O5TMLB1 quick start guide

Speco

Speco O5TMLB1 quick start guide

Edimax IC-3116W user manual

Edimax

Edimax IC-3116W user manual

iVex Indusvision IVEX-PLs-3001R user manual

iVex Indusvision

iVex Indusvision IVEX-PLs-3001R user manual

Vivotek Supreme FD8363 Quick installation guide

Vivotek

Vivotek Supreme FD8363 Quick installation guide

D-Link DCS-3710 Quick installation guide

D-Link

D-Link DCS-3710 Quick installation guide

XtendLan XL-ICA-306M1 user manual

XtendLan

XtendLan XL-ICA-306M1 user manual

Turcom CyberVIEW S manual

Turcom

Turcom CyberVIEW S manual

Speco H5T1M manual

Speco

Speco H5T1M manual

Grandstream Networks GXV3662_HD/FHD quick start guide

Grandstream Networks

Grandstream Networks GXV3662_HD/FHD quick start guide

Mitsubishi Electric NM-IP100 user manual

Mitsubishi Electric

Mitsubishi Electric NM-IP100 user manual

KT&C KPC-HZA302M Operation manual

KT&C

KT&C KPC-HZA302M Operation manual

OPTICOM IR-4714 - datasheet

OPTICOM

OPTICOM IR-4714 - datasheet

HIK VISION DE1A Series quick start guide

HIK VISION

HIK VISION DE1A Series quick start guide

Logitech Alert 750e Guide Getting started guide

Logitech

Logitech Alert 750e Guide Getting started guide

Panasonic VL-WD812AZ User's information guide

Panasonic

Panasonic VL-WD812AZ User's information guide

manuals.online logo
manuals.online logoBrands
  • About & Mission
  • Contact us
  • Privacy Policy
  • Terms and Conditions

Copyright 2025 Manuals.Online. All Rights Reserved.